Replacing engine mounts at home might sound difficult, but with the right knowledge and tools, it’s a task many car owners can manage themselves. Engine mounts play a key role in keeping your engine stable, reducing vibrations, and preventing damage to other car parts.
When engine mounts wear out or break, you might hear strange noises, feel extra vibrations, or even see your engine shift when you accelerate. Learning how to replace engine mounts at home not only saves money but also gives you a better understanding of your vehicle.
This guide will walk you through every step, from identifying bad engine mounts to installing new ones safely. You’ll also learn common mistakes to avoid, expert tips for a smoother process, and answers to the most frequent questions about this repair.
Understanding Engine Mounts
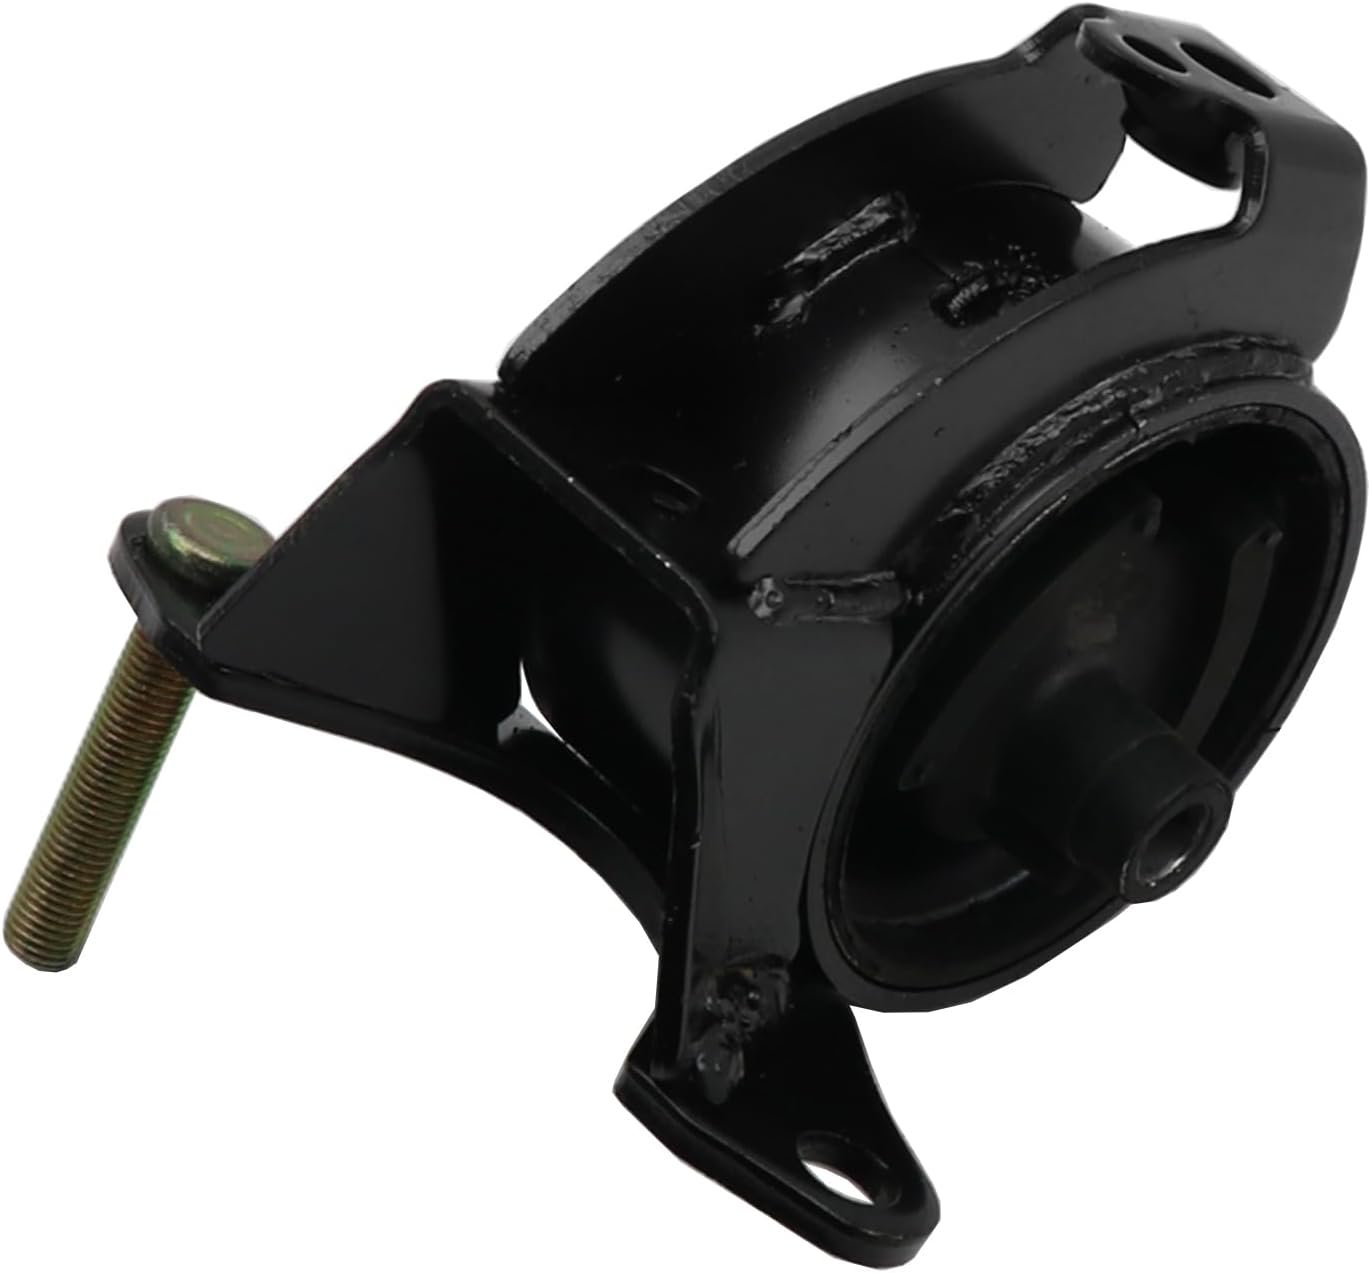
Engine mounts are small but important parts that keep your car’s engine firmly attached to the chassis. Most cars use three or four engine mounts, usually made of rubber and metal. The rubber helps absorb engine vibrations, while the metal provides strength and structure.
Types Of Engine Mounts
There are several types of mounts you may find:
- Rubber mounts: Most common; simple design, affordable, and effective at absorbing vibrations.
- Hydraulic mounts: Filled with fluid for extra vibration control; found in newer or luxury cars.
- Electronic mounts: Use electronics to adjust stiffness; rare, but becoming more common in modern cars.
- Polyurethane mounts: Used in performance cars; stronger but transfer more vibration to the cabin.
Knowing your car’s mount type is important because installation steps and tools may change. Check your car manual or search online for your car’s make and model.
Signs Your Engine Mounts Need Replacing
Before you start, make sure your engine mounts are really the problem. Look for these signs:
- Excessive vibration: Feel the steering wheel or floor shaking more than usual.
- Clunking or banging noises: Hear loud sounds when accelerating, slowing down, or shifting gears.
- Engine movement: Watch the engine as someone revs it; if it rocks or tilts, a mount could be broken.
- Visual damage: Cracks, collapsed rubber, or leaking fluid (for hydraulic mounts).
If you notice two or more of these symptoms, you likely need to replace one or more mounts.
Tools And Materials Needed
To replace engine mounts at home, collect these tools and supplies:
- Car jack (hydraulic or scissor)
- Jack stands (never rely on a jack alone for safety)
- Socket set and ratchet
- Breaker bar (for stubborn bolts)
- Torque wrench (for tightening bolts correctly)
- Screwdrivers
- Pry bar (optional, for tight mounts)
- WD-40 or penetrating oil
- Replacement engine mounts (specific to your car)
- Work gloves and safety glasses
For some cars, you may also need:
- Extension bars (for deep engine bays)
- Wrenches in metric/imperial sizes
- Flashlight
Having all tools ready before starting will save time and reduce frustration.
Preparing For The Job
Safety First
Always work on a level surface, like a flat driveway or garage floor. Set the parking brake, and block the wheels to prevent rolling. Disconnect the battery to avoid electrical accidents.
Lifting The Car
Use the jack to lift the car at the recommended jacking point (see your car’s manual). Place jack stands under the car for safety. Never get under a car that’s only supported by a jack.
Locating The Engine Mounts
Engine mounts are usually visible from under the car or inside the engine bay. Most cars have:
- Front mount: Near the radiator.
- Rear mount: Near the firewall.
- Side mounts: On the left and right sides of the engine.
Take a photo of the engine area before starting. This helps you remember where each part and bolt belongs.
Step-by-step: How To Replace Engine Mounts At Home
Let’s break down the process, step by step. Most cars have three or four mounts. Replace one mount at a time unless you have extra experience.
1. Support The Engine
Before removing any mounts, the engine must be supported. Place a wooden block on your jack, then lift gently under the oil pan. The wood spreads the weight, so you don’t damage the oil pan.
Pro tip: Only lift enough to take weight off the mount. Do not lift the whole engine, or you might break hoses or wires.
2. Remove Old Mounts
- Spray the mount bolts with WD-40 and let them soak for a few minutes.
- Use your socket set and breaker bar to loosen the bolts holding the engine mount to the frame and engine block.
- Remove the bolts and keep them safe. Some mounts use nuts and washers—don’t lose them.
- Carefully slide the old mount out. You may need to wiggle or use a pry bar if it’s stuck.
3. Compare Old And New Mounts
Lay the new and old mounts side by side. Make sure:
- Bolt holes line up.
- Rubber or fluid parts look the same.
- Size and shape match.
If they’re not the same, stop and check your part number. Installing the wrong mount can cause more problems.
4. Install The New Mount
- Slide the new mount into place.
- Thread the bolts in by hand to avoid cross-threading.
- Tighten the bolts evenly, a little at a time, so the mount seats properly.
Use a torque wrench to tighten bolts to the manufacturer’s specs. Too tight can break bolts, too loose can cause movement.
5. Repeat For Other Mounts
If you are replacing more than one mount, repeat the above steps for each. Only remove one at a time to keep the engine stable.
6. Lower The Engine
Slowly lower the jack, letting the engine rest on the new mounts. Double-check all bolts are tight.
7. Reconnect And Test
Reconnect the battery. Start the engine and check for vibrations or noises. If you hear clunks or feel shaking, stop and check your work.
Example: Replacing A Front Engine Mount On A Honda Civic
Let’s look at a real-world example. Many Honda Civics (2001–2011) use a simple front engine mount.
- Remove the plastic splash shield under the car.
- Support the engine with a jack and wood block.
- Undo three bolts with a 17mm socket.
- Remove the old mount and insert the new one.
- Tighten bolts to 47 ft-lbs (see manual).
- Replace the splash shield and test drive.
This job usually takes about 1–2 hours for beginners.
Credit: benedicteriis.dk
Common Mistakes And How To Avoid Them
Replacing engine mounts is not complicated, but these mistakes are common:
- Not supporting the engine: Removing a mount without support can damage hoses, wires, or even crack the oil pan.
- Over-tightening bolts: Use a torque wrench. Too tight can strip threads or break bolts.
- Mixing up bolts: Take photos and keep bolts organized.
- Using the wrong mounts: Double-check part numbers and compare before installing.
- Skipping test drives: Always test drive and listen for new noises.
How Long Does It Take?
For beginners, replacing one mount usually takes 1–2 hours. Experienced DIYers might finish in under an hour. Some mounts are harder to reach, which adds time.
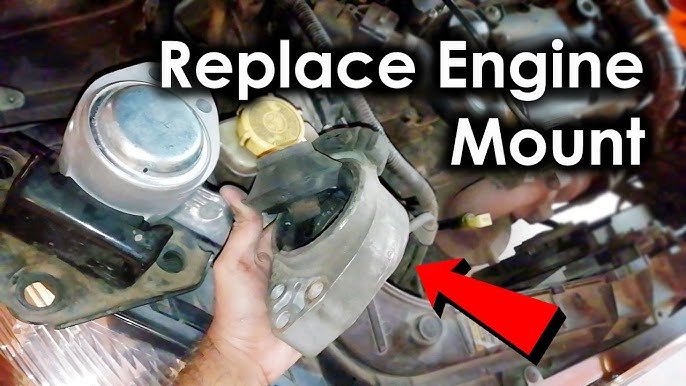
Credit: www.youtube.com
Cost Savings
A mechanic may charge $200–$600 (or more) for this repair, depending on the car. Doing it yourself usually costs $50–$150 for parts. That’s a potential saving of $150–$450 per mount.
When To Get Professional Help
While many people can handle this job, seek a mechanic if:
- You lack tools or a safe workspace.
- The engine must be lifted more than 1 inch.
- You see transmission fluid leaks (for hydraulic mounts).
- You feel unsure about any step.
Never risk your safety to save money.
Data Comparison: New Vs. Worn Engine Mount Performance
Here is a comparison of how engine performance changes with new versus worn mounts:
| Condition | Vibration Level | Noise Level | Engine Stability |
|---|---|---|---|
| New Mounts | Low | Quiet | Stable |
| Worn Mounts | High | Loud | Unstable |
Comparison: Diy Vs. Mechanic Replacement
Understanding your options helps you choose the best path:
| Method | Cost | Time | Warranty |
|---|---|---|---|
| DIY | $50–$150 (parts) | 1–3 hours | No labor warranty |
| Mechanic | $200–$600+ | 0.5–2 hours | Usually 1 year |
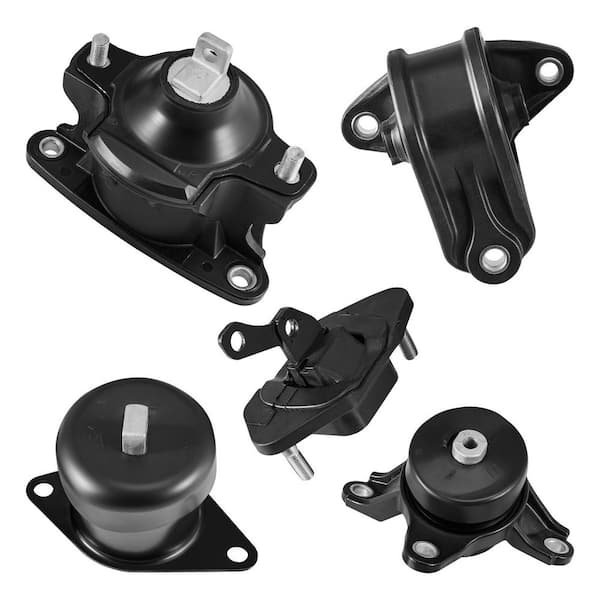
Credit: www.homedepot.com
Tips For A Successful Engine Mount Replacement
- Take clear photos before removing anything. This helps during reassembly.
- Label bolts and parts if you remove more than one at a time.
- Work slowly and check your manual for torque specs and special steps.
- Replace all mounts if one is very worn. Others may soon follow.
- Buy quality mounts from a trusted source. Cheap mounts can fail quickly.
Environmental Impact
Old engine mounts can be recycled with other metal and rubber car parts. Don’t throw them in the trash. Contact your local auto parts store or recycling center for proper disposal.
Where To Learn More
If you want more technical details or visual guides, consider searching for video tutorials for your specific car. Websites like Haynes Manuals offer step-by-step guides for most vehicles.
Frequently Asked Questions
How Do I Know If My Engine Mount Is Really Bad?
Common signs are strong vibrations, clunking noises, engine movement, or visible damage like cracked rubber or leaking fluid. You can also do a “power brake” test: with the car in gear and brakes held, gently press the gas and watch the engine. If it lifts or moves a lot, a mount may be broken.
Can I Drive With A Broken Engine Mount?
It’s not safe. A broken mount can cause engine misalignment, damage hoses, or even break other mounts. Your car may shake, make noise, or handle poorly. Replace a bad mount as soon as possible.
Do I Need Special Tools To Replace Engine Mounts?
Most jobs need only basic tools: jack, stands, socket set, and a torque wrench. Some cars have hard-to-reach mounts or special fasteners, so check your manual first.
How Long Do Engine Mounts Last?
Most mounts last 5–7 years or about 60,000–100,000 miles. Hard driving, accidents, or oil leaks can shorten their life. Check your mounts every time you service your car.
Can I Replace Just One Engine Mount?
Yes, you can replace a single bad mount. However, if one is worn out, the others may also be weak. Many people replace all mounts at the same time for better results.
Replacing engine mounts at home can seem intimidating at first, but with careful preparation and patience, it’s a project well within reach for many car owners. By following each step and keeping safety in mind, you’ll keep your car running smoothly and save money along the way.
