
When you find a small chip in your car’s paint, it can be frustrating. Even a tiny chip can lead to rust or make your car look older than it is. Many people rush to fix these chips with a quick dab of paint, but this often looks messy and doesn’t last.
If you want your car to look like new, you need to touch up paint chips the right way. Here, you’ll learn how to do a professional-level touchup at home, even if you have never done it before. With patience, the right tools, and some attention to detail, you can make paint chips almost invisible—and protect your car for years to come.
Understanding Car Paint Chips
Car paint chips are small spots where the paint has been knocked off, usually down to the bare metal or primer. They often happen from rocks or gravel hitting your car at high speed, especially on highways. Sometimes, chips can also appear from opening doors in tight spaces or careless washing with rough sponges.
Why do these chips matter? Besides looking bad, they are weak points for rust to start. Once rust begins, it can spread under the paint and cause bigger problems. Fixing chips early saves money in the long run.
Gathering The Right Tools And Materials
Before you start, it’s important to have everything ready. Using the right tools makes a big difference. Here’s what you’ll need:
- Touchup paint: Make sure it matches your car’s color code. You can usually find this code on a sticker inside the driver’s door or in your owner’s manual.
- Primer: Needed if the chip goes down to bare metal.
- Clear coat: For a shiny finish and extra protection.
- Fine sandpaper: 1500–3000 grit works best.
- Rubbing alcohol or wax and grease remover: To clean the area.
- Microfiber cloths: For cleaning and drying.
- Small brushes or toothpicks: Regular touchup kits often include these, but you can also buy fine-tipped artist brushes.
- Masking tape: To protect areas around the chip.
- Polishing compound: To blend the repair with the rest of the paint.
- Gloves: Optional, but they keep your hands clean.
Many beginners forget about primer and clear coat, but skipping these steps makes touchups less durable and more noticeable.
Preparing The Surface
A perfect touchup starts with a clean surface. Dirt, wax, or oil can stop paint from sticking.
- Wash the area with car shampoo and water. Rinse and dry with a clean microfiber cloth.
- Remove any wax or grease with rubbing alcohol or a dedicated wax remover. Wipe the spot and let it dry completely.
- Inspect the chip. If there’s any rust, use a toothpick or fine sandpaper to gently remove it. Rust left under paint will keep growing.
- Sand the edges of the chip with very fine sandpaper. This smooths the edge where the paint meets the chip, making the repair less visible.
A common mistake is skipping the cleaning step. Even a small amount of wax or oil can make the new paint peel off later.
Masking And Protecting Surrounding Paint
Before you start applying paint, it’s smart to protect the area around the chip.
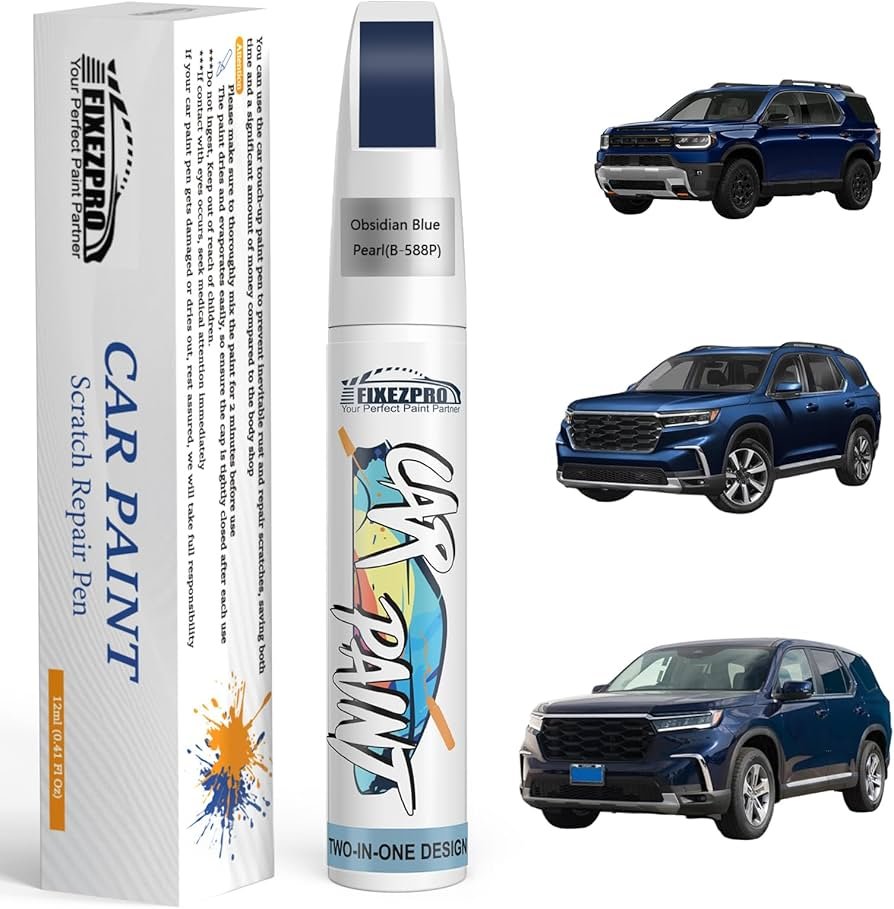
- Use masking tape to cover the paint around the chip. Leave only the chip and a tiny border exposed. This stops any extra paint from getting on good areas.
- For chips near trim or emblems, use a plastic card (like an old credit card) with a small hole cut in it. Hold the card over the chip as a shield while you paint.
Taking a few minutes to mask saves time fixing mistakes later.
Credit: www.amazon.com
Applying Primer
If the chip is deep enough to expose bare metal, primer is necessary. Without it, the paint won’t stick well and rust can start.
- Shake the primer bottle well.
- Dip a fine brush or toothpick into the primer.
- Apply a tiny drop into the center of the chip. Don’t let it overflow onto the good paint.
- Let the primer dry completely, usually about 20–30 minutes.
If the chip didn’t reach the metal, you can skip primer and start with paint.
Touching Up With Paint
Getting the touchup paint right is the key to a professional look. This step takes patience.
- Shake the paint bottle for at least a minute to mix the color evenly.
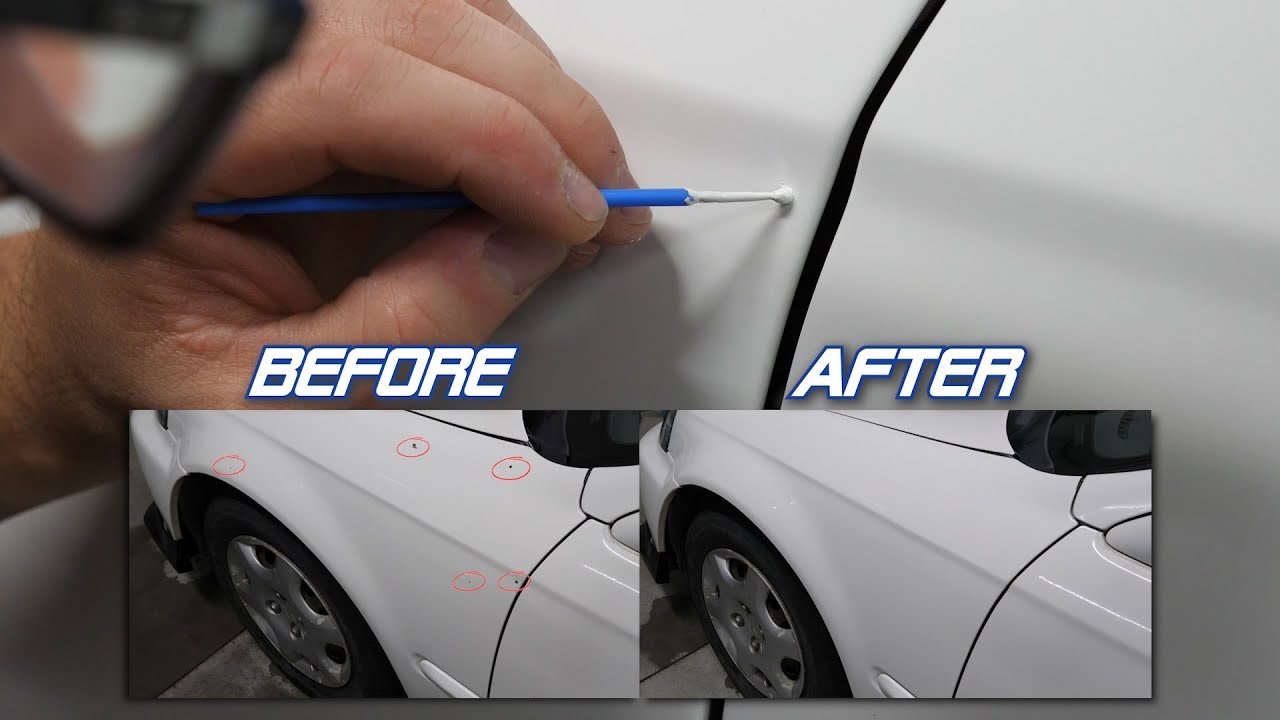
- Use a fine-tip brush or toothpick to pick up a small amount of paint. Too much paint at once will create a blob.
- Gently dab the paint into the chip. Start in the center and let the paint flow out to the edges.
- Let it dry fully before adding another layer. Thin coats look better than one thick coat.
- Repeat until the paint is level with the surrounding area. Most chips need 2–3 coats.
Comparing Application Tools
Choosing the right tool for applying touchup paint can change your results. Here’s a quick look at different options:
| Tool | Precision | Best For | Common Problems |
|---|---|---|---|
| Toothpick | High | Very small chips | Holds little paint, slower for big chips |
| Artist Brush | Medium-High | Small to medium chips | Needs cleaning between coats |
| Paint Pen | Medium | Long scratches | Hard to control flow |
For most beginners, a fine artist brush offers the best control.
Credit: ultragloss.biz
Adding Clear Coat
Clear coat gives your repair a factory shine and protects the color. Many people skip this step, but it makes a big difference.
- Wait at least 24 hours after your last layer of paint.
- Shake the clear coat bottle well.
- Apply a small amount with a clean brush or the applicator from your kit.
- Let it dry fully. This may take another 24 hours.
If you rush the clear coat, you may smudge the color or cause bubbling.
Leveling And Polishing The Repair
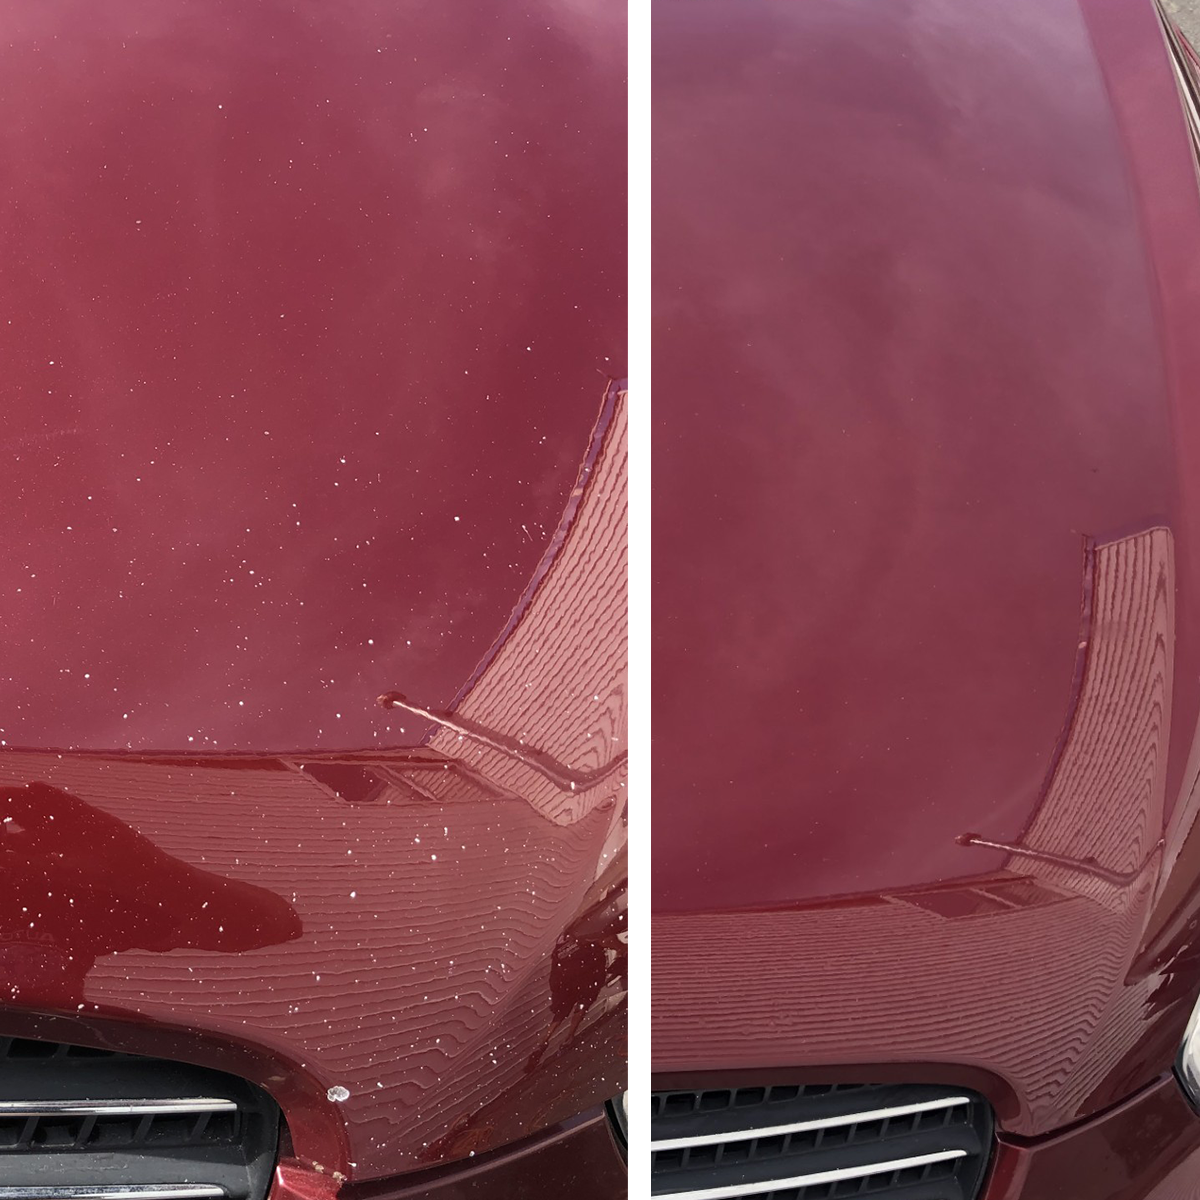
Even careful touchups can leave a raised spot. Leveling and polishing helps blend the repair with the rest of the car.
- Wet-sand lightly with 3000-grit sandpaper. Soak the sandpaper in water for 10 minutes, then gently sand the repair. Stay on the repaired spot—don’t sand untouched paint.
- Wipe clean with a damp microfiber cloth.
- Apply polishing compound with another clean cloth. Rub gently in a small circle until the spot shines and feels smooth.
- Check your work in good light. If the repair is still rough, repeat the polishing step.
Don’t rush the sanding. Pressing too hard can sand through the new paint and create a bigger problem.
Credit: www.youtube.com
Evaluating Your Work
After all the steps, step back and look at the repair in sunlight. A good touchup will be hard to see from a few feet away. If you can still see a dip or roughness, you may need to add another thin paint layer and repeat the polishing.
Sometimes, waiting a few days before the final polish gives the paint time to cure fully.
Preventing Future Paint Chips
Touching up is great, but prevention is better. Here are some ways to reduce future chips:
- Keep a safe distance from trucks and construction vehicles on highways. They throw more rocks.
- Install mud flaps behind your wheels if you drive on gravel roads.
- Apply a paint protection film to vulnerable areas like the hood or bumper. These films are almost invisible and add a shield against chips.
- Regularly wash and wax your car. Clean paint is less likely to trap grit that causes scratches and chips.
Many drivers don’t realize that even small changes—like where you park or how you wash your car—can reduce future paint damage.
Common Mistakes And How To Avoid Them
Many first-time DIYers make mistakes that make chips look worse. Here’s what to watch out for:
- Using too much paint: Thick blobs are obvious. Always use thin layers.
- Skipping primer: Bare metal will rust and the paint won’t stick.
- Not cleaning the chip: Wax, dirt, or oil will stop the paint from bonding.
- Touching the repair before it’s dry: Patience is key. Rushing leads to fingerprints or smudges.
- Not matching the color code: Even small differences are obvious in sunlight. Always check your car’s exact code.
Avoiding these mistakes is just as important as doing the steps correctly.
Cost Comparison: Diy Vs. Professional Repair
It’s helpful to know how much you’re saving by doing touchups yourself. Here’s a rough comparison:
| Repair Method | Typical Cost | Time Needed | Finish Quality |
|---|---|---|---|
| DIY Touchup | $20–$50 (for paint, tools, supplies) | 2–3 hours (plus drying time) | Good to Very Good (with care) |
| Professional Shop | $150–$400 per chip | 1–2 days (including drop-off) | Excellent (factory match) |
DIY repairs make sense for small chips and scratches. For large areas or deep damage, a professional may be worth the cost.
Advanced Tips For A Flawless Finish
If you want the best possible result, consider these advanced tips:
- Work in a dust-free area. A garage is ideal. Dust can stick to wet paint.
- Use a magnifying glass to inspect your work between layers.
- Warm the area with a hair dryer before painting if it’s cold. Paint flows better at 70°F–80°F (21°C–27°C).
- Test on a hidden spot first if you’re unsure about the color match.
Professionals often use a paint blending technique—lightly feathering the new paint into the old paint at the edges. This takes practice but gives an almost invisible repair.
When To Call A Professional
Sometimes, a chip is too big or in a tricky spot for a home repair. You should consider a professional if:
- The chip is larger than a penny.
- There is heavy rust or bubbling around the chip.
- The area is on a curved or textured panel.
- You want a perfect, like-new finish for a valuable car.
In these cases, a body shop has the tools and experience to restore your car without visible repair marks.
Frequently Asked Questions
How Do I Find My Car’s Paint Code?
You can usually find the paint code on a sticker inside the driver’s door, under the hood, or in your owner’s manual. If you can’t find it, your dealer can look it up from your VIN number.
Can I Use Nail Polish Instead Of Touchup Paint?
While nail polish might look close in color, it doesn’t protect like automotive paint and can damage your car’s finish. Always use paint designed for cars.
How Long Should I Wait Before Washing My Car After A Touchup?
Wait at least seven days before washing the area with soap and water. This gives the paint time to cure fully and prevents streaks or damage.
What If My Touchup Looks Dull Compared To The Rest Of The Paint?
If the repaired spot is dull, try polishing it with a finishing compound. If it’s still dull, check if you applied clear coat. Adding a thin layer and polishing again usually restores the shine.
Where Can I Learn More About Car Paint Care?
For more in-depth information, the AutoGeek Detailing Forum is a trusted source with tips from both beginners and professionals.
A careful touchup can transform how your car looks and protect it from rust. With these steps, you can get a professional-quality result at home, save money, and keep your car looking its best for years.
