Planning a road trip is exciting. But before you hit the highway, your car needs to be ready. Many people skip a car inspection, thinking their vehicle is “fine.” This mistake can ruin your trip, cause breakdowns, or even lead to dangerous situations. Doing a DIY car inspection before your road trip is easier than you think, and it keeps you safe, saves money, and helps avoid surprises. This guide will walk you through every step, show you what to check, share real tips, and highlight mistakes beginners often make. Let’s make sure your car is as ready for adventure as you are.
Why Diy Car Inspection Matters
A well-inspected car is safer, more reliable, and less likely to let you down. According to the National Highway Traffic Safety Administration, over 20% of breakdowns on highways are due to preventable mechanical issues. You don’t need to be a mechanic to catch most problems early. Checking your car yourself can reveal issues like worn tires, low fluids, or weak batteries—things that garages charge extra for but you can spot at home.
Non-obvious insight: Even new cars can develop issues. Don’t skip inspection because your car is “new.” Road trips put extra stress on your vehicle, so a quick check is always smart.
Essential Tools And Supplies
Before you start, gather these basic tools:
- Tire pressure gauge
- Flashlight
- Gloves
- Paper towels
- Car jack and lug wrench
- Owner’s manual
- Window cleaner
- Basic toolkit (screwdrivers, pliers, adjustable wrench)
Many checks can be done without tools, but having these makes the job quicker and cleaner. Keep your owner’s manual handy—it shows where things are and how to check them.
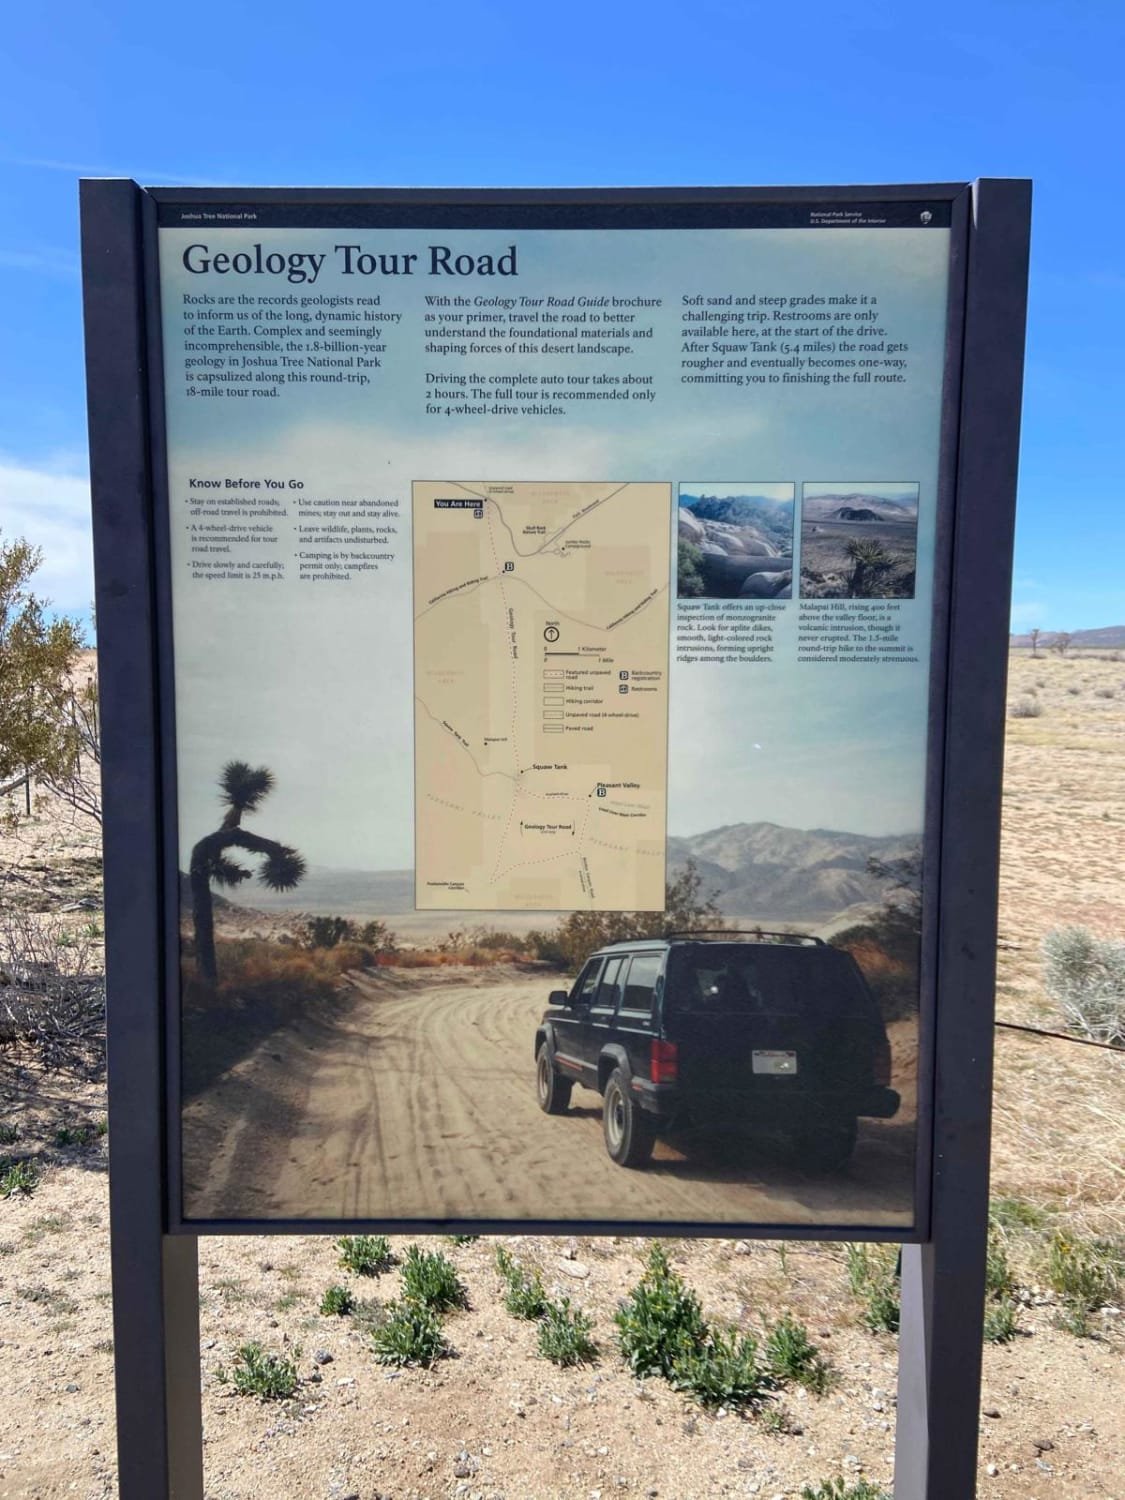
Credit: www.onxmaps.com
Step-by-step Diy Car Inspection
Let’s break down the inspection into clear steps. Each area is important for safety, comfort, and avoiding trouble.
1. Tire Check
Tires are your car’s only contact with the road. Worn or underinflated tires are a common cause of accidents and breakdowns.
- Check tread depth using a coin. Insert a penny into the tread with Lincoln’s head down. If you can see all of his head, your tread is too low. Replace tires.
- Inspect for cracks, bulges, or objects stuck in the tread.
- Use a tire pressure gauge to check air pressure. Compare to the recommended PSI (found in your manual or on the driver’s door sticker).
- Don’t forget the spare tire—make sure it’s inflated and in good shape.
Non-obvious tip: Many people check only the outer tread. But uneven wear on the inside can indicate alignment issues, which can become serious on a long trip.
2. Fluid Levels
Fluids are your car’s lifeblood. Low or dirty fluids cause overheating, engine trouble, or brake failure.
Check these:
- Engine oil: Pull the dipstick, wipe it, dip again, and check level and color. Oil should be between the marks and golden, not black.
- Coolant: Look at the reservoir. Levels should be between “min” and “max.” Never open when hot.
- Brake fluid: Usually in a clear reservoir. Low fluid can mean worn brakes or leaks.
- Transmission fluid: Some cars require the engine running for accurate check (see manual).
- Windshield washer fluid: Essential for visibility.
If fluids are low or dirty, top up or change them. Don’t mix different types of fluids.
3. Battery Health
A weak battery can leave you stranded. Check:
- Age: Batteries last 3-5 years. If yours is older, replace it.
- Terminals: Look for corrosion (white powder). Clean with baking soda and water.
- Charge: If you have a voltmeter, a healthy battery should show 12.4–12.7 volts.
Example: Many drivers forget to check battery age. On a road trip, old batteries often die after long drives or stops in hot or cold weather.
4. Lights And Signals
Lights are key for safety—especially at night or in bad weather.
- Test headlights, taillights, brake lights, turn signals, and hazard lights.
- Replace any bulbs that don’t work.
- Clean covers to improve brightness.
Non-obvious tip: Check your reverse lights—they help others see you backing up in parking lots or campsites.
5. Brakes
Brakes must be reliable. Test:
- Listen for squeaks or grinding when braking.
- Feel for soft or spongy pedal—this can mean air in lines or worn pads.
- Check brake fluid level (see above).
If you notice anything wrong, get brakes checked professionally before your trip.
6. Belts And Hoses
Belts and hoses run your engine, AC, and cooling systems.
- Look for cracks, fraying, or bulges.
- Squeeze hoses—they should be firm, not soft or spongy.
- If a belt looks worn, it may snap under stress.
Data: Over 15% of roadside breakdowns are due to failed belts or hoses, according to AAA.
7. Air Conditioning And Heating
Comfort matters, especially in extreme weather.
- Run AC and heat for a few minutes. Make sure they blow strong and change temperature.
- Listen for strange noises.
If AC isn’t cold or heat isn’t hot, have it checked—especially important in summer or winter.
8. Windshield And Wipers
Visibility is safety.
- Clean the windshield inside and out. Check for chips or cracks.
- Test wipers. If they streak or skip, replace them.
- Fill washer fluid.
Practical tip: Pack an extra set of wiper blades—they’re cheap and easy to swap.
9. Emergency Supplies
Even the best inspection can’t prevent every problem. Pack:
- Jumper cables
- First aid kit
- Flashlight
- Blanket
- Water and snacks
- Reflective triangle
- Basic tools
Prepare for weather, long waits, or minor repairs.
Comparison: Diy Vs. Professional Inspection
Some people wonder if a DIY inspection is enough. Here’s how both options compare:
| Inspection Type | Cost | Time Required | Coverage | Confidence |
|---|---|---|---|---|
| DIY Inspection | $0-$30 (tools only) | 30-60 minutes | Basic safety checks | Good for simple issues |
| Professional Inspection | $50-$200 | 1-2 hours | Full mechanical check | High, includes diagnostics |
Insight: If your car has recent maintenance and no symptoms, DIY is usually enough. But for older vehicles or before very long trips, professional inspection adds peace of mind.
Common Mistakes To Avoid
Even careful people miss these:
- Skipping the spare tire: Many forget to check the spare’s air and condition.
- Ignoring warning lights: If a dashboard light is on, solve it before you go.
- Not checking under the car: Look for leaks or puddles—these signal trouble.
- Overlooking tire age: Tires older than 6 years can fail, even if tread looks good.
- Assuming fluids are fine: Always check, even if the car hasn’t leaked.
Preparing For Different Road Trip Conditions
Road trips vary—mountains, deserts, highways, cities. Prepare for your route:
| Condition | Extra Checks | Tips |
|---|---|---|
| Mountains | Brakes, coolant, tires | Downshift on steep grades, carry coolant |
| Desert | AC, coolant, battery | Pack extra water, avoid overheating |
| Rainy regions | Wipers, tires, lights | Check tread depth, pack rain gear |
| Cold climates | Battery, antifreeze, heater | Test battery, carry blanket |
Always research your route and adjust your inspection for local conditions.
What To Do If You Find A Problem
Finding issues is good—it means you can fix them before trouble strikes.
- Minor issues: Replace wiper blades, top up fluids, tighten loose parts.
- Major issues: Worn brakes, cracked belts, leaks—visit a mechanic.
- Uncertain issues: If you aren’t sure, ask a professional. Don’t risk your trip.
Example: A small oil leak may seem minor, but on a long trip, it can grow fast. Get leaks fixed before leaving.
Final Pre-trip Checklist
Here’s a quick summary to review before you pack:
- Tires (including spare)
- All fluid levels
- Battery (age, charge, terminals)
- All lights and signals
- Brakes (listen, feel, fluid)
- Belts and hoses
- AC and heater
- Windshield and wipers
- Emergency supplies
If Everything Checks Out, You’re Ready!
Real-world Data: Roadside Assistance Calls
According to AAA, in 2023, the most common reasons for roadside assistance calls were:
- Flat tires (30%)
- Dead batteries (21%)
- Lockouts (17%)
- Engine overheating (10%)
- Running out of fuel (8%)
Doing a DIY car inspection helps avoid most of these except lockouts. Keep a spare key with you.
How Often Should You Inspect?
For regular driving, check tires, fluids, and lights monthly. Before any road trip, do a full inspection. For trips over 500 miles, repeat checks halfway.
Non-obvious tip: For rental cars, inspect just like your own. Don’t assume rentals are perfect.
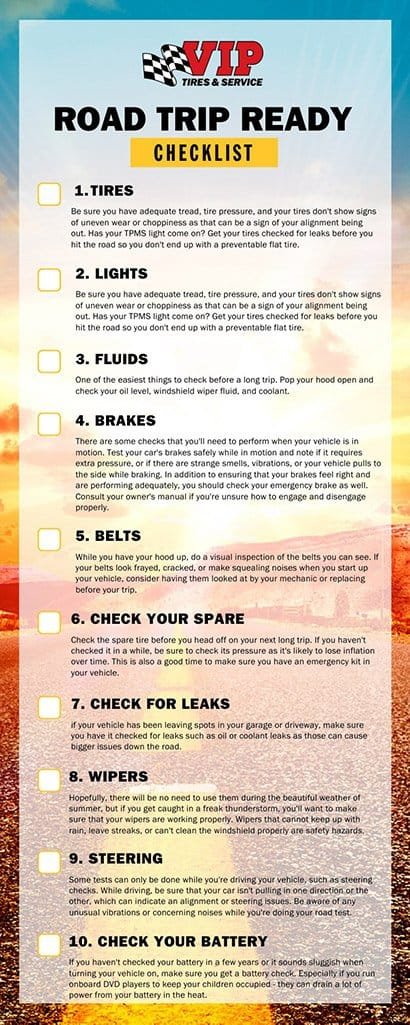
Credit: www.vipauto.com
Best Practices For Long Road Trips
- Check all items the day before leaving, not just hours before.
- Carry your owner’s manual and emergency contacts.
- Take photos of your car’s condition before leaving—useful for insurance.
For extra guidance, visit the NHTSA Road Safety site for official tips.
Frequently Asked Questions
How Long Does A Diy Car Inspection Take?
Most checks take about 30 to 60 minutes. If you are new, add extra time to read the manual and learn where things are. With practice, you can finish faster.
What’s The Most Important Thing To Check Before A Road Trip?
Tires are the most critical. They affect safety, fuel efficiency, and comfort. Make sure they have good tread, correct pressure, and no damage.
Can I Do A Diy Inspection On A Rental Car?
Yes, and you should. Check tires, lights, fluids, and emergency supplies. Rentals can have hidden issues. Report any problems before leaving the lot.
How Often Should I Inspect My Car During The Trip?
For trips over 500 miles, check tires, fluids, and battery every few days. Look for changes in handling or strange noises. This prevents issues from growing.
What Should I Do If I Find A Problem During My Inspection?
Fix minor issues yourself (like topping up fluids or changing wipers). For bigger problems—like brake issues, leaks, or warning lights—get professional help before leaving. Never ignore serious warnings.
Getting your car ready isn’t complicated, but it’s important. With this guide, you can inspect your car like a pro and enjoy your road trip with confidence. Safe travels!
Credit: www.branghamautorepair.com
