
Replacing a car radiator fan motor can seem challenging, but with the right approach, anyone with basic mechanical skills can do it. The radiator fan motor is essential for keeping your engine cool, especially when the car is stopped or moving slowly.
If it fails, your engine can overheat quickly, leading to expensive damage. This guide will walk you through the entire process, step by step, helping you avoid mistakes and save money on labor costs. Along the way, you’ll learn how to spot a faulty fan motor, select the right replacement, and fit it securely.
Let’s get your car back to running cool and smooth.
Understanding The Radiator Fan Motor
The radiator fan motor powers the fan that draws air through the radiator. This cools the engine coolant, especially when your car is not moving fast enough to get airflow from the outside. If this motor fails, the engine temperature can rise quickly, especially in traffic or hot weather.
Signs Of A Faulty Radiator Fan Motor
Look for these warning signs:
- The engine overheats while idling or in slow traffic.
- The cooling fan does not turn on when the engine gets hot.
- Unusual noises from the fan area.
- The air conditioner blows warm air at idle.
Some drivers miss the fact that the fan may still spin but at a much lower speed. This weak airflow is not enough to cool the engine. Another overlooked sign is a blown fuse or relay; these may point to a motor that is drawing too much power.
Tools And Parts Needed
Before starting, gather the following:
- Replacement radiator fan motor (correct model for your car)
- Basic socket set and wrenches
- Flathead and Phillips screwdrivers
- Needle-nose pliers
- Electrical tape
- Work gloves and safety glasses
- Multimeter (for electrical testing)
- Vehicle’s owner manual
Some cars require special tools like a fan clutch wrench or torx bits. Always check your manual before starting. Missing the right tool can make the job much harder or damage parts.
Preparing For The Job
A little preparation helps the job go smoothly and keeps you safe.
- Park on level ground and let the engine cool completely.
- Disconnect the battery to avoid any electrical shocks or short circuits.
- Locate the radiator fan assembly. Usually, it’s behind the radiator, accessible from above or below.
- Check for obstructions. Remove any covers, air intake ducts, or hoses that block access.
Many beginners skip the battery disconnection step, which can lead to accidental shorts or even ECU damage. Always wear gloves—radiators and fans can have sharp edges.
Removing The Old Radiator Fan Motor
This step depends on your car model, but the general process is similar. Work slowly and keep track of all fasteners and connectors.
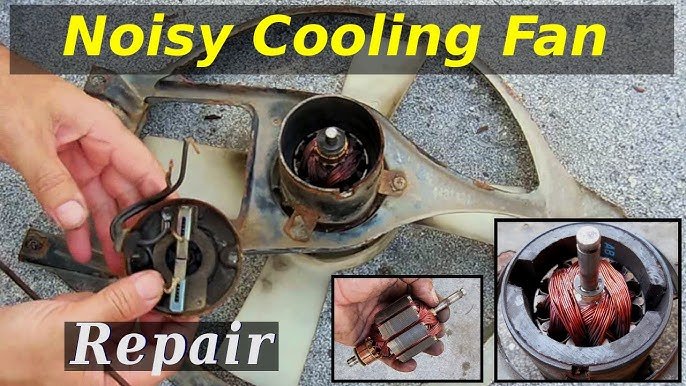
- Remove the fan shroud. The plastic cover over the fan is often held with bolts or clips.
- Unplug the electrical connector from the fan motor. Press the tab and pull gently.
- Detach the fan assembly. Some cars require removing the entire fan and shroud as one piece.
- Unscrew the fan blade from the motor. Hold the blade steady and loosen the mounting bolts.
- Remove the old motor. Unbolt it from the shroud or frame.
If the motor is rusted in place, use penetrating oil and be patient. Forcing bolts can break the shroud, which is expensive to replace.
Credit: www.youtube.com
Comparing Common Radiator Fan Motor Setups
Different cars use different setups. Here’s a quick comparison to help you identify what your car might use:
| Setup Type | Number of Fans | Common Vehicles | Notes |
|---|---|---|---|
| Single Motor, Single Fan | 1 | Small sedans, compacts | Simpler to replace |
| Dual Motor, Dual Fan | 2 | Larger sedans, SUVs | Both motors may need inspection |
| Single Motor, Dual Fan | 2 | Some mid-size cars | Shared motor, more complex |
Check your car’s configuration before ordering parts.
Choosing The Right Replacement Motor
Not all fan motors are the same. Selecting the right one is essential for proper cooling.
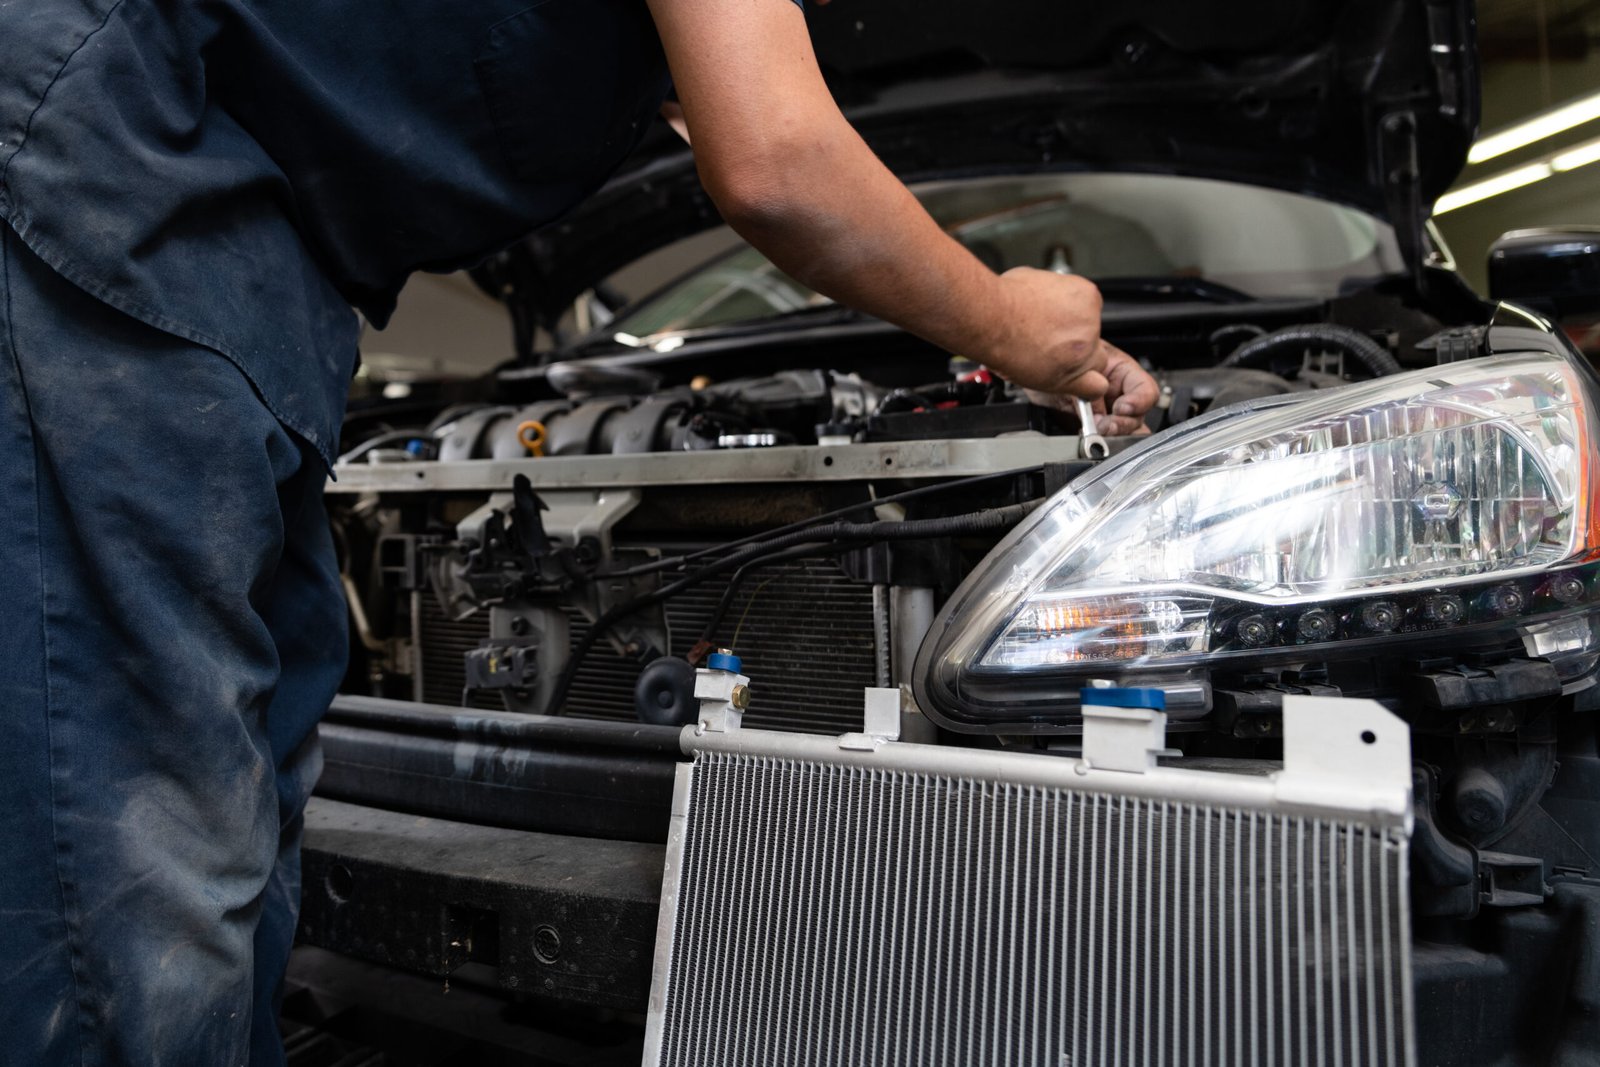
- Check your car’s make, model, and year.
- Compare the old motor’s part number with the new one.
- For aftermarket motors, read user reviews and ensure compatibility.
- Consider motor speed (RPM) and power rating; a weak motor can’t cool the engine well.
Some buyers only check the physical size, but ignore the connector type or voltage. This mistake often leads to returns or electrical problems.
Credit: www.autozone.com
Installing The New Radiator Fan Motor
With the old motor out, you’re halfway done. Take care with alignment and connections.
- Match the new motor with the old one before installing.
- Bolt the motor to the shroud securely. Tighten all fasteners evenly.
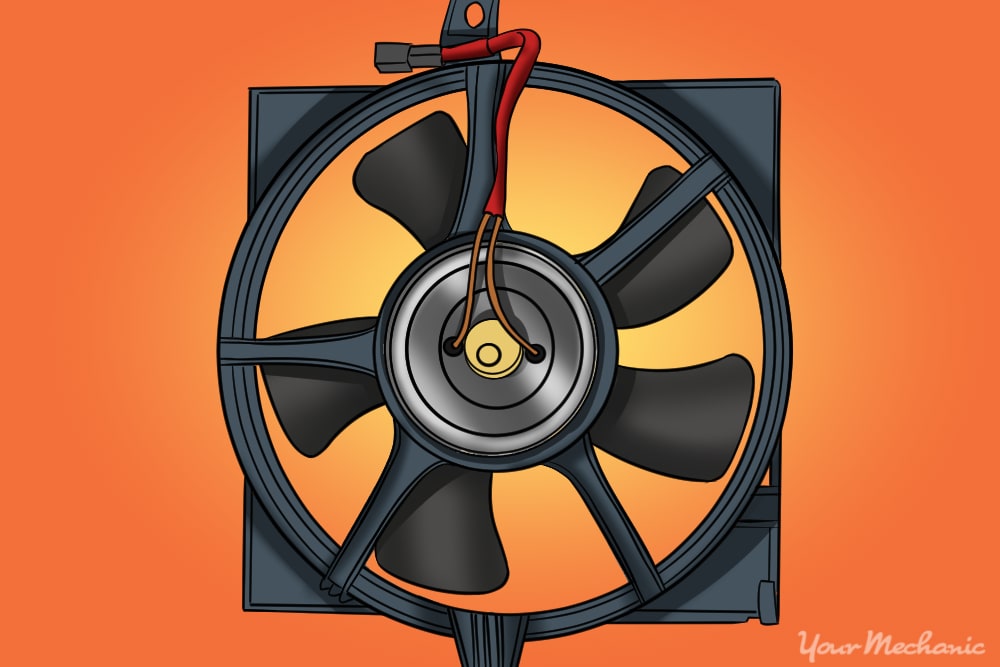
- Attach the fan blade to the new motor. Ensure it spins freely.
- Reinstall the fan assembly into the car. Avoid bending the radiator fins.
- Reconnect the electrical connector. Make sure it clicks into place.
- Replace any covers or ducts you removed earlier.
A common error is forgetting to align the fan blade properly. This can cause vibration, noise, or even damage to the new motor. Spin the blade by hand to check for smooth movement.
Testing Your Work
Before hitting the road, check that everything works as it should.
- Reconnect the battery.
- Start the engine and let it idle until it warms up.
- Watch the temperature gauge. The fan should turn on as the engine gets hot.
- Turn on the air conditioner. On most cars, the fan should start right away.
- Listen for unusual noises and check for vibration.
If the fan does not start, recheck the electrical connector, fuses, and relays. Sometimes, a new motor will not run because of a blown fuse or a missed connection.
Credit: www.yourmechanic.com
Troubleshooting Common Problems
Even after replacing the fan motor, some issues can appear. Here’s how to handle them:
- Fan doesn’t turn on: Check the fuse, relay, and wiring. Test the connector with a multimeter.
- Fan runs but is noisy: The blade may be misaligned or hitting the shroud.
- Engine still overheats: The coolant level may be low, or the thermostat is stuck closed.
- Fan turns on and off too quickly: The coolant temperature sensor may be faulty.
Many first-timers forget to check the relay, which controls power to the fan. Swapping relays with a known good one can quickly pinpoint if it’s at fault.
Comparing Oem Vs Aftermarket Radiator Fan Motors
Choosing between an OEM (Original Equipment Manufacturer) or an aftermarket motor is important. Here’s a quick look:
| Type | Price Range | Warranty | Fit & Quality |
|---|---|---|---|
| OEM | High | 1-2 years | Perfect fit, reliable |
| Aftermarket | Low-Medium | 6-12 months | May require adjustments |
OEM motors usually last longer and fit perfectly, but can be expensive. Aftermarket options are cheaper but may need small adjustments or have shorter lifespans. Always check the return policy before buying.
Maintenance Tips For Longer Life
A little care helps your new fan motor last longer:
- Keep the radiator clean and free from debris.
- Check coolant levels regularly.
- Inspect fan wiring and connectors for corrosion or damage.
- Replace the thermostat if your car runs hot often.
Many drivers forget to check the fan after engine work. Simple regular checks can save you from expensive overheating repairs.
Safety Tips To Remember
Working around the radiator fan can be risky.
- Never work on a hot engine. Coolant and metal parts can cause burns.
- Disconnect the battery before unplugging anything.
- Keep loose clothing and jewelry away from moving parts.
- If unsure, ask a professional for help.
Many injuries happen when the fan starts unexpectedly—always double check that the ignition is off and keys are out.
Cost Breakdown For Radiator Fan Motor Replacement
Knowing what to expect cost-wise helps you plan:
| Item | Typical Cost (USD) | Notes |
|---|---|---|
| Radiator Fan Motor | $40 – $150 | OEM is more expensive |
| Labor (if done by mechanic) | $80 – $200 | Varies by vehicle |
| Tools (if buying new) | $30 – $100 | Reusable for other repairs |
Doing the work yourself usually saves $100-$200 in labor charges.
When To Consult A Professional
While many can replace a radiator fan motor at home, some situations need expert help:
- Complex vehicles with tight engine bays
- Hybrid or electric vehicles with high-voltage systems
- Signs of electrical burning or melted wires
If you feel unsure at any point, it’s wise to seek help rather than risk further damage. For more in-depth guidance, you can also check resources like Wikipedia.
Frequently Asked Questions
How Long Does It Take To Replace A Radiator Fan Motor?
For most vehicles, it takes about 1-2 hours if you have the right tools and some experience. Beginners may need a bit longer, especially if access is tight.
Can I Drive With A Broken Radiator Fan Motor?
It’s risky. Without a working fan, your engine can overheat quickly, especially in traffic or hot weather. This can lead to severe engine damage.
Is It Necessary To Replace The Fan Blade Too?
Not always. If the fan blade is undamaged and balanced, you can reuse it. Replace it if it’s cracked, bent, or missing any pieces.
What Causes Radiator Fan Motors To Fail?
Common reasons include worn bearings, electrical shorts, overheating, or damage from debris. High mileage and frequent stop-and-go driving can also shorten motor life.
How Do I Know If The Issue Is The Motor Or The Relay?
Test the relay first by swapping it with a similar one in the fuse box. If the fan works, the relay was at fault. Use a multimeter to check for power at the motor connector when the engine is hot.
Replacing your radiator fan motor is a practical way to keep your car running cool and save on repair bills. By following these steps, you can ensure a safe, reliable result and keep your engine in good health for years to come.
