
Replacing the transfer case fluid in your car is one of those maintenance tasks that often gets ignored. Many drivers focus on engine oil and forget about the rest. But if you own a four-wheel drive (4WD) or all-wheel drive (AWD) vehicle, the transfer case plays a vital role in sending power to your wheels. Changing its fluid can prevent costly repairs and help your vehicle run smoothly, especially if you often drive in tough conditions. This article will guide you through everything you need to know to replace your car’s transfer case fluid—step by step, with practical advice, common mistakes, and a clear focus on safety.
What Is Transfer Case Fluid And Why Does It Matter?
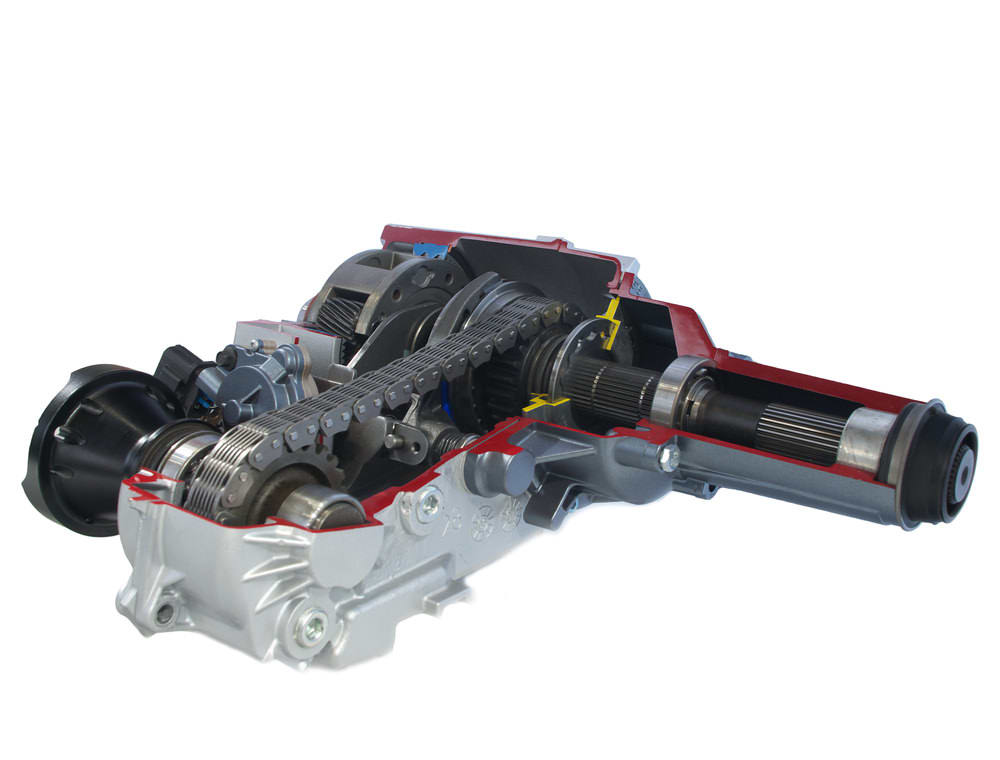
The transfer case is a gearbox found in 4WD and AWD vehicles. It splits power from the transmission and sends it to the front and rear axles. Inside, gears and chains work hard, sometimes under heavy loads or off-road stress. The fluid inside lubricates these moving parts, cools them down, and helps keep everything working right.
Over time, transfer case fluid can break down. Heat, friction, and contamination from water or dirt reduce its effectiveness. When this happens, you might notice grinding noises, trouble shifting, or even drivetrain damage. Replacing the fluid at regular intervals—usually every 30,000 to 60,000 miles, or as your owner’s manual says—can save you thousands in repairs.
Tools And Materials You Will Need
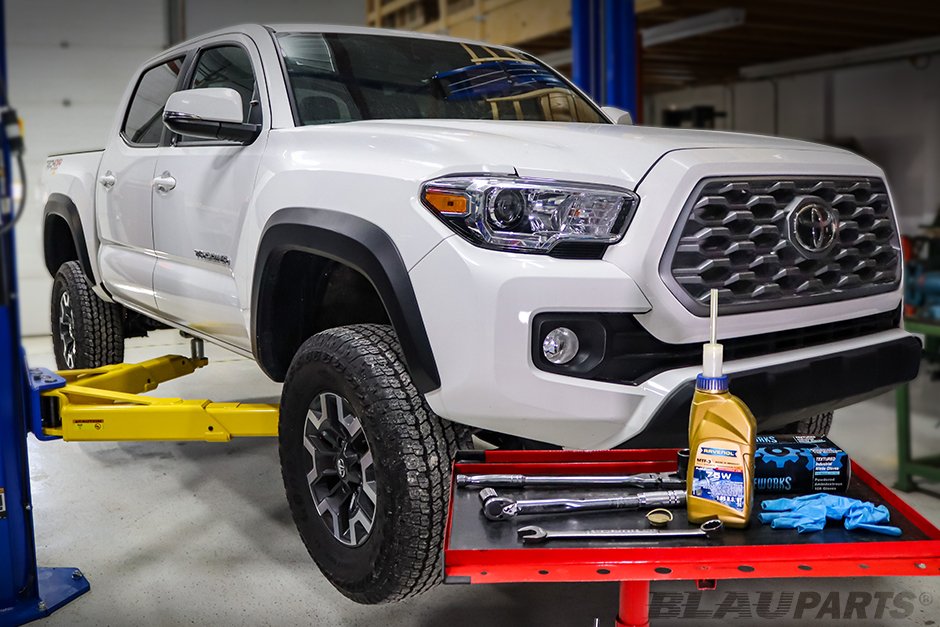
Before you start, gather everything you need. Having the right tools makes the job much easier and safer.
- Socket set and ratchet: For removing the drain and fill plugs.
- Fluid pump: Transfer case fill plugs are often hard to reach.
- Drain pan: To catch the old fluid.
- New transfer case fluid: Check your owner’s manual for the right type and amount.
- Gloves and safety glasses: Protect your skin and eyes from chemicals.
- Shop rags: For cleaning up spills.
- Jack and jack stands (if needed): To lift the vehicle safely.
- Torque wrench: To tighten plugs to the correct specification.
Non-obvious tip: Some transfer cases use special fluid, not automatic transmission fluid (ATF). Always double-check the exact requirement for your car.
Preparing Your Car For Fluid Change
Changing transfer case fluid is not as simple as just opening a plug. Here’s how to get your car ready:
- Park on a flat surface. Make sure the vehicle is stable.
- Allow the car to cool. Hot fluid can cause burns, but if the car is too cold, the fluid may not drain well. Aim for slightly warm.
- Engage the parking brake. Safety first.
- Lift the car safely, if needed, using jack stands. Never work under a car supported only by a jack.
Pro tip: Loosen the fill plug before the drain plug. If you can’t get the fill plug open, you don’t want to drain the fluid and be stuck.
Step-by-step Guide To Replacing Transfer Case Fluid
Let’s break down the process. This section gives you a clear, practical path—even if you’re a beginner.
1. Locate The Transfer Case
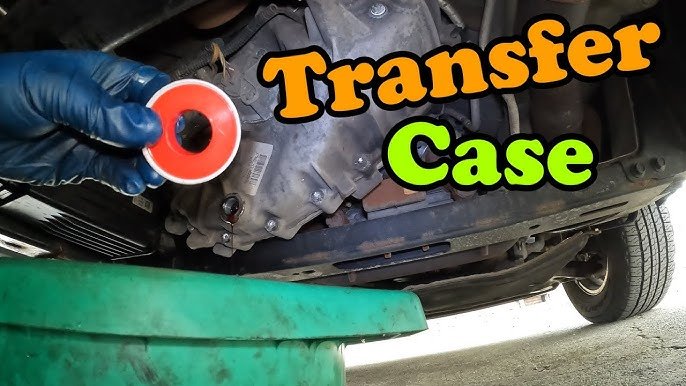
Slide under your vehicle and look for the transfer case. It’s usually behind the transmission, between the front and rear driveshafts. You’ll see two plugs—one higher (fill), one lower (drain).
2. Remove The Fill Plug
Use your socket set to gently remove the fill plug first. This checks that you’ll be able to refill later, and prevents a dry transfer case if the plug is stuck.
3. Position The Drain Pan
Place your drain pan under the drain plug. Transfer case fluid may flow out quickly, so be ready.
4. Remove The Drain Plug
Using the correct socket, loosen and remove the drain plug. Allow all the old fluid to drain out. This may take a few minutes.
5. Inspect The Old Fluid
Check the old fluid for metal shavings or a burnt smell. This can signal internal wear or damage. Some metal dust is normal, but large chunks or a strong burnt smell mean you should have your transfer case checked by a pro.
6. Clean And Replace The Drain Plug
Wipe the drain plug clean with a rag. Some plugs have a magnet—clean off any metal bits. Reinstall the plug by hand, then tighten with a torque wrench to the manufacturer’s spec.
7. Add New Fluid
Insert the fluid pump into your new bottle of transfer case fluid. Pump fluid into the fill hole. Stop when fluid starts to trickle out—this means it’s full.
8. Reinstall The Fill Plug
Replace the fill plug and tighten it to spec. Double-check both plugs for leaks.
9. Clean Up And Test
Wipe up spills, lower the car, and take a short drive. Check under the car for leaks after your test drive.
Credit: www.yourmechanic.com
How Often Should You Change Transfer Case Fluid?
The right interval depends on your vehicle and driving style. Most cars need a change every 30,000 to 60,000 miles. However, if you tow heavy loads, drive off-road, or often travel in water or mud, change it more often.
Here’s a quick reference for popular vehicle types:
| Vehicle Type | Recommended Change Interval |
|---|---|
| Standard SUV | Every 60,000 miles |
| Pickup truck (towing/off-road) | Every 30,000 miles |
| Passenger car (AWD) | Every 50,000 miles |
| Commercial/Heavy-duty | Every 20,000 miles |
Always check your owner’s manual for the final word.
Comparing Transfer Case Fluid Types
Using the right fluid is critical—using the wrong one can cause damage. Here’s how the main types compare:
| Fluid Type | Typical Use | Benefits |
|---|---|---|
| Automatic Transmission Fluid (ATF) | Many older vehicles | Widely available, affordable |
| Specialty Transfer Case Fluid | Modern 4WD/AWD (e.g., GM AutoTrak II, Mopar NV245) | Better protection, needed for advanced systems |
| Gear Oil | Some heavy-duty trucks | Handles high load, thick for durability |
Non-obvious insight: Even vehicles from the same brand can require different fluids. Never guess—look up your exact model.
Credit: www.blauparts.com
Common Mistakes To Avoid
Many DIYers make these errors. Avoid them for a smooth, safe job:
- Not checking the fill plug first: Always make sure you can open the fill plug before draining.
- Using the wrong fluid: This can destroy your transfer case. Double-check specifications.
- Over-tightening plugs: This can strip threads and cause leaks.
- Forgetting to check for leaks: Even a small leak can lead to big problems.
- Ignoring the service interval: Dirty fluid is almost as bad as no fluid.
Extra tip: If you don’t drive your 4WD/AWD often, you should still change the fluid every few years. Fluids break down over time, even with low miles.
Signs Your Transfer Case Fluid Needs Changing
Watch for these warning signs:
- Strange noises: Grinding or whining from under the car.
- Trouble shifting: Stiff or delayed gear engagement.
- Leaking fluid: Wet spots under your transfer case.
- Vibration: More than usual when driving.
These symptoms often mean it’s time for a fluid change—or, if severe, a visit to your mechanic.
Credit: www.youtube.com
Cost Comparison: Diy Vs. Professional Service
You can save a lot by doing this job yourself. Here’s a cost breakdown:
| Service Option | Estimated Cost | What’s Included |
|---|---|---|
| DIY | $30–$70 | Fluid, tools (if you don’t own them), rags, gloves |
| Mechanic/Dealer | $90–$200 | Labor, fluid, inspection |
If you drive in tough conditions, doing it yourself helps you check for problems early.
Practical Tips For A Smooth Fluid Change
- Wear gloves: Transfer case fluid can be hard to wash off skin.
- Take your time: Rushing leads to mistakes.
- Keep a record: Write down the date and mileage for your next service.
- Recycle old fluid: Take used fluid to an auto parts store or recycling center. Don’t pour it down the drain.
When To Call A Professional
Even simple jobs can go wrong. Get help if:
- Both plugs are stuck or stripped.
- The fill or drain hole is in a hard-to-reach spot.
- You see metal chunks or burnt fluid.
- You’re not comfortable working under your vehicle.
A mechanic has special tools and can spot problems early, saving you more money in the long run.
Frequently Asked Questions
How Do I Know Which Transfer Case Fluid To Buy?
Check your owner’s manual or look up your vehicle online. Each model may need a specific fluid. Using the wrong fluid can cause damage, so never guess.
Can I Use The Same Fluid For The Transfer Case And Transmission?
Usually, no. Some older vehicles use automatic transmission fluid (ATF) in both, but most modern cars need special transfer case fluid. Always confirm before adding any fluid.
How Do I Check The Transfer Case Fluid Level?
With the car on level ground, remove the fill plug. Fluid should be right at the bottom of the hole. If you can’t see fluid, it’s low—top up with the recommended type.
What Happens If I Overfill The Transfer Case?
Overfilling can cause the fluid to foam, leading to poor lubrication and possible leaks. Always fill until it just starts to trickle from the fill hole.
Is It Dangerous To Drive With Old Transfer Case Fluid?
Yes, over time, old fluid loses its lubricating and cooling abilities. This can lead to wear, noisy operation, or even transfer case failure. Regular changes are much cheaper than repairs.
Caring for your transfer case fluid is an easy way to keep your 4WD or AWD vehicle in top shape. With the right tools, a bit of time, and attention to detail, you can handle this maintenance yourself and avoid expensive problems. If in doubt, consult your mechanic—or check reliable sources like Wikipedia for more technical details. Replacing your transfer case fluid may not be glamorous, but it pays off every time you drive.
