Anyone who loves their car knows the feeling when the paint shines perfectly—almost like a mirror. But over time, even well-kept cars develop swirl marks, scratches, and dullness. That’s where compounding and polishing for car paint correction comes in. This process can restore your car’s paintwork, making it look newer, glossier, and more valuable. If you want to learn how to do this safely and effectively, you’re in the right place.
This guide will walk you through everything you need to know about compounding and polishing, from preparation and tools to pro techniques and common mistakes to avoid. Whether you’re a weekend DIY enthusiast or just want to understand the process before hiring a professional, you’ll find clear, practical steps here.
What Is Car Paint Correction?
Car paint correction is the process of removing surface imperfections from a car’s clear coat. These imperfections include:
- Swirl marks
- Fine scratches
- Water spots
- Oxidation
- Holograms
Paint correction isn’t just washing or waxing. It involves using abrasive compounds and polishes to level out the clear coat, erasing defects and revealing a smooth, glossy surface. The process typically has two main stages: compounding and polishing.
Compounding Vs. Polishing: Key Differences
Understanding the difference between compounding and polishing is important for success.
| Step | Main Purpose | Abrasiveness | When to Use |
|---|---|---|---|
| Compounding | Remove deep scratches and severe defects | High | Heavy swirls, oxidation, or after sanding |
| Polishing | Refine surface, add gloss | Low to Medium | After compounding or for minor imperfections |
Compounding uses more abrasive products to cut through deeper imperfections. It’s a bit like sanding wood before painting—it removes the worst defects but can leave its own fine marks.
Polishing is the next, gentler step. It removes any haze left by compounding and brings out the shine. Sometimes, only polishing is needed if the paint is in good condition.
Tools And Products You’ll Need
Before you start, make sure you have the right tools. Using improper products can damage your paint or waste your effort.
Essential Tools
- Dual-action (DA) polisher: Safer and easier for beginners than rotary polishers.
- Polishing pads: Foam or microfiber, in various grades (cutting, polishing, finishing).
- Microfiber towels: For wiping off compound and polish.
- Masking tape: Protects trim and edges.
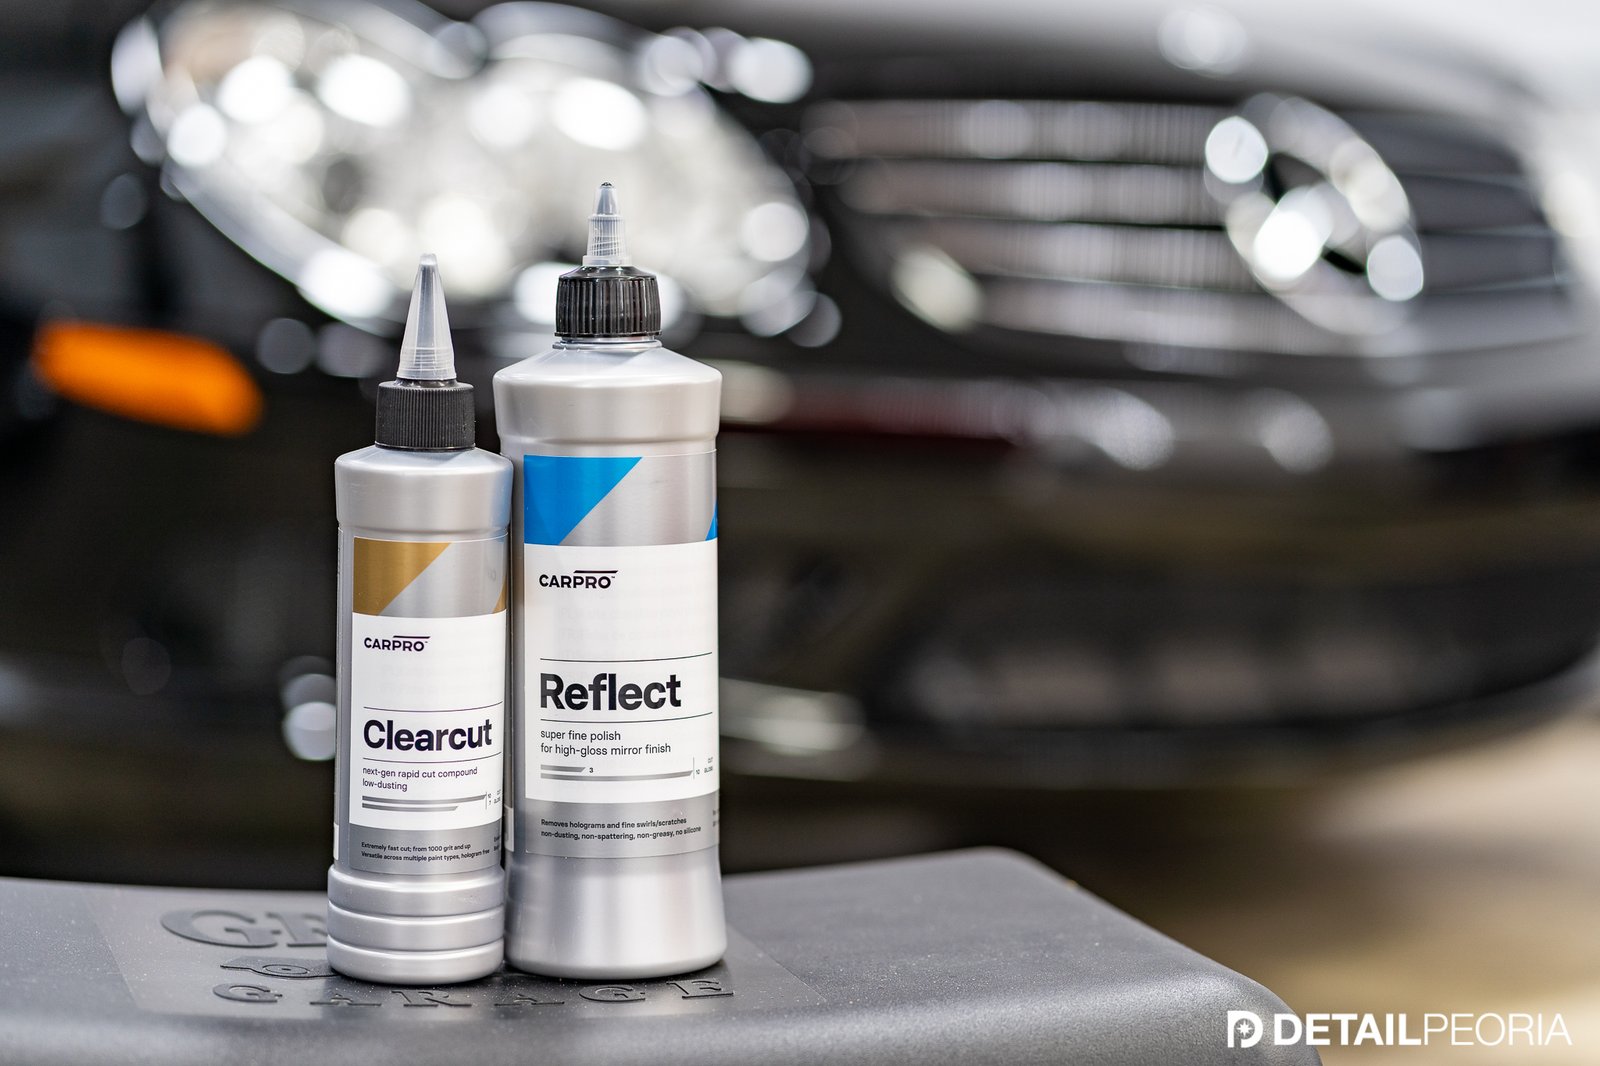
Compounds And Polishes
- Compound: Heavier cut, for first stage correction.
- Polish: Finer, for second stage.
- Pad cleaner: Extends pad life and keeps results consistent.
Preparation Products
- Car shampoo: PH neutral is best.
- Clay bar and lubricant: Removes embedded contaminants.
- Isopropyl alcohol (IPA) solution: Wipes away oils to check results.
Optional (but Helpful)
- Paint thickness gauge: Checks how much clear coat you have.
- Work lights: Reveal defects clearly.
Even one missed tool can ruin the process. For example, using dirty towels can put new scratches in your paint.
Preparing Your Car For Paint Correction
Good preparation is half the job. Skipping these steps can make compounding and polishing less effective—or even damage your paint.
1. Wash Thoroughly
Wash your car using the two-bucket method (one for soap, one for rinsing the mitt). This helps prevent adding scratches.
2. Decontaminate With Clay
After washing, rub a clay bar (with lubricant) over the paint. This grabs tiny particles stuck in the surface, like tar, sap, or industrial fallout. If you skip this, you’ll grind these particles into the paint during compounding.
3. Dry And Inspect
Dry the car with clean microfiber towels. Look closely at the paint under good lighting. Mark any problem areas with masking tape or a sticky note.
4. Mask Off Trim
Use masking tape to protect rubber, plastic, or chrome trim. Compounds and polishes can stain these surfaces.
5. Measure Paint Thickness
If you have a paint thickness gauge, check each panel. Most modern cars have 100–150 microns of clear coat. Never remove more than 5–7 microns in a single correction.
Credit: www.detailedimage.com
Step-by-step Compounding Process
Compounding removes the worst defects but must be done carefully to avoid damaging the paint.
1. Choose The Right Compound And Pad
Match the severity of the defects to the compound and pad:
- Heavy scratches: Use a cutting compound with a cutting pad.
- Light swirls: Use a medium compound with a polishing pad.
2. Prime The Pad
Apply a small amount of compound to the pad. Spread it evenly, so the entire surface is covered but not soaked.
3. Set The Polisher
Attach the pad to your DA polisher. Set it to a low speed (setting 2–3) to spread the compound, then increase to medium (4–5) for working.
4. Work In Small Sections
Divide the panel into 2×2 foot sections. Work one section at a time to avoid the compound drying out.
5. Apply Proper Technique
- Place the pad flat on the paint.
- Start the machine on the lowest speed to spread the product.
- Increase speed and move the polisher slowly, overlapping passes by 50%.
- Make 3–4 passes per section.
6. Check Results
Wipe the section with a clean microfiber towel. Use a little IPA solution to remove any residue. Check under strong light. If defects remain, repeat with another pass.
7. Clean Or Change The Pad
Compounds build up in pads and reduce their cutting power. Clean the pad every panel, or swap to a fresh one for best results.
Step-by-step Polishing Process
Polishing refines the paint after compounding, removing haze and enhancing gloss.
1. Choose The Right Polish And Pad
Use a finishing polish with a soft foam pad. If you only have light swirls, you can sometimes skip compounding and just polish.
2. Prime And Apply
Just like compounding, prime the pad with a small amount of polish.
3. Work In Small Sections
Again, use 2×2 foot sections. Polishing works better at lower speeds (3–4 on most DA polishers).
4. Overlap Passes
Move the polisher slowly, overlapping passes for even coverage. Usually, 2–3 passes are enough.
5. Inspect And Repeat If Needed
Wipe down and check your work. If you see haze or micro-marring, repeat with less pressure.
Common Mistakes And How To Avoid Them
Even careful DIYers can make errors. Avoid these common mistakes:
- Skipping decontamination: Not using a clay bar leads to scratches.
- Using too much product: More is not always better. Excess compound or polish cakes up pads and makes a mess.
- Not cleaning pads: Dirty pads lose effectiveness and create more swirl marks.
- Overworking the paint: Too many passes can thin or burn the clear coat.
- Polishing in direct sunlight: Heat dries products too quickly and can cause streaks.
How To Choose The Right Products For Your Paint
Not all cars have the same type of paint or clear coat. Choosing the right products makes a big difference.
| Paint Type | Best Compound | Best Polish | Pad Type |
|---|---|---|---|
| Soft clear coat (e.g., Japanese cars) | Light/Medium | Finishing | Foam |
| Hard clear coat (e.g., German cars) | Heavy | Medium/Finishing | Microfiber/foam |
| Single-stage paint (older cars) | Medium | Finishing | Foam |
Non-obvious insight: Some compounds have fillers that hide defects temporarily. Always do an IPA wipe to see true results.
Pro Tips For Best Results
- Work slowly: Let the machine and product do the work. Fast passes don’t remove defects.
- Use proper lighting: Overhead shop lights or a handheld LED reveal imperfections you might miss in daylight.
- Edge carefully: Paint is thinner on sharp edges and corners. Use less pressure or avoid these areas.
- Temperature matters: Room temperature (18–24°C) is best. Too hot or cold affects product performance.
- Test spot first: Always try your process on a small area before the whole car.
- Don’t rush: True correction can take several hours, even for experienced detailers.
What To Do After Compounding And Polishing
Once you’ve finished, your paint will look amazing—but also a bit vulnerable. Compounding removes some of the clear coat, so protection is essential.
- Apply a paint sealant or ceramic coating: This will protect your work and keep the paint shining longer.
- Wax as an alternative: If you don’t want a sealant, a high-quality carnauba wax also helps.
- Avoid washing for 24–48 hours: Let the protection cure fully.
Non-obvious insight: Don’t judge your results in poor light. Check the car outside in the sun for any missed spots.
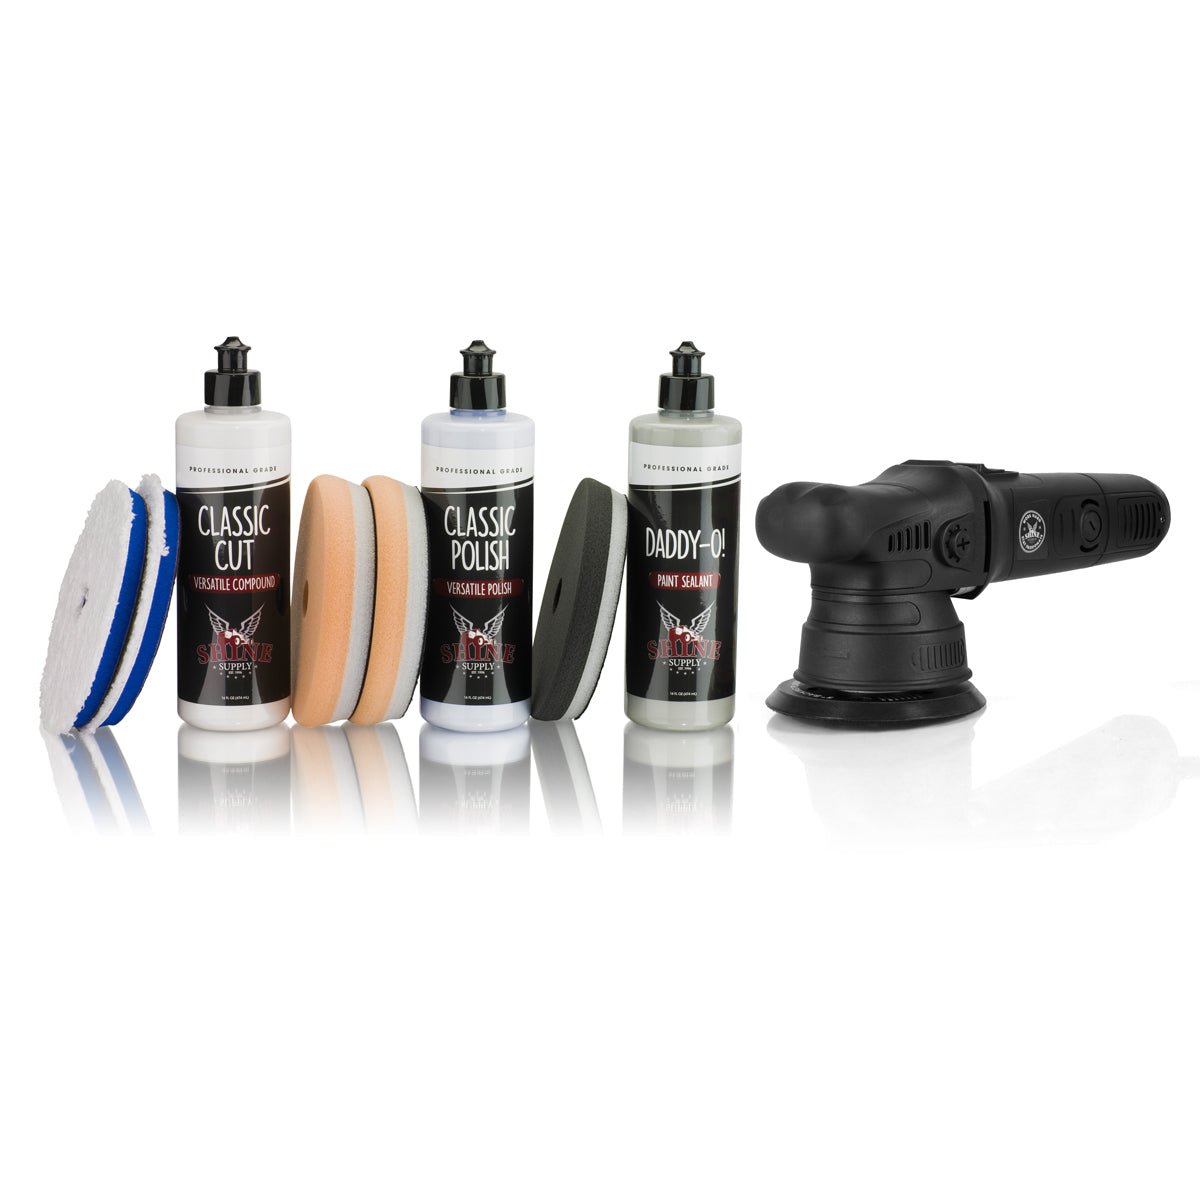
Credit: shinesupply.com
Is Professional Correction Better Than Diy?
For many people, DIY paint correction is satisfying and cost-effective. However, professionals bring experience, high-end tools, and can correct serious defects with less risk.
- If you’re unsure, start on an older car or a test panel.
- Some defects (like deep scratches or repainted panels) need expert attention.
To see more about professional detailing standards, you can visit the Wikipedia car detailing page.
Frequently Asked Questions
What Is The Difference Between Polishing And Waxing?
Polishing removes defects by smoothing the clear coat. Waxing only adds a protective layer and shine. Wax does not fix scratches or swirls; polish does.
How Often Should I Compound And Polish My Car?
Only compound when you see visible defects—usually once every 1–2 years. Over-compounding can thin the paint. Polishing can be done more often, but always check clear coat thickness.
Can I Compound And Polish By Hand?
It’s possible but less effective. Machine polishers give better, more even results and save time. Hand polishing works for small areas or minor touch-ups.
Do I Need To Seal Or Wax After Polishing?
Yes, always protect the corrected paint with a sealant, wax, or ceramic coating. Polished paint is exposed and can be damaged by UV rays, water, or dirt.
How Do I Know If I’ve Removed Too Much Clear Coat?
Use a paint thickness gauge to measure before and after. If you see primer or color showing through, stop immediately. Always err on the side of caution, especially with older or repainted cars.
Paint correction, when done right, can transform your car’s appearance and value. With patience, the right products, and careful attention to detail, you’ll achieve results that turn heads wherever you go. Whether you’re a DIY detailer or thinking of hiring a pro, understanding these steps ensures your car’s paint stays beautiful for years.

Credit: www.drbeasleys.com
