
Car paint can look beautiful, but it faces many enemies on the road. Tiny pieces of iron from brake dust, railways, or industrial fallout can stick to your car’s paint. These iron particles are often invisible, but they slowly damage the surface and make it rough. Over time, they cause rust spots that ruin the paint’s shine. Regular washing with soap and water cannot remove these iron contaminants. This is where a car paint iron remover becomes essential.
Many car owners do not realize how much hidden contamination is on their vehicles. Even new cars, straight from the dealership, often have iron fallout from transport. Using an iron remover is not just for old cars or for perfectionists.
It is a key step in keeping your car’s paint healthy, smooth, and ready for waxing or polishing. In this guide, you will learn exactly how to decontaminate car paint using iron remover. You will discover why it matters, how to do it safely, and how to get the best results without mistakes.
What Is Car Paint Iron Remover?
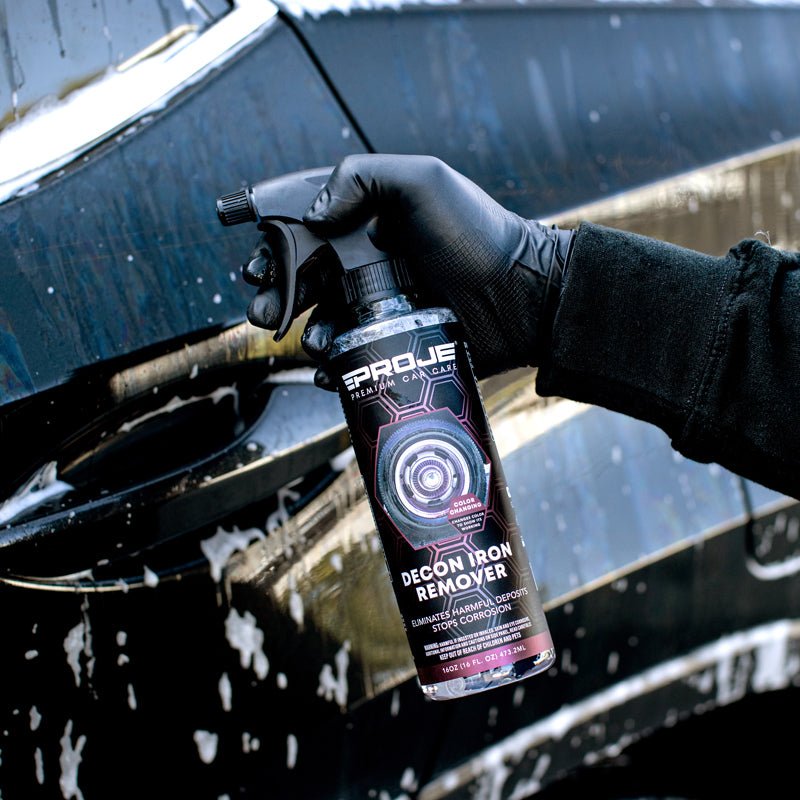
A car paint iron remover is a special chemical spray designed to dissolve and remove iron particles from the surface of your car. These products use chemicals that react with iron, turning it purple or red as they work. This visual reaction helps you see where contamination is worst.
How Does Iron Remover Work?
Iron removers use active ingredients such as thioglycolic acid or similar compounds. When you spray the remover on your car, it finds iron particles and breaks them down. The remover turns color (usually purple) as it reacts with the iron, making it easy to see the contamination. After a few minutes, you rinse it off, and the iron is gone.
Why Can’t Regular Washing Remove Iron?
Soap and water only clean the surface. Iron fallout embeds into the paint, almost like tiny splinters. No amount of scrubbing will pull these out. In fact, scrubbing can scratch your paint if you try to force the particles out.
Iron remover is safer and more effective.
Why You Need To Decontaminate Car Paint
Many car owners think washing and waxing is enough. But if you skip decontamination, you are letting iron slowly destroy your paint. Here are key reasons to use an iron remover:
- Prevents Rust Spots: Iron particles start to rust when exposed to moisture. These create tiny brown or orange spots on the paint, known as rail dust or industrial fallout.
- Improves Smoothness: After iron removal, your paint feels much smoother. This makes waxing, polishing, or applying ceramic coating easier and more effective.
- Protects Paint Longevity: Removing contaminants prevents long-term damage, keeping your car looking new for years.
- Better Results From Detailing: Iron removal is a must before claying, polishing, or ceramic coating. Skipping this step means you are sealing in contamination.
Non-obvious Insight 1
Even cars parked in clean areas can collect iron particles from nearby construction, trains, or brake dust from city traffic. Iron fallout is almost unavoidable, no matter where you live.
Non-obvious Insight 2
Iron removers do not just clean the paint. They also work on wheels, which collect even more iron from brake dust. This makes them a multi-use product for anyone serious about car care.
Choosing The Right Iron Remover
With so many products on the market, choosing an iron remover can be confusing. Here’s what really matters:
Key Factors
- PH balance: A pH-neutral formula is safe for most paints and coatings.
- Scent: Most iron removers smell strong (like rotten eggs) due to the active ingredients. Some brands add fragrances, but the smell is hard to avoid.
- Effectiveness: Look for products that clearly show a color change when reacting with iron.
- Safety: Make sure the remover is safe for your specific paint, wheels, and trims.
Comparison Table: Popular Iron Removers
Below is a comparison of three top iron removers:
| Product | pH Level | Color Change | Suitable For | Scent Strength |
|---|---|---|---|---|
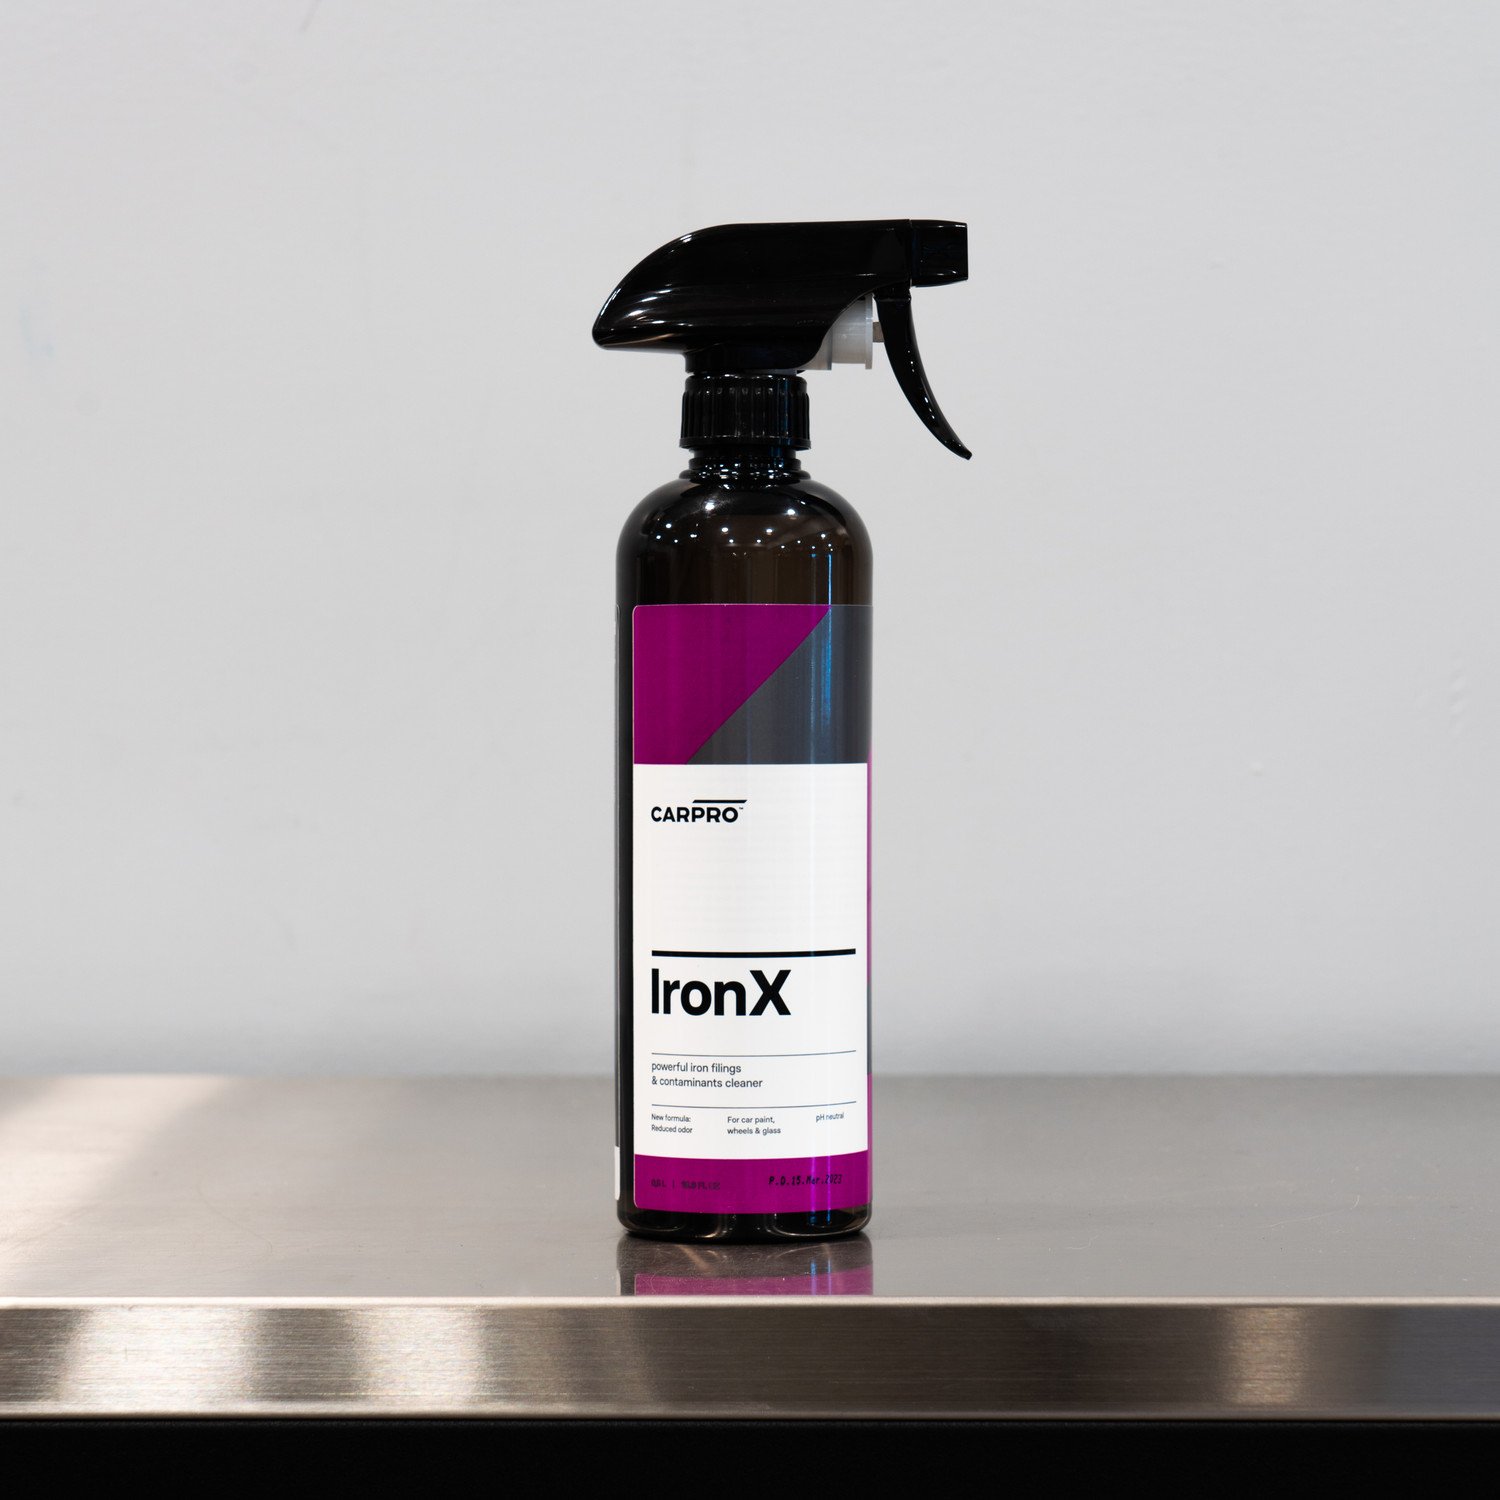
| CarPro IronX | Neutral | Purple | Paint, wheels | Strong |
| Gtechniq W6 | Neutral | Red | Paint, wheels | Medium |
| Meguiar’s Iron Decon | Neutral | Purple | Paint, wheels | Mild |
Common Buyer Mistakes
- Choosing a remover just because it is cheap. Some low-cost products do not react well or leave streaks.
- Ignoring scent complaints. All iron removers smell, but some are much stronger than others.
- Not checking if the remover is safe for your car’s finish or coatings.
How To Decontaminate Car Paint Using Iron Remover
Decontaminating your car’s paint is not complicated, but you need to follow the right steps. Doing it wrong can waste product or damage your paint. Here’s how to do it properly:
Step 1: Wash Your Car Thoroughly
Before using iron remover, give your car a regular wash with a pH-neutral car shampoo. Remove all loose dirt and dust. This helps the iron remover work directly on the contamination, not just on the surface dirt.
Step 2: Dry Or Leave Wet?
Most iron removers can be applied to a wet or dry surface. Check the label. For best results, apply to a clean, slightly damp surface. This helps spread the product evenly and prevents streaks.
Step 3: Apply Iron Remover
Spray the iron remover generously over the car’s paint. Focus on lower panels, behind wheels, and the trunk area—these places collect the most fallout. Spray evenly and make sure you cover all areas, including glass and wheels if desired.
Step 4: Wait For The Reaction
Allow the iron remover to sit for 3–5 minutes. You will see it start to turn purple or red where iron is present. Do not let the product dry on the paint, especially in hot weather.
Step 5: Agitate If Needed
For heavily contaminated areas, gently agitate with a microfiber sponge or soft detailing brush. Do not scrub hard, as you can scratch the paint. On wheels, you may use a dedicated wheel brush.
Step 6: Rinse Thoroughly
Use a strong stream of water to rinse away all the iron remover and dissolved iron. Make sure no residue remains, as iron remover can stain if left to dry.
Step 7: Inspect And Repeat If Needed
Feel the paint with your hand. If it still feels rough, you may need to repeat the process. For most cars, one treatment is enough, but badly contaminated vehicles may need two rounds.
Step 8: Follow Up With Clay Bar (optional)
Iron remover removes most contamination, but not everything. For a truly smooth finish, use a clay bar after iron removal. The clay will pick up any remaining particles.
Practical Example
Imagine you recently bought a used car. It looks clean, but when you touch the paint, it feels gritty. After using iron remover, you see purple streaks running down the sides—proof of hidden contamination. After rinsing, the paint feels smooth, and waxing becomes much easier.
Safety Tips And Common Mistakes
Safety Precautions
- Always work in a shaded area or out of direct sunlight.
- Wear gloves to protect your skin from the chemicals.
- Avoid breathing in the spray mist—iron remover has a strong smell.
- Wash your hands and rinse tools after use.
Common Mistakes To Avoid
- Leaving iron remover to dry on the paint. This can cause staining.
- Using iron remover on hot panels. Always let the car cool first.
- Skipping the rinse step or using too little water.
- Not reading the product label for specific instructions.
Storage And Disposal
Keep iron remover tightly closed in a cool, dry place. Do not store it in direct sunlight or freezing temperatures. Dispose of any leftover product according to local hazardous waste rules.
How Often Should You Use Iron Remover?
You do not need to use iron remover every wash. For most cars, 2–4 times per year is enough. If you live near railways, factories, or drive in heavy traffic, you may need it more often. After winter is a good time, as road salt and brake dust collect during cold months.
Iron Remover Vs. Clay Bar
Many people wonder if they still need to use a clay bar after iron remover. Here’s a direct comparison:
| Feature | Iron Remover | Clay Bar |
|---|---|---|
| Removes Iron Fallout | Yes | Partially |
| Removes Other Contaminants (Tar, Sap) | No | Yes |
| Risk of Scratching | Low | Medium (if used wrong) |
| Speed | Fast (spray & rinse) | Slower (manual rubbing) |
Iron remover is best for iron and brake dust. Clay bar is better for sticky contaminants like sap, tar, or paint overspray. For perfect paint, use both steps—iron remover first, then clay.
Environmental Impact Of Iron Remover
Most iron removers are safe for drains in small amounts, but they contain chemicals that should not be dumped into natural water sources. Always rinse on a paved surface, not on grass or soil. Check if your local area has special rules for car detailing chemicals.
Some brands offer eco-friendly formulas with fewer harsh chemicals, but these can be less powerful. If you want a greener option, look for biodegradable or low-odor products.
Credit: carfidant.com
Iron Remover For Wheels
Wheels collect the most iron because of brake dust. The process is the same:
- Wash wheels first.
- Spray iron remover, let it sit for 3–5 minutes.
- Agitate with a wheel brush.
- Rinse thoroughly.
Iron remover can restore dull, brown wheels to a bright silver finish. For best results, use a dedicated wheel cleaner before iron remover.
Professional Vs. Diy Iron Decontamination
Professional detailers use iron remover as a standard step before paint correction. You can get similar results at home by following the same process. DIY iron removal is safe if you follow instructions, but professionals have access to more powerful products and tools for extremely contaminated cars.
If your car has a thick layer of rust spots or heavy industrial fallout, consider professional help.
Credit: www.tabunkanpo.org
Cost And Value
Most iron removers cost between $15 and $30 per bottle. One bottle usually treats a mid-size car 3–4 times. The cost is low compared to paint correction or repair. Iron remover can save you hundreds by preventing rust and paint damage.
Aftercare: What Next?
After using iron remover, your car’s paint is ready for further protection. Now is the best time to:
- Wax or seal the paint for shine and protection.
- Apply ceramic coating for long-term durability.
- Polish out any minor scratches or swirl marks.
Iron removal is not the final step—it prepares the paint for whatever comes next.
Credit: clean-garage.com
Frequently Asked Questions
How Can I Tell If My Car Needs Iron Remover?
If your paint feels rough even after washing, or you see tiny orange or brown spots (especially on white cars), you need iron remover. You can also use a clear plastic bag over your hand to feel the surface—if it is not perfectly smooth, there is contamination.
Is Iron Remover Safe For All Paint Types?
Most modern iron removers are safe for clear coat, single-stage paint, glass, and wheels. Always test a small area first if your car has custom or old paint. Read the product label to be sure.
Can I Use Iron Remover On Plastic Or Rubber Trim?
Iron remover is usually safe on plastic and rubber, but always rinse thoroughly. Do not let it dry on these surfaces. Some trims may discolor if not rinsed properly.
Does Iron Remover Remove Tar, Bugs, Or Sap?
No. Iron remover only dissolves iron particles. For tar, bugs, or sap, use a dedicated tar remover or clay bar after iron removal.
Where Can I Buy Trusted Iron Remover Products?
You can find reputable brands at auto parts stores, detailing shops, or online. For a list of trusted products and more information, visit Wikipedia: Car Care.
Caring for your car’s paint is not just about looks—it is about protecting your investment. Using a quality iron remover is one of the smartest ways to keep your paint healthy, smooth, and shining for years to come. With the right technique and a little attention to detail, you can achieve professional results at home and enjoy a car that always looks its best.
