
A slow tire leak can be frustrating. It often sneaks up on you—one day your tire pressure light comes on, and you find your tire is just a little low. You fill it up, but days later, the pressure drops again. Many people ignore slow leaks, but doing so can be dangerous and expensive. The good news: you can often fix a slow tire leak at home with the right tools, careful steps, and a bit of patience.
Let’s look at how you can diagnose, repair, and prevent slow tire leaks—saving yourself time, money, and worry on the road.
Understanding Slow Tire Leaks
Not all leaks are the same. A slow tire leak is a leak that loses air gradually—maybe just a few psi (pounds per square inch) over several days or weeks. Unlike a blowout or a fast leak, your tire will not go flat instantly.
Common signs of a slow leak:
- Your tire looks a bit low after a few days.
- The tire pressure warning light comes on, but the tire is not completely flat.
- After filling the tire, it loses pressure again within a week.
Why does this matter? Driving with low pressure can damage your tire, reduce fuel efficiency, and make your car less safe. Fixing a slow leak at home helps you avoid these problems and the hassle of emergency repairs.
What Causes A Slow Tire Leak?
Before you fix a leak, you need to know where it’s coming from. The most common causes are:
- Punctures: Small nails, screws, or pieces of glass can puncture the tire, causing a slow leak.
- Valve stem problems: The valve stem—the small rubber or metal tube where you add air—can crack, break, or have a loose core.
- Bead leaks: This is where the tire meets the rim. Corrosion or dirt can break the seal, letting air escape.
- Rim damage: Bent or corroded rims can cause poor sealing and slow leaks.
- Aging tires: Old tires can develop tiny cracks (dry rot) that slowly let out air.
Non-obvious insight: Sometimes, a tire can have more than one leak source at the same time, especially if it’s old or the rim is corroded.

Credit: rnrtires.com
Tools And Materials You’ll Need
To fix a slow tire leak at home, gather these items:
- Tire pressure gauge
- Air compressor or a portable tire inflator
- Soapy water (dish soap and water mix in a spray bottle)
- Tire repair kit (plug kit for tubeless tires)
- Pliers
- Valve core tool
- Replacement valve cores or valve stems (if needed)
- Jack and lug wrench (if you need to remove the tire)
- Rubber mallet (optional, for reseating beads)
- Tire sealant (for emergency or temporary repair)
- Gloves and eye protection
Having these ready saves you time and helps you work safely.
Diagnosing The Source Of The Leak
Finding a slow leak is not always simple. Here’s how you can do it step by step:
1. Check Tire Pressure
Start with a tire pressure gauge. Write down the pressure. Fill the tire to the recommended psi (found on your car’s door jamb sticker). Check again after a day or two. If pressure drops, you have a slow leak.
2. Visual Inspection
Look for anything stuck in the tire—nails, screws, glass. Check the sidewalls for cracks or cuts. Inspect the valve stem for damage or dry rot.
3. Listen And Feel
Sometimes, a hissing sound points to a leak. Run your hand gently over the tire; you might feel air escaping. Do this carefully to avoid cuts from sharp objects.
4. Soapy Water Test
Mix dish soap with water in a spray bottle. Spray generously on the tread, sidewalls, valve stem, and around the rim where the tire meets the wheel. Bubbles will form where air leaks. This is the most reliable home test for slow leaks.
5. Remove The Wheel (if Needed)
If you can’t locate the leak with the tire on the car, remove it. Place it in a tub or basin of water; bubbles will show where the air escapes.
Tip: Don’t forget to check the spare tire—slow leaks can happen there too.
How To Fix A Slow Tire Leak: Step-by-step
The right fix depends on the cause. Here’s how to handle the most common problems.
1. Repairing A Puncture (tread Area)
If you find a nail or screw in the tread, you can often fix it with a tire plug kit.
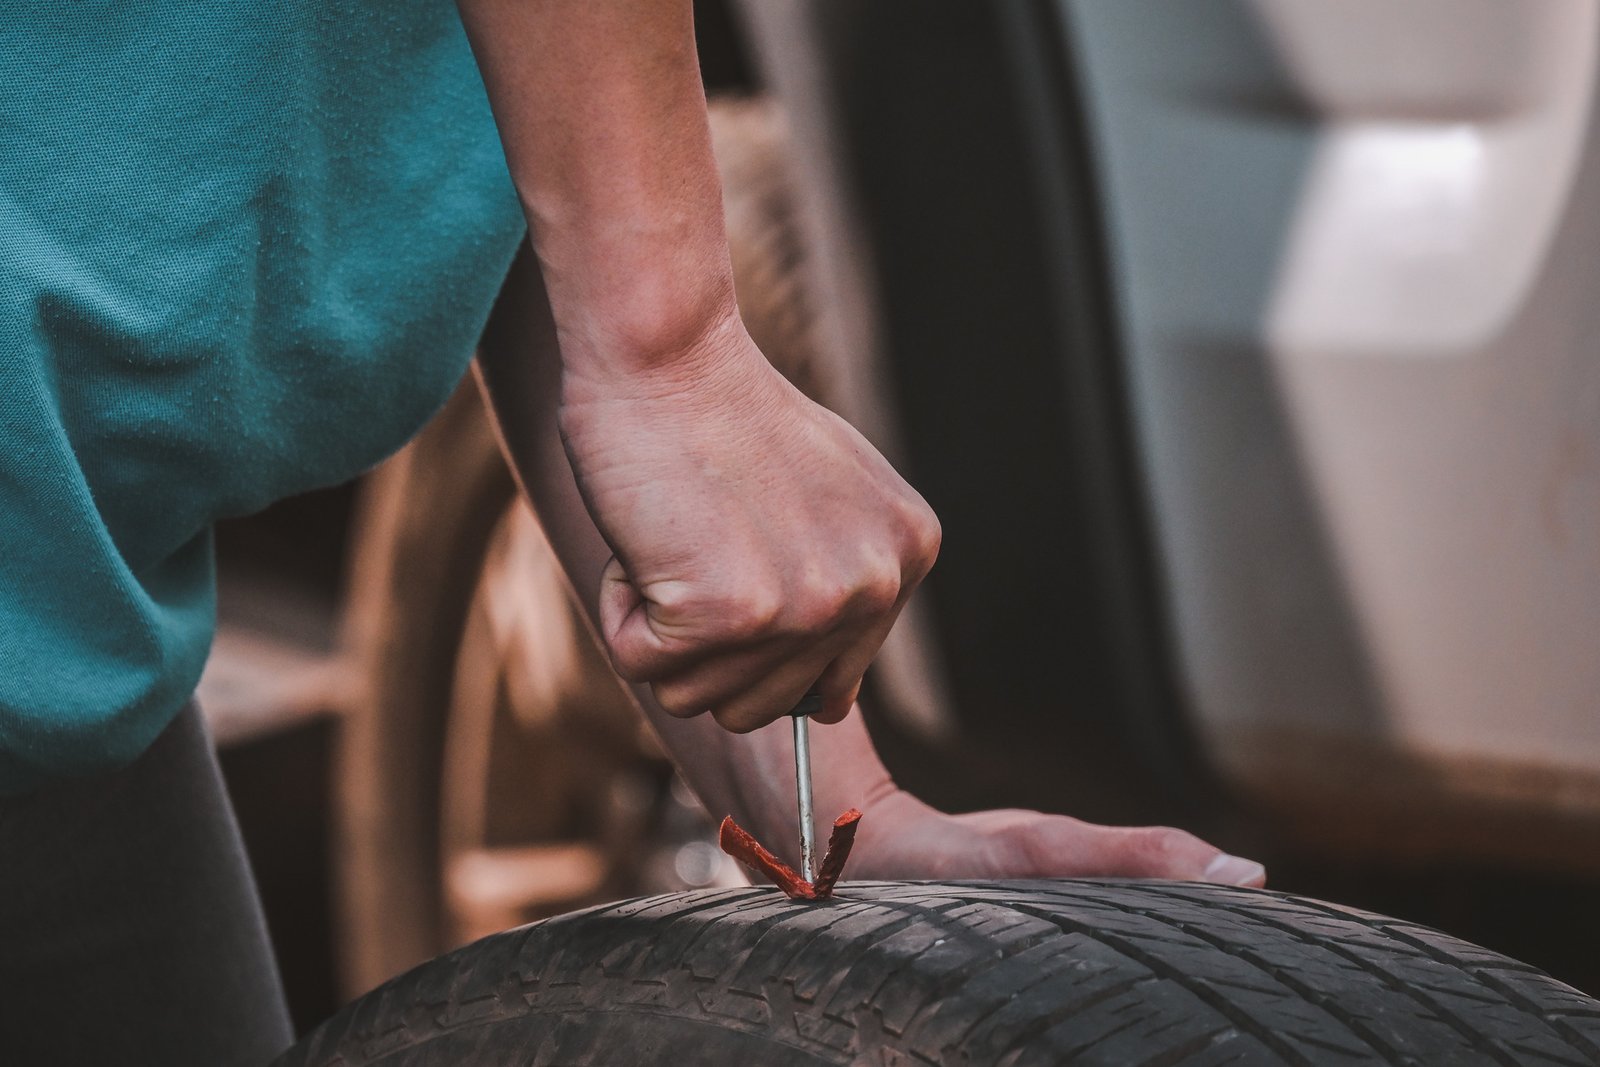
- Remove the object: Use pliers to pull out the nail or screw.
- Ream the hole: Use the tool in your kit to clean out the puncture.
- Insert the plug: Push the sticky rubber plug into the hole using the insertion tool. Pull out the tool, leaving the plug in place.
- Trim the excess: Cut the plug flush with the tread.
- Test for leaks: Spray soapy water again to check.
Plug kits work best for small holes in the tread, not the sidewall. If the hole is larger than 1/4 inch (6mm), or in the sidewall, visit a professional.
2. Fixing A Leaking Valve Stem
If bubbles form around the valve stem, try this:
- Tighten the valve core: Use a valve core tool to gently tighten the core.
- Replace the core: Unscrew the old core and install a new one.
- Replace the valve stem: If the stem is cracked, it needs replacing. This usually requires removing the tire from the wheel, but some DIY kits allow external replacement.
Valve stem leaks are often missed by beginners, but they’re a common cause of slow leaks.
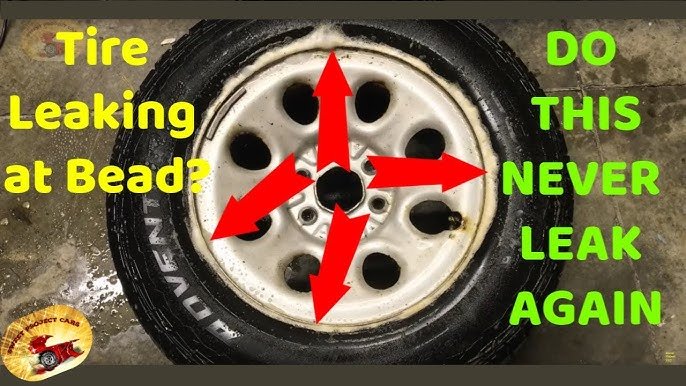
3. Sealing A Bead Leak
Bead leaks happen where the tire meets the rim. Corrosion or dirt can break the seal.
- Deflate the tire completely.
- Push the tire bead away from the rim (you may need a rubber mallet).
- Clean the rim and bead area with a wire brush.
- Apply a bead sealer (available at auto stores).
- Reinflate the tire.
If the rim is bent, it may need professional repair or replacement.
4. Dealing With Rim Damage
A bent or corroded rim can cause repeated leaks. Compare the cost of repair to replacement using a quick reference:
| Rim Condition | Repair Needed | DIY Possible? | Typical Cost |
|---|---|---|---|
| Minor Corrosion | Clean and reseal | Yes | $0–$20 |
| Bent Rim | Professional straightening | No | $40–$100 |
| Severe Damage | Replace rim | No | $80–$250+ |
If you notice your rim is bent, don’t try to hammer it back yourself; this can make things worse.
5. Using Tire Sealant For Emergency Repairs
If you need a quick, temporary fix, tire sealant can help. This is a liquid you inject into the tire. It seals small holes from the inside. Use it only as a short-term solution, and always tell the tire shop if you’ve used sealant.
Caution: Some sealants can damage tire pressure sensors. Check your car’s manual before using.
When To Replace The Tire
Not every slow leak can be fixed. Replace your tire if:
- The puncture is in the sidewall.
- The hole is larger than 1/4 inch (6mm).
- The tire has multiple leaks or is very old.
- There is significant tread or sidewall cracking.
Check your tire’s tread depth. If it’s less than 2/32 inch (1. 6mm), it’s time for a new tire.
Preventing Slow Tire Leaks
Prevention is easier than repair. Here are some practical tips:
- Check tire pressure monthly: Under-inflated tires are more likely to be damaged.
- Inspect tires regularly: Look for embedded objects, cracks, and bulges.
- Clean rims when changing tires: Remove old rubber and dirt.
- Replace valve stems with new tires: This simple step helps avoid leaks.
- Avoid potholes and curbs: Impact can damage tires and rims.
- Use tire caps: These keep dirt out of the valve stem.
Non-obvious insight: In winter, cold weather can shrink rubber and metal, making slow leaks worse. Check tires more often during cold months.
Safety Considerations When Fixing Tires At Home
Working with tires involves some risk. Always:
- Use a jack on level ground and never crawl under a car supported only by a jack.
- Wear gloves and eye protection to avoid injury from sharp objects or chemicals.
- Do not overinflate the tire. Stay within the manufacturer’s recommended pressure.
- Recheck your repair before driving. Inflate, check for leaks, and make sure the tire is secure.
If you are unsure or uncomfortable, it’s safer to get professional help.
Credit: www.youtube.com
Cost Comparison: Diy Vs. Professional Repair
Many people wonder if fixing a slow tire leak at home is really worth it. Here’s a quick cost breakdown:
| Repair Method | DIY Cost | Shop Cost | Time Required |
|---|---|---|---|
| Plug Kit | $10–$20 | $25–$40 | 30 min |
| Valve Core Replacement | $5–$10 | $15–$25 | 15 min |
| Bead Sealing | $10–$15 | $25–$50 | 60 min |
| Tire Sealant | $8–$15 | Not offered | 10 min |
DIY repairs can save money, especially for simple leaks. However, always balance cost with safety and your own confidence.
Frequently Asked Questions
How Do I Know If My Slow Leak Is Dangerous?
If your tire loses more than 2 psi per day, or if you see sidewall bulges, large cuts, or repeated flat tires, the leak is serious. Slow leaks in the tread are usually less urgent, but leaks in the sidewall are dangerous—get professional help if unsure.
Can I Drive With A Slow Tire Leak?
You can drive short distances with a slow leak, but it’s risky. Low pressure makes the tire weaker and more likely to fail. Reinflate and repair as soon as possible to avoid damage or a blowout.
Will Tire Sealant Permanently Fix A Slow Leak?
No, tire sealant is a temporary fix. It can seal small punctures, but it’s not a long-term solution. The sealant can dry out or clog the valve, and some types can harm pressure sensors. Always repair or replace the tire as soon as possible.
What Should I Do If I Can’t Find The Leak?
If you’ve tried soapy water and can’t find the leak, check the valve stem and bead area carefully. If the leak is still hidden, the tire may have internal damage, or the rim may be bent. At this point, a tire shop can use special equipment to diagnose the problem.
Where Can I Learn More About Tire Safety?
For detailed guidance and up-to-date tire safety information, visit the National Highway Traffic Safety Administration.
Fixing a slow tire leak at home is possible for most car owners. With the right steps and attention to detail, you can stay safe, save money, and keep your tires in top shape. Remember: if you’re ever unsure, professional help is always a smart option.
Credit: www.phillipsbuickgmctruck.com
