A car’s cooling system is like its heartbeat. It keeps the engine at the right temperature, no matter how hot or cold it is outside. But sometimes, small things can cause big problems—like a crack in the coolant reservoir. If you spot a puddle under your car or see your temperature gauge rising fast, a cracked reservoir might be the reason. Many people think fixing this needs a mechanic or expensive replacement. The good news: with some patience, the right tools, and careful steps, you can often repair a coolant reservoir crack at home.
This guide shows you how to safely fix a coolant reservoir crack, save money, and avoid engine damage. Whether you’re a beginner or someone with basic car skills, you’ll find clear steps and expert tips here. You’ll also learn how to spot a crack, why it happens, and how to keep your repair strong for months to come.
Understanding The Coolant Reservoir And Common Problems
The coolant reservoir is a plastic tank that holds extra coolant for your engine. As the engine heats up, coolant flows into the reservoir. When it cools, coolant goes back into the engine. This helps keep engine temperature steady.
But plastic wears out over time. Here are the most common reasons coolant reservoirs crack:
- Age and Heat: Plastic gets brittle after years of heat and cooling cycles.
- Pressure: A failing radiator cap or blocked hose can increase pressure, making cracks more likely.
- Accidents: A minor bump under the hood or dropping a tool can make a hairline crack.
- Poor Coolant Mixture: Wrong coolant or old, dirty coolant can weaken the plastic.
A cracked reservoir may not seem urgent, but ignoring it can lead to engine overheating or even total engine failure. Fixing it quickly is important for your car’s health.
Signs Your Coolant Reservoir Is Cracked
Knowing the symptoms helps you catch problems early. Look for:
- Coolant leaks under your car, especially near the front.
- Low coolant warning light on your dashboard.
- Steam or a sweet smell coming from the engine bay.
- Visible cracks on the plastic reservoir.
- Overheating engine or rising temperature gauge.
Sometimes, the crack may be small and hard to see. If you suspect a leak, inspect closely with a flashlight. Even a tiny crack can grow quickly when the engine heats up.

Credit: www.autotechiq.com
Can You Fix A Cracked Coolant Reservoir At Home?
Many cracks in the coolant reservoir can be fixed at home, especially if they are:
- Small to medium (up to 2–3 inches)
- Not near a mounting point or hose connection
- Not causing severe coolant loss
If the crack is large, the plastic is crumbling, or coolant sprays out under pressure, replacement is safer. But for minor to moderate cracks, DIY repair can work well and last for months.
Tools And Materials You’ll Need
Before you start, gather these items:
- Safety gloves and goggles
- Clean rags or towels
- Screwdriver or wrench (to remove reservoir)
- Plastic epoxy or two-part plastic adhesive (rated for automotive use)
- Fine sandpaper (120–220 grit)
- Plastic welding kit (optional, for stronger repairs)
- Coolant (check your car’s manual for the right type)
- Water (for cleaning)
- Masking tape (to guide your repair)
- Marker (to outline the crack)
- Small brush or spatula (for applying epoxy)
Buying a repair kit made for plastic automotive parts is best. Look for products that resist heat and chemicals. Do not use regular glue or silicone—they will not last.
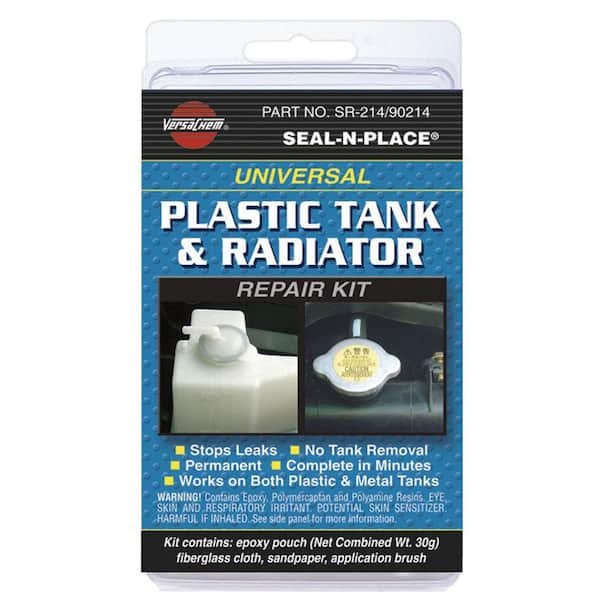
Credit: www.homedepot.com
Step-by-step Guide: Fixing The Crack
Follow these steps for a lasting repair:
1. Let The Engine Cool Completely
Never open the coolant reservoir or radiator when the engine is hot. Hot coolant can spray out and cause burns. Wait at least 1 hour after driving.
2. Locate And Mark The Crack
Use a flashlight to find the crack. Clean the area with a wet rag to remove dirt, oil, and coolant. Dry with a clean towel. Use a marker to outline the crack and a bit beyond. This helps you see where to repair.
3. Remove The Reservoir (if Possible)
Removing the reservoir gives you better access. Most are held by a few bolts or clips. Disconnect the hoses gently and plug them to stop coolant from leaking out. If you cannot remove the reservoir, you can still repair it in place, but it is harder.
4. Drain The Coolant Below The Crack Level
If the crack is low on the reservoir, drain enough coolant so it won’t leak out during repair. Save the coolant in a clean container to reuse if it’s still good.
5. Sand The Area Around The Crack
Use fine sandpaper to roughen the plastic around the crack. Go about 1 inch beyond the crack in every direction. Wipe away dust with a clean, dry rag. Sanding helps the adhesive or epoxy stick better.
6. Clean The Surface Again
Any oil or coolant left behind will stop the repair from bonding. Use a little rubbing alcohol on a rag to clean the sanded area. Let it dry completely.
7. Apply Plastic Epoxy Or Adhesive
Mix the two-part epoxy as the instructions say. Use a small brush or spatula to spread it over the crack, pressing it into the crack itself. Go a bit beyond the edges for strength. Smooth the surface as much as you can.
If the crack is deep, apply the epoxy in layers, letting each layer cure before adding the next. For larger cracks, you can use a piece of plastic mesh or fiberglass tape over the crack before the final layer.
8. Let The Repair Cure Fully
Most plastic epoxies need 6–24 hours to cure. Do not rush this step. Check the instructions on your epoxy. If you reinstall the reservoir too soon, the repair may fail.
9. Reinstall The Reservoir And Reconnect Hoses
Put the reservoir back in place. Attach the hoses securely. Make sure all clamps are tight.
10. Refill Coolant And Bleed The System
Pour the saved coolant (or new coolant) back into the reservoir. Top off to the correct level. Some cars need to have air bled from the cooling system. Check your manual for the right process. Usually, you run the engine with the cap off until air bubbles stop rising.
11. Check For Leaks
Start the engine and let it warm up. Watch the repaired area for leaks. If you see any, shut off the engine and let it cool. You may need to repeat the repair or use a stronger method.
If everything is dry and the coolant level stays steady, your fix is complete.
Alternative Repair: Plastic Welding
For a stronger repair, you can use a plastic welding kit. This tool melts the plastic on both sides of the crack and fuses it together. Some kits come with plastic rods for extra strength.
Plastic welding is best for:
- Long cracks
- High-pressure areas
- Reservoirs made of thick plastic
The process is similar to epoxy repair but uses heat instead of glue. Practice on a scrap piece first if you’ve never used a plastic welder.
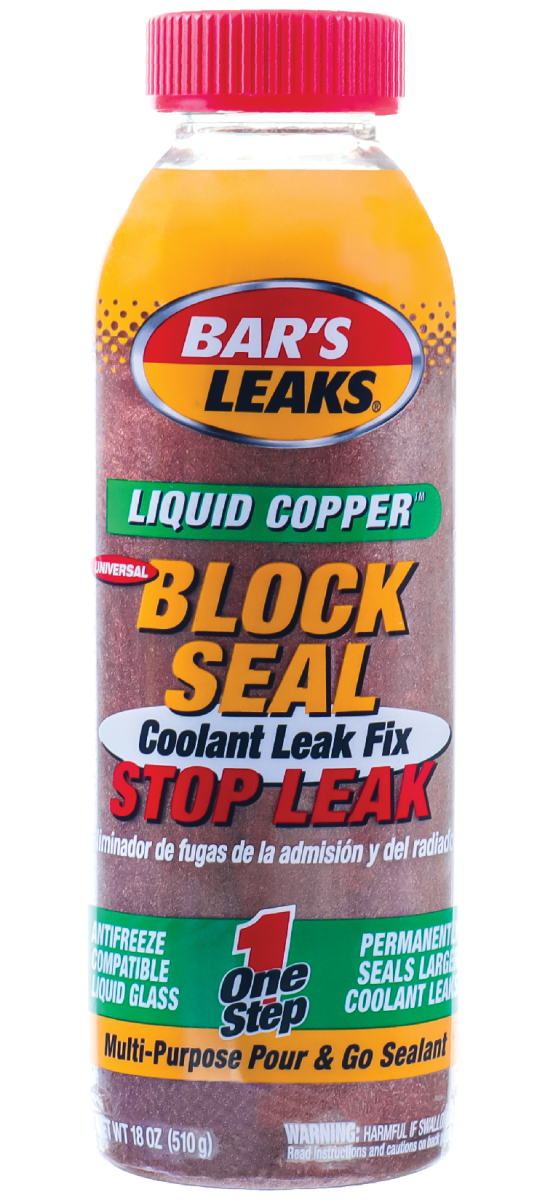
Credit: barsleaks.com
When To Replace Instead Of Repair
Some cracks are too severe for home repair. You should replace the reservoir if:
- The crack is longer than 3–4 inches or goes through a mounting point
- The plastic is crumbling, yellowed, or very brittle
- Coolant leaks out quickly even after repair
- You see multiple cracks in different places
Most replacement reservoirs cost between $30–$100. While this is more expensive than a repair, it gives peace of mind and avoids engine damage.
How Long Does A Home Repair Last?
A good home repair can last from several months up to a year, sometimes longer. The key factors are:
- The size and location of the crack
- The quality of your repair work
- The type of adhesive or welding used
- Driving habits and engine heat
Home repairs are often a temporary solution. Plan to check the reservoir often and replace it when you can.
Tips For A Lasting Coolant Reservoir Repair
- Use only adhesives rated for high heat and chemicals
- Make sure the area is completely clean and dry before repair
- Let the adhesive cure as long as possible
- Avoid overfilling the reservoir
- Inspect your repair every few weeks for new leaks
Many beginners forget to bleed the air from the cooling system after refilling coolant. Air pockets can cause engine overheating, even if your repair is perfect.
Example: Repair Cost Comparison
Here’s a simple breakdown of costs for DIY repair versus replacement.
| Option | Estimated Cost | Time Required | Expected Durability |
|---|---|---|---|
| DIY Epoxy Repair | $10–$20 | 1–2 hours (+ curing time) | Up to 12 months |
| Plastic Welding | $20–$50 (if you buy a kit) | 2–3 hours | 12+ months |
| New Reservoir Replacement | $30–$100 | 1–2 hours | 5+ years |
| Professional Mechanic | $100–$250 | 2–4 hours | 5+ years |
As you can see, DIY repair is much cheaper but may not last as long as a full replacement.
Preventing Future Cracks
After fixing your reservoir, a few simple habits can help you avoid new cracks:
- Check coolant level monthly and top up as needed
- Use the correct coolant mix for your car (see the manual)
- Replace coolant every 2–5 years
- Avoid over-tightening the reservoir cap
- Check hoses and radiator cap for wear
If you often drive in very hot or cold weather, check under the hood more often. Extreme temperatures stress plastic parts.
Common Mistakes To Avoid
Many first-time DIYers make these mistakes:
- Using regular glue or household epoxy (it will not last)
- Not cleaning the area well before repair
- Skipping the sanding step
- Rushing the curing process
- Overfilling the reservoir after repair
Take your time and use the right products for a fix that lasts.
Quick Reference: Coolant Types And Compatibility
Using the right coolant is key for your cooling system. Here’s a simple chart for quick reference.
| Coolant Type | Color | Common Vehicles | Replacement Interval |
|---|---|---|---|
| Inorganic Additive (IAT) | Green | Older US cars (pre-2000) | 2 years / 30,000 miles |
| Organic Acid (OAT) | Orange, Red | GM, VW, some Asian cars | 5 years / 150,000 miles |
| Hybrid Organic Acid (HOAT) | Yellow, Pink | Ford, Chrysler, many imports | 5 years / 150,000 miles |
Always check your car’s manual or use a trusted reference like Wikipedia: Antifreeze before buying coolant.
Frequently Asked Questions
How Do I Know If My Coolant Reservoir Crack Is Repairable?
Most cracks under 3 inches, away from mounting points, and with solid plastic around them can be repaired at home. If the plastic is soft, yellowed, or the crack is very large, replacement is safer.
What Kind Of Glue Should I Use For A Coolant Reservoir?
Use a two-part plastic epoxy made for automotive or high-temperature use. Do not use super glue, hot glue, or regular household adhesives.
How Long Should I Wait Before Refilling Coolant After Repair?
Wait at least as long as the epoxy or adhesive instructions say—usually at least 6–24 hours. If you refill too soon, the repair may not hold.
Can I Drive My Car With A Small Crack In The Coolant Reservoir?
It’s risky. Even a small crack can get worse, and leaks may cause the engine to overheat. Fix the crack or replace the reservoir as soon as you can.
How Often Should I Check My Coolant Reservoir After A Repair?
Check the repair area and coolant level every week for the first month. Look for new leaks, changes in coolant level, or signs of overheating.
Taking care of your car’s cooling system saves money and prevents bigger problems. Fixing a coolant reservoir crack at home is not hard if you follow the right steps and stay patient. With the right tools and a careful approach, your DIY repair can keep your car running smoothly for months to come.
