
Dealing with a leaking car fuel tank can be stressful and even dangerous. The smell of gas, wet spots under your vehicle, or sudden drops in fuel level are all worrying signs. A leak not only wastes money but can create fire risks and harm the environment.
If you notice a fuel tank leak, acting quickly and safely is essential. But fixing a car fuel tank leak isn’t just about sealing a hole—there are steps to make sure you protect yourself, avoid bigger repairs, and keep your car running smoothly.
This guide will show you how to fix a car fuel tank leak safely, using simple tools and clear steps. You will learn how to identify the problem, prepare for repairs, apply different fixing methods, and test your work. Plus, you’ll get tips most beginners overlook and learn when it’s best to call a professional.
Whether you drive an old sedan or a modern SUV, understanding this process can save you time, money, and keep you safe on the road.
Understanding Fuel Tank Leaks
A car’s fuel tank holds gasoline or diesel until your engine needs it. Tanks are made of steel, aluminum, or plastic. Over time, they can develop leaks for several reasons:
- Rust: Older metal tanks often rust, especially in humid climates.
- Physical damage: Rocks, accidents, or road debris can puncture or dent the tank.
- Faulty seals or seams: The joints where the tank is welded or sealed can weaken.
- Corrosion from inside: Water in fuel can cause rust from inside out.
- Age and wear: Seals, gaskets, and plastic tanks can crack after years of use.
A small leak can quickly become a big problem. Gasoline evaporates easily, creating flammable fumes. Even a tiny leak can be a fire hazard, especially if you park in a garage or near your home.
What Causes A Leak?
Fuel tanks are built to last many years, but several factors can shorten their life:
- Road Salt and Moisture: In areas with snow or rain, road salt and water can get trapped on the surface of the tank, especially if you don’t wash your car’s underbody. Over time, this causes corrosion and rust.
- Improper Installation: If the tank or fuel lines are not installed correctly, vibrations or stress may crack the seams or fittings.
- Low-Quality Fuel: Dirty or water-filled fuel damages the tank from inside. Water is heavier than gasoline and settles at the bottom, causing rust in metal tanks.
- Design Flaws: Some vehicles have weak points where the tank meets the straps or frame. These areas wear out faster.
How To Spot A Leak
Most people first notice a leak by the smell of gas or a puddle under their car. But sometimes, leaks are slow and hard to see. Here are signs to watch for:
- Fuel smell inside or around the car, especially after parking.
- Wet or shiny patches under the car, near the tank area.
- Unusually fast drop in fuel level on your gauge.
- Check engine light (if fuel evaporates, some cars will alert you).
- Dripping sounds when the car is parked.
Often, leaks start small. They may only show up when the tank is full or when the weather is warm. Make a habit of checking under your car every few weeks, especially if your car is old or you drive on rough roads.
Non-obvious Insight
A common mistake is thinking all leaks come from the tank itself. Sometimes, fuel lines, filler necks, or even the vent hoses leak, not the tank. Always check these first, as they are easier and cheaper to fix.
Safety First: Protect Yourself And Your Car
Fixing a fuel tank leak means working with flammable liquids and fumes. Before you even touch your car, safety comes first.
- Work in a Well-Ventilated Area: Never work in a closed garage or near open flames. Gasoline fumes are heavier than air and can gather on the floor, waiting for a spark. If possible, work outdoors with a breeze. If inside, open all doors and windows.
- No Smoking or Open Flames: This sounds simple, but many accidents happen because people forget. Even static electricity from your clothes can ignite fumes.
- Disconnect the Battery: Gasoline fumes plus electricity can cause fires. Always remove the negative cable from your car battery before starting.
- Wear Safety Gear: Use gloves resistant to chemicals, eye protection, and if possible, a mask for fumes. Gasoline can burn your skin and eyes.
- Keep a Fire Extinguisher Nearby: Use a class B extinguisher designed for flammable liquids. Know how to use it before starting your work.
- Have Absorbent Material Ready: Old towels, sand, or a fuel spill kit can soak up any drips. Never use water to clean up gasoline, as it spreads the fuel.
- Keep Kids and Pets Away: Gasoline is toxic, and repairs can take longer than you expect. Make sure the area is clear.
Extra Safety Advice
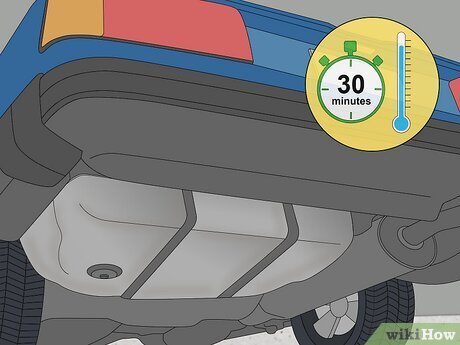
Most beginners forget to ground themselves and their tools. Metal tools can create sparks if they hit the tank the wrong way. Touch a metal part of the car (away from the tank) before working, and use tools with rubber handles if you have them.
Credit: www.wikihow.com
Tools And Materials You’ll Need
Fixing a fuel tank leak does not always need special tools, but being prepared makes the job safer and easier. Here’s what you will need for most small repairs:
- Jack and jack stands: To lift the car safely, if needed.
- Wrenches and screwdrivers: For removing shields or straps.
- Sandpaper or a wire brush: To clean the area around the leak.
- Rags or paper towels: For cleaning up fuel and wiping the tank.
- Fuel-resistant epoxy or tank repair kit: These are sold at auto parts stores. Make sure it is made for your type of tank (metal or plastic).
- Plastic or metal putty knife: To apply sealant smoothly.
- Gloves and eye protection: For safety.
- Container to catch leaking fuel: An old pan or jug.
- Marker or chalk: To mark the leak spot.
- Soap and water: For cleaning after sanding.
- Flashlight: To see under the car clearly.
Optional But Helpful
- Fuel transfer pump or siphon: To remove fuel from the tank before working.
- Vacuum: For cleaning dirt around the tank.
- Replacement hardware: New straps or bolts if yours are rusty.
Pro Tip
Not all repair kits work on plastic tanks. Double-check the product label, or ask at the parts store. Some people try to use household glue or silicone—these will fail quickly and can make the leak worse.
Step-by-step: How To Fix A Fuel Tank Leak
1. Locate The Leak
Before you can repair, you need to find the exact spot where fuel is escaping.
- Clean the tank surface: Use a rag and soapy water to remove dirt, mud, or grease. Dry with a towel.
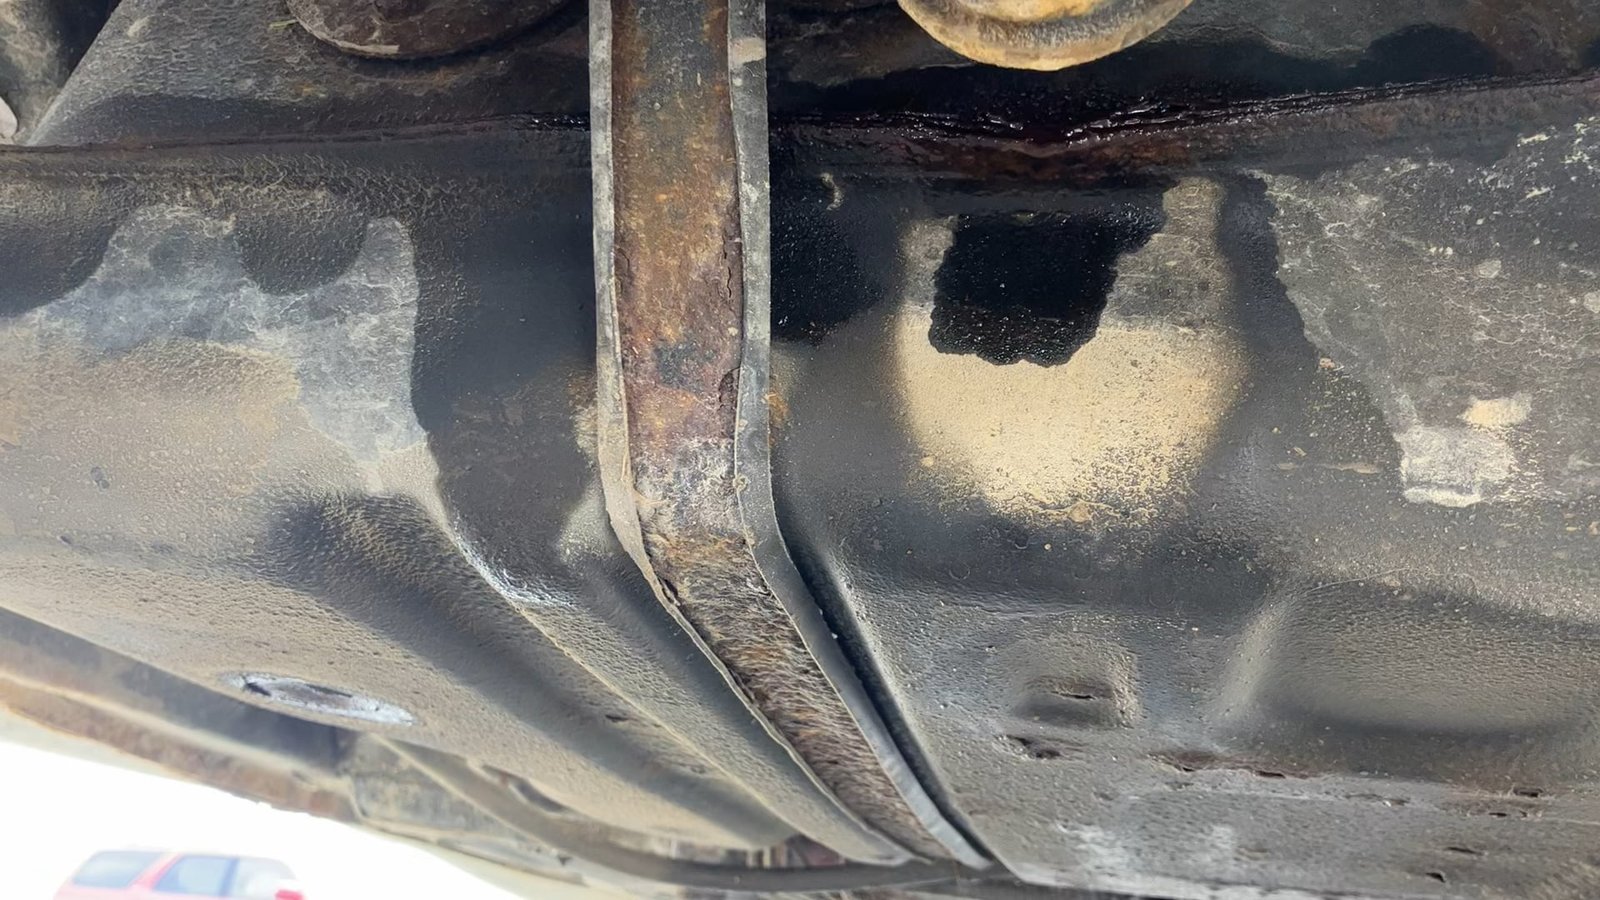
- Look for wet spots: Run your hand under the tank (with gloves). Wet or shiny areas show the leak.
- Mark the leak: Use chalk or a marker to outline the area. If the leak is slow, fill the tank and watch closely for fresh drips.
- Check at different fuel levels: Sometimes, leaks only appear when the tank is full or the car is parked on a slope.
Non-obvious Insight
Sometimes, leaks are above the fuel line—so they only leak when the tank is more than half full. Check the tank with different amounts of fuel to be sure.
2. Drain The Tank (if Needed)
If the leak is low on the tank or fuel is dripping out, you must drain it.
- Use a siphon or pump to move fuel to a safe container. Never use your mouth to start a siphon—gasoline is poisonous.
- Work slowly: Spilled fuel is dangerous and messy.
- Dispose of old fuel properly: Many cities have recycling centers for gasoline.
3. Prepare The Surface
A clean surface is key for a good seal. Even the best epoxy will not stick to dirt, rust, or wet areas.
- Sand around the leak: Use sandpaper or a wire brush to remove paint, rust, and debris. Clean at least 2-3 inches around the leak.
- Wipe with a clean rag: Use a dry rag or paper towel to remove dust.
- Let it dry completely: Moisture will ruin the repair.
4. Apply The Repair Material
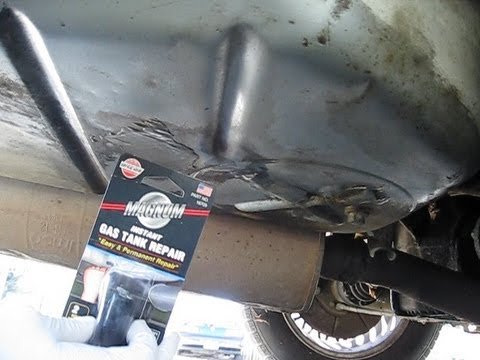
Most small leaks can be fixed with a fuel tank repair kit or epoxy. Follow the instructions on your product.
- Mix the epoxy or putty: Some kits come with two parts you must knead together.
- Apply over and around the leak: Use a putty knife or your gloved hand. Cover the area at least an inch beyond the leak.
- Smooth and press firmly: Make sure there are no air bubbles.
- Let it cure: Most products need several hours to harden. Do not rush this step.
Example
If you use a product like J-B Weld, knead the putty, press it over the hole, and wait at least 4-6 hours before adding fuel. Each brand is different—some need a full day to set.
Advanced Tip
If the tank is metal and the hole is large, you may need to use a small piece of metal as a patch, secured with epoxy. For plastic tanks, only use repair kits made for plastic.
5. Test The Repair
After the epoxy or patch has set:
- Add a small amount of fuel: Check for leaks before filling the tank.
- Wait and watch: Give it 10-20 minutes to see if any fuel seeps out.
- If dry, fill the tank: Keep checking the repaired area for a few days, especially after driving.
Common Mistake
Some people fill the tank right away or drive off before the repair is fully cured. This can cause the patch to fail and the leak to return.
Credit: www.reddit.com
When To Call A Professional
Not all fuel tank leaks can be fixed at home. Here’s when you should ask for expert help:
- Large or complex leaks: If the hole is bigger than a coin, or the tank is cracked in several places.
- Leaking seams or welds: These are hard to seal with epoxy.
- Plastic tanks with deep cracks: Most DIY kits only fix small holes.
- Fuel line or pump leaks: These often need special tools or parts.
- If you smell fuel inside the car: This could mean a dangerous vapor leak.
A professional mechanic can remove the tank, weld or replace it, and check for other hidden problems. Yes, it costs more, but for serious leaks, your safety is worth it.
Preventing Future Leaks
Fixing a leak is good, but stopping new leaks is better. Here’s how to make your fuel tank last longer:
- Wash your car’s underside often, especially in winter or after driving on salted roads.
- Check for rust and damage during oil changes or tire rotations.
- Use quality fuel and keep your tank at least a quarter full to avoid water buildup.
- Replace old fuel lines and gaskets every few years.
- Park in a garage or on clean surfaces—avoiding dirt and moisture helps.
- Inspect after hitting debris or rocks—even small bumps can cause slow leaks.
Extra Maintenance Tip
Fuel tank straps can rust or break, letting the tank move and wear holes. Inspect and replace them if they look corroded.
Credit: www.youtube.com
Final Thoughts
Fixing a car fuel tank leak is not just about saving money. It’s about safety—for you, your passengers, and the environment. Gasoline leaks are serious, but with the right tools, careful steps, and a little patience, most small leaks can be fixed at home.
Remember to always put safety first, follow each step, and test your repair before getting back on the road.
If you ever feel unsure or the leak is too large, don’t risk it—call a professional. For more detailed safety information, you can visit the [National Fire Protection Association](https://www.nfpa.org/) for guidance on handling flammable liquids.
Staying alert, doing regular checks, and acting fast if you spot a problem will keep your car running longer and safer. And that peace of mind is worth every effort.
