
If you’ve ever opened your car’s glove box only to have the latch break in your hand, you know how frustrating it can be. Suddenly, you can’t access your registration, insurance, or even those handy napkins you keep inside. A broken glove box latch is a common problem, but it’s one that most car owners can fix at home with a little patience and the right instructions.
Understanding how to repair or replace a glove box latch not only saves money, but also helps you keep your car organized and secure. In this guide, you’ll learn every detail you need to fix a broken car glove box latch—whether you want a quick temporary fix or a proper, long-lasting repair.
Understanding Why Glove Box Latches Break
Glove box latches are made from plastic or lightweight metal. Over time, these materials can become weak due to repeated use, high temperatures, or even rough handling. If you often slam your glove box or store heavy items inside, the latch can crack or the inner mechanism might fail. Sometimes, dirt and debris can also jam the latch, making it hard to open or close. Knowing the cause will help you decide if you need a simple fix or a full replacement.
Tools And Materials You’ll Need
Before you start, gather these basic tools and parts:
- Screwdriver set (flathead and Phillips)
- Pliers
- Replacement latch (specific to your car’s make and model)
- Strong adhesive (if you try to repair, not replace)
- Lubricant spray (like WD-40)
- Work gloves
- Flashlight (for tight spots)
- Small brush or cloth (for cleaning)
Not all glove box latches are the same. Always check your vehicle’s manual or look up your car’s model online to buy the correct replacement part.
Quick Troubleshooting: Is It Really The Latch?
Sometimes, the glove box won’t open for a different reason. Before you start unscrewing things, check for these issues:
- Obstruction: Something inside the glove box may be blocking the latch.
- Loose screws: The latch may feel broken if the screws are loose.
- Sticky mechanism: Dirt or lack of lubrication can make the latch jam.
Use a flashlight to peek inside and gently shake the glove box. If you hear something rattling or see an item pressing against the latch, remove it first. Try a little lubricant on the latch before taking it apart.
Step-by-step Guide: Fixing A Broken Glove Box Latch
Let’s walk through the full process to fix your glove box latch.
1. Remove The Glove Box
Most glove boxes are easy to remove. Open it as far as it will go. Look for the side stoppers—these are small plastic arms or tabs on each side.
- Press or gently bend the stoppers to release the glove box and let it drop down.
- If you see screws, use the right screwdriver to remove them.
- Be careful not to force anything. If the box doesn’t come out easily, double-check for hidden fasteners.
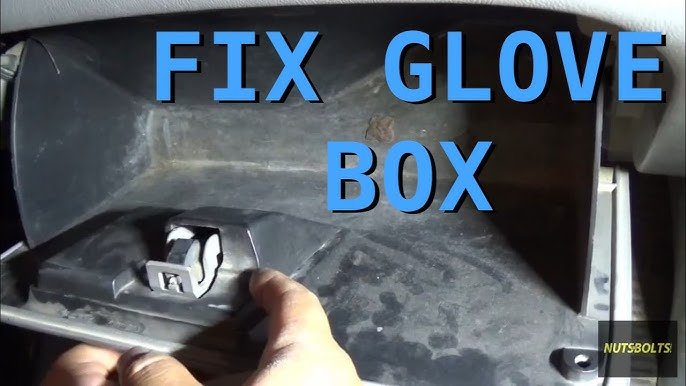
2. Inspect The Latch Assembly
With the glove box out, you can see the latch mechanism clearly. Look for:
- Cracks or breaks in the plastic
- Bent metal parts
- Disconnected rods or cables
If the latch is only loose, tightening the screws may solve the problem. If you spot damage, you’ll need to repair or replace the part.
3. Repair Minor Damage
For small cracks or if a piece has come loose, you can try a temporary fix:
- Clean the broken area with a brush and cloth.
- Apply strong adhesive to the broken part and hold it together.
- Let the glue dry for several hours before using the glove box.
Remember, glue is not a permanent fix for a latch under stress. It may hold for a while but will probably fail again.
4. Replace The Latch
If the latch is badly broken, replacement is the best solution.
- Remove the screws or clips holding the old latch.
- Detach any rods or cables connected to the latch.
- Fit the new latch into place.
- Reconnect any linkage, making sure everything lines up.
- Tighten screws or snap the latch into position.
Many new latches come with basic instructions. Always check that the latch opens and closes smoothly before reinstalling the glove box.
5. Reinstall The Glove Box
Slide the glove box back into its slot. Raise it until the side stoppers snap into place or reattach any screws. Test the latch several times to be sure it works.
Credit: www.youtube.com
Common Types Of Glove Box Latch Problems
Not all glove box latch failures look the same. Here’s a comparison of the main issues you might find:
| Problem Type | Symptoms | Fix |
|---|---|---|
| Cracked Plastic | Lid won’t stay closed | Replace or glue |
| Broken Spring | Lid pops open | Replace spring or latch |
| Stuck Mechanism | Lid hard to open/close | Clean & lubricate |
| Disconnected Rod | Latch moves, but lid won’t open | Reconnect rod |
Identifying your problem from the table helps you choose the best repair method.
Choosing The Right Replacement Latch
Not all latches are created equal. Here’s how to make sure you get a good one:
- Check your car’s make and model: A latch for a Toyota won’t fit a Ford.
- OEM vs. Aftermarket: OEM (Original Equipment Manufacturer) latches are made for your car but cost more. Aftermarket parts are cheaper but may not fit perfectly.
- Material quality: Some latches are cheap plastic; others are reinforced or metal.
- Customer reviews: See what other car owners say about the latch before you buy.
Here’s a quick comparison:
| Feature | OEM Latch | Aftermarket Latch |
|---|---|---|
| Fit | Perfect | May vary |
| Price | High | Low to medium |
| Durability | High | Depends on brand |
| Warranty | Yes | Sometimes |
Step-by-step Example: Fixing A 2010 Honda Civic Glove Box Latch
Let’s look at a real-world example. Suppose you drive a 2010 Honda Civic and the glove box latch broke.
- Find a replacement: Search online for “2010 Honda Civic glove box latch.” Check sites like RockAuto or your local dealership.
- Remove the glove box: Open the box, press in both sides to release the stoppers, and let it drop down.
- Unscrew the old latch: Use a Phillips screwdriver to remove two screws.
- Disconnect linkage: Gently pull the latch out and detach the rod.
- Install new latch: Connect the rod, align the latch, and tighten the screws.
- Test and reinstall: Make sure the latch clicks and holds. Slide the glove box back and lock the stoppers.
This method works for many cars, but always check your manual for details.
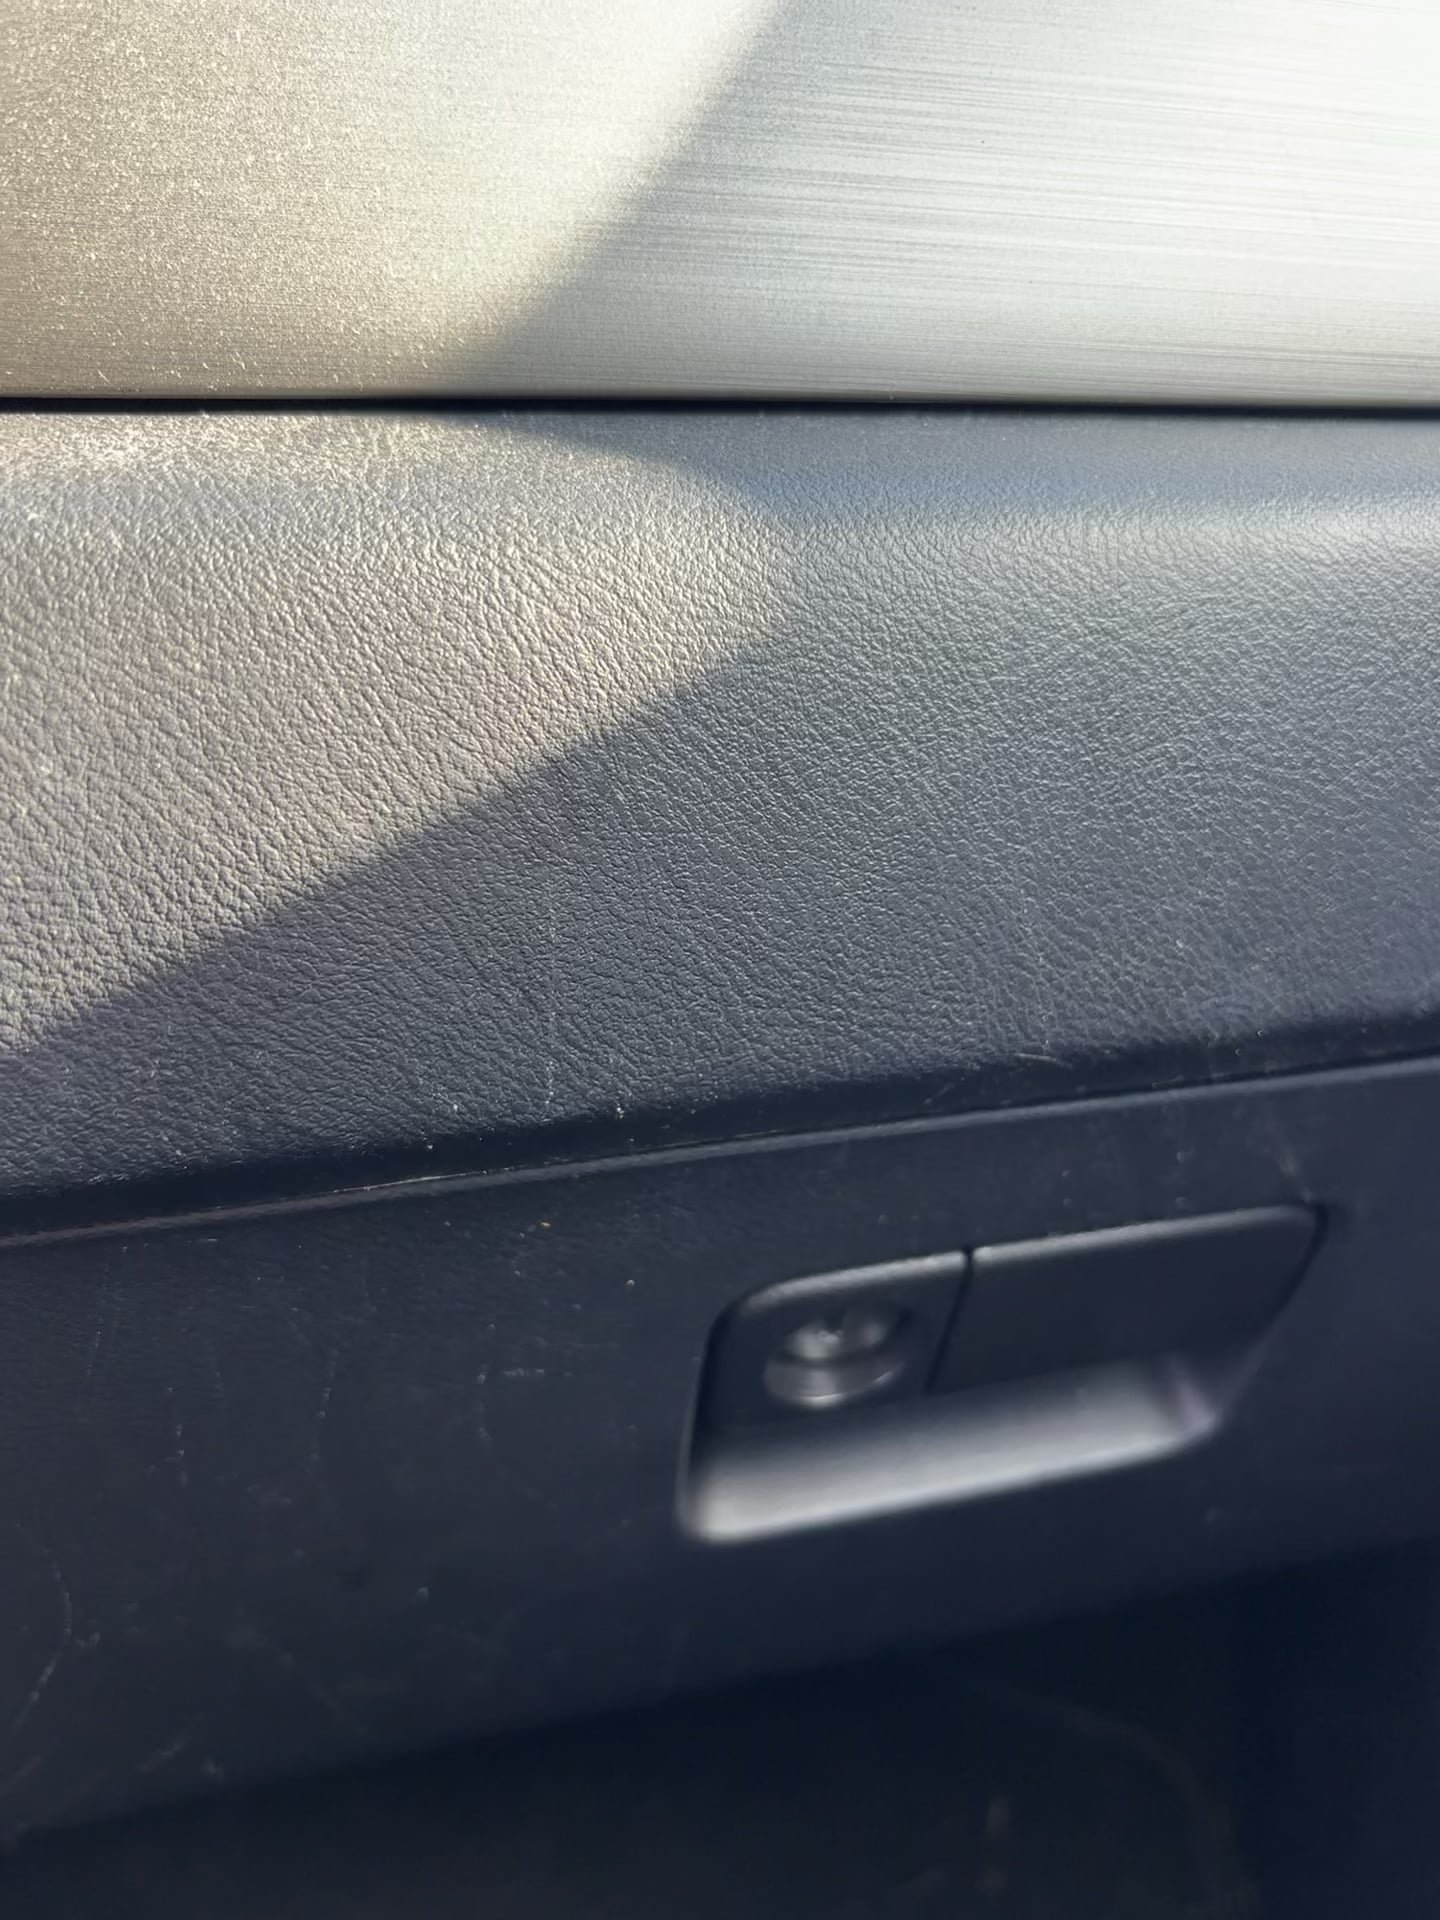
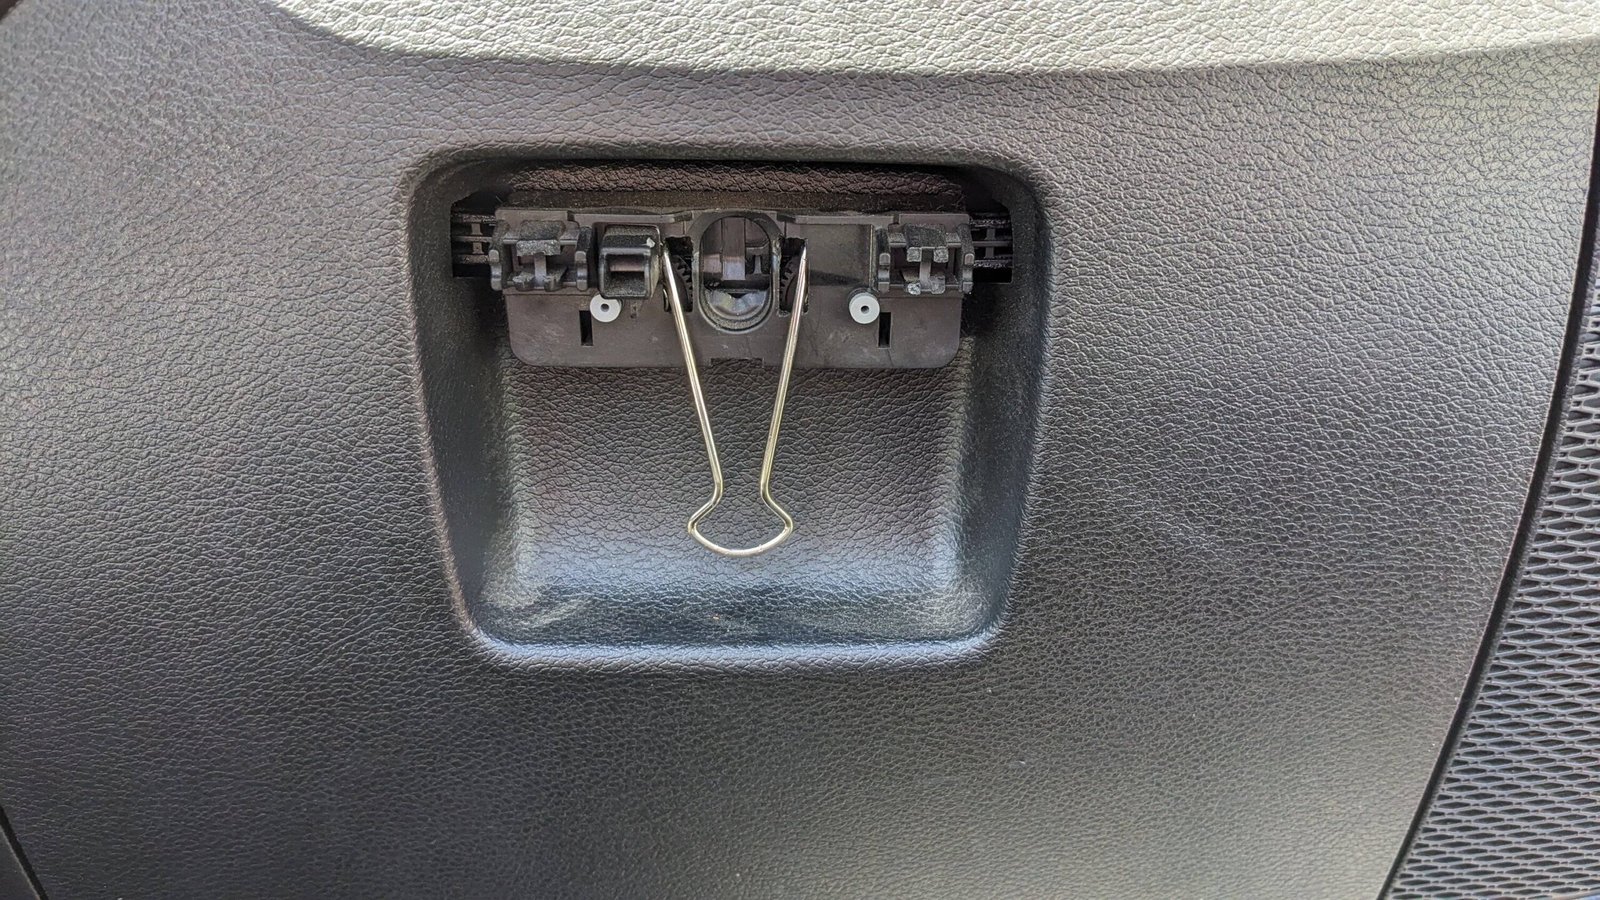
Alternative Fixes For Emergency Situations
Sometimes, you need a quick solution, especially if you can’t buy a new latch right away.
- Zip ties: Loop a zip tie through the latch and the box to keep it closed. Not pretty, but it works for a while.
- Adhesive Velcro strips: Stick one side to the box and one to the door. It holds well enough for light use.
- Double-sided tape: For a short trip, heavy-duty tape can keep the box shut.
These are temporary fixes. Replace the latch as soon as you can for security and convenience.
Credit: www.reddit.com
Preventing Future Glove Box Latch Problems
Most people don’t think about glove box maintenance, but a little care goes a long way.
- Don’t overload the glove box: Heavy items stress the latch and hinges.
- Close gently: Never slam the glove box.
- Clean the latch area: Use a small brush to remove dust and crumbs.
- Lubricate the mechanism: A quick spray every six months keeps it moving smoothly.
- Check for loose screws: Tighten them if the latch feels wobbly.
These habits can double the life of your glove box latch and save you future headaches.
When To Call A Professional
Most glove box latch fixes are DIY-friendly. However, you should seek help if:
- The latch is part of a locking system for valuables or airbags.
- You can’t access the screws or the mechanism is hidden.
- The glove box is stuck shut and you risk damaging the dash.
A mechanic can often fix the issue quickly and safely. The average cost for a glove box latch repair at a shop is $50 to $150 depending on your car.
Credit: www.jlwranglerforums.com
Real-world Insights Most People Miss
Many drivers think glove box latches are all the same, but there are two things beginners often miss:
- Hidden fasteners: Some glove boxes have hidden screws or clips under trim pieces. If you can’t remove the box, look for plastic covers or panels that hide these fasteners. Use a trim removal tool or a flathead screwdriver wrapped in cloth to avoid scratching.
- Integrated electronics: In newer cars, glove box latches may have built-in switches for lights or even airbag sensors. Always disconnect the battery before working on the latch if you see wiring attached.
These details can save you from breaking more parts or causing electrical issues.
Useful Resources
If you want more details, car forums and YouTube are full of step-by-step videos for nearly every make and model. For technical information, the Wikipedia glove compartment page also has a good overview.
Frequently Asked Questions
What If My Glove Box Won’t Open At All?
If the glove box is jammed shut, try gently prying the door while pressing the latch. Avoid using force. If needed, remove the trim around the glove box to access the latch from behind.
Can I Drive With A Broken Glove Box Latch?
Yes, but it’s not recommended. The glove box door may swing open while driving, which can be distracting or even dangerous.
How Much Does It Cost To Replace A Glove Box Latch?
If you do it yourself, most replacement latches cost $15 to $40 online. Professional repair can range from $50 to $150 depending on your car.
Is It Safe To Use Glue For A Permanent Fix?
Glue is usually a temporary solution. It rarely holds up to repeated use. For a lasting fix, replace the latch with a new part.
Are Glove Box Latches The Same For All Cars?
No, latches are designed for specific makes and models. Always buy the correct part for your vehicle.
A broken glove box latch may seem like a small problem, but it can quickly become a big headache. With the right tools and steps, almost anyone can fix it at home—saving money and keeping your car tidy and secure.
Remember, pay attention to small details and never force parts. Soon, your glove box will work just like new.
