A car can feel like a loyal friend—until oil starts dripping onto your driveway. That dark stain below your engine often points to a valve cover gasket leak. If you’ve noticed a burning oil smell, smoke from the engine, or low oil levels, your valve cover gasket might need attention. The good news? You don’t always need a mechanic. With some care, a few tools, and this guide, you can fix a leaking valve cover gasket right at home. This article will show you how, step-by-step, using plain English and practical tips. Whether you’re a beginner or have some experience, you’ll learn how to fix this common issue and keep your engine healthy.
What Is A Valve Cover Gasket And Why Does It Leak?
The valve cover gasket is a rubber or cork seal that sits between the engine’s valve cover and the cylinder head. Its main job is to keep oil inside the engine, preventing leaks. Over time, heat and pressure can make the gasket brittle, cracked, or flattened. When this happens, oil finds its way out, causing leaks.
Some common causes of valve cover gasket leaks are:
- Old age: Gaskets usually last 50,000 to 100,000 miles, but heat cycles can wear them out faster.
- Improper installation: If the gasket wasn’t aligned or torqued correctly, leaks happen sooner.
- Overtightened bolts: This can squash or crack the gasket.
- Engine overheating: High temperatures break down gasket material.
A leaking gasket doesn’t just make a mess. It can lead to oil loss, engine misfires, and even fires if oil drips onto hot parts like the exhaust. That’s why fixing it quickly is smart.
Signs You Have A Valve Cover Gasket Leak
Before you start repairs, be sure you’re dealing with a valve cover gasket leak. Here’s what to look for:
- Oil stains under your car: Fresh or old oil spots near the front or side of the engine.
- Burning oil smell: Oil dripping onto hot engine parts creates a sharp, smoky odor.
- Visible oil on engine parts: Check the valve cover area for wetness or grime mixed with oil.
- Low oil level: If you’re topping up oil more often, there may be a leak.
- Engine misfire or rough idle: Oil leaking into spark plug wells can cause misfires.
If you see these signs, inspect the valve cover area before starting the repair.
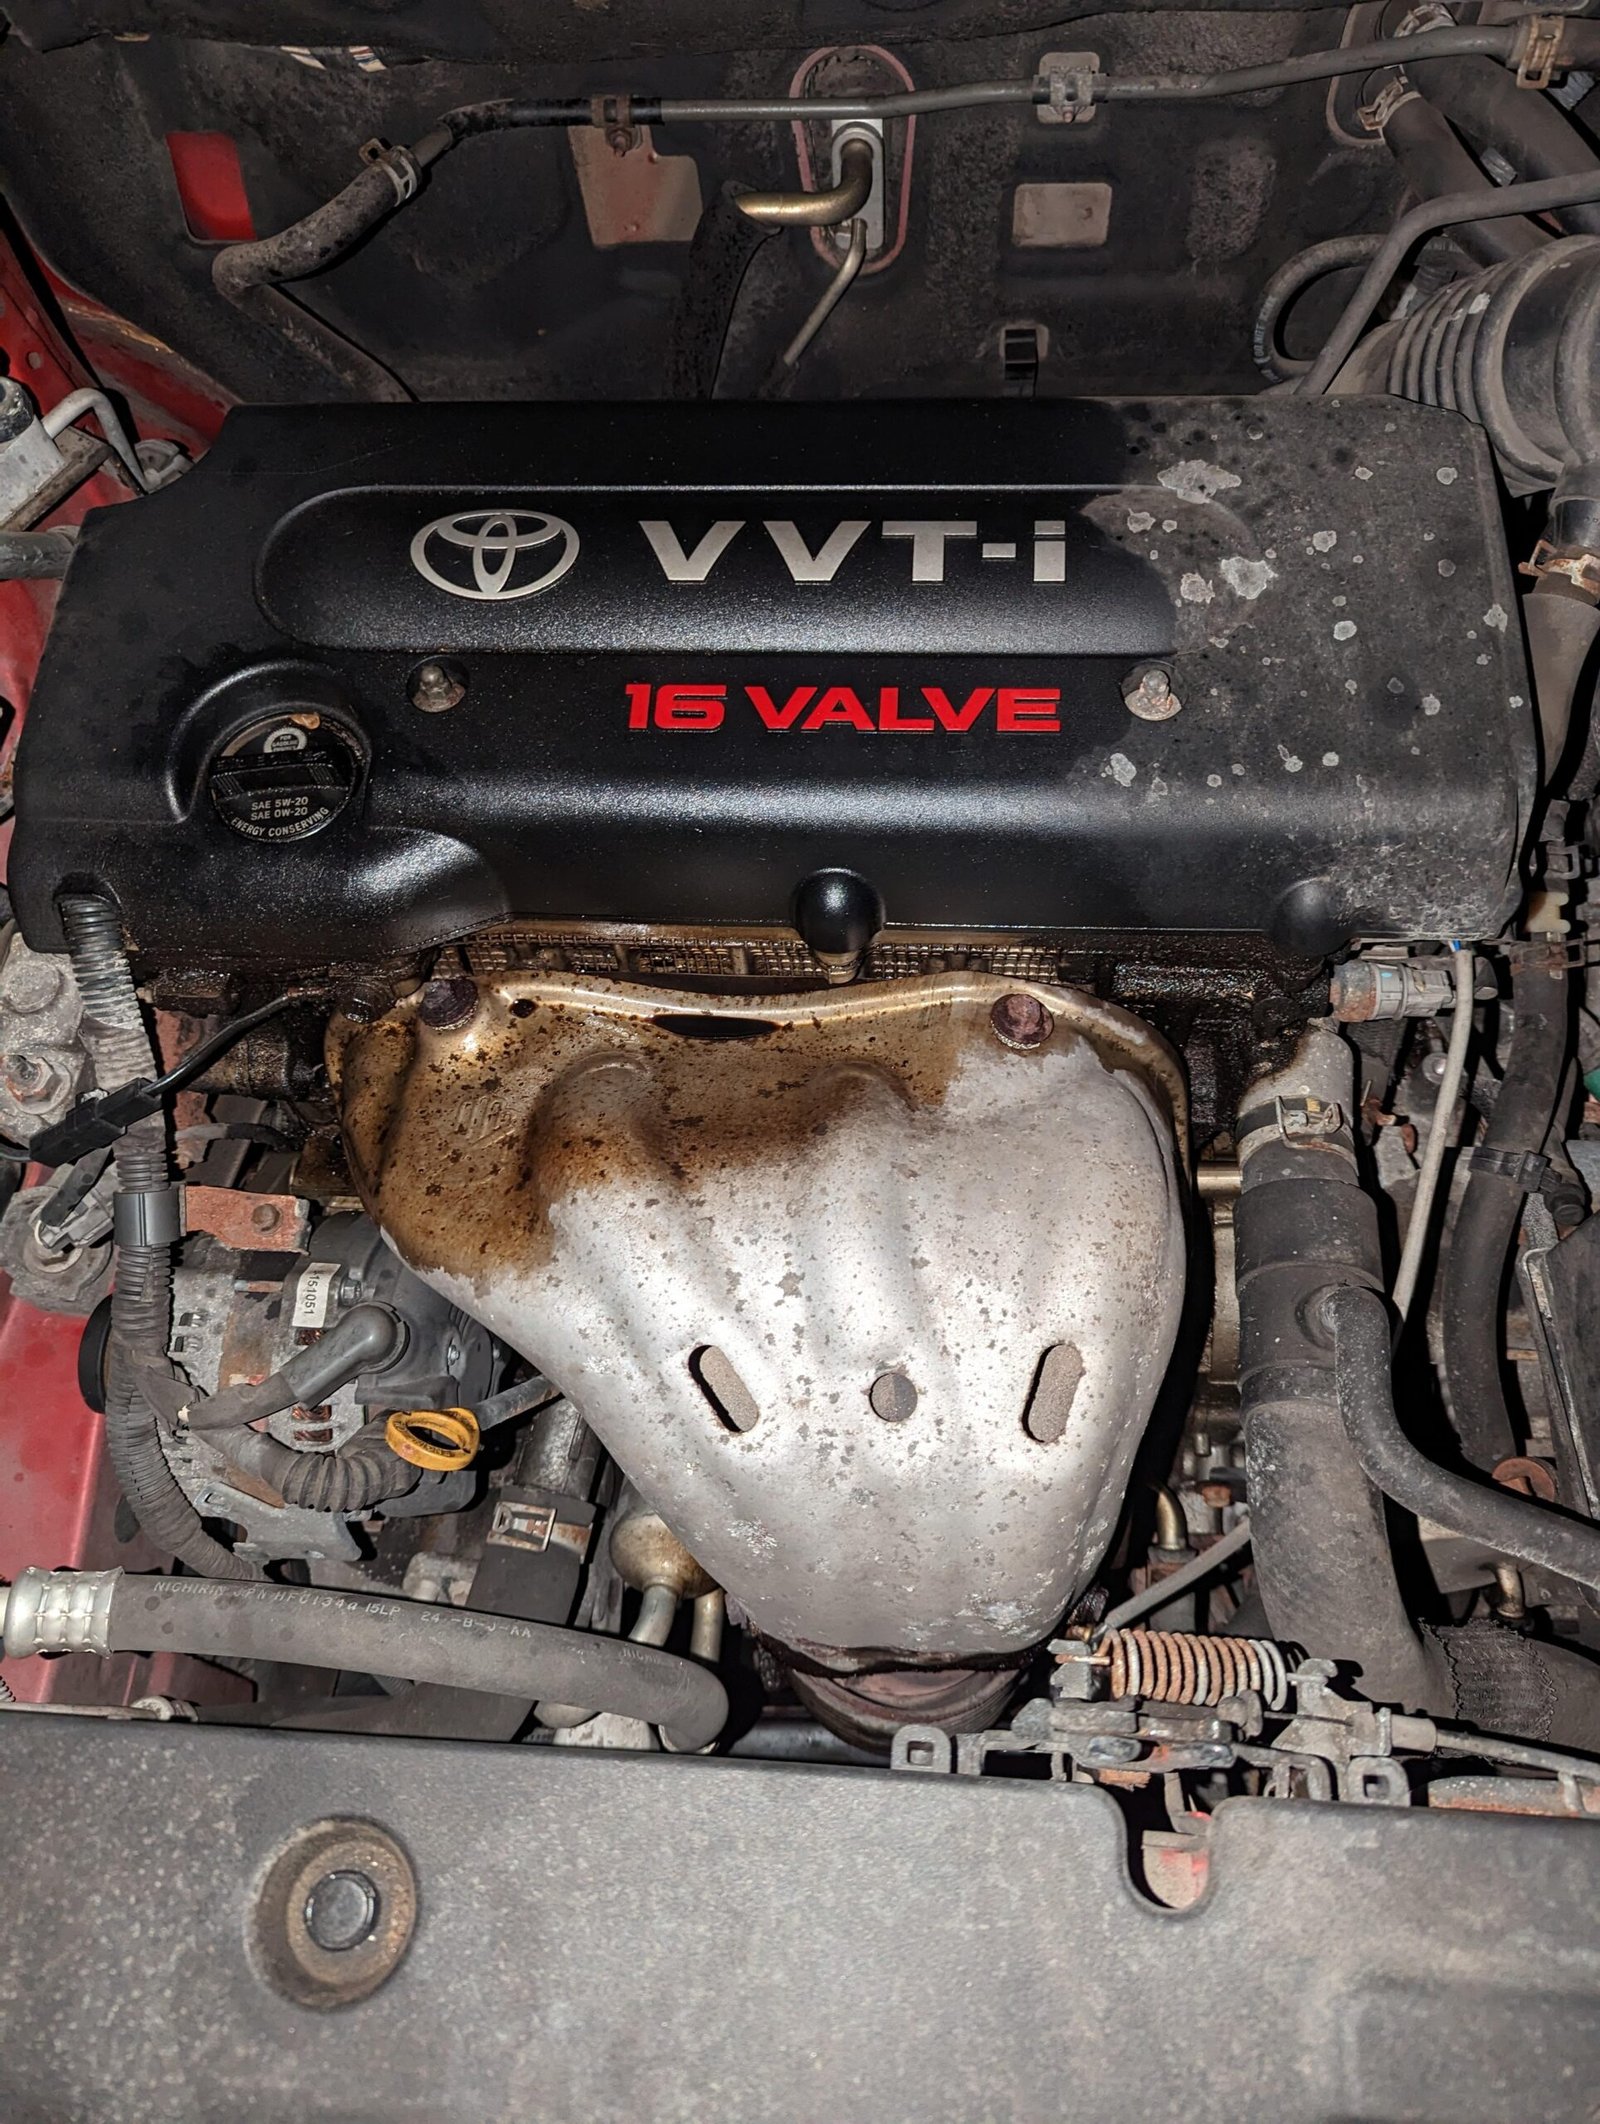
Credit: www.reddit.com
Tools And Materials Needed
Fixing a valve cover gasket leak doesn’t require special skills, but having the right tools helps a lot. Here’s what you’ll need:
- New valve cover gasket (make/model specific)
- Socket set (usually 8mm-13mm sockets)
- Ratchet and extension bar
- Torque wrench (for correct bolt tightening)
- Screwdrivers (flathead and Phillips)
- Gasket scraper or plastic putty knife
- Clean rags or shop towels
- Brake cleaner or engine degreaser
- RTV silicone sealant (if your car’s manual recommends it)
- Nitrile gloves (optional, but keeps hands clean)
- Flashlight
Pro tip: Always use a gasket designed for your car’s make, model, and engine. Universal gaskets often don’t seal well.
Step-by-step Guide To Fixing A Valve Cover Gasket Leak
Let’s break the job into clear steps. Set aside 1–2 hours if you’re new to this.
1. Prepare Your Workspace
Park your car on a flat surface. Let the engine cool completely—hot metal and oil can cause burns. Disconnect the negative battery terminal for safety.
Lay out your tools. If possible, take a picture of the engine’s top so you remember how everything fits.
2. Remove Engine Covers And Hoses
Some cars have plastic covers over the engine. Remove these first using your socket set or screwdriver.
Check for hoses, wires, or ignition coils connected to the valve cover. Label them with masking tape if needed. Unplug or move them aside gently.
3. Remove The Valve Cover Bolts
Carefully loosen each valve cover bolt in a crisscross pattern. This avoids warping the metal. Don’t force any bolts—they should come out smoothly. Keep the bolts in a safe spot, like a small tray.
Beginner tip: Some engines have hidden bolts. Check your car’s manual or look closely around the valve cover.
4. Lift Off The Valve Cover
Gently pry up the valve cover using a plastic putty knife. Avoid metal tools that can scratch or dent the surface. If the cover sticks, tap it lightly with the palm of your hand.
Check for old gasket pieces stuck to the valve cover or cylinder head. Remove them completely.
5. Clean The Surfaces
This step is often rushed, but clean surfaces are key to a leak-free seal. Use a gasket scraper or plastic tool to remove all old gasket material. Wipe the surfaces with a clean rag and brake cleaner. There should be no oil, dirt, or debris left.
Non-obvious insight: Even a tiny bit of old gasket or oil can cause new leaks. Take your time here.
6. Install The New Gasket
Place the new gasket into the groove on the valve cover or onto the cylinder head, following your car’s manual. Some gaskets require a small bead of RTV silicone in corners or sharp bends—don’t overdo it.
Press the gasket gently to seat it. Make sure it lines up with all bolt holes.
7. Reinstall The Valve Cover
Lower the valve cover straight onto the engine. Avoid shifting or sliding the cover, which can move the gasket out of place.
Hand-tighten all bolts in a crisscross pattern. Then, use a torque wrench to tighten them to the manufacturer’s specifications (often 7–10 ft-lbs). Overtightening can cause leaks or crack the cover.
8. Reconnect Hoses, Coils, And Battery
Put all hoses, wires, and ignition coils back in place. Double-check your earlier photo for reference. Reinstall any plastic engine covers you removed.
Reconnect the negative battery terminal.
9. Start The Engine And Check For Leaks
Start your car and let it idle for a few minutes. Look and feel around the valve cover for oil leaks. If all is dry, take a short drive and recheck. Don’t worry if you smell a little burning oil at first—some residue may be on the exhaust.
10. Top Up The Engine Oil
Check your oil level with the dipstick. Add oil if needed. Driving with low oil after a gasket job can damage your engine.
Common Mistakes And How To Avoid Them
Many home repairs fail because of small oversights. Here’s how to avoid the most frequent problems:
- Not cleaning surfaces completely: Leftover oil or gasket bits cause leaks.
- Overusing RTV sealant: Too much can squeeze into the engine and block oil flow.
- Overtightening bolts: This can strip threads or crack the valve cover.
- Forgetting hoses or wires: Label everything before removal.
- Using the wrong gasket: Get the exact part for your car’s engine type.
Cost Comparison: Diy Vs. Mechanic
Here’s how doing it yourself stacks up against a shop visit:
| Repair Option | Estimated Cost | Time Needed | Warranty |
|---|---|---|---|
| DIY (Home Repair) | $20–$60 (gasket & supplies) | 1–2 hours | No warranty |
| Mechanic Shop | $150–$400 | 2–4 hours | Usually 12 months |
Doing the repair at home saves money, but you take on the risk of mistakes. Most beginners succeed if they follow the steps carefully.
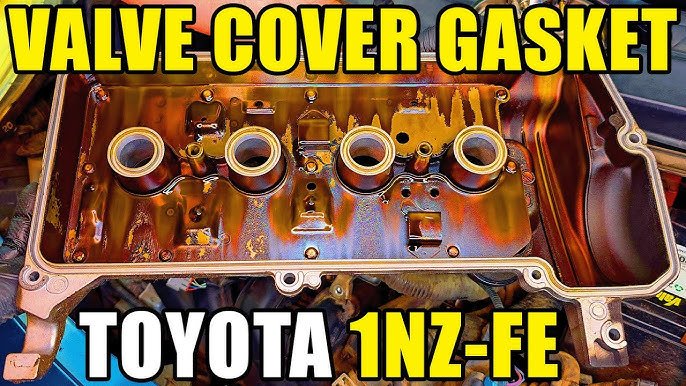
Credit: www.youtube.com
How To Choose The Right Valve Cover Gasket
Not all gaskets are equal. Here’s what matters:
| Gasket Material | Durability | Cost | Common Use |
|---|---|---|---|
| Rubber | High | $$ | Modern cars |
| Cork | Medium | $ | Older engines |
| Silicone | Very High | $$$ | Performance cars |
- Rubber gaskets are most common and easy to install.
- Cork gaskets are cheaper but can dry out faster.
- Silicone gaskets last longer but cost more.
Always check your car’s manual and buy from a reputable brand.
When To Call A Mechanic
Some valve cover gasket leaks are best left to professionals:
- If bolts are stripped or broken
- If you see oil in your coolant (could mean a bigger problem)
- If you’re not comfortable removing engine parts
A mechanic has the tools and experience to handle tricky jobs and often gives a warranty on repairs.
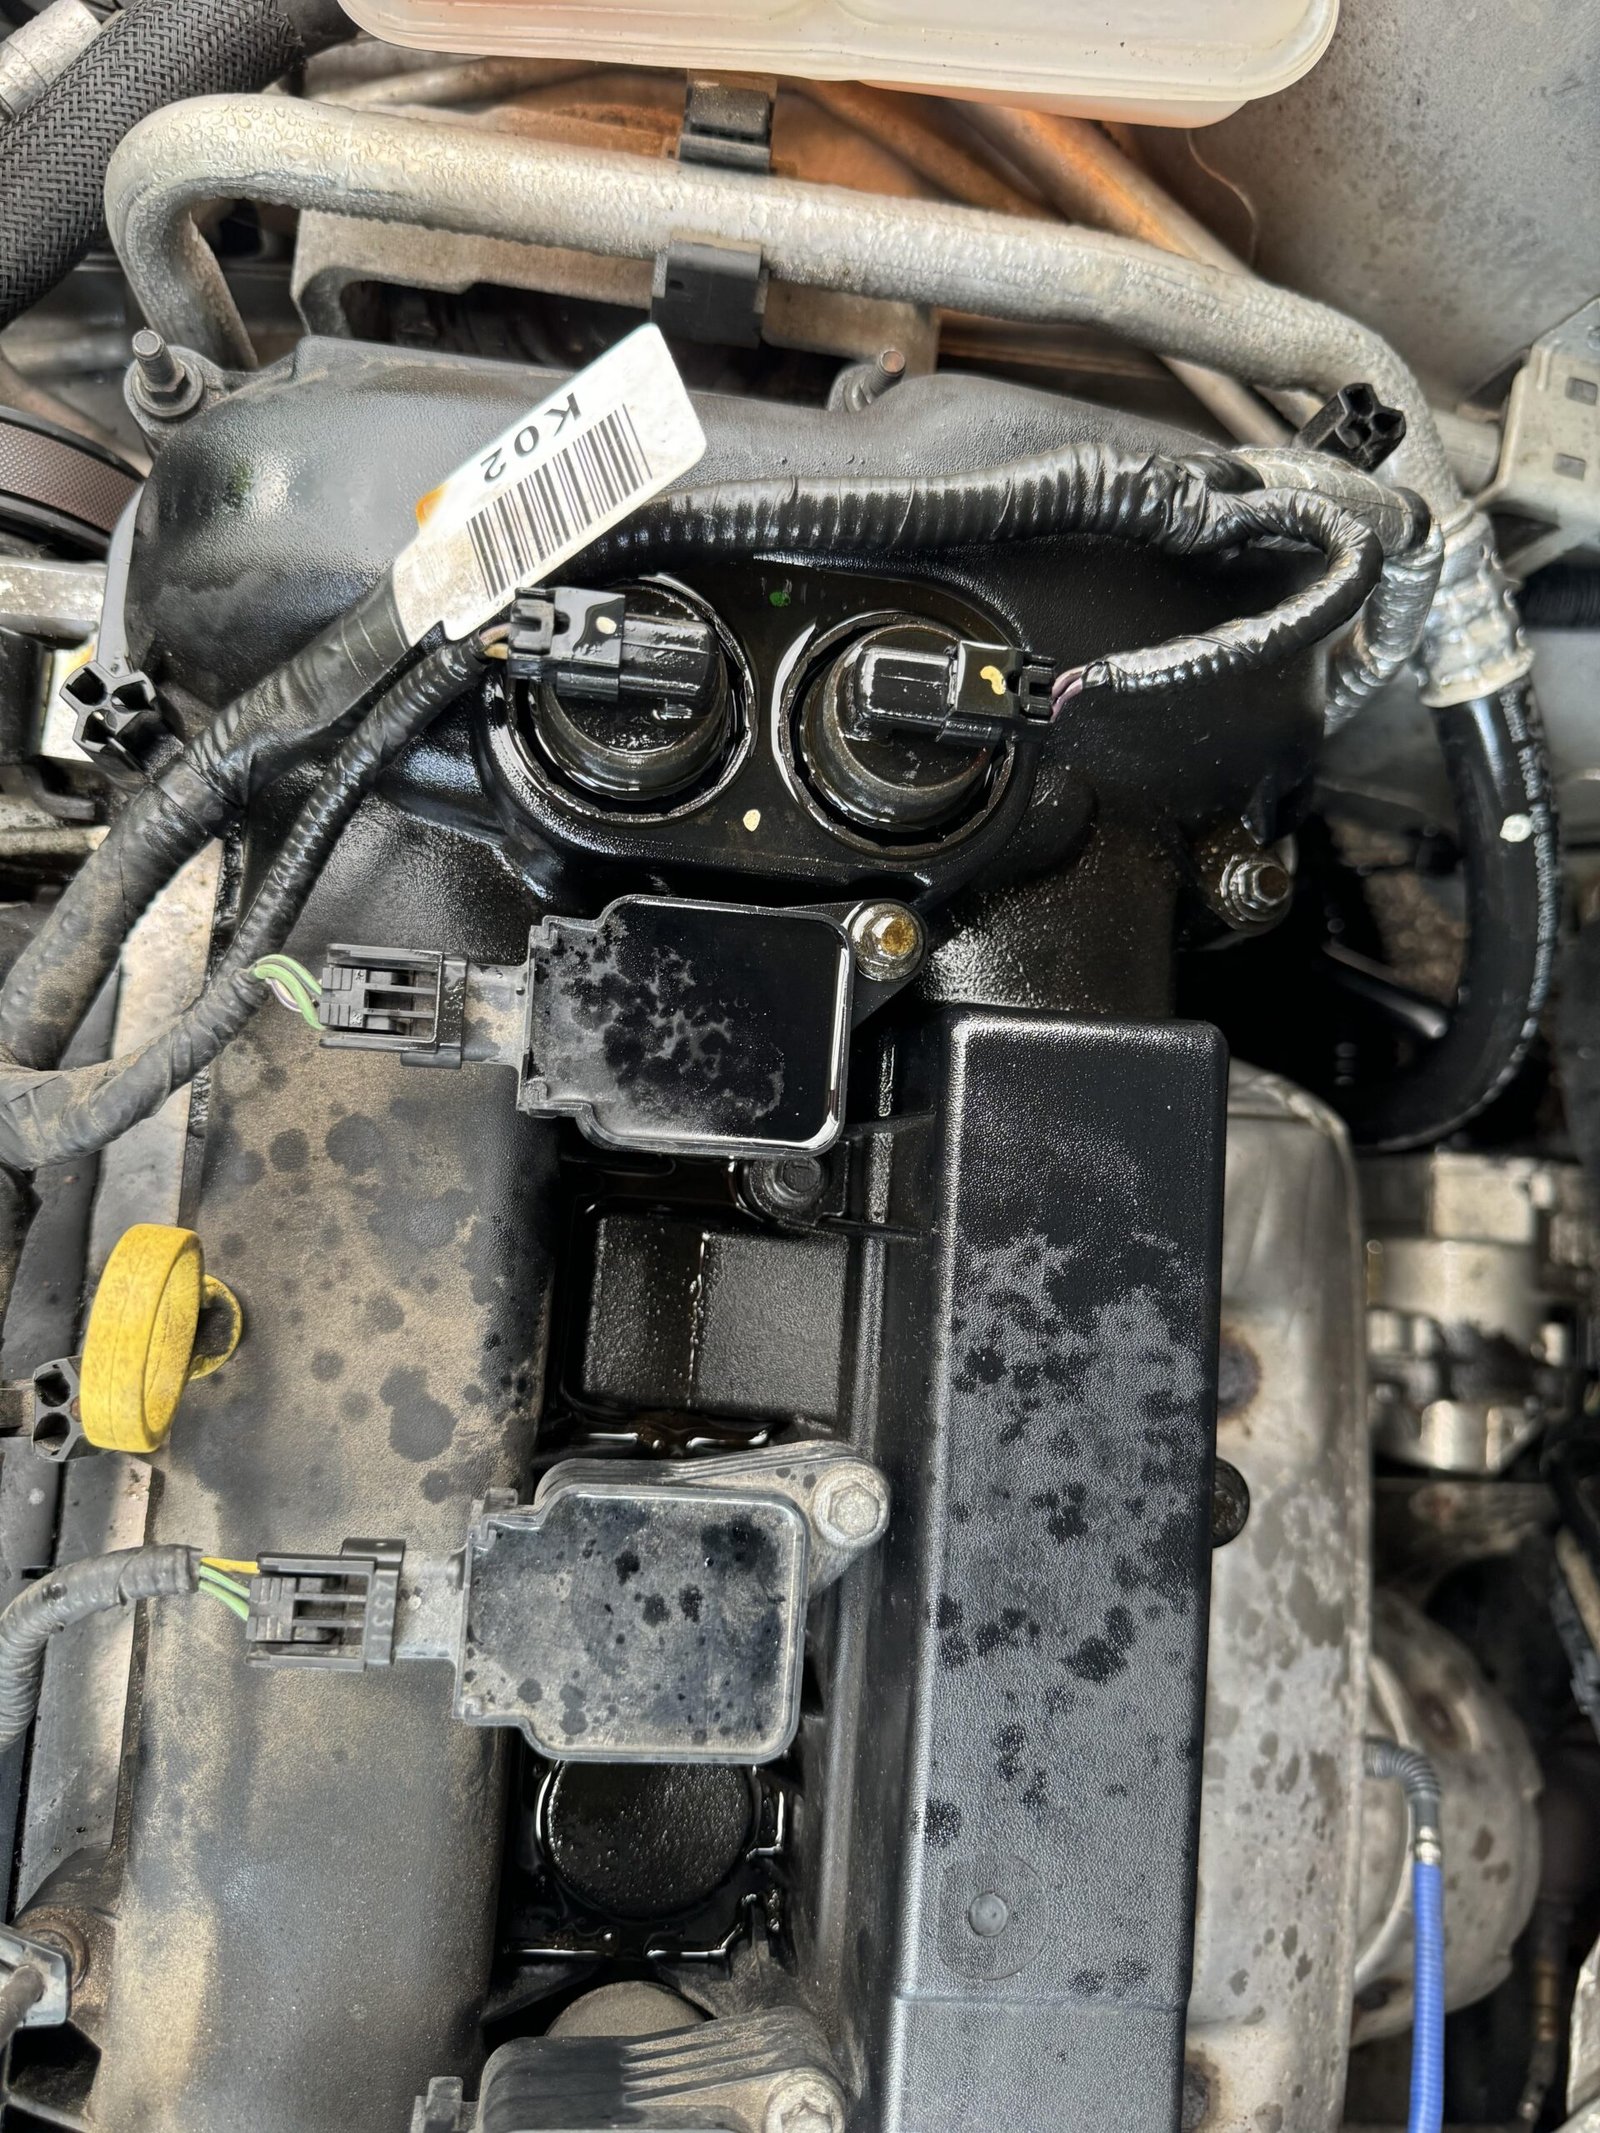
Credit: www.reddit.com
How A Valve Cover Gasket Leak Affects Your Car
Ignoring a valve cover gasket leak can do more harm than you think. Here’s how it affects your car:
- Engine misfires: Oil can seep into spark plug tubes, causing poor firing.
- Catalytic converter damage: Oil burning off the engine can foul this expensive part.
- Fire hazard: Oil dripping on the exhaust manifold can ignite.
- Premature engine wear: Low oil means less lubrication and more friction.
Fixing the leak quickly protects both your wallet and your engine.
Practical Tips For A Leak-free Repair
- Work slowly and keep things organized.
- Take photos before and during disassembly.
- Double-check torque specs for your specific engine.
- Replace spark plug tube seals if your gasket kit includes them.
- Clean up all oil spills to avoid smoke or smells later.
- Use gloves—oil can irritate skin.
Non-obvious insight: Some engines have two valve covers (V6 or V8 engines)—both may need new gaskets at the same time.
Frequently Asked Questions
How Long Does A Valve Cover Gasket Last?
Most valve cover gaskets last between 50,000 and 100,000 miles. Heat, oil quality, and driving conditions can shorten or extend their life. Check during routine maintenance.
Can I Drive With A Leaking Valve Cover Gasket?
You can drive short distances, but it’s risky. Oil loss can cause engine damage or fire if it hits hot parts. Fix leaks as soon as possible.
How Do I Know If My Valve Cover Gasket Needs Rtv Sealant?
Check your car’s service manual. Some gaskets need a small bead of RTV in corners or sharp curves. Using too much can cause leaks or engine problems.
Is It Normal To Smell Burning Oil After Gasket Replacement?
A mild burning smell is common for a few days after repair. Old oil on the exhaust will burn off. If the smell lasts longer or you see smoke, check for new leaks.
Where Can I Find Step-by-step Videos Or Diagrams?
Many car forums, YouTube, and trusted sites have detailed guides. For official diagrams and specs, visit Haynes Manuals for your specific car model.
Fixing a valve cover gasket leak at home is a great way to learn about your car and save money. With care, the right tools, and this guide, you’ll keep your driveway clean and your engine running smoothly for miles to come.
