
Installing a new car stereo can completely change your driving experience. Music sounds clearer, Bluetooth works better, and you get more control over your audio. Paying a professional can cost $100 or more—sometimes as much as the stereo itself. But with the right tools, a little patience, and the right guidance, you can install an aftermarket car stereo yourself and save money. Many people feel nervous about removing panels or connecting wires, but it’s much simpler than you think if you follow each step carefully.
This guide gives you everything you need to know, from picking the right stereo to testing your new system. You’ll learn how to avoid common mistakes, which tools make the job easier, and how to make sure your stereo upgrade is safe and looks professional.
What You Need Before You Begin
A smooth installation starts with good preparation. Before you pull out any tools, check that you have all the right parts and information.
Tools And Materials
You don’t need a mechanic’s toolbox, but some basic items are essential:
- New aftermarket stereo (double-check it fits your car)
- Wiring harness adapter for your vehicle make/model
- Dash kit (to make the new stereo fit perfectly)
- Phillips and flathead screwdrivers
- Panel removal tool (plastic trim tool)
- Wire stripper/crimper
- Electrical tape or heat-shrink tubing
- Soldering iron (optional, for strong wire connections)
- Socket wrench set (for some vehicles)
- Owner’s manual or radio wiring diagram
Pro tip: A wiring harness adapter is not optional for beginners. It connects your new stereo to your car’s wires without cutting the factory harness.
Choosing The Right Stereo
Not all stereos fit all cars. Check these points before buying:
- Size (DIN or Double-DIN): Most cars use a single-DIN (2” tall) or double-DIN (4” tall) opening.
- Features: Bluetooth, USB, CD, Apple CarPlay, Android Auto, etc.
- Wiring Compatibility: Some cars need extra adapters for steering wheel controls or amplified systems.
- Faceplate Color: Match your dash for a clean look.
You can use online fit guides from retailers like Crutchfield to check what fits your car.
Removing Your Old Stereo
This is where most people feel nervous. But if you go slowly, removing the factory stereo is safe and easy.
Disconnect The Battery
Always disconnect the negative battery terminal before working on any car electronics. This prevents shocks and keeps your airbag and electronics safe.
Remove Trim And Fasteners
Most car stereos are hidden behind trim panels or bezels.
- Use a plastic trim tool to gently pry off the dash panel. Start at one corner and work around. If it feels stuck, check for hidden screws.
- Remove any screws or bolts holding the stereo in place.
- Gently slide the stereo out. Some cars use clips or special tools (often included with aftermarket kits).
Unplug The Factory Stereo
Carefully unplug the factory wiring harness and antenna cable from the back of the unit. Do not cut any wires—these connect to your new harness adapter.
Example: Removing A Stereo In A 2010 Honda Civic
- Pry off the plastic trim around the stereo.
- Remove two Phillips screws below the unit.
- Slide the stereo out and unplug two wiring connectors and the antenna.
Preparing The Wiring
The wiring step is where most beginners get stuck, but using the right adapter makes it much easier.
Connect The Wiring Harness
- Match each colored wire from the stereo’s harness to the same color on the harness adapter (yellow to yellow, black to black, etc. ).
- Twist the wires together, crimp them with connectors, or solder for best results.
- Cover each connection with electrical tape or heat-shrink tubing.
Here’s a typical wire color chart:
| Stereo Wire Color | Function | Connects to |
|---|---|---|
| Yellow | 12V Constant | Car battery |
| Red | 12V Accessory | Ignition switch |
| Black | Ground | Chassis |
| Blue | Power Antenna/Remote | Antenna or amp |
| White/White-Black | Front Left Speaker (+/-) | Speaker wires |
| Gray/Gray-Black | Front Right Speaker (+/-) | Speaker wires |
| Green/Green-Black | Rear Left Speaker (+/-) | Speaker wires |
| Purple/Purple-Black | Rear Right Speaker (+/-) | Speaker wires |
If your car has steering wheel controls or a factory amplifier, you may need extra adapters. Check your stereo’s manual for details.
Test Connections Before Installing
Before fitting the stereo into the dash, connect all wires and test the system. Reconnect the battery, turn on the ignition, and check:
- Power to the stereo
- Sound from all speakers
- Bluetooth or USB functions
If something doesn’t work, check your wire connections and the fuse on the stereo’s power wire.
Installing The New Stereo
Once everything is wired and tested, you’re ready to fit the new stereo into the dash.
Attach The Dash Kit
Most new stereos need a dash kit to fit perfectly and look factory. The kit comes with brackets and a trim bezel.
- Attach the brackets to the stereo.
- Snap the trim bezel in place.
- Slide the stereo into the dash opening.
Some dash kits need to be assembled before attaching to the stereo. Follow the instructions carefully for a tight fit.
Secure The Stereo
Use the original screws or bolts to secure the new stereo and dash kit. Make sure everything is tight but don’t over-tighten, or you might crack the trim.
Connect The Harness And Antenna
Plug the new harness adapter and antenna cable into the back of the stereo. Make sure all connections are firm.
Test All Functions
Before reassembling the dash, turn on the stereo and check:
- Radio reception
- CD/USB/Bluetooth
- All speakers
- Balance and fade controls
It’s easier to fix problems now than after the dash is back together.
Reinstall Dash Panels
Carefully snap the dash trim back into place. Replace any screws or bolts you removed. Check that all buttons, air vents, and panels fit as before.

Credit: autorepairba.com
Common Problems And How To Fix Them
Even careful installers sometimes hit snags. Here’s how to solve the most common issues:
No Power To The Stereo
- Check the red and yellow wires for good connection.
- Make sure the car’s radio fuse is not blown.
- Confirm the negative battery terminal is connected.
No Sound From Speakers
- Double-check speaker wire connections.
- Make sure the stereo is not set to “mute” or an unused audio source.
- If only one side works, check for pinched or disconnected wires.
Poor Radio Reception
- The antenna may not be plugged in fully.
- Some aftermarket stereos need a powered antenna adapter.
Stereo Resets Or Loses Settings
- The yellow (constant 12V) wire is not connected to a power source that stays on when the car is off.
Dash Trim Doesn’t Fit
- The dash kit may be incorrect for your car model or installed upside-down. Double-check the instructions.
Tips For A Professional-looking Installation
- Use a wiring harness adapter. Never cut your car’s factory wires unless absolutely necessary.
- Solder or crimp connections for durability—twist-and-tape is not reliable long-term.
- Route wires carefully. Keep them away from moving parts or sharp edges.
- Take photos before removing anything. This makes it easier to reassemble.
- Label wires with tape if you’re unsure.
- Don’t rush. Plan for 2-3 hours even if the job looks simple.
- Test before final reassembly. If you miss this, you may have to take it all apart again.
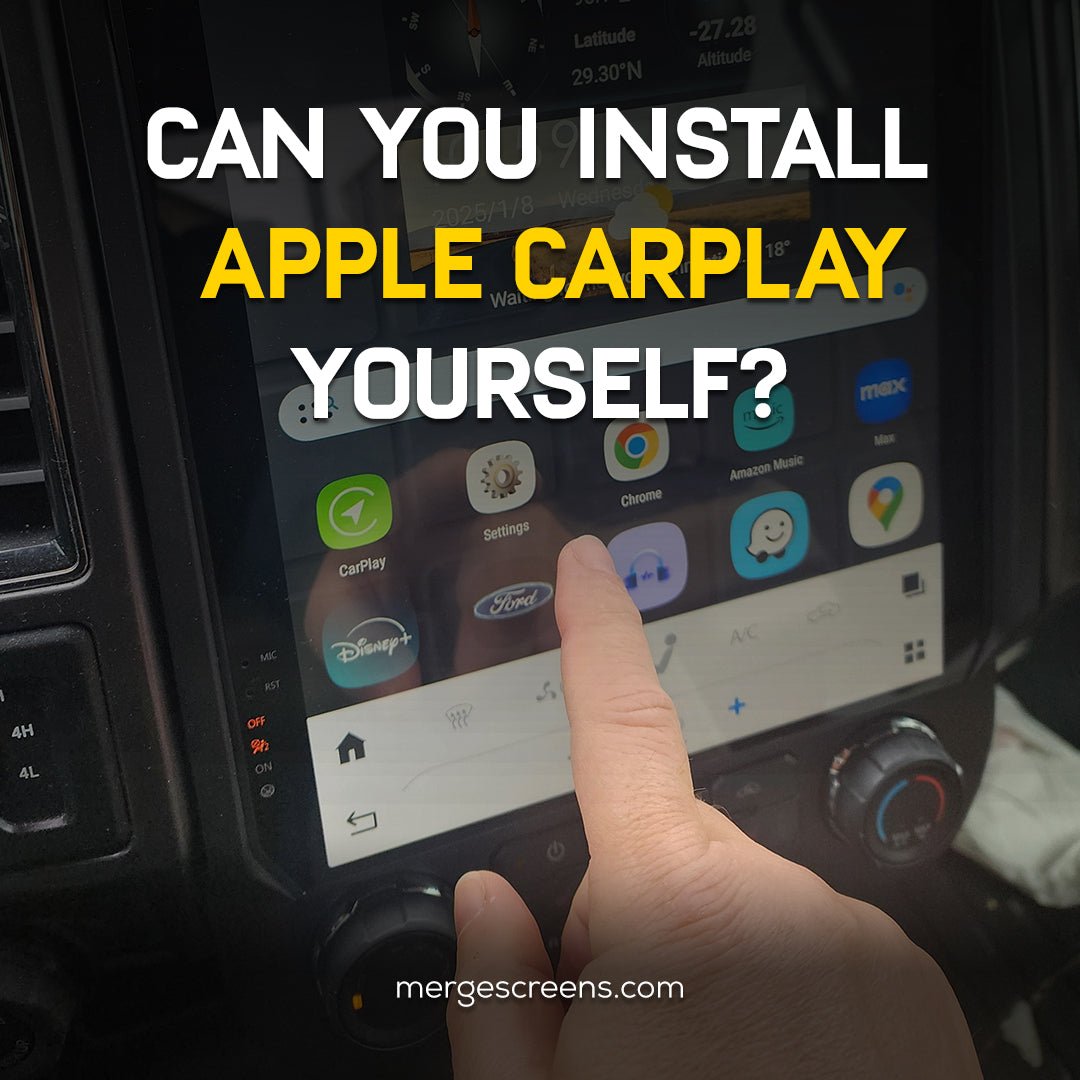
Credit: mergescreens.com
Comparing Aftermarket Vs. Factory Stereos
Here’s a quick look at what you gain by installing an aftermarket stereo:
| Feature | Factory Stereo | Aftermarket Stereo |
|---|---|---|
| Sound Quality | Basic | High (customizable) |
| Bluetooth & USB | Rare in older cars | Common, advanced |
| Display | Simple | Touchscreen, color |
| Expandability | Limited | Subwoofers, amps, cameras |
| Cost to Upgrade | High | Affordable |
Safety Tips
- Always disconnect the battery before starting.
- Use a plastic tool for trim to avoid scratching.
- Never force panels or connectors.
- Don’t use household electrical tape (it melts in summer heat).
- Avoid working in the rain or with wet hands.
Additional Insights Most Beginners Miss
- Some cars have anti-theft codes for the radio. Write down your old stereo’s code before removal if you plan to keep it.
- If your car has a factory amplifier, you may need a special adapter or the new stereo may not work with your speakers.
- Aftermarket stereos often have a reset button—use it if you experience glitches after installation.
- For cars with airbag sensors in the dash, avoid unplugging anything with a yellow connector.
Is Diy Installation Right For You?
Most people with basic tools and patience can install an aftermarket car stereo in 1–3 hours. If your car is newer or has a complicated sound system (like Bose or JBL), you may want to consult a pro. But for most vehicles, following these steps will get you the best results for your money.
For more on car audio wiring and fitment, you can visit Wikipedia’s car audio page.
Credit: www.youtube.com
Frequently Asked Questions
How Long Does It Take To Install An Aftermarket Car Stereo?
Most DIY installations take 1 to 3 hours if you have all parts ready. First-timers should plan on the longer side, especially if you need to remove a lot of trim panels or wire extras like backup cameras.
Do I Need Any Special Tools?
You need basic hand tools: screwdrivers, a trim removal tool, wire stripper/crimper, and a socket wrench set. A wiring harness adapter and dash kit designed for your car make the job much easier and prevent damage.
Will Installing A New Stereo Void My Car Warranty?
In most cases, changing the stereo does not void your warranty unless you damage the car’s wiring or electronics during installation. Always use a harness adapter and follow instructions to keep your warranty safe.
Can I Keep My Steering Wheel Controls?
Many aftermarket stereos support steering wheel controls, but you’ll need an extra steering wheel control adapter. Check your stereo and car model for compatibility before buying.
What If My Car Has A Factory Amplifier?
Cars with factory amps (like premium sound systems) often need a special interface to work with aftermarket stereos. Without it, you may get no sound or poor audio quality. Always check for amp integration kits for your car.
Installing a new car stereo yourself is not just about saving money—it’s about taking charge of your car’s sound and learning new skills. With careful planning and the right tools, you’ll enjoy your favorite music like never before.