
Installing an auxiliary gauge pod in your car is one of the smartest upgrades for drivers who care about their vehicle’s health and performance. Factory dashboards often show only basic information like speed and fuel. But what if you want to monitor oil pressure, boost, air-fuel ratio, or temperature more closely? That’s where auxiliary gauge pods come in. They let you keep an eye on important engine data in real time, helping you catch problems early and even tune your car for better driving.
Many drivers feel nervous about adding aftermarket gauges, worrying the job is too technical. But with the right steps and some patience, most people can do a clean, safe installation at home. In this guide, you’ll learn how to install a car auxiliary gauge pod from start to finish. We’ll talk about tools, choosing the right pod and gauges, wiring safely, and mounting everything neatly. There are also tips for avoiding common mistakes people make the first time. By the end, you’ll know how to set up gauges that look factory-installed—and work reliably.
Why Install An Auxiliary Gauge Pod?
Modern cars have many sensors, but the dashboard often hides critical information. Sometimes, one small warning light is all you get before a serious problem appears. With an auxiliary gauge pod, you can see what’s happening inside your engine instantly.
Some key benefits:
- Early problem detection: Notice issues like low oil pressure or high temperatures before they become emergencies.
- Performance tuning: For turbocharged or modified cars, extra gauges like boost or wideband O2 help you tune safely.
- Customization: Pick the style, location, and number of gauges to match your car and needs.
- Professional appearance: A well-installed gauge pod looks clean and organized.
For example, if your car’s oil pressure suddenly drops, a dedicated gauge can warn you before engine damage occurs. Or, with a boost gauge, you can check that your turbo is working as expected. Many enthusiasts also install air-fuel ratio (AFR) gauges to make sure their engine isn’t running too lean or rich.
Choosing The Right Gauge Pod And Gauges
The first step is deciding what you want to monitor, and where to put the gauges. Not all pods or gauges are the same, so picking the right ones will make installation easier and results better.
Types Of Gauge Pods
There are several common types:
- A-pillar pods: Mount on the side pillar next to your windshield. Easy to see while driving, but can block vision if too large.
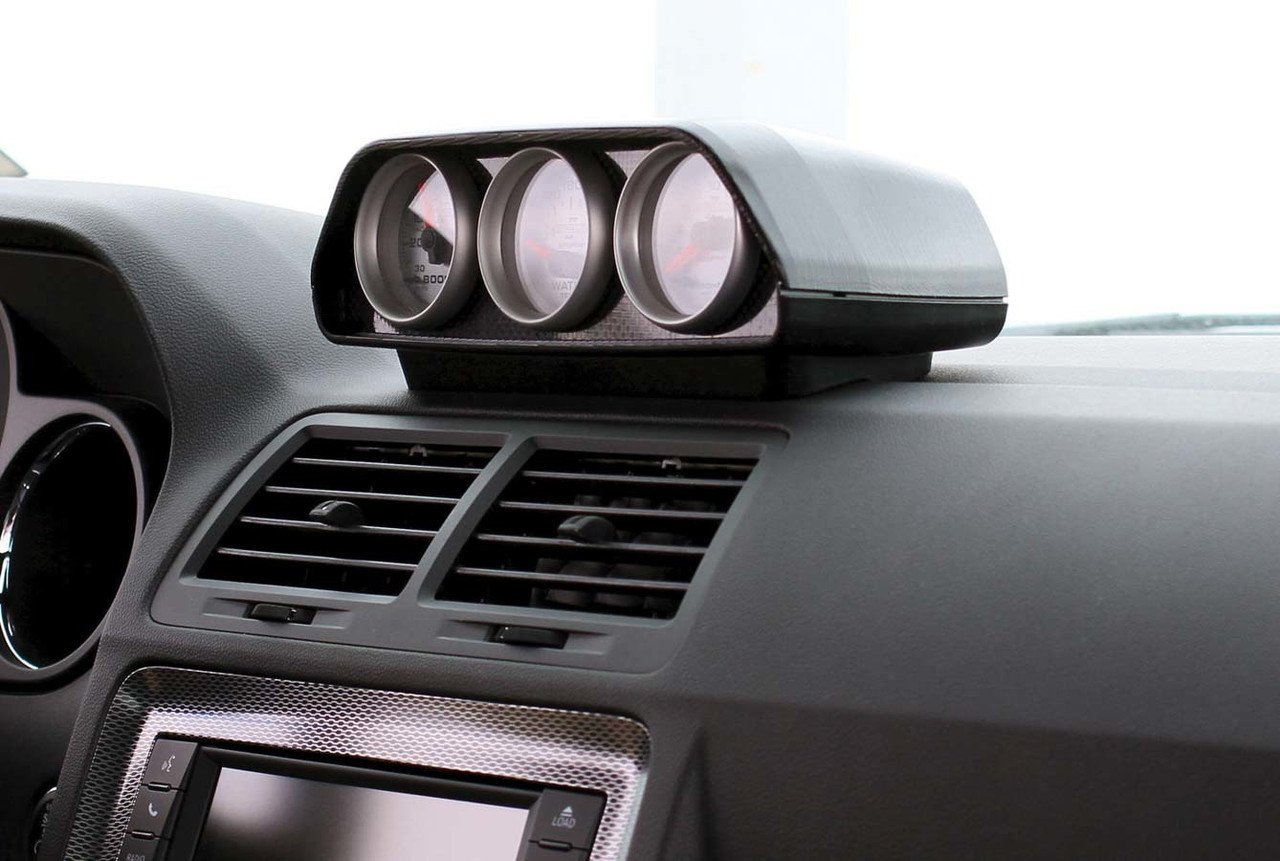
- Dashboard pods: Sit on top of the dash. Good for visibility, but may look out of place in some cars.
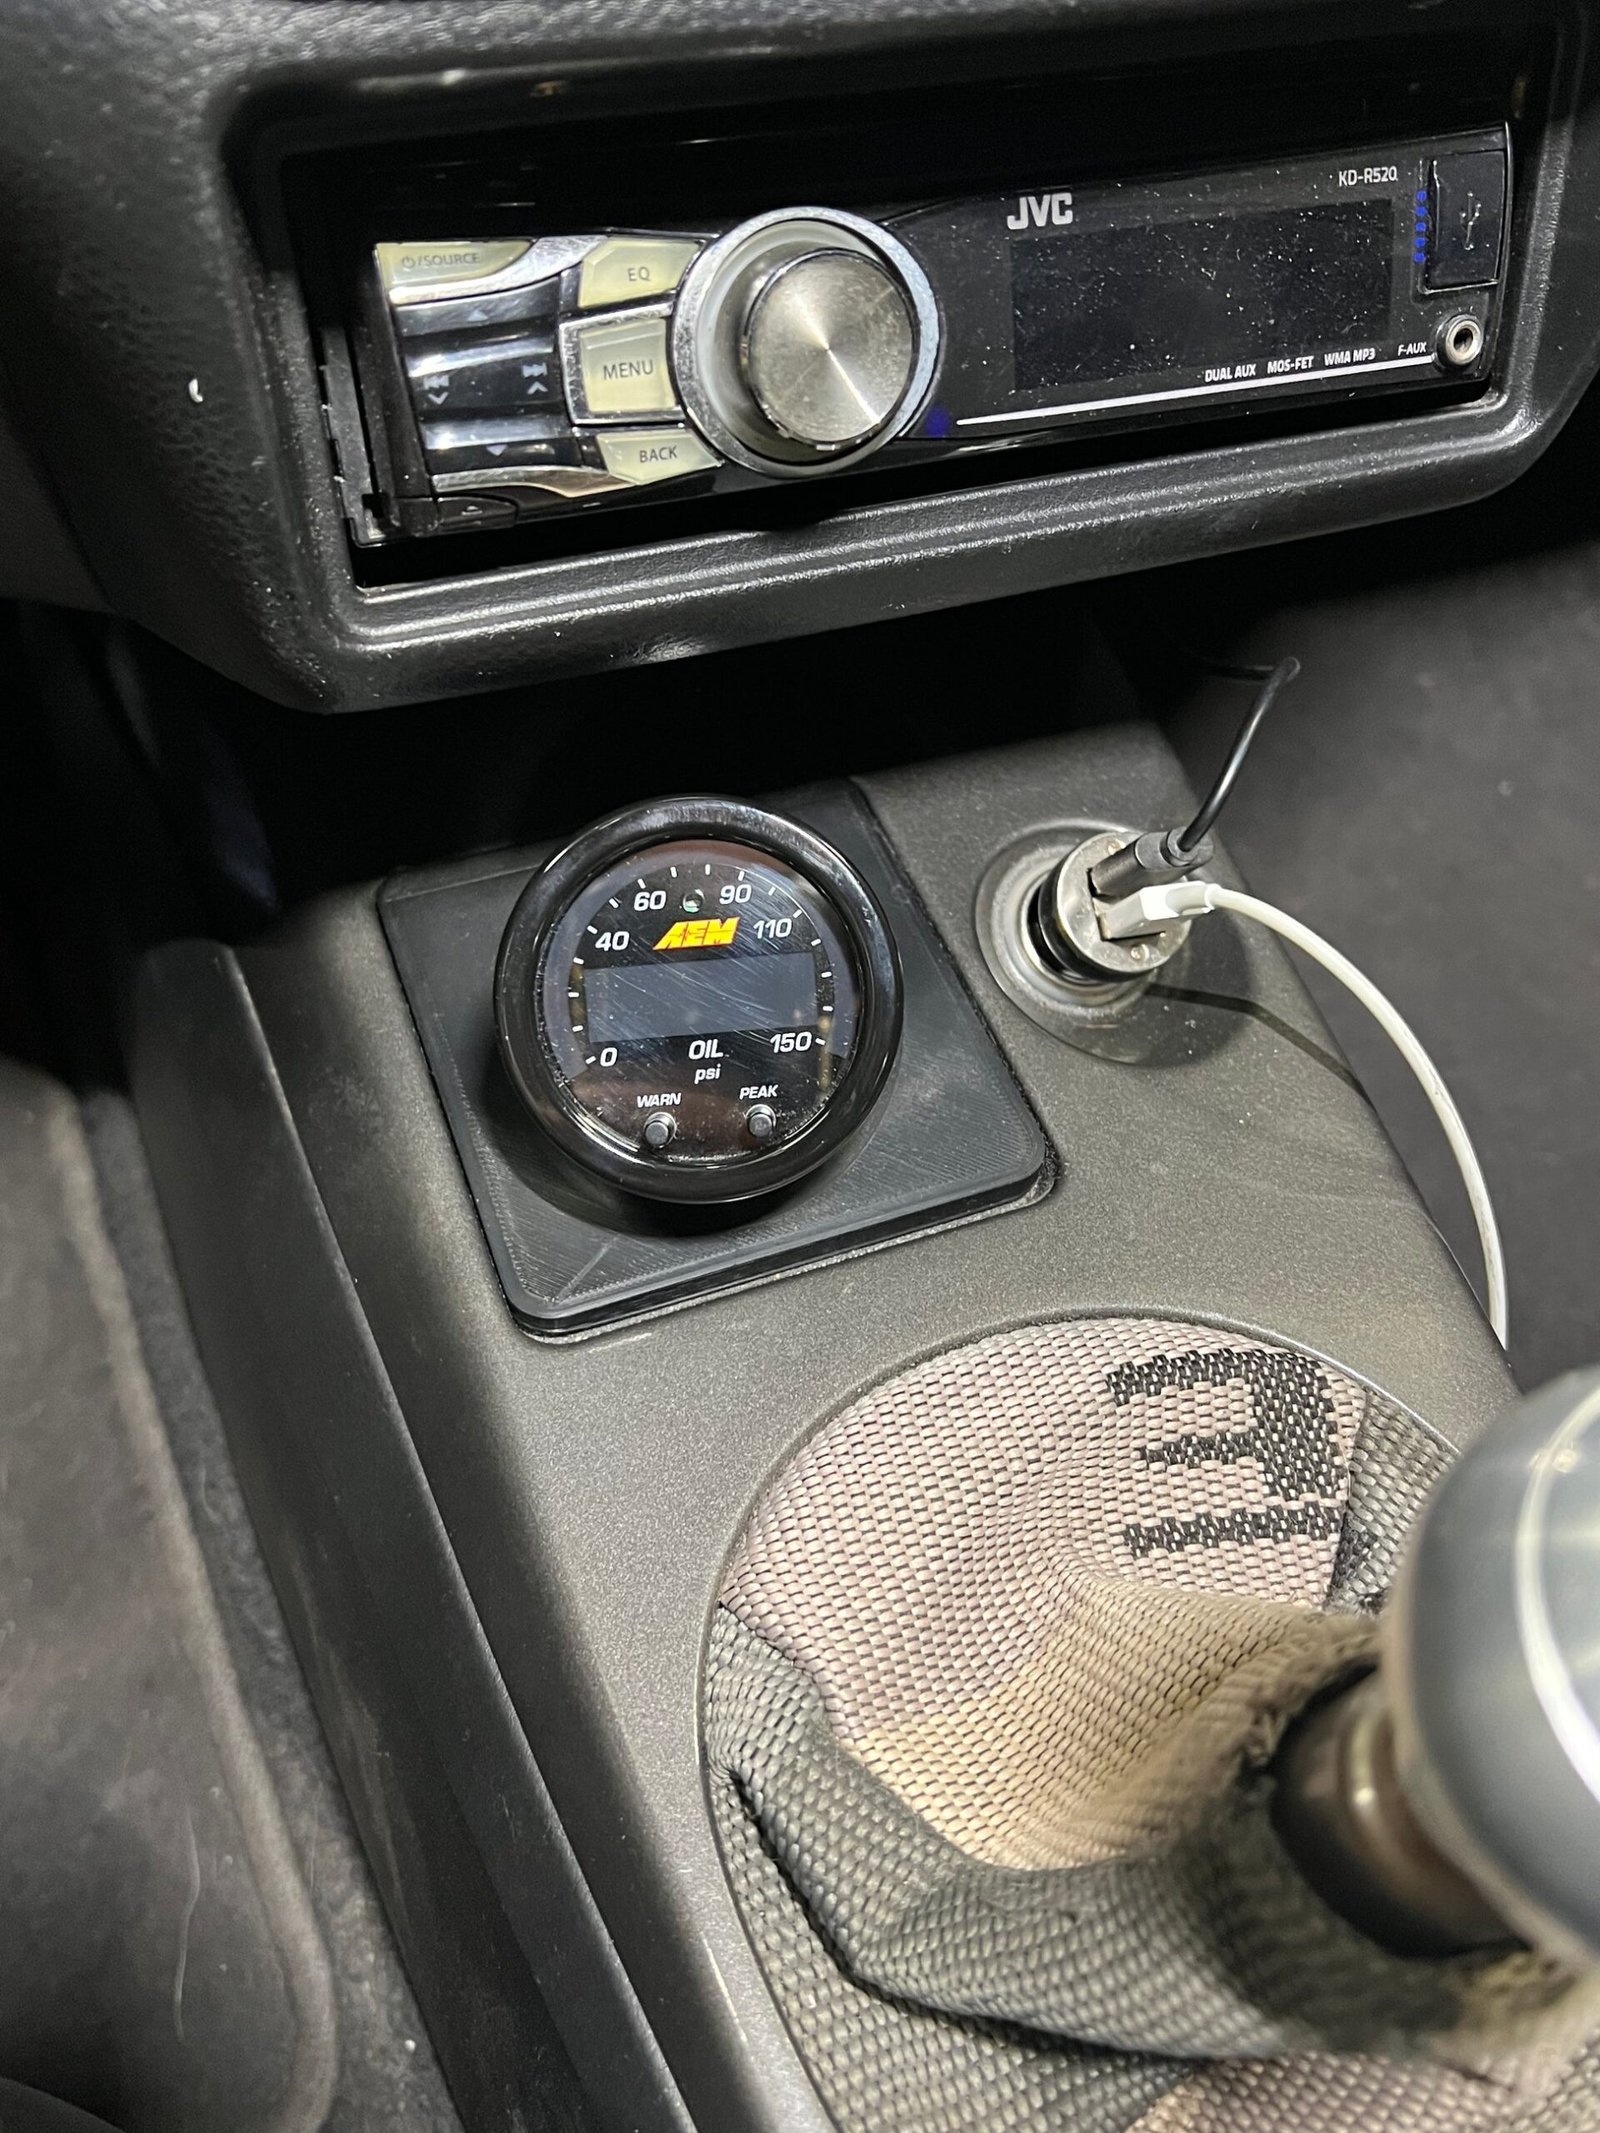
- Center console pods: Fit into or replace parts of the center console. Often the cleanest look, but can be harder to install.
- Vent pods: Replace or fit into air vents for a stealthy appearance.
Factors To Consider
- Number of gauges: Most pods hold one to three gauges. Decide how many you need before buying.
- Gauge size: Common sizes are 52mm (2-1/16”) or 60mm (2-3/8”). Make sure your pod fits your chosen gauges.
- Material and finish: ABS plastic is common, but some prefer carbon fiber or metal for style and durability.
- Vehicle compatibility: Some pods are universal, others made for specific car models for a factory fit.
Here’s a quick comparison of common pod types:
| Pod Type | Visibility | Install Difficulty | Factory Look |
|---|---|---|---|
| A-pillar | High | Moderate | Good (with custom-fit) |
| Dashboard | High | Easy | Average |
| Center Console | Medium | Hard | Excellent |
| Vent | Medium | Moderate | Excellent |
Picking Your Gauges
Think about what’s most important for your car. The most popular choices:
- Oil pressure
- Water temperature
- Voltmeter
- Boost (for turbo or supercharged cars)
- Air-fuel ratio
For daily drivers, oil pressure and water temp are smart choices. For performance cars, add boost and AFR.

Credit: www.youtube.com
Tools And Materials Needed
Having the right tools will make installation smoother and safer. Here’s a practical list:
- Gauge pod (matched to your car and gauge size)
- Gauges
- Wiring kit (often included with gauges)
- Sensor adapters (oil pressure, temp, etc.)
- Drill and drill bits
- Wire strippers and crimpers
- Electrical tape or heat shrink
- Screwdrivers
- Panel removal tools
- Zip ties
- Multimeter (for checking power and ground connections)
- Double-sided tape or screws (for mounting pod)
- Owner’s manual (for wiring diagrams)
Some gauges require special adapters for sensors—check your car’s engine type and buy these before starting.
Planning Your Installation
Before touching any wires, take a few minutes to plan. Good planning saves time and avoids mistakes.
- Choose the pod location: Sit in the driver’s seat and check sight lines. Make sure the pod won’t block airbags, controls, or your view of the road.
- Test fit everything: Place the gauges in the pod and hold it where you want to mount. Adjust for comfort and visibility.
- Plan wire routing: Think about how you’ll run wires from the engine bay to the pod. Avoid sharp edges, moving parts, and hot surfaces.
- Read gauge instructions: Some brands have unique wiring or setup steps. Review these before starting.
- Disconnect the battery: Always disconnect your car’s negative battery terminal before working with wiring.
Non-obvious tip: Take photos of your car’s interior before and during disassembly. This helps you remember how things go back together.
Credit: difabrication.com
Step-by-step Installation Guide
Ready to get hands-on? Here’s how to install your auxiliary gauge pod and gauges.
1. Mount The Pod
- Hold the pod in the chosen spot.
- Use double-sided automotive tape for temporary placement, or screws for a permanent mount.
- If drilling, check behind the surface to avoid hitting wires or airbags.
- Make sure the pod feels solid and does not shift when you touch it.
2. Fit The Gauges
- Insert each gauge into the pod. Most will fit snugly; some require a securing bracket at the back.
- Align the faces so you can read them clearly from the driver’s seat.
- Use the included hardware to secure each gauge.
3. Run The Wiring
- Plan the cleanest path from the pod to the fuse box and engine bay. Usually, under the dash and through a firewall grommet.
- Use a coat hanger or cable puller to gently guide wires through tight spaces.
- Secure the wires with zip ties every 6–12 inches. This stops rattles and damage.
- Avoid running wires near sharp edges or hot engine parts.
Non-obvious tip: Leave extra length at each end of the wire. This makes connecting and future repairs much easier.
4. Connect Power And Ground
Most gauges need:
- Switched 12V power: Only on when the ignition is on.
- Ground: Connect to a clean metal part of the car’s body.
- Illumination: (Optional) Connect to the headlight switch for backlighting.
Use a multimeter to find a safe, switched 12V source. Common choices are the fuse box or radio harness.
- Strip the wires and use crimp connectors for a secure connection.
- Cover all connections with heat shrink or electrical tape.
- If using a fuse tap, insert the correct fuse rating for safety.
5. Install Sensors
Each gauge will need a sensor to read data:
- Oil pressure: Usually replaces the factory oil pressure sender or uses a T-adapter to add the new sensor.
- Water temperature: Often requires a threaded adapter in a coolant hose.
- Boost: Connects to a vacuum line on the intake manifold.
- AFR: Requires a bung welded into the exhaust for the O2 sensor.
Follow the gauge instructions. Use thread sealant if required, but never block sensor holes.
6. Connect Sensors To Gauges
- Route sensor wires carefully from the engine bay through the firewall to the gauges.
- Keep wires away from hot exhaust parts and moving belts.
- Use rubber grommets to protect wires passing through metal holes.
Example: For an oil pressure gauge, screw in the sensor, connect the signal wire, and run it to the gauge.
7. Test The System
Before reassembling the dash:
- Reconnect the car battery.
- Turn the key to “on.” The gauges should light up and sweep (some do a self-check).
- Start the engine and watch the readings.
- Check for leaks at sensor connections (oil, coolant, air).
- Test the illumination by turning headlights on/off.
If a gauge doesn’t work:
- Double-check wiring and grounds.
- Use a multimeter to confirm power and signals.
- Fix any leaks or warning lights before driving.
8. Finish Up
- Tidy all wires and secure with zip ties.
- Replace dash panels and trim.
- Clean fingerprints from the gauges and pod.
- Take a short test drive and monitor readings.
Common Mistakes And How To Avoid Them
Even careful installers can make errors. Here are the most frequent problems—and how to avoid them.
- Not planning wire routing: This leads to pinched wires and difficult repairs. Plan before you start.
- Poor ground connections: Gauges may flicker or not work. Always sand paint off ground points for good contact.
- Loose sensor fittings: Oil or coolant leaks can be dangerous. Tighten all fittings and check for leaks after installation.
- Wrong fuse tap: Overloading a circuit can blow fuses or damage wiring. Use the correct fuse size for each gauge.
- Blocking airbags or controls: Make sure the pod doesn’t cover safety features or important switches.
If you’re unsure, ask for help in online car forums or from a trusted mechanic. It’s better to ask than risk damaging your vehicle.
Credit: www.gemefindustries.com
Appearance And Finishing Tips
A neat installation looks professional and avoids rattles or electrical problems.
- Match the pod color to your interior for a factory look. Some pods can be painted.
- Tuck all wires out of sight. Use factory wire paths where possible.
- Label each wire if you add multiple gauges. This helps with future repairs or upgrades.
- Clean up: Wipe down the area and check for loose screws or plastic shavings.
Here’s a quick comparison of the main gauge types for different drivers:
| Gauge Type | Best For | Typical Readings | Importance |
|---|---|---|---|
| Oil Pressure | All cars | 20–80 psi | High |
| Water Temp | All cars | 180–220°F | High |
| Boost | Turbo cars | -30 to 30 psi | Medium |
| AFR | Modified cars | 12–15:1 | Medium |
| Voltmeter | All cars | 12–14V | Medium |
Safety And Legal Considerations
Before you start, check your local laws about modifying your dashboard or A-pillar. In some places, blocking airbags or the driver’s view is not allowed. Always install pods and gauges safely—never sacrifice safety for style.
Use only quality wires and connectors. Cheap wiring can melt or cause shorts, leading to fires. If you don’t feel confident, have a professional check your work.
For more details on vehicle electrical systems, see the Automobile Electronics (Wikipedia).
Frequently Asked Questions
How Long Does It Take To Install A Gauge Pod?
Most DIY installations take 2 to 4 hours, depending on your car and how many gauges you add. First-timers should plan for extra time to read instructions and check wiring.
Do I Need To Cut Any Wires Or Drill Holes?
Often, yes. You may need to drill for mounting the pod or to run sensor wires through the firewall. For wiring, use crimp connectors or add-on fuse taps instead of cutting factory wires when possible.
Can I Install A Gauge Pod Without Damaging My Car?
Yes, if you take your time and use the right tools. Use existing holes or adhesive mounts when possible. Always check behind panels before drilling, and keep all parts you remove in case you want to return to stock.
What Is The Most Important Gauge To Add?
For most cars, the oil pressure gauge is the most valuable. It warns of engine trouble before the factory dash light, which often comes on too late.
Can I Install Digital Gauges Instead Of Analog?
Absolutely. Digital gauges are often easier to read and may have extra features, like alarms or data logging. The wiring steps are similar, but always follow the instructions for your specific gauges.
Adding an auxiliary gauge pod is a rewarding project that can protect your car and give you confidence behind the wheel. When done right, it looks great and gives you real information—not just warning lights. Take your time, check your work, and enjoy a better driving experience with your new gauges.
