Installing a coilover suspension system on your car can seem complex, but with the right preparation, tools, and steps, it’s a project many car enthusiasts can handle at home. Coilovers are popular for improving both vehicle handling and ride height adjustability, making them a top choice for those who want to personalize their car’s performance and appearance. This guide will walk you through the entire process, offering clear steps, practical tips, and insights that even experienced DIYers sometimes miss.
Understanding Coilover Suspension Systems
Before you get started, it’s important to know what coilover suspension is and why it’s different from stock shocks and springs. A coilover is a suspension device where a spring is wound around a shock absorber. This combination allows you to change your car’s ride height, stiffness, and sometimes even damping force.
Coilovers are favored in motorsports and custom builds because they allow for:
- Adjustable ride height
- Improved handling
- Fine-tuned comfort vs. performance
However, not all coilover kits are the same. Some offer more adjustability than others, and quality varies by brand and price.
Popular Coilover Brands
Here’s a quick comparison of features among three top brands:
| Brand | Adjustability | Price Range (USD) | Warranty |
|---|---|---|---|
| KW | Height + Damping | 1200 – 2500 | 2 Years |
| BC Racing | Height + Damping | 900 – 1500 | 1 Year |
| Bilstein | Height Only | 1000 – 2000 | Limited Lifetime |
Tools And Preparation
Having the right tools and preparing your workspace is essential for a safe and successful coilover installation.
Essential Tools
You will need:
- Jack and jack stands (or a hydraulic lift)
- Socket set (metric and standard)
- Breaker bar
- Torque wrench
- Spring compressor (for removing old struts)
- Rubber mallet
- Penetrating oil
- Screwdrivers
- Allen keys
- Pry bar
- Wheel chocks
Safety First
Never work under a car supported only by a jack. Always use jack stands on a flat, stable surface. Wear safety glasses and gloves, and keep your workspace clean to avoid accidents.
Non-obvious Prep Tips
- Take reference photos: Before removing anything, snap pictures of your suspension setup. This can help when reinstalling components or routing brake lines.
- Soak bolts in penetrating oil: Suspension bolts can be rusty or seized. Apply oil a few hours before you start to make removal easier.
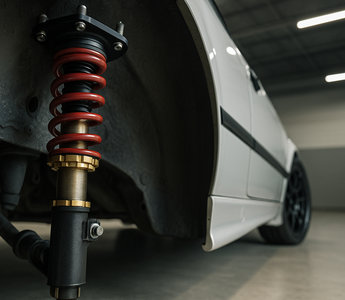
Credit: slrspeed.com
Removing Old Suspension Components
Start by loosening your lug nuts with the car still on the ground, then raise the car and secure it on jack stands. Remove the wheels to expose the suspension.
Step-by-step Removal
- Support control arms: Place a jack under the lower control arm to relieve pressure.
- Disconnect sway bar end links: These small rods connect the sway bar to the suspension. Remove them to free the strut.
- Detach brake lines/ABS wires: Most cars have brackets holding these to the strut. Carefully unbolt or unclip them.
- Remove lower strut bolts: Use a breaker bar and socket to remove the bolts/nuts holding the bottom of the strut to the hub.
- Remove upper strut mount bolts: Usually found in the engine bay or trunk. Hold the strut so it doesn’t fall when the last bolt is removed.
- Extract the assembly: Pull out the old strut and spring as one unit.
Common Pitfalls
- Forgetting to support the hub: When the strut is removed, the hub can drop or pull on brake lines. Use a bungee cord to support it.
- Losing small parts: Put bolts and nuts in labeled bags for easier reassembly.
Installing The New Coilover Suspension
Now that the old parts are out, it’s time to fit your new coilovers. Read the instructions that come with your kit, as some steps may vary.
Pre-assembly Checks
- Compare new and old parts: Lay your coilovers next to the factory struts. Check mounting points and lengths to avoid surprises during installation.
- Set initial ride height: Adjust the coilover sleeves to match or slightly lower than your original ride height. Fine-tuning comes later.
Step-by-step Installation
- Insert the coilover: Slide it into the strut tower, aligning the top mount bolts.
- Hand-tighten upper nuts: Secure the top so the coilover hangs in place.
- Attach the lower mount: Line up the coilover with the hub or control arm and insert the bolts. Sometimes you’ll need to wiggle or lift the hub to align holes.
- Torque all bolts: Use a torque wrench to tighten bolts to the manufacturer’s specifications. Overtightening can damage threads.
- Reconnect sway bar and brake lines: Attach everything you removed earlier.
- Double-check everything: Make sure all nuts and bolts are tight, and nothing is left hanging.
Details That Matter
- Use anti-seize on bolts: This prevents rust and makes future adjustments easier.
- Don’t overtighten top mounts: Many coilovers use pillow-ball mounts that can be damaged by too much force.
Adjusting Ride Height And Preload
One of the biggest benefits of coilovers is custom ride height. Here’s how to get it right.
Setting Ride Height
- Rough adjustment: With the car on jack stands, spin the lower collar to raise or lower the car. Set both sides equally.
- Fine-tuning: Lower the car onto the ground and roll it back and forth to settle the suspension. Measure from the ground to the fender on each corner.
- Re-adjust as needed to even out any differences.
Spring Preload
Some coilover kits allow you to adjust spring preload. This changes how much the spring is compressed at rest.
- Too much preload: Makes the ride harsh.
- Too little preload: Causes clunking noises.
As a starting point, set preload so the spring is just snug against the collars—no play, but not compressed.
Not-so-obvious Tips
- Align the car: After installing coilovers, get a full alignment. Changing ride height affects camber, caster, and toe.
- Record your settings: Write down the number of threads or collar positions for each corner. This helps if you need to adjust or replace parts later.
Test Driving And Final Checks
Before you drive normally, do a careful test drive around your block.
What To Listen And Feel For
- Clunks or rattles: Check all bolts and mounts if you hear anything unusual.
- Pulling or uneven ride: Indicates an alignment issue or unbalanced ride height.
After your short drive, re-torque all bolts and check for any leaks or loose parts.
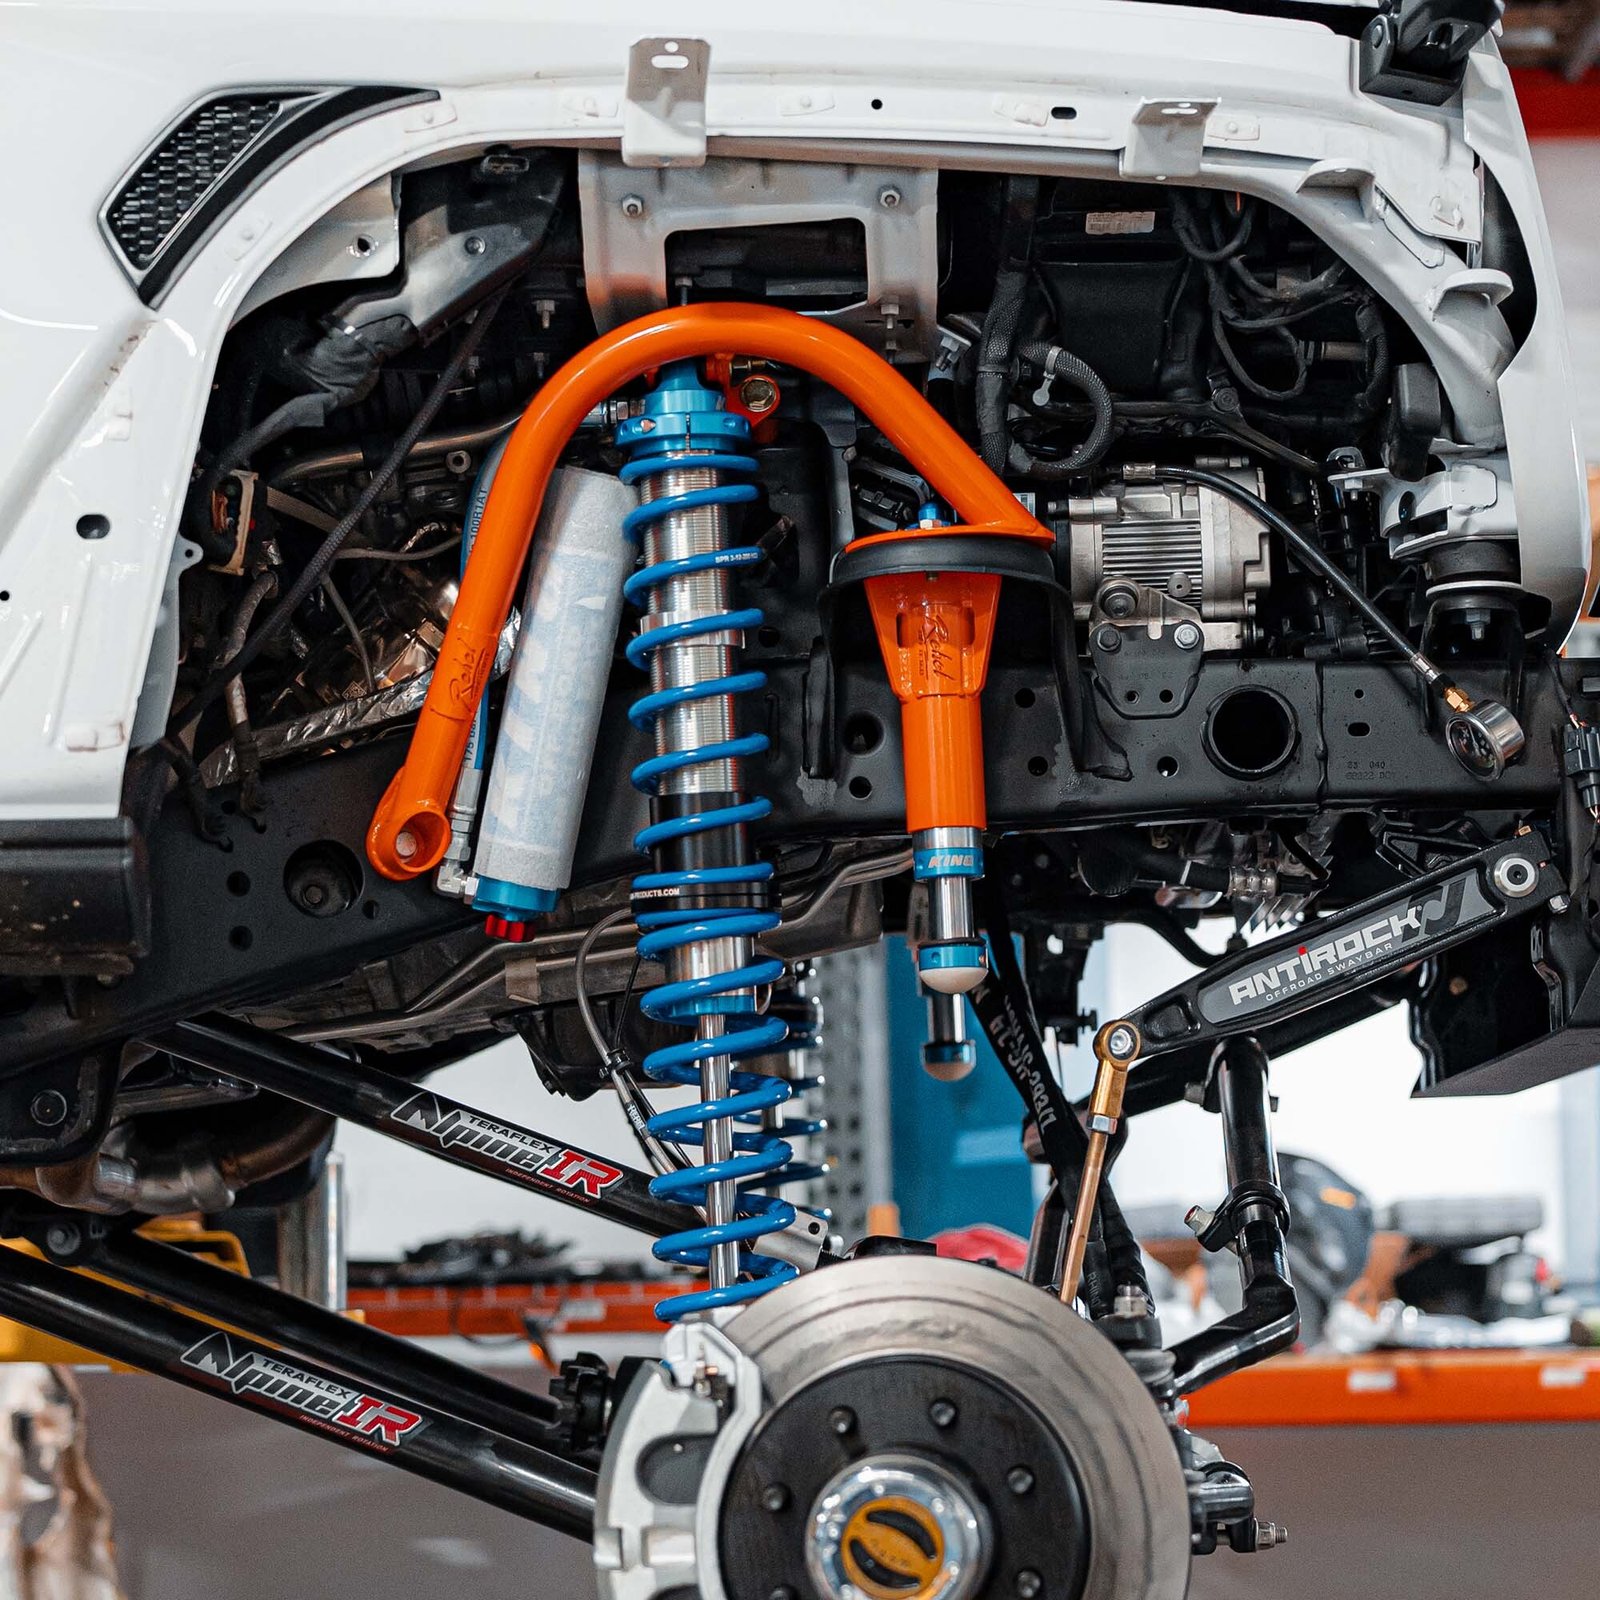
Credit: rebeloffroad.com
Comparing Coilovers With Other Suspension Upgrades
Is a coilover system the best choice for your goals? Here’s a side-by-side look at common suspension upgrades:
| Upgrade Type | Ride Height Adjustment | Handling Improvement | Cost (USD) |
|---|---|---|---|
| Coilovers | Yes | High | 900 – 2500 |
| Lowering Springs | Fixed | Medium | 200 – 500 |
| Upgraded Shocks | No | Low-Medium | 400 – 800 |
Maintenance And Longevity
Coilovers require some maintenance to stay in top shape:
- Clean threads: Dirt and salt can corrode adjustment threads. Rinse with water and use a brush.
- Lubricate collars: Use silicone spray to keep collars moving smoothly.
- Check for leaks: If you see oil around the shock, it may be time for a rebuild or replacement.
Most quality coilovers last 3-5 years on daily-driven cars. Track use or harsh climates can shorten this.
Legal And Warranty Concerns
Changing your suspension can affect your car’s warranty or legality in some regions. Always check:
- Local laws: Some areas have limits on ride height adjustment.
- Insurance rules: Modifying the suspension may require notification.
- Manufacturer’s warranty: Using aftermarket parts can void coverage.
For the latest laws in your area, visit your Department of Motor Vehicles or official transport website.
When To Seek Professional Help
While installing coilovers is possible for skilled DIYers, there are times when it’s better to use a professional:
- Rusty or seized bolts
- Unusual suspension designs
- Lack of proper tools
- No safe way to align the car
A pro can finish the job quickly and ensure maximum safety.
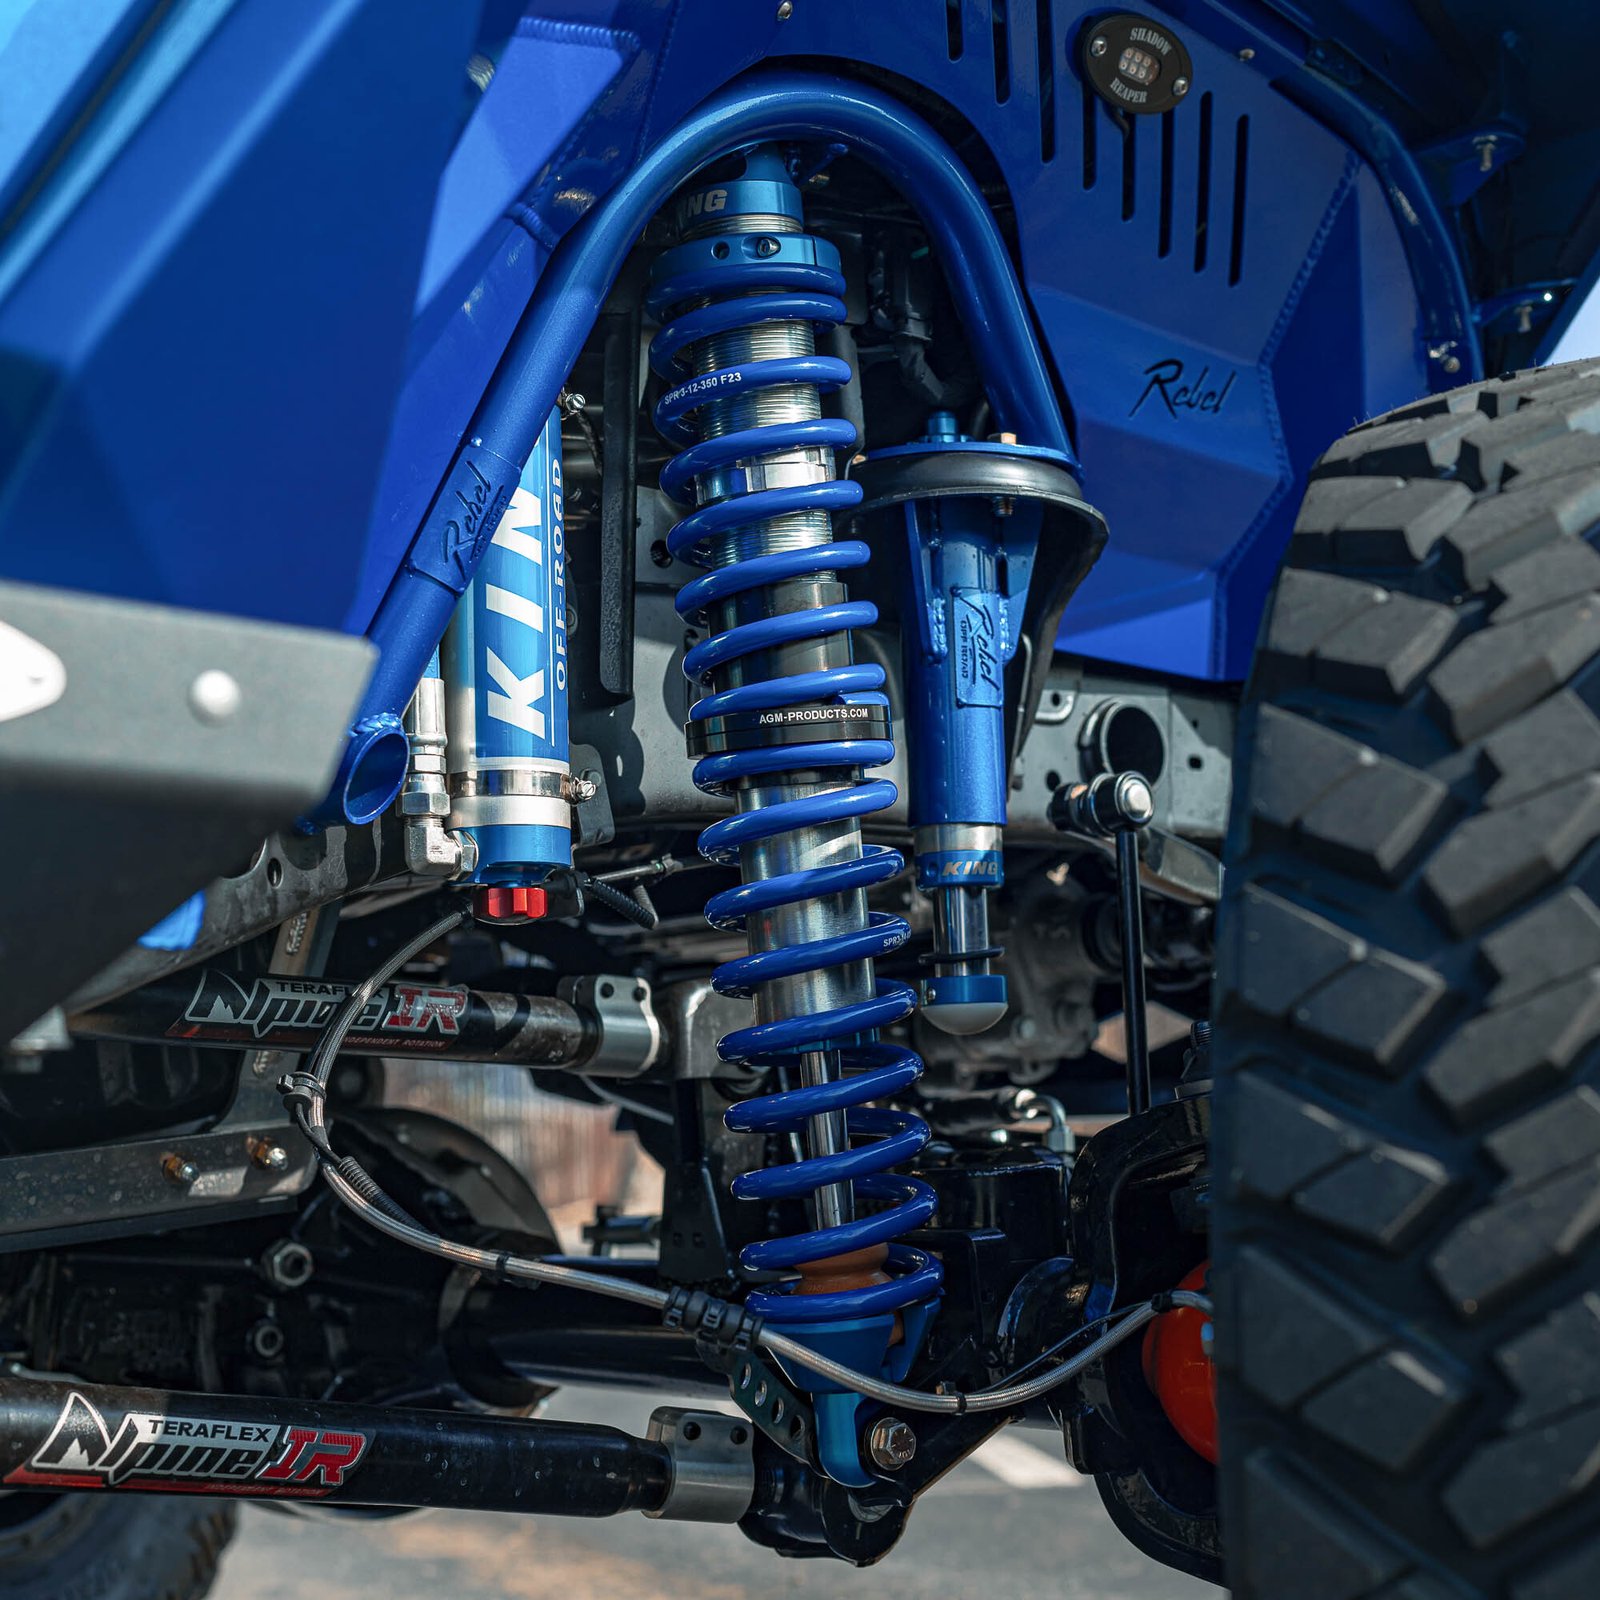
Credit: rebeloffroad.com
Frequently Asked Questions
How Long Does It Take To Install Coilovers?
For most people with basic skills and tools, it takes 4-6 hours to install a full set of coilovers. It may be faster on simple cars or longer if bolts are stuck.
Do I Need A Wheel Alignment After Installing Coilovers?
Yes, you should always get a professional alignment after changing suspension components. This ensures your car drives straight and avoids tire wear.
Can I Install Coilovers Without Special Tools?
You need some special tools, especially a spring compressor for removing old struts and a torque wrench for correct bolt tightness. Skipping these can be dangerous.
Will Coilovers Make My Car Uncomfortable?
Most coilovers are stiffer than stock suspension. Ride comfort depends on the brand and settings. Some high-end kits allow you to adjust softness for daily use.
Where Can I Learn More About Coilover Suspension Systems?
A good resource is the Wikipedia page on coilovers, which explains types, history, and technical details.
Installing a coilover suspension system transforms your car’s handling and look, but it’s not a job to rush. With the right tools, careful preparation, and attention to detail, you can enjoy better performance and a personalized driving experience for years to come.
