
Installing car fender flares yourself can transform the look of your vehicle and offer extra protection against rocks, mud, and road debris. Many car owners choose this upgrade to give their ride a more rugged appearance or to cover wider tires.
But doing it right requires more than just attaching a few bolts. If you want a professional finish and lasting results, you need clear steps, smart preparation, and a few insider tips. This guide will walk you through every stage, from choosing the right flares to the final touches, so you can handle the job with confidence—even if you’re new to DIY car mods.
Why Install Fender Flares Yourself?
There are practical and financial reasons to install fender flares on your own. First, professional installation can cost $150–$300 or more, depending on your car and the flare style. By handling it yourself, you not only save money but also learn more about your car. You have full control over the look and fit, making adjustments as you go. Plus, it’s a satisfying project you can complete in a day.
DIY installation also means you can quickly fix or replace flares if they get damaged. And with the right guidance, most people can do a clean, durable job without special skills.
Types Of Fender Flares
Before you start, it’s important to understand the main types of fender flares. The type you choose affects installation steps, tools, and final appearance.
| Type | Main Features | Best For |
|---|---|---|
| OE Style | Simple, subtle look; closely matches stock design | Factory-like appearance |
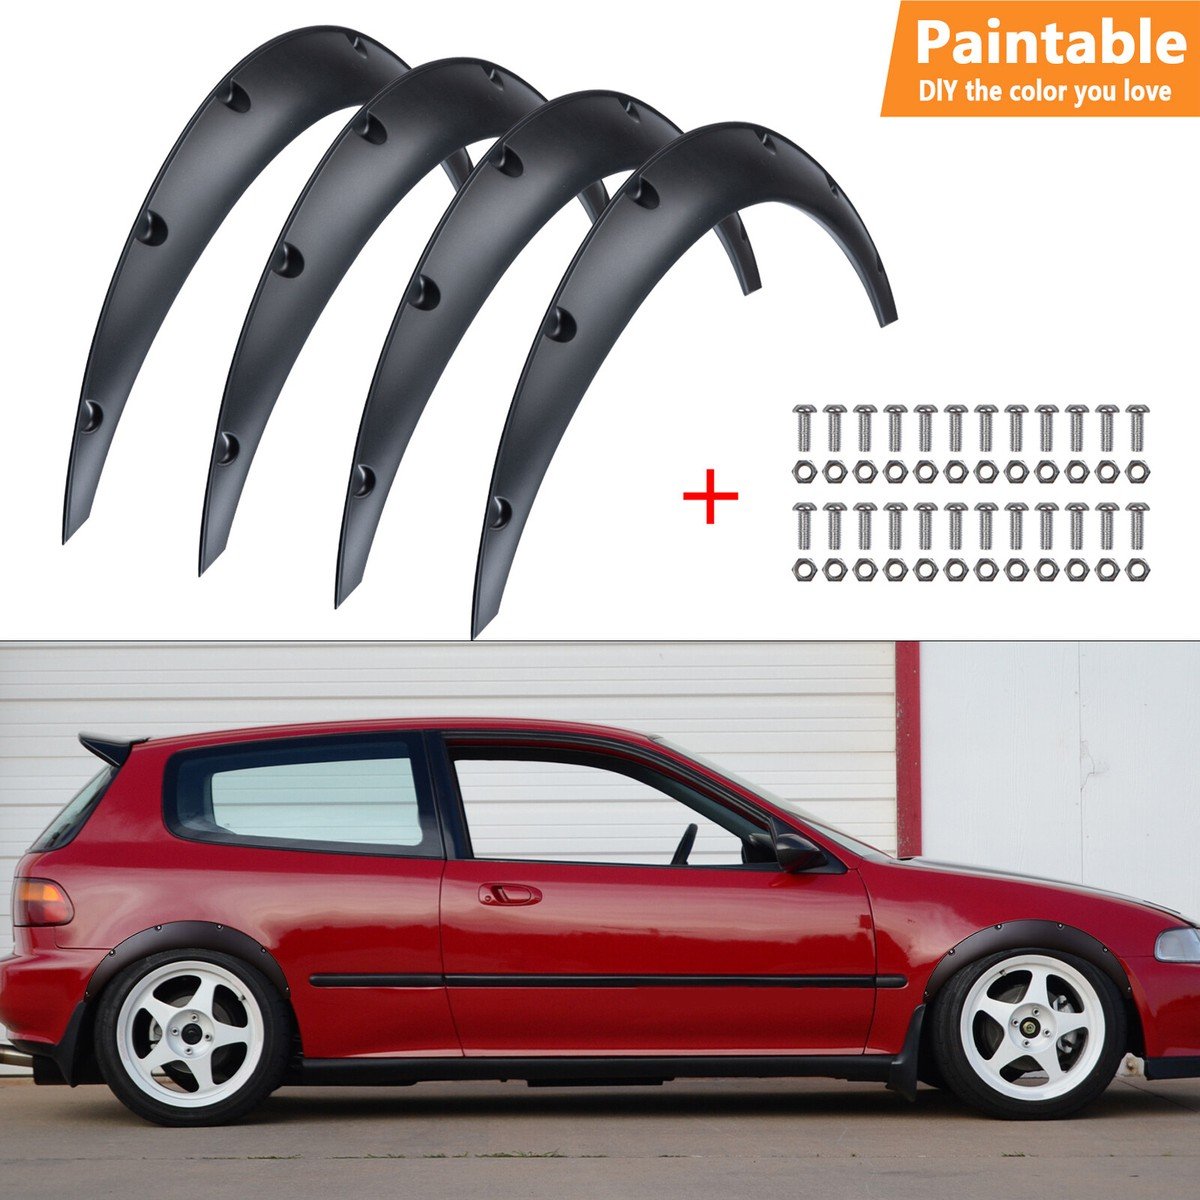
| Pocket/Bolt Style | Bold, rugged; visible bolts (often just for looks) | Off-road or aggressive style |
| Street Style | Sleek, low-profile; minimal extension | Sporty cars, street use |
| Extended Style | Wider coverage, more tire protection | Trucks with oversized tires |
Non-obvious insight: Some pocket styles only simulate bolts. Always check if drilling is needed, as some are truly no-drill while others require it.
Credit: www.ebay.com
Tools And Materials Needed
Having the right tools ready makes the project smoother and helps you avoid mistakes. Here’s what you’ll likely need:
- Fender flare kit (with all included hardware)
- Socket set and ratchet
- Screwdriver (Phillips and flathead)
- Drill with drill bits (if required)
- Measuring tape
- Masking tape
- Marker or grease pencil
- Cleaning cloth and rubbing alcohol
- Safety glasses and gloves
Tip: If your flares use double-sided tape, buy extra quality tape. The tape included in some kits is thin and may not last in harsh weather.
Preparation: Setting Yourself Up For Success
Don’t rush straight to the install. Spending 30 minutes on prep can save you hours of frustration later.
- Read the instructions: Every flare kit is a little different. Read all instructions before starting.
- Test fit: Hold each flare up to the correct wheel arch. Make sure holes line up and the flare fits flush.
- Clean the surface: Wash the fender area thoroughly. Use rubbing alcohol to remove wax and grease so tape or adhesive sticks well.
- Dry completely: Water under tape or rubber gaskets leads to poor adhesion.
- Check for rust or damage: Fix rust spots before covering them, or the problem will grow unseen under the flare.
Non-obvious insight: If your car has paint protection film near the fender, check if the flare will damage it. Some adhesives can lift or bubble the film.
Step-by-step Installation Guide
Now, let’s break down the main steps for installing most fender flares. Always follow your kit’s instructions, but these steps cover the essentials for nearly all vehicles and flare types.
1. Mark Mounting Points
Use the flare as a template. Hold it in place and use masking tape to keep it steady. Mark the mounting holes with a marker or pencil. Double-check alignment before making any holes.
2. Drill (if Required)
Many modern flares use existing factory holes. If your kit requires drilling, use the smallest bit first to make pilot holes. Wear safety glasses and keep metal shavings out of the wheel well.
- Pro tip: Place a piece of wood behind the metal to avoid drilling through wires or causing sharp edges inside the fender.
3. Attach Edge Trim (if Included)
Some kits include a thin rubber edge trim. This seals the gap between the flare and the car body, reducing vibration and protecting paint. Press the trim onto the flare edge before attaching the flare to your car.
4. Install The Flare
Line up the flare with your marked holes. Install mounting clips, screws, or bolts as directed. Tighten by hand first, then use tools to finish. Don’t overtighten—this can crack plastic or strip threads.
Example: If your kit uses both screws and plastic clips, start with clips to hold the flare, then add screws. This keeps the flare from shifting as you work.
5. Check Alignment And Tightness
Look at the flare from different angles. Adjust as needed so the gap is even all around. If something looks off, loosen fasteners and reposition.
6. Secure With Tape Or Adhesive (if Used)
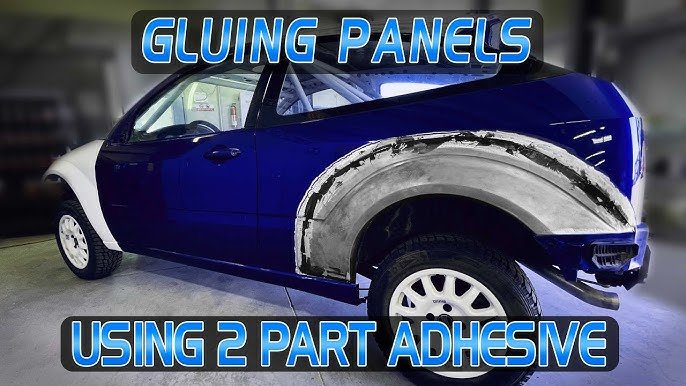
For some street and OE-style flares, double-sided tape or adhesive helps hold the flare flush. Press firmly for at least 60 seconds per section. Don’t wash the car for 24 hours, so the adhesive cures.
7. Repeat For All Fenders
Work one wheel at a time. Take breaks to check your progress. Compare sides for symmetry, especially if your car isn’t perfectly level.
8. Final Inspection
Check all fasteners, clean any fingerprints off the paint, and step back to admire your work. If you notice any rattling after your first drive, tighten fasteners again.
Comparing Installation Methods
Not all fender flares attach the same way. Here’s how the main mounting styles compare:
| Mounting Method | Pros | Cons |
|---|---|---|
| Bolt-On | Very secure, rugged look | May require drilling, harder to remove |
| No-Drill Clip-On | Easy to install, no damage to car | Less secure for off-road or heavy use |
| Tape/Adhesive | No holes, easy removal | Can loosen over time, weather sensitive |
Advice: If you plan to take your car off-road, choose bolt-on or clip-on styles. Tape-only flares are best for city or light-duty driving.
Common Mistakes And How To Avoid Them
Even careful DIYers can slip up. Here are mistakes to watch out for:
- Skipping the test fit: This leads to misaligned holes or gaps.
- Not cleaning the surface: Dirt and wax stop adhesives from sticking.
- Overtightening: This cracks plastic flares or strips screws.
- Using the wrong tools: The wrong size screwdriver can damage heads and make removal hard later.
- Ignoring manufacturer instructions: Each kit is a little different—one size does not fit all.
Pro tip: Take photos as you go. If you need to remove the flares later, you’ll remember how everything goes back together.
Caring For Your Fender Flares
Once installed, fender flares need simple care to stay looking good and functioning well.
- Wash with mild soap and water, not harsh chemicals.
- Apply a plastic protectant to prevent fading (especially on black flares).
- Check bolts and tape every few months, especially after winter or off-road driving.
- Remove mud and debris quickly to avoid scratching paint.
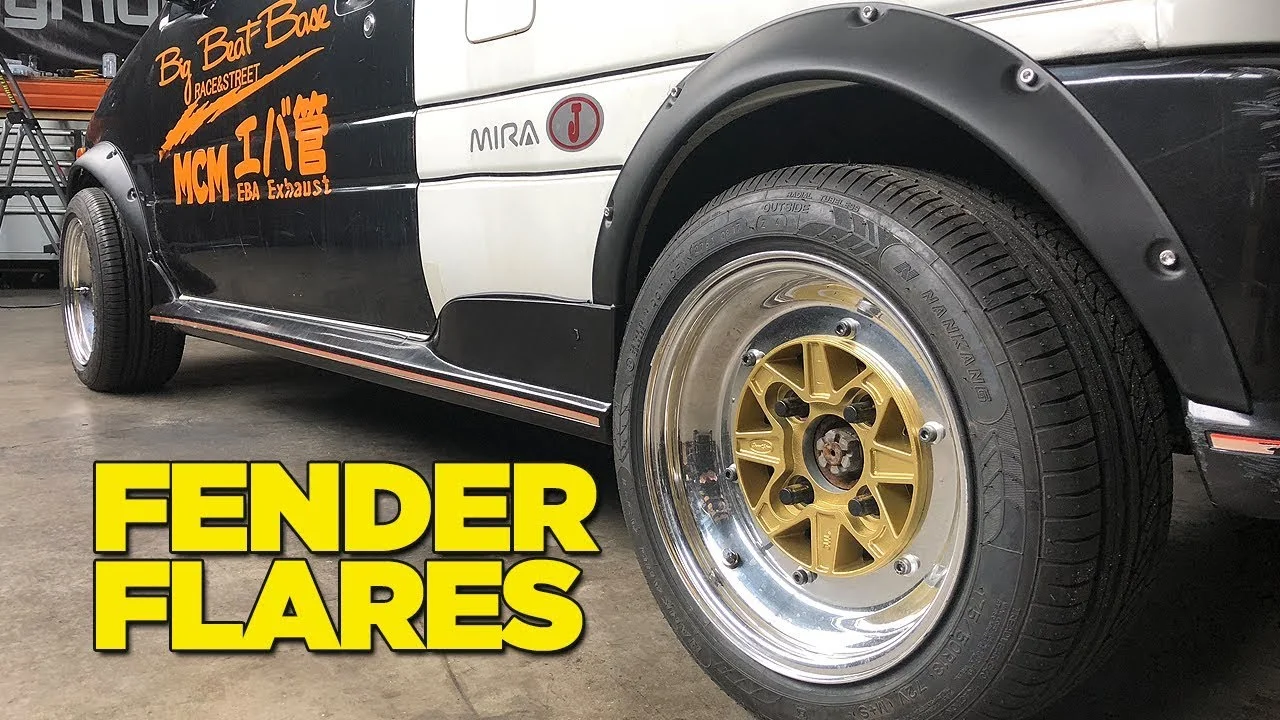
Example: After a muddy weekend drive, rinse the fender area well to keep dirt from building up behind the flare.
Credit: www.youtube.com
Are Fender Flares Legal?
Laws about fender flares depend on where you live. In many places, tires must be covered to prevent rocks and water from being thrown off the wheels. Some flares may be required by law if you use oversized tires. Always check your local regulations before installing.
Tip: Some states require flares to match the car’s body color. If you’re not sure, check your state’s Department of Transportation or search for guidelines on an official site like NHTSA.
Real-world Examples
Many truck and SUV owners install fender flares after upgrading to wider tires. For example, a 2018 Ford F-150 with 35-inch tires will usually need extended flares to stay street legal and keep mud off the body. Some sports car owners use street-style flares for a custom look, especially when lowering the suspension.
If you notice paint wearing off near the wheel arch or rust starting, flares can also act as a shield and slow down the damage.
Credit: www.youtube.com
Cost And Time Estimate
Most DIY fender flare installations take 2–4 hours for all four wheels. A typical kit costs $100–$400, depending on quality and material. If you need special tools or paint, add $20–$50.
| Item | Low Estimate | High Estimate |
|---|---|---|
| Fender Flare Kit | $100 | $400 |
| Basic Tools | $0 (if already owned) | $50 |
| Total Time | 2 hours | 4 hours |
Insider tip: Look for kits with stainless steel hardware if you drive in snowy or salty conditions. Cheap screws rust quickly.
Frequently Asked Questions
Do I Need To Drill Holes In My Car To Install Fender Flares?
Not always. Many modern kits use existing factory holes or clip-on systems. However, some rugged or custom flares may require drilling, especially for older vehicles. Check your kit’s instructions before starting.
Will Fender Flares Fit My Car If I Have Aftermarket Wheels?
Most flares are designed for standard wheel setups, but many brands offer wider or extended styles for larger tires. Measure your wheel offset and compare with the flare specs to ensure proper coverage.
Can I Paint My Fender Flares To Match My Car?
Yes. Most flares come in black ABS plastic but can be painted. Use automotive primer and paint for best results. Sand the surface lightly for better adhesion and follow the paint manufacturer’s drying instructions.
How Do I Remove Fender Flares Without Damaging My Car?
Remove all screws or clips first. If tape or adhesive was used, gently heat the area with a hair dryer to soften the glue, then pry off slowly with a plastic trim tool. Clean any residue with adhesive remover.
Are Fender Flares Just For Looks, Or Do They Serve A Purpose?
They serve both style and function. Fender flares protect your car’s body from rocks, mud, and road debris, especially with wider wheels. In some areas, they are legally required to cover tires that extend past the fender.
Adding fender flares is a practical project that boosts both the appearance and protection of your vehicle. With patience, the right tools, and this guide, you can get a custom look and long-lasting results—no mechanic required.
