Installing a car lift kit by yourself is a rewarding project for anyone who loves working on vehicles. With the right tools, a bit of time, and some careful planning, you can transform your ride’s stance, ground clearance, and performance—without the cost of a professional shop.
But this is not a simple bolt-on job; it’s a process that requires attention to detail and some mechanical skill. This guide will walk you through everything you need to know to install a car lift kit yourself, from preparation to final checks.
Understanding Lift Kits And Why Install One
A car lift kit raises the body or suspension of your vehicle, giving it higher ground clearance. People install lift kits for several reasons:
- To fit larger tires
- To improve off-road performance
- To achieve a more aggressive look
There are two main types:
- Body lift kits raise the vehicle’s body from the frame using spacers.
- Suspension lift kits increase the height by modifying the suspension system itself.
Suspension kits offer more ground clearance and wheel travel, making them better for off-roading, while body kits are simpler and less expensive but only allow for slightly larger tires.
Planning And Preparation
Before you start, planning is essential. A successful lift kit installation depends on choosing the right kit, gathering the proper tools, and ensuring you have a safe workspace.
Choosing The Right Lift Kit
Not all lift kits are created equal. Consider these factors:
- Vehicle compatibility: Kits are designed for specific makes, models, and years.
- Lift height: Common sizes range from 1 inch to 6 inches. More lift usually means more complexity.
- Purpose: For daily driving, a 2–3 inch lift is practical. For serious off-roading, you may want more.
- Budget: Basic body kits can cost $100–$500, while suspension kits can exceed $1,000.
Check reviews and forums for your vehicle to learn which brands and kits perform best.
Tools And Materials Needed
Here are the essential tools for most lift kit installations:
- Jack and jack stands (or a hydraulic lift)
- Wrench and socket set
- Torque wrench
- Screwdrivers
- Pry bar
- WD-40 or penetrating oil
- Measuring tape
- Spring compressor (for suspension kits)
- Hammer and mallet
- Drill (occasionally needed)
- Safety glasses and gloves
Some vehicles or kits require specialized tools. Always check the kit’s manual in advance.
Preparing Your Workspace
Work on a flat, solid surface—like a concrete garage floor. Make sure there is enough space to move around the car. Keep all tools within reach. Organize the parts from the lift kit and double-check you have everything before you begin.
Step-by-step Lift Kit Installation
The installation process varies by vehicle and kit, but the general steps are similar for most cars and trucks. Here’s a detailed overview for a typical suspension lift kit.
1. Safety First
- Wear safety glasses and gloves.
- Set the parking brake.
- Use wheel chocks to block the wheels you’re not working on.
- Never rely on a jack alone—use quality jack stands.
2. Loosen The Lug Nuts
Before raising the car, use a wrench to loosen (but not remove) the lug nuts on the wheels you’ll be working on.
3. Lift The Vehicle
Use a jack to lift the car, then secure it with jack stands under the frame. Double-check the vehicle is stable before you go underneath.
4. Remove The Wheels
Take off the lug nuts and set the wheels aside.
5. Detach Suspension Components
Follow these steps to remove parts connected to the suspension:
- Unbolt the shocks, sway bar links, and brake line brackets if needed.
- Carefully detach the control arms if the kit requires it.
- On some vehicles, you may need a spring compressor to safely remove coil springs.
Take pictures of each step—this helps when reassembling.
6. Install Lift Kit Components
Now, install the lift kit parts according to the instructions:
- Fit spacers, lift blocks, or new control arms as required.
- If your kit comes with longer shocks or struts, install them now.
- For some suspension kits, you may need to drop the differential to maintain proper angles.
Follow the manufacturer’s torque specs for all bolts.
7. Reattach Suspension And Brake Parts
Reconnect everything you removed:
- Reattach the control arms, sway bar, and brake lines.
- If you extended the brake lines, make sure they are routed safely and do not rub on anything.
8. Install The Wheels
Place the wheels back on and hand-tighten the lug nuts.
9. Lower The Vehicle
Slowly lower the car from the jack stands. Once it’s on the ground, use a torque wrench to tighten all lug nuts to the manufacturer’s specification.
10. Final Checks
- Double-check all bolts are tight and all parts are in place.
- Inspect for any clearance issues, especially with brake lines or steering components.
- If your kit includes alignment specs, check that everything matches up.
Post-installation Adjustments
After installation, it’s important to address a few final steps before you drive your newly lifted car.
Wheel Alignment
A lift kit changes your suspension geometry. Get a professional wheel alignment immediately after installation. Driving without one can cause uneven tire wear and poor handling.
Check For Unusual Noises
Listen for any clunks, rattles, or squeaks. These can signal loose bolts or parts that need to be adjusted.
Test Drive
Take a slow, careful test drive in a safe area. Feel for changes in handling, braking, and steering. If something doesn’t feel right, inspect your work.
Retorque After Driving
After 50–100 miles, recheck the torque on all bolts. Suspension parts can settle, causing bolts to loosen slightly.
Common Mistakes To Avoid
Many DIY installers overlook important steps, leading to problems down the road.
Skipping Alignment
This is the most common mistake. Even a small lift can change toe and camber. Without alignment, you’ll wear out your tires and may struggle with steering.
Not Checking Brake Lines
Lifting a car can stretch or strain the brake lines. Make sure they are not pulled tight at full suspension droop.
Using The Wrong Tools
Trying to improvise with the wrong tools can damage parts and make the job harder. Always have the right gear ready.
Ignoring Torque Specs
Over-tightening or under-tightening bolts can cause failure. Always use a torque wrench.
Forgetting About Driveshaft Angles
On some vehicles (especially trucks), lifting the suspension changes the driveshaft angle. This can cause vibration or wear. Some kits include drop brackets or spacers to correct this.
Comparing Body And Suspension Lift Kits
To help you choose, here’s a simple comparison between body and suspension lift kits:
| Feature | Body Lift Kit | Suspension Lift Kit |
|---|---|---|
| Price Range | $100–$500 | $1,000–$5,000+ |
| Lift Height | 1–3 inches | 2–6+ inches |
| Difficulty | Easy–Moderate | Moderate–Difficult |
| Ground Clearance | Unchanged (except body) | Increased |
| Off-road Performance | Minimal impact | Major improvement |
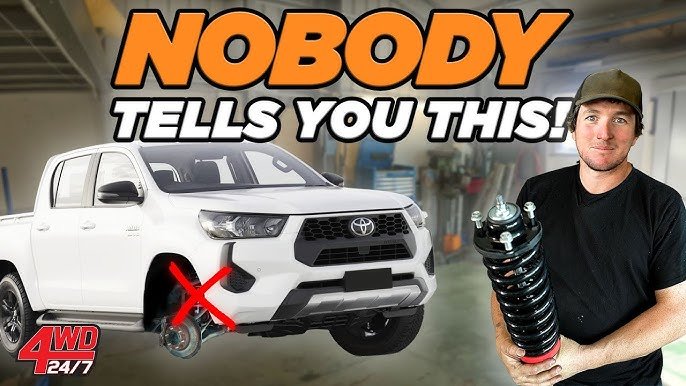
Credit: www.youtube.com
Tools: Standard Vs. Specialized
Some lift kits require only basic tools, while others need specialized equipment. Here’s a quick overview:
| Tool Type | Body Lift Kit | Suspension Lift Kit |
|---|---|---|
| Jack & Jack Stands | Yes | Yes |
| Spring Compressor | No | Often |
| Torque Wrench | Yes | Yes |
| Special Pullers | No | Sometimes |
| Drill | Sometimes | Sometimes |
Cost: Diy Vs. Professional Installation
It’s useful to compare the cost of doing it yourself with hiring a shop:
| Factor | DIY Installation | Professional Installation |
|---|---|---|
| Kit Cost | $100–$5,000+ | $100–$5,000+ |
| Labor Cost | $0 (your time) | $500–$2,000+ |
| Total Cost | $100–$5,000+ | $600–$7,000+ |
| Time Required | 4–12+ hours | 1–2 days |
| Warranty | Kit only | Kit + Labor |

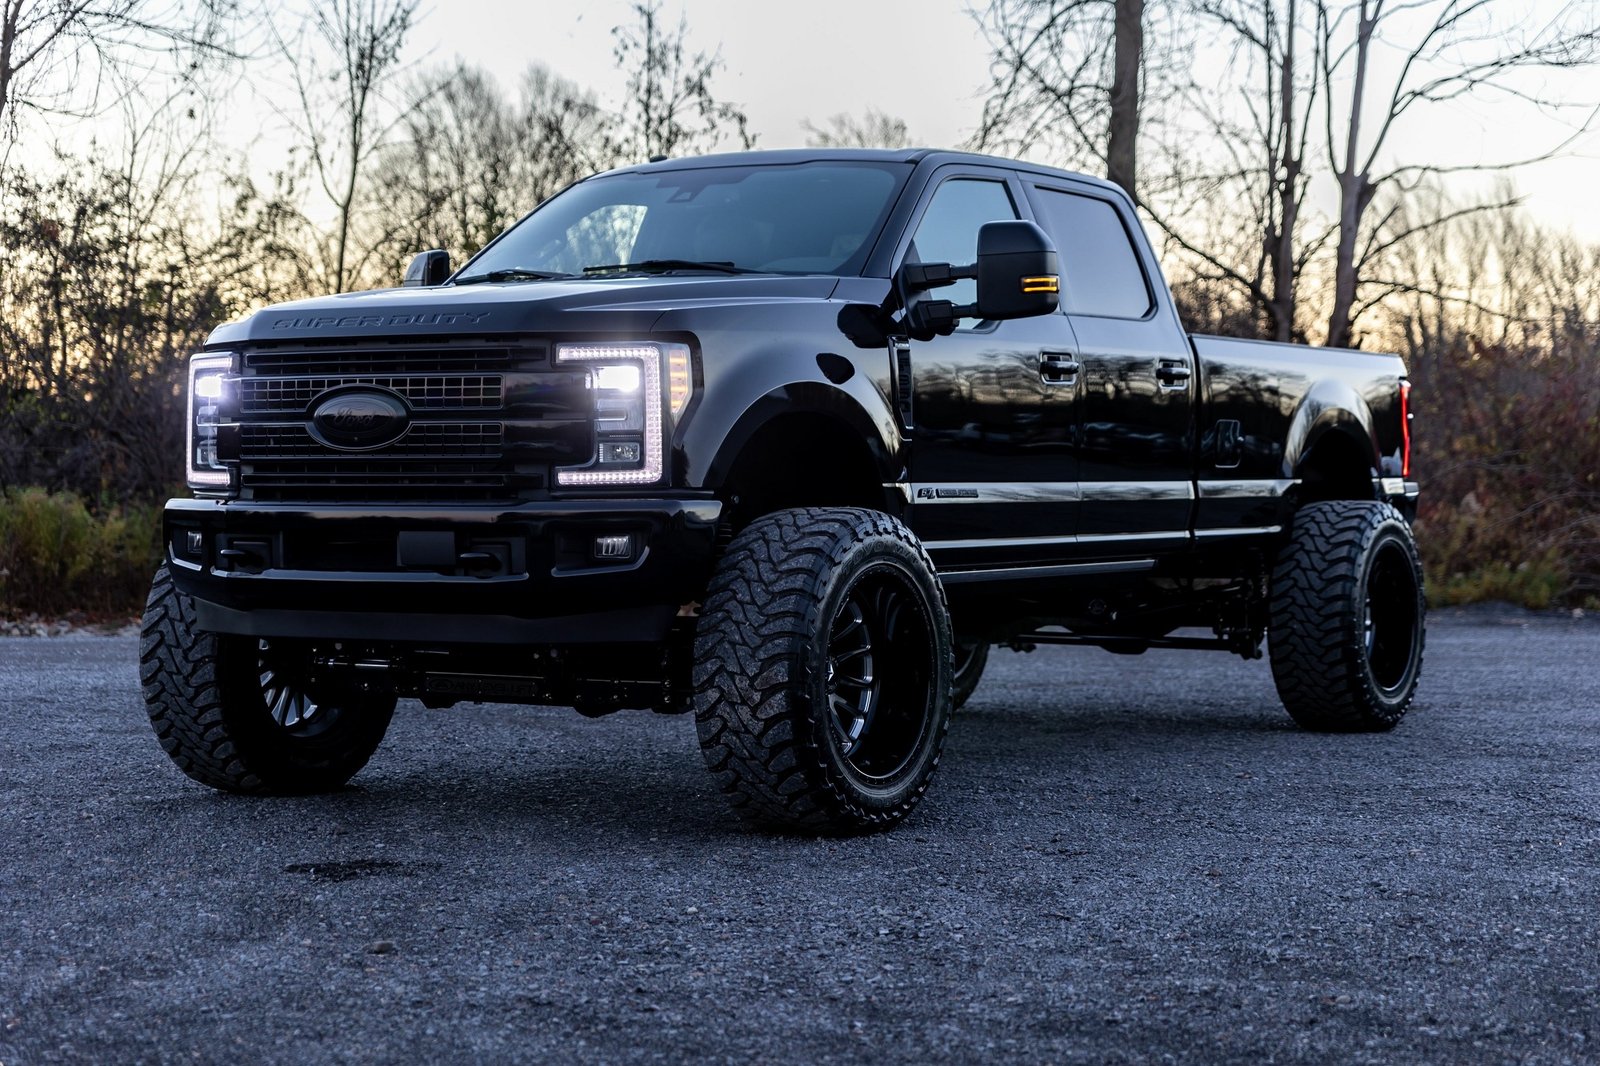
Credit: www.vipermotorsports.com
Non-obvious Insights For First-time Installers
- Check Local Laws: Some regions have rules about vehicle height or bumper height. Before starting, check your local laws to avoid legal issues later.
- Prepare for Surprises: Even if your kit says “bolt-on,” old bolts can snap, and components may be rusted. Always have extra hardware and penetrating oil ready.
- Steering Modifications: On some vehicles, a large lift can affect steering geometry. You may need a steering stabilizer or drop pitman arm, which is often not included in basic kits.
- Insurance Notification: Some insurance companies require you to report modifications like a lift kit. It’s a small but important detail.
When To Call A Professional
Most people can handle a body lift kit with basic tools and patience. Suspension kits, especially those for 4 inches or more, require more expertise. If you:
- Feel unsure about any step
- Lack the required tools
- Notice serious alignment or vibration problems after installing
…it’s wise to consult a professional mechanic.
Recommended Resources
For more detailed guides, vehicle-specific advice, and troubleshooting, check out the forums for your car or truck. Manufacturer websites and YouTube channels can offer step-by-step visuals. For authoritative information, see this Wikipedia article on lift kits.
Frequently Asked Questions
How Long Does It Take To Install A Lift Kit By Myself?
Most DIY installers spend between 4 and 12 hours, depending on the kit type and their experience. Body kits are usually quicker (4–6 hours); suspension kits can take a full day or more.
Will Installing A Lift Kit Void My Car’s Warranty?
It depends. Some manufacturers may void parts of your warranty related to the suspension or drivetrain if you install a lift kit. Always check your warranty terms before starting.
Do I Need To Replace My Shocks Or Struts?
Many suspension lift kits include longer shocks or struts. If your kit does not, and you lift more than 2 inches, upgraded shocks are strongly recommended for proper ride and safety.
Can I Use Stock Wheels And Tires After The Lift?
In some cases, yes—but most people install larger tires after a lift. Check your kit’s instructions and measure for clearance. Sometimes you may need new wheels with a different offset.
Is A Body Lift Or Suspension Lift Better For Off-roading?
A suspension lift gives you more ground clearance and better off-road performance. Body lifts mainly improve appearance and allow for slightly larger tires but don’t help much off-road.
Installing a car lift kit yourself is a big project, but with preparation and patience, it’s an achievable upgrade. Take your time, follow each step carefully, and enjoy the transformation of your vehicle.
Credit: springs-auto.com
