
Installing mud flaps on your car is one of those simple upgrades that can make a big difference. Mud flaps protect your paintwork, undercarriage, and even nearby vehicles from rocks, dirt, and water spray. Many drivers think installation is difficult, but with the right guidance, almost anyone can do it.
If you have basic tools, some patience, and a bit of time, you’ll save money and get a satisfying result by installing car mud flaps yourself.
This guide will walk you through every step, highlight common mistakes, and offer practical tips that even many car enthusiasts overlook. By the end, you’ll feel confident about doing this job on your own, and you’ll know how to avoid the pitfalls that often leave first-timers frustrated.
Why Mud Flaps Matter
Mud flaps are not just for looks—they have real benefits for your car and safety. When you drive, your tires throw up water, stones, and debris. Without mud flaps, these hit your car’s paint, cause rust, and make cleaning harder.
On wet roads, mud flaps help reduce spray, giving better visibility for drivers behind you.
Many car owners don’t realize that in some regions, especially where snow and salt are common, mud flaps can extend the life of your vehicle’s underbody. They also protect expensive parts like brake lines and sensors from corrosion. In short, installing mud flaps is a smart, affordable way to protect your investment.
Types Of Car Mud Flaps
Before buying or installing, you need to know the main types of mud flaps and how they differ. Here’s a breakdown:
| Type | Material | Fit | Best For |
|---|---|---|---|
| Universal | Rubber/Plastic | Adjustable, fits many cars | Budget installations |
| Custom-Fit | Thermoplastic, ABS | Made for specific models | OEM look, easy install |
| Heavy-Duty | Thick rubber, metal | Often for trucks/SUVs | Off-road, harsh climates |
Universal mud flaps are the cheapest and can work on most cars, but may need trimming. Custom-fit mud flaps match your car’s shape exactly and often use factory mounting points. Heavy-duty flaps are thicker and can handle rougher roads or frequent off-road use.
Tools And Materials You’ll Need
Most mud flap kits include basic hardware, but you may need extra tools. Here’s what to gather before starting:
- Mud flaps (right for your car)
- Screws and clips (usually in the kit)
- Screwdriver (Phillips or flat, depending on screws)
- Drill (optional, for some installs)
- Measuring tape or ruler
- Marker or pencil
- Socket wrench set
- Protective gloves
- Cleaning cloth
- Jack and stands (optional, for easier access)
Pro tip: Some kits offer self-tapping screws, so a drill is helpful but not always required. Always read your mud flap instructions first—some brands recommend special tools.
Preparing For Installation
Preparation is key to a smooth installation. Start by parking your car on a flat, stable surface. If possible, turn the steering wheel to one side to give better access to the wheel wells. For rear mud flaps, you might want to lift the car slightly with a jack and use stands for safety, but many installs don’t require this step.
Clean the area where you’ll install the mud flaps. Dirt and grease can stop screws from holding or may trap moisture, causing rust later. Use a damp cloth and let the area dry. If your car has factory wheel well liners, check if they need to be removed or trimmed.
Check your mud flap kit to make sure all parts are included. Missing hardware is a common issue and can delay your project.
Step-by-step Installation Guide
Here’s how to install car mud flaps yourself, with clear steps for most universal and custom-fit kits.
1. Test Fit The Mud Flaps
Hold each mud flap against the wheel well to check fit. Look for proper coverage—flaps should block debris but not touch the tire. Make small adjustments if necessary. For universal flaps, you might need to trim edges for a better fit.
Non-obvious insight: Many beginners forget to test fit with the wheels turned both ways. This helps you ensure the mud flap won’t rub when steering.
2. Mark The Mounting Holes
Once satisfied with the position, use a marker or pencil to mark where the holes will go. Most custom-fit kits line up with existing holes, but universal flaps may need you to drill new ones.
Tip: Try to keep the bottom edge of the mud flap parallel to the ground for the best look and performance.
3. Install The Fasteners
If your car already has screws or clips in the wheel well, remove them and use these points for the mud flaps. Place the flap against the wheel well, align your marks, and insert the screws or clips. Tighten them gradually.
For new holes, use a small drill bit to make pilot holes (if the instructions say so).
Avoid over-tightening—this can crack plastic mud flaps or strip the screw holes.
4. Double-check Alignment
Before fully tightening, step back and look at the mud flap from the side and rear. Both sides should be even and straight. Adjust if necessary, then tighten the screws firmly but gently.
Example mistake: Many DIYers tighten one screw fully before installing the others. This can lead to crooked flaps. Always install all screws loosely first, then tighten evenly.
5. Repeat For All Wheels
Move to the next wheel and repeat the steps. Each corner of your car may have slight differences in shape, so check fit every time. For rear mud flaps, especially on sedans or SUVs, there may be less clearance. Take your time.
6. Final Inspection
Once all mud flaps are installed, check for any loose screws or gaps. Push gently on the flaps—they should feel secure. If you notice any movement, tighten the screws a bit more.
Advanced tip: Spray a little silicone protectant on the newly installed hardware to prevent rust, especially if you drilled new holes.
Common Mistakes To Avoid
Many first-timers make errors that can lead to poor results. Here are some to watch for:
- Skipping the test fit – This often leads to uneven or crooked mud flaps.
- Not cleaning the area first – Dirt trapped under the flap can cause rust over time.
- Over-tightening screws – Can crack the mud flap or strip the holes.
- Using the wrong tools – A power drill with too much torque can damage plastic.
- Neglecting to check for wheel rub – Always turn wheels fully to check clearance.
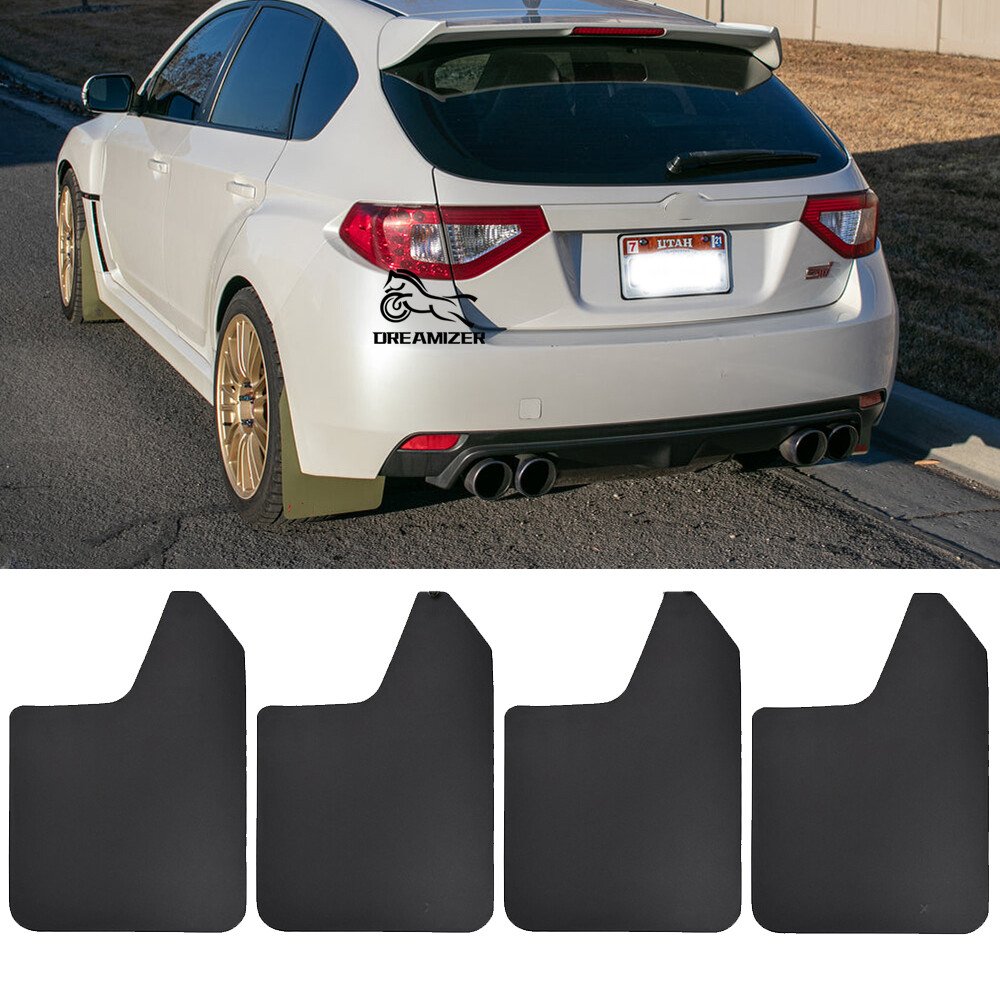
Credit: www.ebay.com
How Installation Differs By Car Type
Mud flap installation is not always the same for every vehicle. Here’s a quick comparison:
| Car Type | Difficulty | Special Considerations |
|---|---|---|
| Sedan | Easy to Moderate | Limited wheel clearance, check inside trunk for mounting points |
| SUV/Crossover | Moderate | Often more space, but thicker wheel arch liners |
| Truck/Pickup | Moderate to Hard | May need to drill through metal, heavy-duty flaps |
| Sports Car | Moderate | Low clearance, use ramps for access |
If you own a newer car, you may find pre-drilled holes or factory mounting points, making installation faster and easier. Older cars may need extra drilling or creative mounting solutions.
Maintenance Tips For Your New Mud Flaps
Once installed, mud flaps need little maintenance, but a few easy steps will keep them working well:
- Check screws and clips every few months, especially after rough roads or winter driving.
- Wash mud flaps when cleaning your car. Mud and salt can build up and cause stains.
- Inspect for cracks or damage, especially after hitting curbs or deep potholes.
- Re-tighten hardware if you notice any movement or noise.
If you live in a region with heavy snow or mud, consider removing the flaps every year to clean behind them. This prevents salt and debris from causing rust.
When To Replace Or Upgrade Mud Flaps
Even the best mud flaps will wear out over time. Here are signs you need replacements:
- Cracks or splits in the rubber or plastic
- Loose mounting that cannot be fixed by tightening
- Significant fading or brittle material
- Loss of coverage due to broken pieces
If you change tire size or add wider wheels, you may also need larger or differently shaped mud flaps for proper protection.
Practical Insights Most People Miss
Many guides skip these details, but knowing them can save you time and hassle:
- If you drive on gravel roads often, opt for thicker, heavy-duty mud flaps. Thin ones won’t last long.
- Consider buying a second set of fasteners. Hardware can rust or snap, and having extras keeps you prepared.
- Paint the edges of drilled holes with touch-up paint to prevent rust. This tiny step makes a big difference, especially in wet climates.
- For cars with painted wheel wells, place a thin clear adhesive film under the mud flap contact area to prevent rubbing marks.
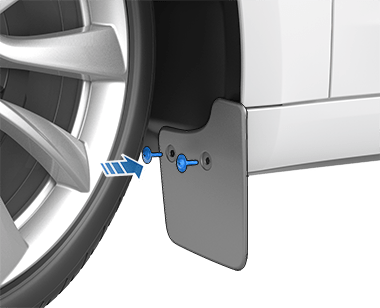
Credit: service.tesla.com
Mud Flap Cost And Value
Mud flaps are one of the most affordable car upgrades. Here’s a cost comparison:
| Type | Average Cost (USD) | Typical Lifespan |
|---|---|---|
| Universal | $15–$30 per set | 2–4 years |
| Custom-Fit | $30–$80 per set | 3–6 years |
| Heavy-Duty | $50–$120 per set | 5–8 years |
Compared to repairing paint chips or rust, mud flaps are a bargain. Even higher-end custom or heavy-duty options pay for themselves by reducing damage from debris.
Where To Find More Resources
If you want more details about mud flap types, materials, or vehicle compatibility, the Wikipedia entry on mud flaps offers a broad overview with technical details.
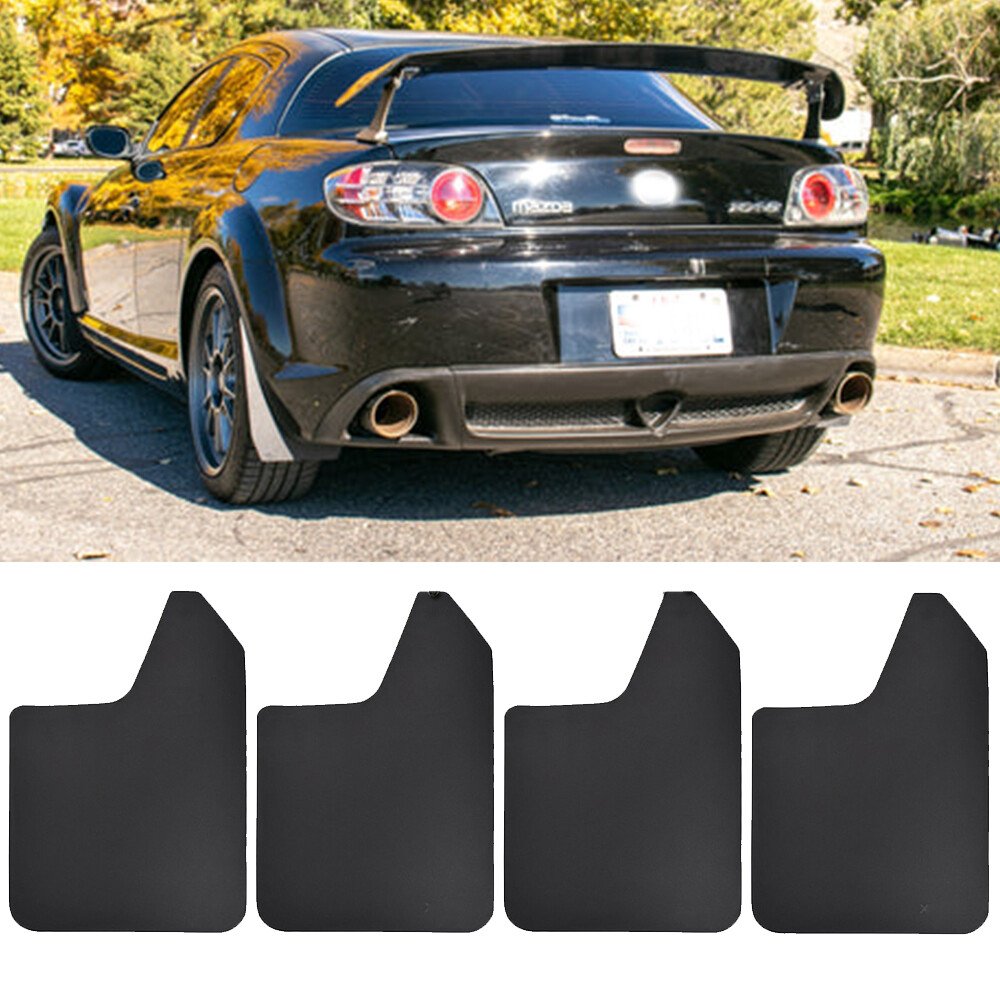
Credit: www.ebay.com
Frequently Asked Questions
How Long Does It Take To Install Mud Flaps?
Most first-timers can install a full set in about 60–90 minutes. Custom-fit kits are usually faster. If you need to drill holes or remove wheels, add extra time.
Do I Need To Remove The Wheels To Install Mud Flaps?
Usually, no. Turning the steering wheel fully gives enough access for front mud flaps. For the rear, a low-profile screwdriver or small drill helps. Only in rare cases (like sports cars with very low clearance) should you remove the wheels.
Will Mud Flaps Fit Any Car?
Universal mud flaps can be trimmed to fit most vehicles, but custom-fit versions are made for specific makes and models. Always check compatibility before buying.
Can I Install Mud Flaps Without Drilling?
Yes, many modern cars have pre-drilled holes or use factory clips. However, for some vehicles or universal kits, you may need to drill small holes for secure mounting.
Are Mud Flaps Legal Everywhere?
In most regions, mud flaps are legal and even required for trucks and commercial vehicles. Check your local regulations, especially if you drive a lifted truck or off-road vehicle.
Installing mud flaps yourself is a practical project that protects your car and saves you money. With the right tools and a careful approach, you’ll enjoy cleaner paint, less rust, and a better-looking vehicle for years to come.
