
Upgrading your car’s braking system can transform both safety and performance. Many car enthusiasts and regular drivers choose a performance brake kit to get better stopping power, reduce brake fade, and enjoy smoother control. But while the benefits are clear, the actual process of installing a performance brake kit can feel intimidating. The good news? With the right tools, patience, and step-by-step guidance, installing a brake kit is a job you can do at home—even if you’re not a professional mechanic.
In this guide, you’ll learn exactly how to install a car performance brake kit. We’ll break down the steps, tools, and safety tips you need, along with insights that even many beginners miss. Whether you want to improve your track times or just want more confidence in daily driving, this article will walk you through every detail.
Let’s get your car stopping stronger and safer.
What Is A Performance Brake Kit?
A performance brake kit is an upgrade over your car’s standard brakes. It usually includes:
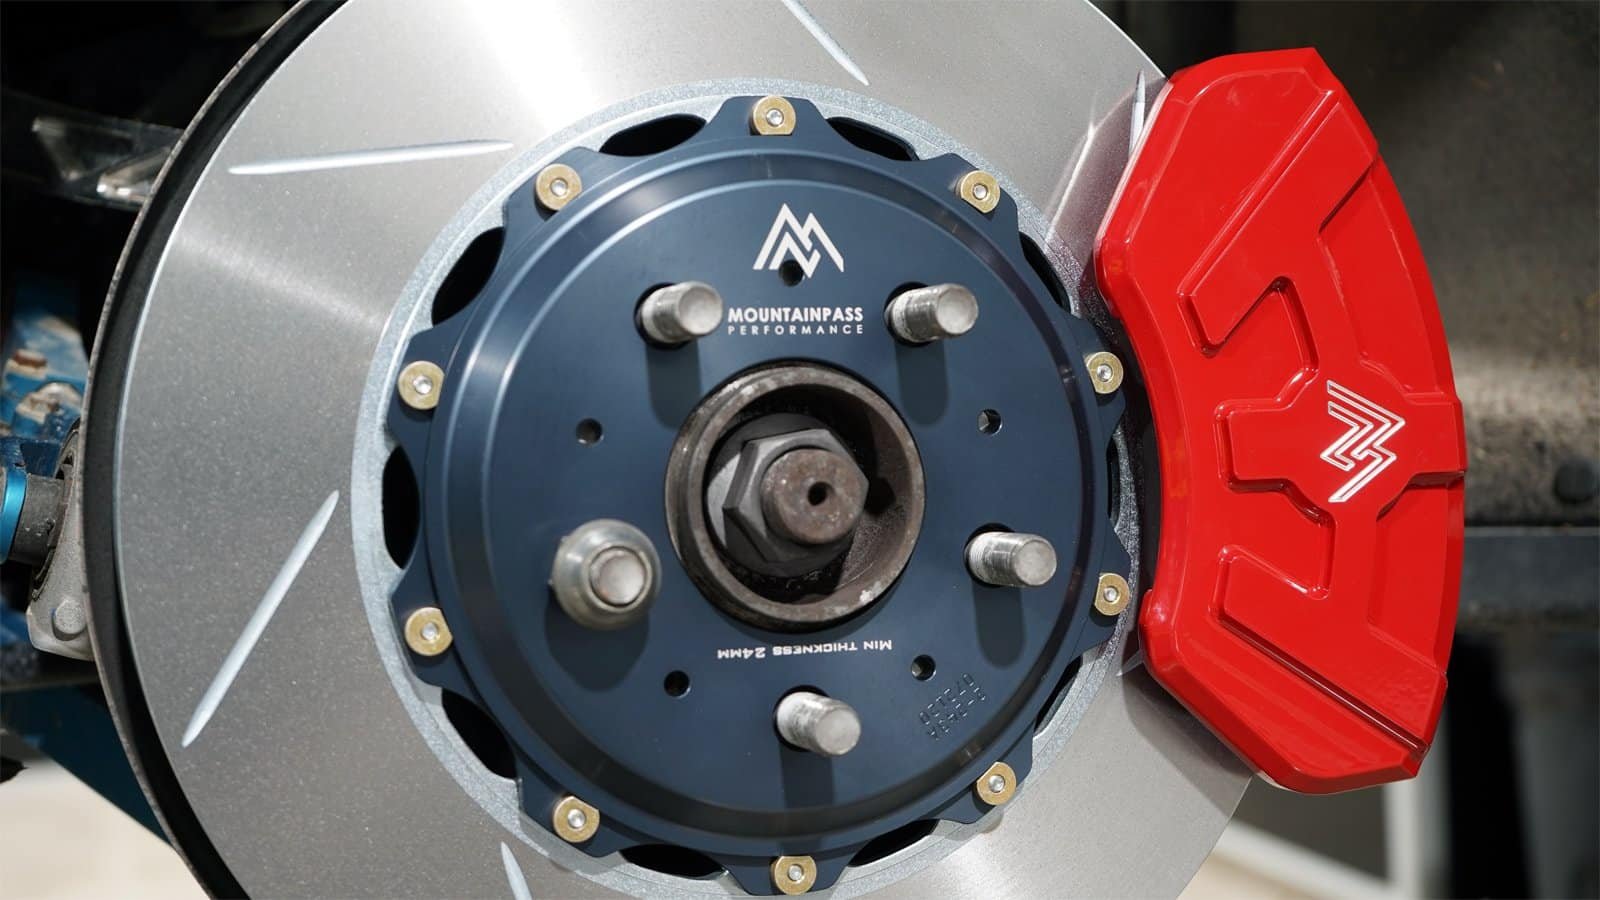
- Larger or slotted rotors
- High-friction brake pads
- Stainless steel brake lines
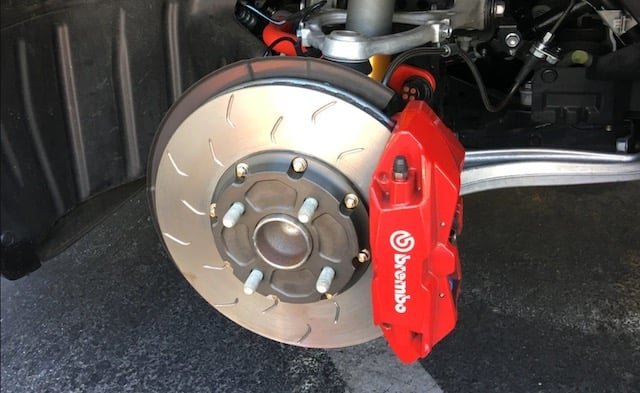
- Upgraded calipers (sometimes)
- All necessary hardware (clips, bolts, shims)
These parts are designed for better heat management, stronger braking force, and longer durability. Some kits are for the front wheels only; others include all four corners. Before you start, always check if your kit is specific to your car’s make, model, and year.
Why Install A Performance Brake Kit?
Stock brakes are designed for normal driving. If you:
- Drive aggressively or on track days
- Tow heavy loads
- Live in hilly areas
- Want faster, safer stopping
A performance brake kit makes sense. These kits can reduce stopping distance by 10-20%, resist overheating, and last longer under stress. For example, data from Car and Driver shows some cars with performance kits stopped from 60–0 mph in 110 feet, compared to 130 feet with factory brakes.
Credit: www.youtube.com
Tools And Supplies You’ll Need
Having the right tools is essential. Here’s what you’ll need for most installations:
- Jack and sturdy jack stands
- Lug wrench or impact gun
- Socket set and wrenches
- Torque wrench (for precise bolt tightening)
- Brake caliper piston tool (or C-clamp)
- Brake cleaner spray
- Thread locker (like Loctite)
- Bungee cord or zip ties
- Gloves and safety glasses
- Brake fluid (DOT 3, 4, or as specified)
- Catch container for old brake fluid
Some kits may need specialty tools. Always read the kit’s instructions before starting.
Preparing Your Car
Start by parking your car on a flat surface. Set the parking brake and block the wheels that won’t be lifted. Before lifting, loosen the lug nuts on the wheels you’ll be working on. Then:
- Use the jack to lift the car.
- Place jack stands under solid points (never rely on the jack alone).
- Remove the wheels.
Safety is critical—never crawl under a car supported only by a jack.
Removing The Old Brakes
With the wheel off, you’ll see the brake caliper over the rotor. Here’s how to remove the old components:
- Unbolt the caliper (usually two bolts on the backside).
- Hang the caliper with a bungee or zip tie—never let it hang from the brake hose.
- Slide out the old brake pads.
- Remove the caliper mounting bracket (if your kit includes new brackets).
- Slide the old rotor off the hub. If it’s stuck, tap gently with a rubber mallet.
Many beginners forget to check for retaining screws or clips holding the rotor. Remove those first to avoid damage.
Installing The New Rotors
Before installing new rotors, clean them with brake cleaner to remove protective oil. Place the new rotor on the hub, making sure it sits flush. If your kit includes new retaining screws, install them now.
Some rotors are directional—look for arrows or “L” (left) and “R” (right) markings. Installing the wrong way can hurt performance.
Installing The Caliper Brackets And Pads
- Bolt on the new or cleaned caliper bracket, using thread locker on bolts.
- Insert the new brake pads into the bracket. Many kits include anti-squeal shims—install them as directed.
- If your kit includes new hardware (clips, springs), use them. Old hardware can cause uneven wear or noise.
A common mistake: Not greasing the pad contact points with high-temperature brake grease. This prevents squeaks and uneven pad movement.
Compressing The Caliper Pistons
Before fitting the caliper over thicker new pads, you’ll need to compress the pistons:
- Use a caliper piston tool or a large C-clamp.
- Turn slowly and evenly.
- Watch for brake fluid rising in the master cylinder—overflow can damage paint.
If your car has an electronic parking brake, check your manual. Some require special tools or software to retract.
Installing Calipers And Brake Lines
Slide the caliper over the new pads and rotor. Bolt it down to the bracket, again using thread locker.
If your kit includes stainless steel brake lines:
- Place a catch container under the brake line area.
- Remove the old line (fluid will drip—wear gloves).
- Install the new line, making sure all connections are tight.
- Bleed the brakes to remove air.
Stainless lines resist swelling under pressure, giving a firmer pedal feel.
Bleeding The Brakes
Air in the brake lines reduces braking power. Bleed the system after installing new lines or opening the hydraulic circuit. The basic steps:
- Fill the master cylinder with fresh brake fluid.
- Start at the wheel farthest from the master cylinder (usually right rear).
- Open the bleeder valve, have a helper press the brake pedal, then close the valve.
- Repeat until only clear fluid comes out, with no bubbles.
Many people forget to check fluid level between wheels. Never let the master cylinder run dry, or you’ll add more air.
Reinstalling The Wheels And Torquing
Put the wheels back on, hand-tighten the lug nuts, lower the car, and use a torque wrench to tighten the nuts to the manufacturer’s specifications. Uneven or over-tightened nuts can cause vibration or even brake damage.
Breaking In (bedding) New Brakes
New pads and rotors need to be “bedded in” for best performance. Bedding varies by brand, but a common process is:
- Make 5 stops from 40 mph to 10 mph, moderate braking.
- Make 5 stops from 60 mph to 10 mph, more aggressive braking.
- Drive for 10 minutes without hard braking to let parts cool.
Never come to a full stop and hold the brakes during bedding—this can cause uneven pad deposits.
Safety Checks And Final Tips
After installation and bedding, check for:
- Firm brake pedal feel
- No leaks at lines or calipers
- No unusual noises (squeal, grinding)
- Fluid level at the max line
Drive carefully for the first 100 miles. If you feel vibration, pulling, or fading, re-check all bolts and fittings.
Here’s a quick comparison of OEM vs. performance brake kits:
| Feature | OEM Brakes | Performance Kit |
|---|---|---|
| Stopping Power | Standard | Higher |
| Heat Resistance | Moderate | Excellent |
| Brake Fade | Possible under stress | Minimized |
| Durability | Regular | Longer lifespan |
Common Mistakes To Avoid
Many first-timers make errors that can cause poor performance or safety risks:
- Not torquing bolts to spec—always use a torque wrench.
- Forgetting to bed in new pads and rotors.
- Skipping the brake bleed, leaving air in the system.
- Mixing old and new brake fluid.
- Not checking for leaks before driving.
Take your time and double-check each step.
Credit: www.mountainpassperformance.com
Example: Installing A Kit On A 2015 Honda Civic
To make these steps clearer, here’s a real-world example:
The owner of a 2015 Honda Civic wanted better braking for mountain driving. They chose a Wilwood front brake kit (slotted rotors, high-performance pads, stainless lines). The installation took about 3 hours, including careful cleaning and bleeding. After bedding in, stopping distance improved from 125 feet to 110 feet (measured 60–0 mph).
The pedal felt firmer, and there was less fade after long descents.
Cost And Value
Performance brake kits range from $300 to $2,000, depending on your car and the parts included. Labor at a shop can add $200–$400. DIY saves money, but only if you’re confident and careful. For most drivers, the extra cost is worth the safety and performance gains.
Here’s a rough breakdown:
| Kit Type | Estimated Cost | DIY Difficulty |
|---|---|---|
| Basic pad and rotor kit | $300–$600 | Easy–Moderate |
| Full kit with calipers | $800–$2,000 | Moderate–Challenging |
| Stainless lines (add-on) | $50–$150 | Moderate |
Extra Insights Many Miss
- Check wheel fitment: Bigger calipers and rotors sometimes require larger wheels. Always measure before buying.
- Save your old parts: In case you need to return to stock brakes (for resale or regulations), keep your original parts in a safe place.
- Brake fluid choice matters: Higher-performance fluid resists boiling under stress. Match the fluid type to your driving (track, towing, street).
When To Get Professional Help
If you’re unsure about any step, or if your car has advanced systems (like ABS, electronic parking brakes), it’s smart to get help from a pro. Brakes are not a place to take risks.
Credit: www.buybrakes.com
Frequently Asked Questions
How Long Does It Take To Install A Performance Brake Kit?
Most DIY installs take 2–4 hours for both front wheels, depending on your experience and whether you’re replacing brake lines. Rear brakes may add more time.
Will A Performance Brake Kit Make My Car Stop Much Faster?
Yes, most kits can reduce stopping distance by 10–20% compared to stock brakes, especially under heavy or repeated braking.
Do I Need To Replace All Four Brakes At Once?
Not always. Many upgrades start with the front brakes (they do most of the work). But for balanced performance, upgrading all four is ideal.
Is Special Maintenance Needed After Installing A Kit?
Check pad and rotor wear more often, especially if you drive hard. Also, bleed brakes and replace fluid regularly for best results.
Where Can I Learn More About Brake System Upgrades?
You can find more details on brake technology and safety at Wikipedia.
Installing a car performance brake kit can feel challenging, but with the right preparation, tools, and knowledge, it’s a project that pays off in safety and driving pleasure. Take your time, follow each step, and you’ll enjoy stronger, more reliable brakes every time you drive.
