If you want your car to run smoother, make more power, or simply start more reliably, upgrading to performance coil packs can be a smart move. Many car enthusiasts talk about coil packs, but the installation process often sounds harder than it really is. With the right steps, even someone with basic mechanical skills can do this at home and enjoy the benefits right away.
This guide will walk you through everything you need to know about installing performance coil packs. You’ll learn what tools you need, how to avoid common mistakes, and how to make sure your upgrade delivers real results. Whether you are chasing more horsepower or just want a smoother engine, this step-by-step guide will help you get the job done right.
What Are Performance Coil Packs?
Most modern cars use coil packs instead of older distributor systems. A coil pack is an electronic ignition coil that sends high-voltage electricity to your spark plugs. This makes sure the fuel in your engine burns efficiently. Performance coil packs are upgraded versions designed to provide a stronger, more consistent spark. This can lead to better throttle response, increased horsepower, improved fuel economy, and a smoother idle.
Upgrading your coil packs is especially beneficial if your car is modified, turbocharged, or has higher mileage. Even on stock cars, you may notice improved reliability and smoother starts.
Tools And Materials You’ll Need
Before you start, gather all the tools and materials. Having everything ready will save time and make the process easier.
- Socket set (usually 8mm, 10mm, or 12mm sockets)
- Ratchet or wrench
- Screwdrivers (flathead and Phillips)
- Dielectric grease (for spark plug boots)
- Torque wrench (optional but recommended)
- Work gloves
- Shop rags or microfiber cloth
- Vacuum or compressed air (to clean around coil packs)
- New performance coil packs (check your car’s make, model, and engine)
Not all cars use the same size bolts or type of ignition coil. Check your vehicle’s manual or search online for your specific engine.
Preparing Your Car For Installation
Don’t rush this step. Preparing your engine bay will prevent dirt from falling into the spark plug holes, which can cause engine damage.
- Turn off the engine and let it cool. Hot engine parts can burn your hands.
- Disconnect the negative battery terminal. This prevents accidental shocks or short circuits.
- Clean the area around the coil packs. Use a vacuum or compressed air to remove dust and debris.
- Check for codes or engine lights before you start. If you have a code reader, scan for any existing issues.
Removing The Old Coil Packs
Most coil packs are easy to remove, but they may be hidden under engine covers or intake tubes. Here’s how to do it safely:
- Remove engine covers if needed. These usually come off with a few bolts or clips.
- Locate the coil packs. They are usually on top of the engine, sitting above each spark plug.
- Unplug the electrical connector from each coil pack. Press the tab and pull gently.
- Unbolt the coil pack. Use the correct socket size and keep the bolts in a safe place.
- Twist and pull the coil pack out. If it feels stuck, wiggle it gently. Don’t force it.
If your car uses a coil-on-plug system, each spark plug will have its own coil pack. Inline engines are often the easiest, while V6 or V8 engines may have coils on both sides.
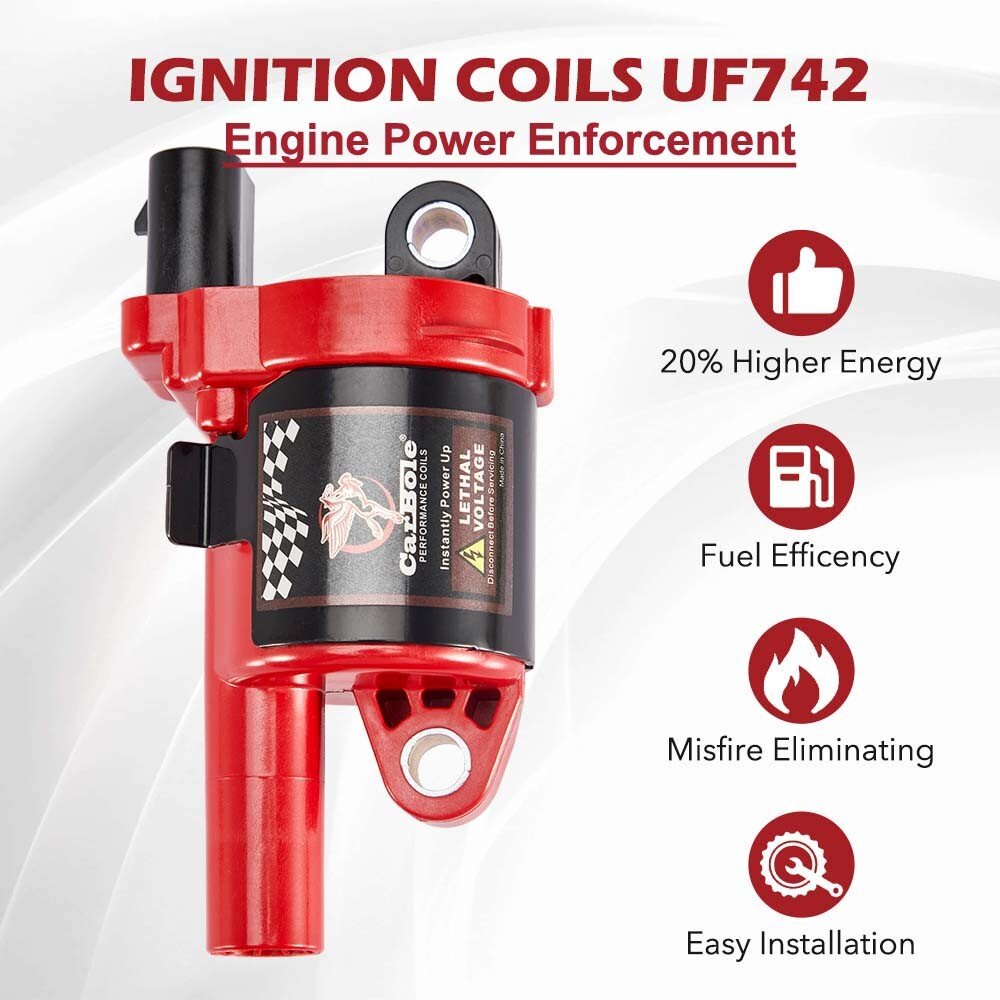
Credit: www.ebay.com
Installing The New Performance Coil Packs
Now comes the exciting part: installing your upgraded coil packs. Take your time, and follow these steps for best results.
- Compare the new and old coil packs. Make sure they match in size, connector type, and mounting points.
- Apply a small amount of dielectric grease inside each new coil boot. This helps prevent arcing and moisture issues.
- Insert the new coil pack into the spark plug well. Push down until it seats firmly.
- Bolt the coil pack into place. Tighten gently. If you have a torque wrench, check your manual for the correct torque (usually 6–8 ft-lbs).
- Reconnect the electrical connector. You should hear a click.
- Repeat for all coil packs. Do one at a time to avoid mixing up connectors.
Example: Installation On A 4-cylinder Engine
On a 4-cylinder engine, you’ll have four coil packs in a row. Start at one end and move down the line. Keep track of any brackets or wiring you remove, and double-check each connection before moving on.
Special Note: Engines With Remote-mounted Coil Packs
Some older or unique engines use a single coil pack for multiple cylinders, connected by spark plug wires. The process is similar, but you’ll need to transfer the wires to the new coil pack in the correct order. Check your firing order in the owner’s manual or online.
Testing And Double-checking Your Work
Don’t skip the final checks. Rushing this part can lead to misfires or engine codes.
- Reconnect the battery negative terminal.
- Start the engine. Listen for smooth idling and make sure the check engine light is off.
- Look for warning lights on the dashboard. If you see a check engine light, recheck all connections.
- Test drive your car. Pay attention to acceleration, idle, and engine noise.
- Scan for codes after your test drive if you have a code reader.
If you notice rough running, engine shaking, or new warning lights, stop and inspect all coil pack connections. Loose connectors are a common cause of issues after installation.
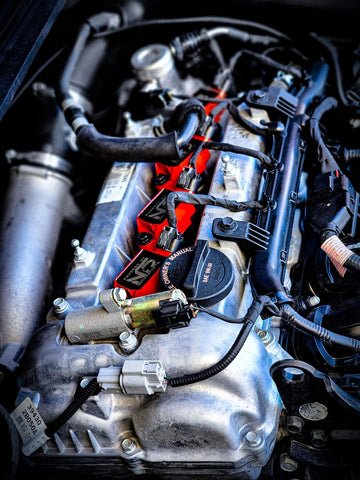
Credit: n75motorsports.ca
Comparing Oem Vs. Performance Coil Packs
Choosing between OEM (Original Equipment Manufacturer) and performance coil packs can be confusing. Here is a comparison to help you decide:
| Feature | OEM Coil Packs | Performance Coil Packs |
|---|---|---|
| Spark Strength | Standard | Stronger, more consistent |
| Lifespan | 80,000 – 100,000 miles | Similar or longer |
| Cost | Lower | Higher |
| Performance Gains | Minimal | Improved throttle response, possible horsepower increase |
| Best For | Daily driving, stock vehicles | Modified engines, performance builds |
Common Mistakes And How To Avoid Them
Even experienced mechanics can make mistakes. Here are the most common errors and how to avoid them:
- Mixing up connectors: Always change one coil pack at a time, or label each connector.
- Forgetting dielectric grease: This small step prevents future misfires and water damage.
- Over-tightening bolts: Coil packs don’t need much force. Over-tightening can crack the housing.
- Not cleaning the area first: Dirt can fall into the spark plug wells, causing engine problems.
- Ignoring engine codes: If you see a code or warning light, stop and check your work.
Real-world Example: 2012 Ford Mustang Gt
Let’s look at a practical example. The 2012 Ford Mustang GT uses a 5. 0L V8 engine with eight coil packs (one per cylinder). Many owners upgrade to performance coil packs after adding a supercharger or exhaust system.
After swapping the factory coils for high-performance units, many drivers report:
- Smoother idle
- More stable power delivery at high RPM
- Easier cold starts
- Slight fuel economy improvement (1–2 mpg)
However, one common issue is not seating the coil pack fully, which can trigger a misfire code. Double-check each coil is pushed all the way down and the connector clicks into place.
Performance Results: What To Expect
Upgrading to performance coil packs does not magically add 50 horsepower. However, the benefits are real, especially on modified engines.
| Benefit | Expected Result |
|---|---|
| Horsepower Increase | Up to 5–10 hp (varies by car and tune) |
| Throttle Response | Noticeably sharper |
| Idle Smoothness | Smoother, fewer shakes |
| Cold Start Reliability | Improved |
| Fuel Economy | Up to 2% better |
These numbers are based on user reports and dyno results from various car forums and manufacturers.
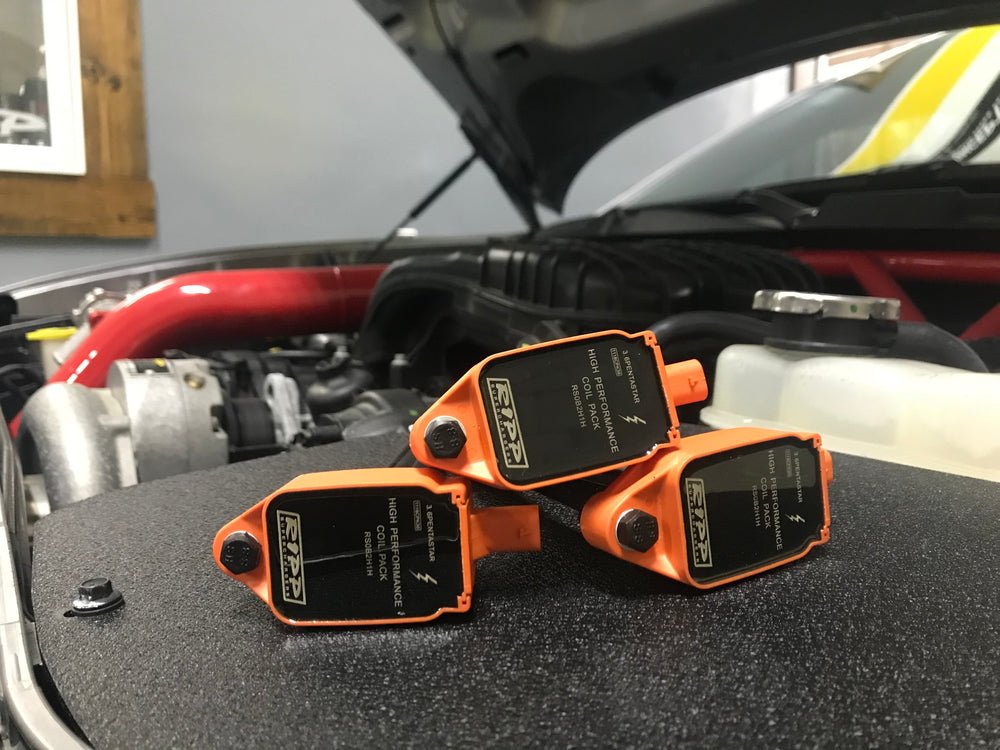
Credit: rippmods.com
Maintenance Tips After Installation
To keep your performance coil packs working well for years, follow these tips:
- Inspect coil packs every oil change for cracks or wear.
- Keep the engine bay clean to avoid moisture and dirt buildup.
- Replace spark plugs as needed. Old plugs can cause misfires even with new coils.
- Listen for engine changes. If you hear misfires or rough running, check coil pack connections first.
Many performance coil packs come with a warranty, so keep your purchase receipt and product box in case you need to make a claim.
Upgrading Other Ignition Components
For the best results, consider upgrading related ignition parts at the same time. This can maximize the benefit of your new coil packs.
- Spark plugs: Choose a high-quality plug recommended for your engine and coil pack.
- Spark plug wires: If your car uses wires, upgrade to low-resistance performance wires.
- ECU tune: Some cars benefit from a small software adjustment after ignition upgrades.
Combining these upgrades often results in a more noticeable performance boost, especially on turbocharged or high-compression engines.
Troubleshooting Installation Problems
If something doesn’t feel right after installing your coil packs, don’t panic. Here’s how to fix common issues:
- Engine misfire or shaking: Double-check all coil pack connectors and bolts.
- Check engine light: Scan the code. It may point to a specific cylinder or coil.
- Car won’t start: Ensure the battery is reconnected, and all coils are plugged in.
- Strange noises: Make sure no tools or rags were left in the engine bay.
If problems continue, reinstall your old coil packs one by one to see if the issue goes away. This can help you find a defective new coil pack or a bad connection.
Final Thoughts
Installing performance coil packs is a popular upgrade for a reason. The process is straightforward, and the rewards are real—better throttle response, smoother idling, and more reliable starts. With careful preparation and attention to detail, you can complete this job in about an hour, even with basic tools.
If you want to learn more about ignition systems and upgrades, check out the Wikipedia page on ignition systems for deeper technical details.
Remember, the key to a successful installation is patience and double-checking your work. Don’t rush, and your engine will thank you.
Frequently Asked Questions
How Long Does It Take To Install Performance Coil Packs?
For most cars, the job takes 30 to 60 minutes. Some V6 or V8 engines may take longer if access is tight or parts need to be removed first.
Do I Need To Tune My Car After Installing Coil Packs?
In most cases, no tune is required. However, if you have other engine upgrades, a custom ECU tune can help you get the most from your new coil packs.
Will Performance Coil Packs Increase My Horsepower?
You may see a small horsepower gain (up to 5–10 hp), but the main benefits are smoother running and better throttle response. Gains depend on your car and other modifications.
Can I Install Coil Packs Myself, Or Do I Need A Mechanic?
If you are comfortable with basic tools and have some DIY experience, you can install coil packs yourself. For rare or high-end cars, a professional may be recommended.
What Are Signs Of A Bad Coil Pack?
Common symptoms include engine misfires, rough idle, poor fuel economy, and check engine lights. If you notice these after installation, double-check all connections and consider testing your new coil packs.
