Installing performance exhaust headers is one of the most popular upgrades for car enthusiasts looking for more horsepower and better engine sound. Swapping your stock exhaust manifold with a set of performance headers can unlock hidden power, improve throttle response, and make your engine bay look more impressive. But the process is not as simple as swapping a bolt; it requires planning, careful work, and the right tools. If you want to do it yourself and avoid common mistakes, this guide will walk you through every step in clear, plain language.
What Are Performance Exhaust Headers?
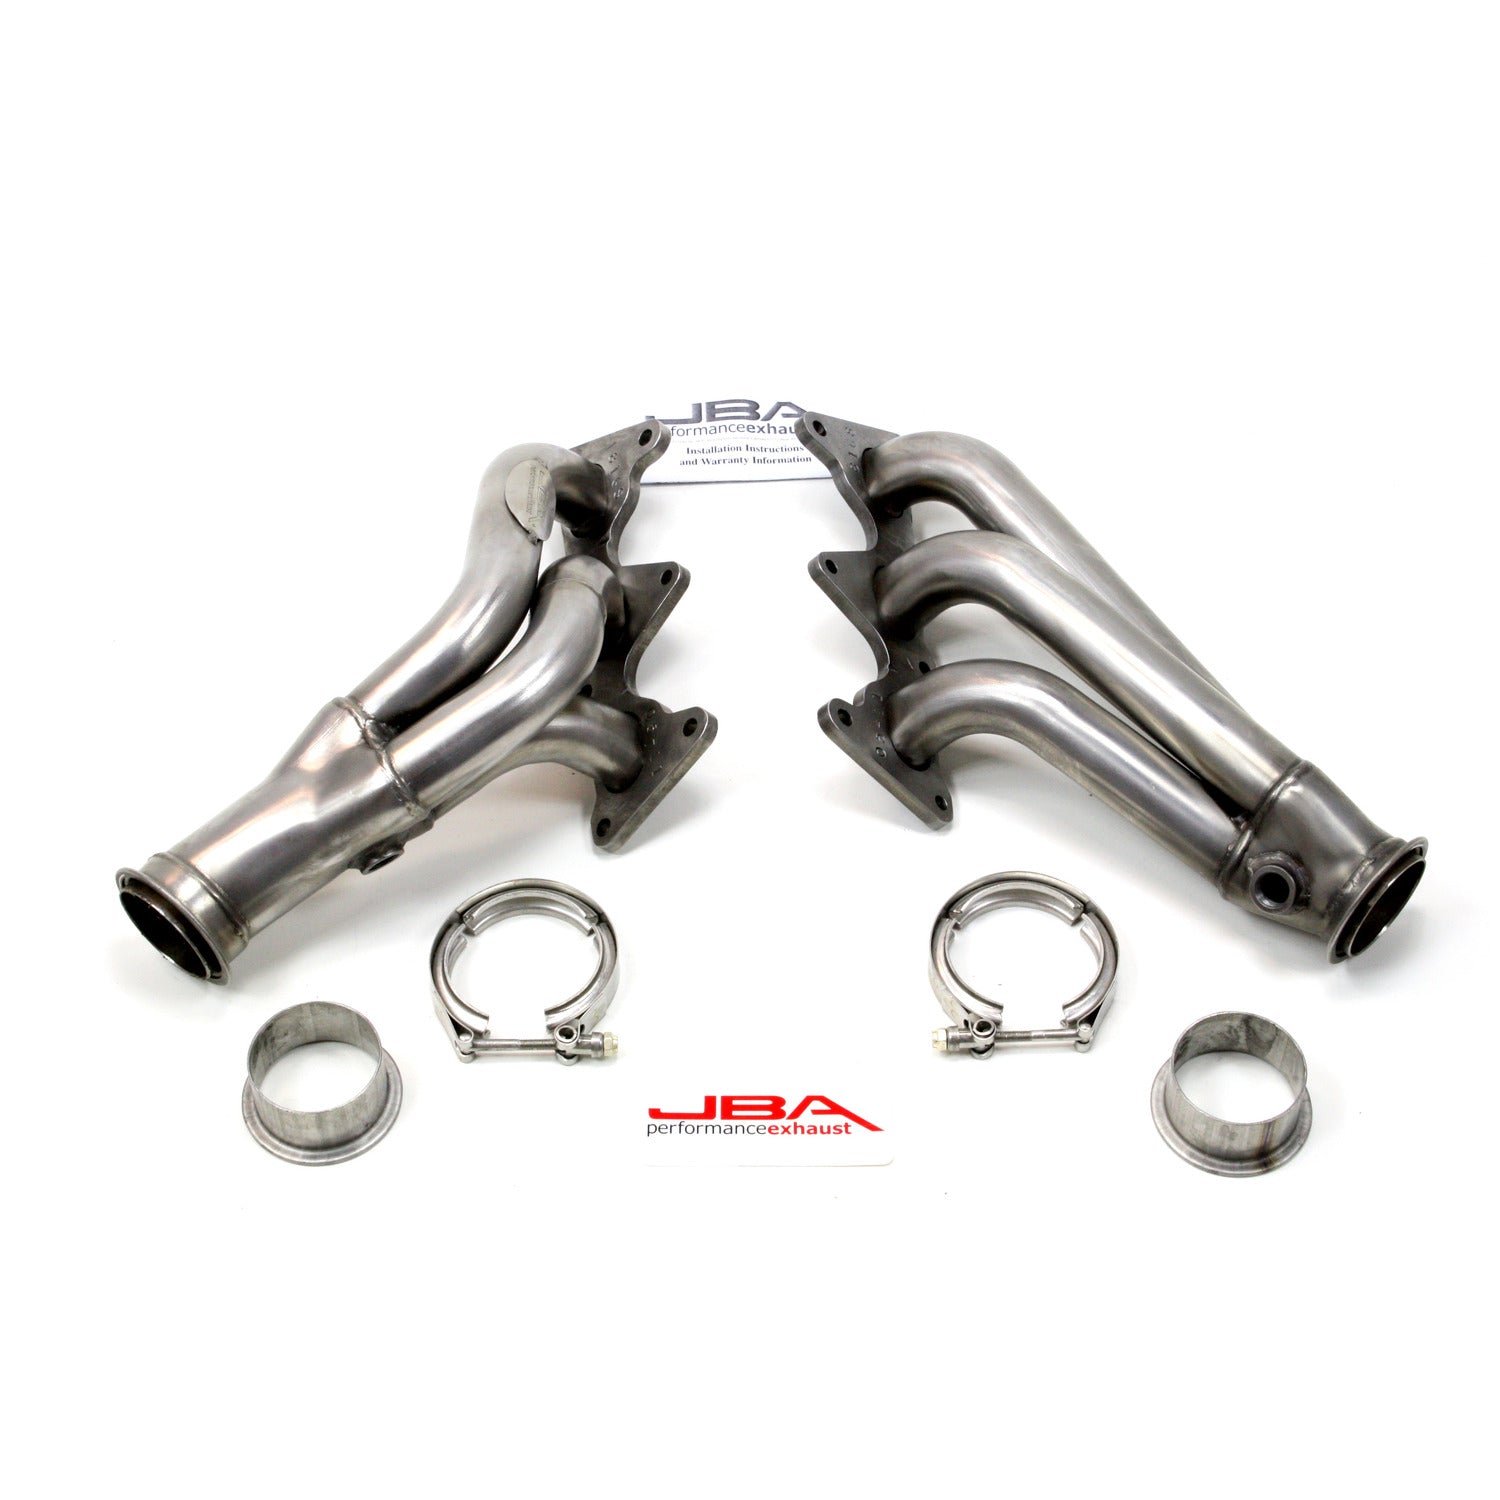
Performance exhaust headers are special pipes that replace your car’s factory exhaust manifold. The job of these headers is to help your engine “breathe out” more efficiently. While stock manifolds are designed to save money and space, performance headers focus on smooth flow and reducing backpressure.
Each cylinder in your engine gets its own pipe, which then merges into a collector. This design helps push exhaust gases out faster, increasing engine power. Most people notice a more aggressive sound and a little boost in fuel efficiency as well.
Why Install Performance Headers?
Before you start, it’s important to understand why people install headers. The main benefits are:
- Increased Horsepower: By reducing exhaust restriction, your engine can produce more power—often a gain of 10-25 horsepower, depending on your car and header type.
- Better Throttle Response: The engine feels quicker when you press the gas pedal.
- Improved Sound: Headers create a deeper, sportier exhaust note.
- Enhanced Engine Bay Look: Shiny headers often make your engine area look more impressive.
However, there are also a few things to watch out for. Sometimes, headers can make your car louder than you want. Some types may not be legal everywhere due to emissions rules. Always check your local regulations before buying.
Tools And Materials You’ll Need
Installing headers requires a mix of standard and special tools. Make sure you have:
- Socket set (with deep and shallow sockets)
- Wrenches (metric and standard)
- Torque wrench (for proper tightening)
- Jack and jack stands (never trust just a jack alone)
- Creeper (for sliding under your car)
- Penetrating oil (like WD-40, for rusty bolts)
- Gasket scraper or razor blade
- New exhaust gaskets (never reuse old ones)
- Header bolts or studs (sometimes included, sometimes not)
- Anti-seize compound
- Safety glasses and gloves
- Flashlight or work light
Don’t forget to buy the right headers for your car model, engine size, and year. Some headers also need extra hardware, like O2 sensor extensions or EGR block-off plates. Read the header manufacturer’s instructions before you start.
Preparing Your Car And Workspace
Proper preparation makes the job much easier and safer.
- Work on a cold engine. Hot exhaust parts can burn you badly.
- Disconnect the battery. This prevents electrical shorts if you bump any wires.
- Raise your car safely. Use a jack on solid ground and always place jack stands under strong frame points.
- Spray exhaust bolts with penetrating oil at least an hour before starting. Rusty bolts can snap easily, making your job harder.
- Gather all tools and parts within reach. You don’t want to crawl out from under the car every five minutes.
Removing The Old Exhaust Manifold
This step can be tough, especially on older cars with rust or limited space. Here’s how to do it:
- Remove any engine covers, heat shields, and intake pipes blocking access to the manifold.
- Label and disconnect O2 sensors if they’re mounted on the manifold. Use a proper O2 sensor socket if possible.
- Unbolt the manifold from the cylinder head. Go slowly—if a bolt feels stuck, spray more oil and try again later.
- Unbolt the manifold from the exhaust pipe underneath the car. You may need to remove more heat shields or crossmembers for space.
- Lift the old manifold out carefully. Some cars require tilting the engine or removing other parts.
Pro tip: If a bolt snaps, don’t panic. You may need a bolt extractor or to drill out the stud, but always try more penetrating oil and gentle rocking first.
Cleaning The Mounting Surfaces
Before installing your new headers, you must clean the mating surfaces where the gasket sits. Use a gasket scraper or razor blade to remove all traces of the old gasket and carbon deposits. Wipe the surface with a clean rag and some brake cleaner or rubbing alcohol.
Non-obvious insight: Even a tiny piece of leftover gasket can cause leaks. Take your time and run your fingers over the surface to feel for rough spots.
Test-fitting The Headers
Before final installation, test-fit your new headers. This helps you catch clearance problems early.
- Place the header loosely in position and check for contact with steering shafts, frame rails, or other components.
- Check if you can reach all the bolts with your tools.
- Some headers come in two pieces; see if both fit together under your car.
If you find any problems, now is the time to adjust (bend heat shields, reroute wires, etc. ). Never force the header into place.
Installing The New Headers
Now comes the satisfying part—putting in your performance headers.
- Apply anti-seize compound to all bolts and studs. This makes future removal easier.
- Install new gaskets on the cylinder head. Most headers use special metal or composite gaskets; do not reuse old ones.
- Position the header on the head and start all bolts by hand. Do not tighten yet.
- Tighten the bolts in a criss-cross pattern, starting from the center and moving outward. Use a torque wrench to the manufacturer’s specs (usually 18-24 ft-lbs for small bolts).
- Reconnect the header to the exhaust pipe underneath. You may need new bolts, springs, or clamps here.
- Reinstall O2 sensors using a little anti-seize on the threads (never on the sensor tip).
- Double-check all connections for tightness and clearance.
Second non-obvious insight: Never overtighten header bolts—this can warp the flange or break the gasket, causing leaks. Always use a torque wrench if possible.

Credit: www.americanmuscle.com
Reinstalling Heat Shields And Other Components
If your car had heat shields, try to reinstall them. Headers get very hot—sometimes hotter than stock manifolds. Shields protect wiring, hoses, and your legs (if you work under the hood).
Reattach any engine covers, air intake pipes, or crossmembers you removed earlier. Make sure nothing is touching the new headers.
Lowering The Car And Final Checks
Carefully remove jack stands and lower the car to the ground. Reconnect the battery.
Before starting the engine, do a final check:
- Look for any tools left in the engine bay.
- Make sure all bolts are tight.
- Check that O2 sensor wires and spark plug wires are routed safely away from the hot headers.
Starting The Engine And Checking For Leaks
Start your engine and let it idle. Listen for any ticking sounds—these can mean an exhaust leak. Feel around the header flanges (without touching!) For escaping air. After 5-10 minutes, shut the engine off and recheck all bolts. Sometimes, they loosen after the first heat cycle.
If you smell exhaust in the engine bay or hear a loud ticking, shut off the engine and check your work.
Breaking In New Headers
Some headers (especially ceramic-coated or painted ones) need a break-in process:
- Run the engine for 10-15 minutes, then let it cool completely.
- Repeat this cycle 2-3 times before driving hard.
This “cures” the coating and helps prevent peeling or discoloration. Follow the header maker’s instructions for best results.
Common Mistakes To Avoid
- Skipping new gaskets: Always use fresh, quality gaskets for a tight seal.
- Forgetting anti-seize: This will save you hours if you ever need to remove the headers.
- Overtightening bolts: Use a torque wrench and follow specs.
- Not rechecking bolts: Always retorque after the first heat cycle.
- Ignoring local laws: Some headers are not street-legal. Check regulations to avoid fines or failed inspections.
Comparing Header Types
There are two main types of performance headers: short-tube and long-tube. Each has its own strengths.
| Header Type | Best For | Power Gain | Installation Difficulty |
|---|---|---|---|
| Short-Tube | Daily driving, easy fit | Low-mid RPM (5-15 HP) | Easy |
| Long-Tube | Racing/highway | High RPM (15-25+ HP) | Harder |
Short-tube headers are easier to install and usually legal for street use. Long-tube headers give more power but may require modifications to your exhaust system.
Credit: pertronixbrands.com
Cost And Time Comparison
Installing headers can take anywhere from 3 to 8 hours, depending on your car and skill level. Here’s a rough comparison:
| Car Age/Type | Estimated Time | Typical Cost (DIY) |
|---|---|---|
| Newer (less rust) | 3-5 hours | $300-$600 |
| Older (more rust) | 5-8 hours | $350-$800 |
These numbers include the price of the headers and new gaskets, but not tools you may need to buy.
Aftermarket Headers Vs. Stock Manifold
To help you see the difference in performance and design, here’s a direct comparison:
| Feature | Stock Manifold | Performance Header |
|---|---|---|
| Material | Cast iron | Stainless or mild steel |
| Weight | Heavy | Lighter |
| Flow | Restricted | Free-flowing |
| Heat | Retains more | Dissipates faster |
| Sound | Quiet | Sportier |
When To Seek Professional Help
If you run into frozen bolts, broken studs, or clearance issues you can’t solve, don’t be afraid to call a mechanic. Some cars are just tougher than others—front-wheel-drive V6 engines, for example, are much tighter than rear-wheel-drive V8s.
A shop can usually install headers in a day, but expect to pay for labor. Sometimes, it’s better to let an expert handle the tough jobs, especially if you’re not comfortable working under your car for hours.
Useful Resources
For more detailed installation guides, torque specs, and local laws, visit your header manufacturer’s website or trustworthy automotive forums. You can also check out this Wikipedia article on exhaust manifolds for more technical background.

Credit: www.youtube.com
Frequently Asked Questions
How Much Horsepower Will I Gain From Installing Headers?
The gain depends on your car, engine, and header type. Most people see a 10-25 horsepower increase with quality headers and a matching exhaust system. Some high-performance cars may gain even more, but always remember, real gains require proper tuning and supporting mods.
Are Headers Legal In All Areas?
Not always. Some states and countries have strict emissions laws that make certain headers illegal for street use. Always check your local regulations before buying and installing headers to avoid fines or failed inspections.
Do I Need To Tune My Engine After Installing Headers?
Most cars will run fine after header installation, but for maximum power and efficiency, a custom tune is recommended. Modern engines may throw a “check engine” light if the O2 sensors detect different readings, so a tune can help avoid this.
Will Headers Make My Car Louder?
Yes, headers usually make your exhaust louder and deeper. The increase depends on your muffler and overall exhaust system. If you want a quieter ride, consider keeping the stock muffler or adding a resonator.
Can I Install Headers Myself, Or Should I Hire A Mechanic?
Many handy people install headers at home with basic tools and patience. However, if you lack experience, proper tools, or workspace, it’s safer to use a professional. Some installations are much harder than they look, especially on modern cars with tight engine bays.
By following the steps and tips above, you can confidently install performance exhaust headers and enjoy the benefits every time you drive. Take your time, double-check your work, and your car will reward you with more power and sound for years to come.
