Upgrading your car’s fuel delivery system is one of the most effective ways to unlock hidden engine performance. For many car enthusiasts and tuners, installing a performance fuel rail is a key step toward more horsepower, smoother acceleration, and better reliability—especially if you run a turbo, supercharger, or plan to increase fuel flow. Installing a new fuel rail is not a simple “plug and play” job, but with the right guidance, you can do it yourself and get great results. This guide will take you through everything you need to know to install a car performance fuel rail safely and successfully, even if you’re new to engine mods.
What Is A Performance Fuel Rail?
A fuel rail is a metal bar or tube that delivers fuel to your engine’s injectors. In most cars, the stock fuel rail is made for moderate power and fuel flow. But performance fuel rails have larger diameters, better flow characteristics, and sometimes better heat resistance. This means your engine gets a more stable, higher volume of fuel—important if you’re chasing more power or running bigger injectors.
Performance rails are often made from billet aluminum or stainless steel, which can handle higher pressures. They are designed to prevent fuel starvation and provide even pressure to every injector, especially under high load or at high RPMs.
When Should You Install A Performance Fuel Rail?
Not every driver needs a performance fuel rail. But you should consider upgrading if:
- You’ve installed a turbocharger or supercharger
- You’re running larger fuel injectors
- You’re aiming for more than 20% power increase over stock
- Your car experiences fuel starvation at high RPMs
- You want extra reliability for track or spirited driving
Don’t upgrade if your engine is stock and you don’t plan major changes. For most daily drivers, the factory fuel rail is enough.
Tools And Parts Needed
Before you begin, gather these essential tools and parts:
- Socket set (metric and standard)
- Open-end wrenches
- Screwdrivers (flat and Phillips)
- Fuel line disconnect tool (specific for your car)
- Torque wrench
- Rags and catch pan (for fuel spills)
- Eye protection and gloves
- New performance fuel rail (model-specific)
- New fuel injectors (if upgrading)
- O-rings (fresh, for injectors)
- Replacement fuel lines or adapters (if needed)
- Thread sealant (approved for fuel systems)
Having everything ready before starting makes the process much smoother.
Preparation: Safety First
Working on the fuel system can be dangerous. Gasoline is flammable and toxic. Always:
- Work in a well-ventilated area
- Disconnect the battery before starting
- Relieve fuel system pressure (usually by removing the fuel pump fuse and running the engine until it stalls)
- Wear safety glasses and gloves
- Keep a fire extinguisher nearby
Don’t smoke or use open flames near your work area.
Removing The Old Fuel Rail
Start by making sure the engine is cool. Then, follow these general steps:
- Disconnect the battery to prevent sparks.
- Relieve fuel pressure by removing the fuel pump fuse/relay and cranking the engine.
- Remove engine covers or intake components as needed for access.
- Disconnect the fuel lines from the rail using the proper disconnect tool. Some fuel may spill, so have rags ready.
- Unplug fuel injector connectors.
- Remove bolts securing the fuel rail to the intake manifold.
- Carefully lift out the old fuel rail. The injectors may come out with it. If so, keep track of O-rings and seals.
If you see cracked O-rings or brittle connectors, replace them. This is a good time to inspect and clean your intake manifold and injectors.
Comparing Stock Vs Performance Fuel Rails
Choosing the right upgrade requires understanding the differences. Here’s a quick comparison:
| Feature | Stock Fuel Rail | Performance Fuel Rail |
|---|---|---|
| Material | Steel/Plastic | Aluminum/Stainless Steel |
| Fuel Flow Capacity | Limited (OEM spec) | High (supports big injectors) |
| Pressure Handling | Moderate (up to 50 psi) | High (70–120 psi+) |
| Heat Dissipation | Average | Improved |
| Price | Low | Medium to High |
Credit: www.fastwrx.com
Installing The Performance Fuel Rail
Once you’ve removed the old rail, installation is the reverse process, but with important details:
1. Prepare The Injectors
- If using new injectors, lubricate O-rings with a bit of clean engine oil.
- Insert injectors into the new rail. Make sure they’re fully seated.
- Double-check that O-rings are not pinched or cut.
2. Mount The New Rail
- Align the rail and injectors with the intake manifold ports.
- Gently press the rail and injectors into place. You may need to wiggle slightly to seat them.
- Bolt the rail down using the supplied hardware. Torque to the manufacturer’s specs (usually between 8–12 ft-lbs).
3. Connect The Fuel Lines
- Attach the fuel feed and return lines (if present). Use new adapters or fittings if needed.
- If your kit has AN fittings or braided lines, check for leaks at every connection.
- Tighten fittings snugly, but do not overtighten.
4. Reconnect Electrical Connectors
- Plug the injector connectors back in. Make sure each one clicks into place.
5. Reinstall Engine Covers
- Put back any intake or engine covers you removed.
- Double-check that no tools or rags are left in the engine bay.
Practical Tips For A Smooth Installation
- Use a small dab of grease on O-rings to prevent tears.
- If the new rail sits unevenly, check that injectors are straight and not binding.
- Do not reuse old O-rings—they can leak.
- Some rails have extra ports for gauges or nitrous. Plug these if not used.
- Always check the manufacturer’s instructions for your specific model.
Common Mistakes To Avoid
- Not relieving fuel pressure: This can cause dangerous fuel spray.
- Forgetting to lube O-rings: Dry O-rings often tear and leak.
- Overtightening bolts: This can crack the rail or strip threads.
- Mismatching fuel line sizes: Leads to leaks or poor flow.
- Skipping leak check: Always check for leaks before running the engine hard.
Testing The New Fuel Rail
Before you start the car, do these checks:
- Prime the fuel system by turning the ignition on (engine off) a few times. This pressurizes the system.
- Look closely at all connections for leaks.
- If dry, start the engine and let it idle. Watch for drips or fuel smells.
- If you spot a leak, shut off the engine immediately and fix it.
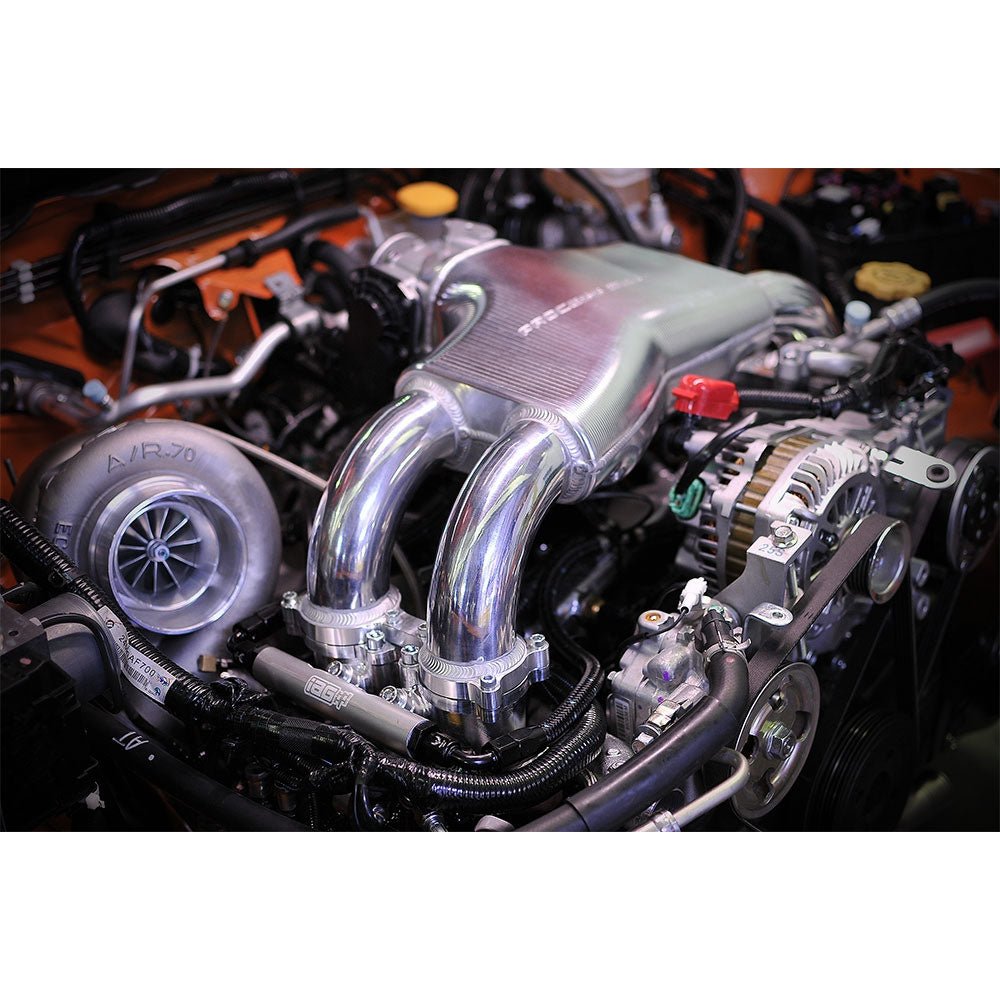
Some performance rails require minor tuning changes for best results, especially if you installed larger injectors. Check your air-fuel ratio and adjust as needed.
Credit: www.glennsautoperformance.com
Example: Fuel Rail Upgrade Results
After installing a performance fuel rail and bigger injectors on a Honda Civic Si, dyno testing showed a 7–10 horsepower increase at high RPMs. More importantly, the engine ran smoother at full throttle, and fuel pressure stayed steady compared to the stock setup. For cars with forced induction, the gains can be much bigger—sometimes 20+ horsepower, with much more reliable fuel delivery.
Cost And Time Estimates
Here’s what you can expect in terms of cost and time:
| Item | Price Range | Time Required |
|---|---|---|
| Performance Fuel Rail | $100 – $300 | – |
| Injectors (optional) | $100 – $500/set | – |
| Labor (DIY) | Free | 2–3 hours |
| Labor (Shop) | $100 – $200 | 1–2 hours |
| Misc Parts (O-rings, sealant) | $20 – $50 | – |
Advanced Considerations: Tuning And Fuel Pressure
A big mistake many beginners make is ignoring fuel pressure after installing a new rail. Some performance rails have adjustable pressure regulators or extra ports for a pressure gauge. If your new rail changes system pressure, you may need to recalibrate your ECU or fuel map.
Another overlooked factor: heat soak. High-performance rails often reduce heat transfer from the engine, keeping fuel cooler. Cooler fuel is denser, which can make tuning more consistent.
Should You Install It Yourself Or Hire A Pro?
If you’re comfortable with basic engine work and can follow instructions, installing a fuel rail is a rewarding DIY project. It can save you $100–$200 in labor. But if you’re unsure, or if your car has a complex intake system, a professional install is a smart investment.
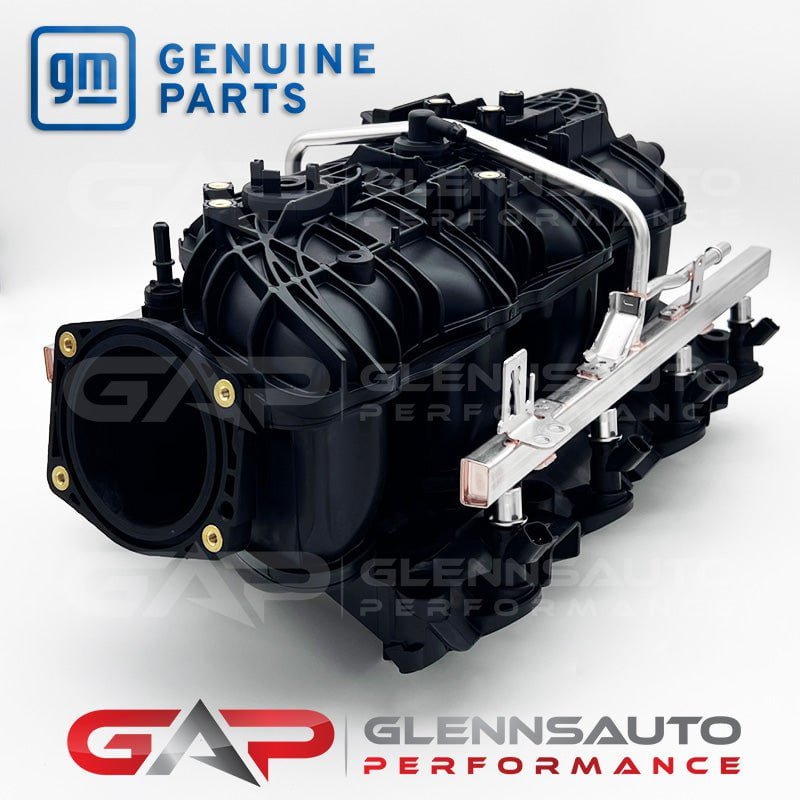
Never risk fuel leaks or fire by cutting corners.
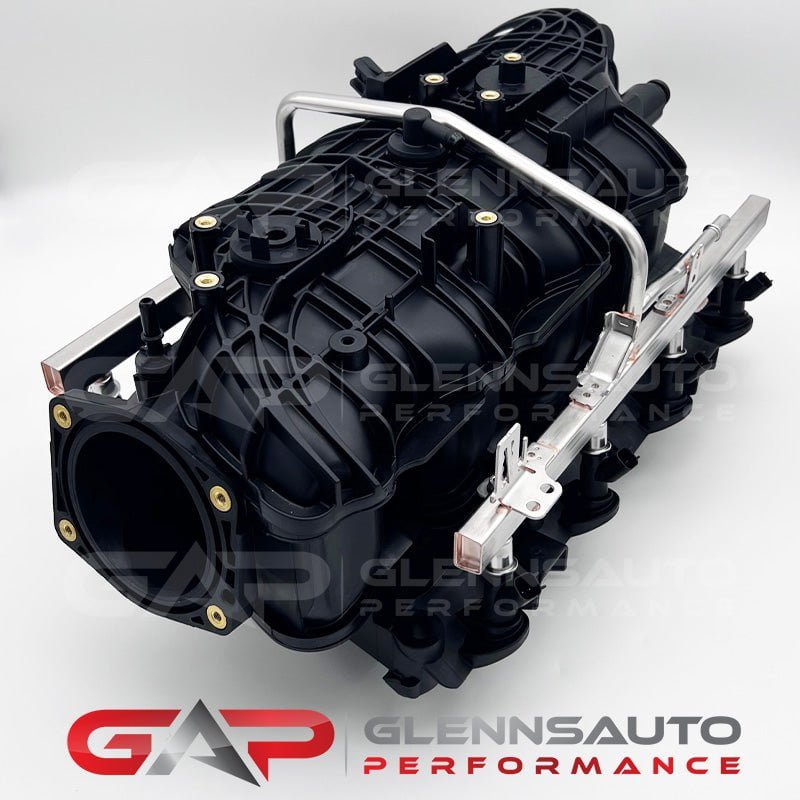
Credit: www.glennsautoperformance.com
Where To Find More Guidance
If you want detailed, car-specific instructions, check forums, YouTube, and the official guides from your rail manufacturer. For more technical info on fuel system upgrades, Wikipedia’s fuel injection page is a great resource.
Frequently Asked Questions
What Is The Main Benefit Of A Performance Fuel Rail?
The biggest benefit is improved fuel delivery to your engine. This means more consistent fuel flow, better high-RPM performance, and reduced risk of fuel starvation—especially important for tuned or boosted engines.
Do I Need To Tune My Car After Installing A Performance Fuel Rail?
If you only install the rail and keep your stock injectors, tuning is usually not required. But if you add bigger injectors or change fuel pressure, you should tune your ECU for best performance and to avoid running too rich or lean.
Can A Performance Fuel Rail Increase Horsepower By Itself?
The rail alone rarely adds horsepower. The real gains come when it supports bigger injectors, higher flow, and better pressure stability—especially in high-power builds.
Is A Performance Fuel Rail Safe For Daily Driving?
Yes, if installed correctly and with quality parts. Many daily-driven cars use upgraded fuel rails for reliability and future-proofing against future mods.
How Do I Know Which Fuel Rail Fits My Car?
Always buy a fuel rail designed for your car’s year, make, and model. Universal rails may require custom fitting. Check with the manufacturer and look for user reviews before buying.
Upgrading your car’s fuel rail is an excellent way to prepare your engine for serious performance. With careful installation and attention to detail, you’ll enjoy better power and reliability—whether on the street or the track. Remember: always prioritize safety and double-check your work for a trouble-free upgrade.
