
Upgrading your car’s radiator is a smart move if you want more power, better cooling, or you’re planning to push your engine harder. A performance radiator helps keep the engine at the right temperature, even under stress. If you love spirited driving, live in a hot climate, or own a turbocharged car, a radiator upgrade can make a real difference. But many drivers feel nervous about installing a new radiator. The process seems technical, but with the right steps and tips, you can do it at home and enjoy the benefits. This guide will walk you through everything you need to know, from choosing the right radiator to the final checks after installation.
Why Upgrade To A Performance Radiator?
A standard radiator works well for daily driving, but it’s not designed for high heat loads. When you add more power, drive fast, tow heavy loads, or track your car, the engine produces more heat. Performance radiators use better materials like aluminum, have more cooling fins, and larger cores. This means more heat is taken away from the engine, reducing the risk of overheating, warped parts, or engine failure.
Here’s how a performance radiator helps:
- Improved cooling: Lower engine temps, even when driving hard.
- Stronger materials: Less chance of leaks or cracks.
- Better efficiency: Engine runs smoother and lasts longer.
Many car owners don’t realize that even a small drop in coolant temperature can protect expensive engine parts, especially if you live in a hot place or tune your engine for more power.
Preparing For Your Radiator Upgrade
Before you start, it’s important to plan and get the right parts. This makes the process smoother and helps you avoid mistakes.
Choosing The Right Performance Radiator
Not all radiators fit every car. Here are key factors to consider:
- Compatibility: Make sure the radiator is made for your car’s year, make, and model.
- Core size and thickness: Bigger isn’t always better. Too thick can mean less airflow. Match the size to your car’s needs.
- Material: Most performance radiators use aluminum for better heat transfer and less weight.
- Number of rows: More rows usually mean more cooling, but check if your car has space.
- Inlet/outlet positions: The radiator hoses must match your engine.
- Transmission cooler: If your car is automatic, get a radiator with a built-in transmission cooler.
Here’s a quick comparison of typical radiator materials:
| Material | Heat Transfer | Weight | Durability |
|---|---|---|---|
| Aluminum | Excellent | Light | High |
| Copper/Brass | Very Good | Heavy | Moderate |
| Plastic/Aluminum Mix | Average | Light | Lower |
Tools And Supplies Needed
Gather all tools and supplies before starting. Here’s what you’ll need:
- New performance radiator (right size and type)
- Fresh coolant (check your car’s manual for type)
- Distilled water (for mixing coolant, if needed)
- Hose clamps (new if old ones are rusted)
- Screwdrivers (flathead and Phillips)
- Socket set and wrenches
- Pliers
- Drain pan
- Gloves and safety glasses
- Funnel
- Shop towels
Having everything ready saves time and avoids rushing to the store mid-job.
Safety First
Never work on a hot engine. Coolant is very hot under pressure and can cause burns. Wait until the engine is fully cool before you start. Always wear gloves and safety glasses to protect yourself from spills.
Step-by-step Guide To Installing A Performance Radiator
Now that you’re ready, follow these steps for a smooth installation. It’s best to take your time, stay organized, and keep track of all bolts and parts.
1. Let The Engine Cool Completely
This step is vital. Opening the radiator cap on a hot engine can spray boiling coolant. Wait at least an hour after driving, or until the radiator feels cool to the touch.
2. Drain The Old Coolant
Place a drain pan under the radiator drain plug or petcock. Open the plug and let the old coolant flow out. Remove the radiator cap for faster draining. If the coolant is clean and new, you can reuse it, but it’s usually best to replace with fresh coolant for maximum performance.
3. Remove Any Covers Or Shrouds
Many cars have a radiator cover or plastic shroud that directs airflow. Remove these parts carefully, keeping all screws and clips in a safe place.
4. Disconnect The Radiator Hoses
Use pliers to loosen the clamps on both upper and lower radiator hoses. Gently twist and pull the hoses off the radiator. Be ready for a little extra coolant to spill.
5. Disconnect The Transmission Cooler Lines (if Needed)
If your car is automatic, you’ll have lines running to the radiator. Use a line wrench or pliers to disconnect them. Plug the lines to stop leaks.
6. Unplug The Fan And Sensor Connections
Most modern cars have an electric fan attached to the radiator. Unplug any wires for the fan and temperature sensors. If the fan is bolted to the radiator, you may need to remove it now.
7. Remove The Old Radiator
Check for mounting bolts or brackets holding the radiator in place. Remove them and carefully lift the radiator out. It may be heavier than it looks, and you don’t want to spill any leftover coolant.
8. Compare The Old And New Radiator
Before installing, set the new radiator next to the old one. Check that the mounting points, hose connections, and size match. This step prevents surprises later.
9. Install The New Radiator
Lower the new performance radiator into place, being careful not to damage the cooling fins. Bolt it down with the original brackets and bolts.
10. Reconnect The Fan And Sensors
If you removed the fan or sensors, reinstall them now. Plug in all electrical connectors. Double-check that nothing is left loose.
11. Reattach The Hoses And Lines
Slide the upper and lower hoses onto the new radiator and secure with clamps. If your car has transmission cooler lines, reconnect them tightly.
12. Replace Covers And Shrouds
Put back any covers, shrouds, or air guides you removed earlier. These help direct cool air to the radiator and improve performance.
13. Add Coolant And Bleed The System
Mix coolant and distilled water if needed (usually 50/50 mix unless your area is very cold or hot). Pour slowly into the radiator using a funnel. Fill until you see coolant at the top.
Modern cars often need air bleeding to remove trapped air bubbles. Some have a bleed screw; others need you to run the engine with the cap off until bubbles stop. Follow your car’s manual for the best method.
14. Start The Engine And Check For Leaks
With the radiator cap off, start the engine and let it idle. Watch for leaks at all hoses and fittings. As the engine warms up, add more coolant if the level drops.
15. Final Check And Test Drive
Once you’re sure there are no leaks, put the radiator cap back on and let the engine reach normal operating temperature. Watch the temperature gauge—it should stay steady. Take a short test drive and check again for leaks or problems.
Common Mistakes To Avoid
Many beginners make simple errors that can lead to leaks, overheating, or even engine damage. Here are mistakes to watch out for:
- Forgetting to bleed air: Air pockets can cause overheating. Always bleed the cooling system.
- Using the wrong coolant: Some radiators need special coolant types. Check your car’s manual.
- Over-tightening hose clamps: This can damage hoses or connections.
- Not checking for leaks: Always double-check after installation.
- Mixing different coolant types: Mixing colors or brands can cause clogs.
A non-obvious tip: If you’re reusing old hoses, inspect them for cracks or soft spots. Old hoses often fail soon after a radiator upgrade.

Credit: shop.regalautosport.com
Performance Radiator Vs. Stock Radiator: What’s The Difference?
It helps to see how much a performance radiator can improve your car. Here’s a side-by-side look:
| Feature | Stock Radiator | Performance Radiator |
|---|---|---|
| Material | Plastic/Aluminum | Full Aluminum |
| Cooling Capacity | Standard | 30-50% Higher |
| Durability | Average | High |
| Weight | Moderate | Lighter |
| Heat Dissipation | Good | Excellent |
| Cost | Lower | Higher |
Real-world tests have shown that a high-quality aluminum radiator can drop coolant temperatures by 10–20°C (18–36°F) compared to stock in demanding situations.
Maintenance Tips After Upgrading
A performance radiator needs some care to keep working at its best:
- Check coolant level every month, especially after hard driving.
- Inspect for leaks around hoses and fittings regularly.
- Flush the cooling system every 2 years or as recommended.
- Clean the radiator fins with a soft brush or compressed air to remove bugs and debris.
- Monitor temperature gauge: If you see sudden spikes, check for air bubbles or low coolant.
A useful tip: Many people forget to check the radiator cap. A weak or old cap can cause pressure loss, even with a new radiator.
Credit: www.mishimoto.com
When Should You Upgrade Your Radiator?
Not sure if you need a performance radiator? Here are some signs:
- You notice engine temperatures rising on hot days or during spirited driving.
- You’ve added power parts (turbo, supercharger, bigger engine).
- You tow heavy loads often.
- Your stock radiator is leaking or corroded.
- You plan to track or race your car.
Even if you’re not racing, a radiator upgrade is a good investment in reliability if you live in a hot climate or drive in heavy traffic.
Professional Installation Vs. Diy
Installing a performance radiator at home is possible for most people with basic tools, but there are times to consider a professional:
- You have little mechanical experience.
- Your car has a complex cooling system.
- You don’t have the right tools or space.
A professional can install and bleed the system quickly, but you’ll pay more. DIY saves money and helps you learn about your car, but take your time and follow all steps closely.
Credit: www.amazon.com
Frequently Asked Questions
How Much Does A Performance Radiator Cost?
Prices range from $150 to $600 depending on brand, material, and car model. Labor at a shop may add $150–$300. Higher-end radiators for sports cars can cost more.
Can I Reuse My Old Coolant?
If the coolant is less than 6 months old and looks clean, you can reuse it. But it’s safer to use new coolant for the best performance and protection.
Do I Need To Upgrade My Radiator Fans Too?
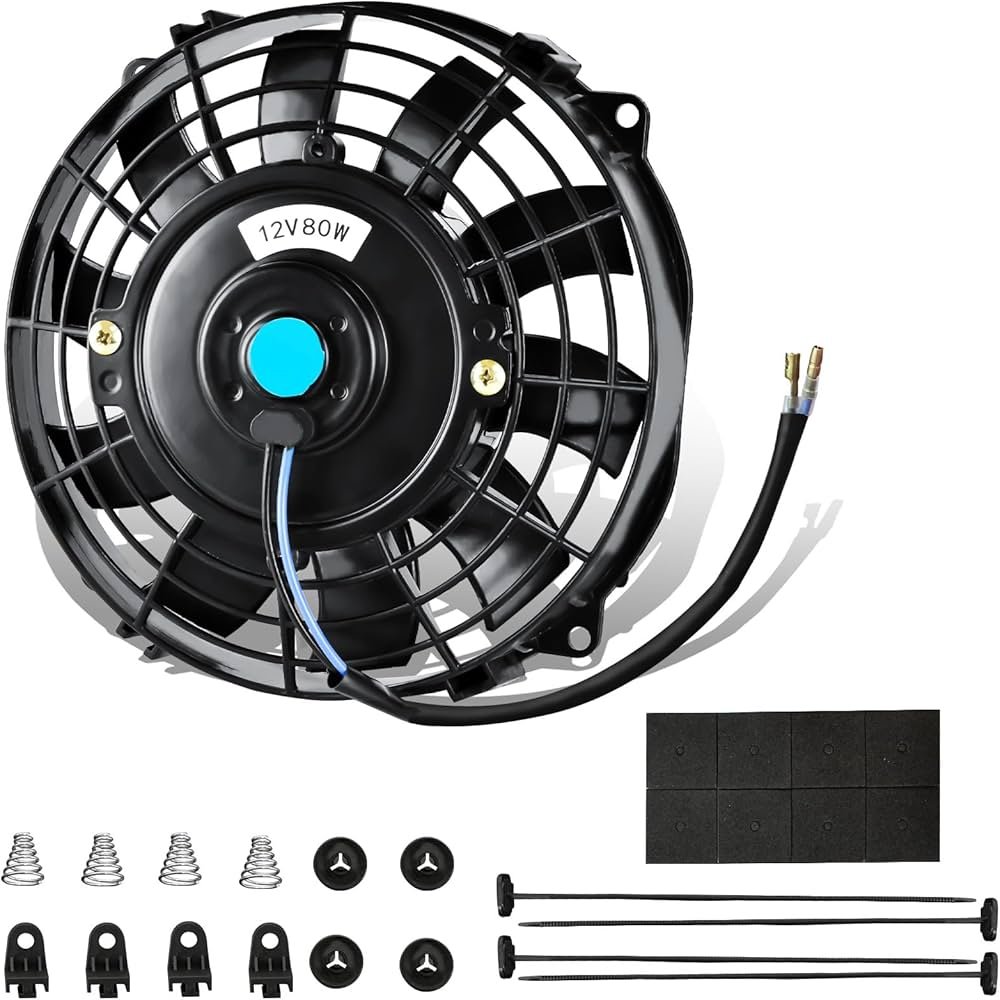
If your stock fans keep up with cooling, you can keep them. For high-power engines or track use, high-flow electric fans can help, but they’re not always required.
How Long Does It Take To Install A Radiator?
For most cars, expect 2–4 hours if you’re careful and follow all steps. Some performance cars with tight engine bays may take longer.
Where Can I Find More Technical Details About Cooling Systems?
For detailed information on car radiators and cooling systems, you can visit the Wikipedia page on Radiator (Engine Cooling).
Upgrading your car’s radiator is one of the best ways to protect your investment and unlock more performance. With careful planning and step-by-step work, you can enjoy cooler temperatures, more reliable driving, and peace of mind on any road.
