
Installing step bars, also called nerf bars, is one of the most popular upgrades for trucks and SUVs. Step bars make it easier to get in and out of your vehicle, and they add a stylish look. Many people think installation is hard, but with the right guidance, it’s a task you can handle yourself.
This guide will walk you through every step, from choosing the right bars to mounting them safely. Whether you’re new to car mods or already have some experience, you’ll find practical advice, useful tips, and examples that make the process easy to follow.
What Are Car Step Bars (nerf Bars)?
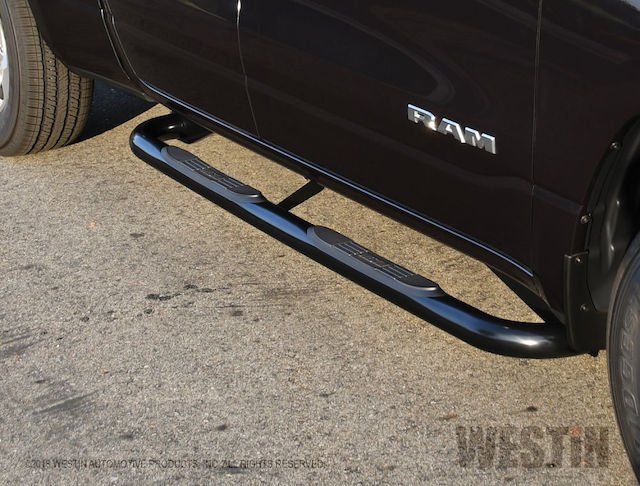
Step bars, or nerf bars, are metal tubes attached to the sides of a vehicle. They serve two main purposes: to help passengers step up into the vehicle and to protect the sides from debris or minor impacts. Nerf bars first appeared in racing, where they protected cars from wheel-to-wheel contact. Today, they’re common on trucks, SUVs, and some vans.
Most step bars are made from stainless steel, aluminum, or powder-coated steel. They come in many styles and sizes. Some are straight, while others curve to match the vehicle. The right choice depends on your vehicle model, your needs, and your budget.
Choosing The Right Step Bars For Your Vehicle
Before you start installing, you need to pick the right step bars for your car. Not all bars fit every vehicle. Here’s how to make a smart choice:
- Check Compatibility: Look for bars made for your vehicle’s make, model, and year.
- Material Quality: Stainless steel is strong and resists rust. Aluminum is lighter. Powder-coated steel offers good protection but can chip over time.
- Style: Choose from oval, round, or flat designs. Some have anti-slip pads, which help in wet weather.
- Length: Full-length bars offer more stepping area. Shorter bars may cover just the front doors.
- Weight Limit: Check the maximum weight the bars can support. Most bars hold 300–500 lbs.
- Mounting Method: Some bars bolt onto existing holes, while others require drilling.
Here’s a comparison table to help you decide:
| Material | Weight | Rust Resistance | Average Price |
|---|---|---|---|
| Stainless Steel | Heavy | High | $200–$350 |
| Aluminum | Light | Medium | $180–$300 |
| Powder-Coated Steel | Medium | Good | $150–$270 |
Credit: news.westinautomotive.com
Tools And Supplies You’ll Need
To install step bars, gather these basic tools:
- Socket wrench set
- Screwdriver
- Torque wrench (optional but recommended)
- Safety goggles
- Gloves
- Jack and jack stands (if needed)
- Drill and drill bits (only if drilling is required)
- Anti-rust spray (optional)
- Step bar kit (includes brackets, bolts, and instructions)
Some kits come with all hardware included. Always double-check before starting.
Preparing Your Vehicle For Installation
Good preparation makes installation easier and safer. Follow these steps:
- Read the Instructions: Every step bar kit is slightly different. Review the manual first.
- Park on a Level Surface: This keeps your car stable.
- Clean the Mounting Area: Wipe off dirt and mud from the underside.
- Gather Tools: Keep everything within reach.
- Lift the Vehicle (if needed): For low vehicles, use a jack and stands to access mounting points.
Many beginners skip cleaning. Dirt and rust can weaken the mounting surface. Use anti-rust spray if your car is older or has visible corrosion.
Step-by-step Guide To Installing Step Bars
Now, let’s get into the actual installation. The process is straightforward for most vehicles, but some models may require minor adjustments.
1. Locate Factory Mounting Points
Most newer vehicles have pre-drilled holes for step bars. These are usually under the doors, along the frame. Look for threaded holes or metal inserts.
If your vehicle doesn’t have these, you may need to drill holes. Mark the spots carefully using the brackets as a guide.
2. Attach Mounting Brackets
Take the brackets from your kit and align them with the mounting points. Secure them using bolts provided.
- Use your socket wrench to tighten bolts.
- Do not fully tighten yet; leave a little looseness for adjustment.
Pro tip: If brackets don’t fit, check if you have the correct kit. Sometimes, a small adjustment or swapping brackets left-to-right helps.
3. Position The Step Bars
Place the step bars onto the brackets. Make sure the anti-slip pads face upward. Adjust the bars so they are centered and straight.
- Use the bolts from your kit to secure the bars to the brackets.
- Again, don’t tighten completely until all bolts are in place.
4. Final Adjustment And Tightening
Once everything is aligned:
- Tighten all bolts firmly using your socket wrench.
- Use a torque wrench if recommended by your kit for proper tightness.
- Check that the bars don’t move or wiggle.
Many beginners overtighten bolts. This can strip threads or damage brackets. Tighten just enough to hold firmly.
5. Check Stability And Safety
Test the bars by stepping on them gently. They should feel solid. If you notice any movement, check bolts and brackets again.
Repeat the process on the other side. Most kits are symmetrical, so installation is similar for both sides.
6. Clean Up And Protect
Wipe down the bars and brackets. If you used a drill, clean any metal shavings. Spray anti-rust on exposed metal areas.
Here’s a simple comparison of bolt types you might find in kits:
| Bolt Type | Strength | Rust Resistance | Common Use |
|---|---|---|---|
| Stainless Steel | High | Excellent | Outdoor/Heavy Duty |
| Zinc-Plated | Medium | Good | General Purpose |
| Carbon Steel | High | Poor | Indoor/Light Duty |
Practical Tips For A Smooth Installation
Here are some insights that many beginners miss:
- Check Bolt Tightness After One Week: After driving, bolts can settle. Recheck and retighten if needed.
- Use Anti-Seize Compound: If you live in a wet climate, applying anti-seize to bolts helps prevent rust and makes removal easier.
- Double-Check Instructions: Step bar kits are often updated. Sometimes online manuals are newer than those in the box.
- Avoid Power Tools for Final Tightening: Power tools can over-tighten and strip bolts. Use hand tools for the last turn.
- Test Both Sides: Sometimes one side fits differently due to frame differences. Adjust as needed.
Common Mistakes To Avoid
Many people make simple errors that can cause problems later. Avoid these pitfalls:
- Skipping Cleaning: Dirt and rust can weaken the mounting area.
- Mixing Up Brackets: Left and right brackets can look similar. Check markings before installing.
- Over-Tightening Bolts: This can damage threads and make removal difficult.
- Ignoring Weight Limits: If you plan to carry heavy loads, check the step bar’s rating.
- Not Checking Local Regulations: Some countries have rules for side accessories. Make sure your bars are legal.
When To Seek Professional Help
While most installations are DIY-friendly, some situations call for expert help:
- No factory mounting points, requiring precise drilling.
- Rusty or damaged frames.
- Unusual vehicle models or older cars with unique designs.
- If you lack basic tools or feel unsure.
Professional installation usually costs $80–$150, depending on complexity. This can be worth it for peace of mind.
Maintenance And Longevity
Step bars need simple care to stay strong and attractive. Here’s how to keep them in top shape:
- Wash Regularly: Clean off mud, salt, and debris.
- Inspect Bolts Every 6 Months: Loose bolts can cause bars to rattle or fall.
- Check for Rust: Use anti-rust spray if needed.
- Replace Pads: If anti-slip pads wear out, replace them to avoid slipping.
Aluminum bars resist rust but may dent more easily. Stainless steel is tough but heavier. Powder-coated bars need touch-ups if the coating chips.
Here’s a quick comparison of maintenance needs:
| Material | Maintenance | Typical Issues |
|---|---|---|
| Stainless Steel | Low | Scratches |
| Aluminum | Medium | Dents |
| Powder-Coated Steel | Medium | Chipped Coating |
Real-world Example
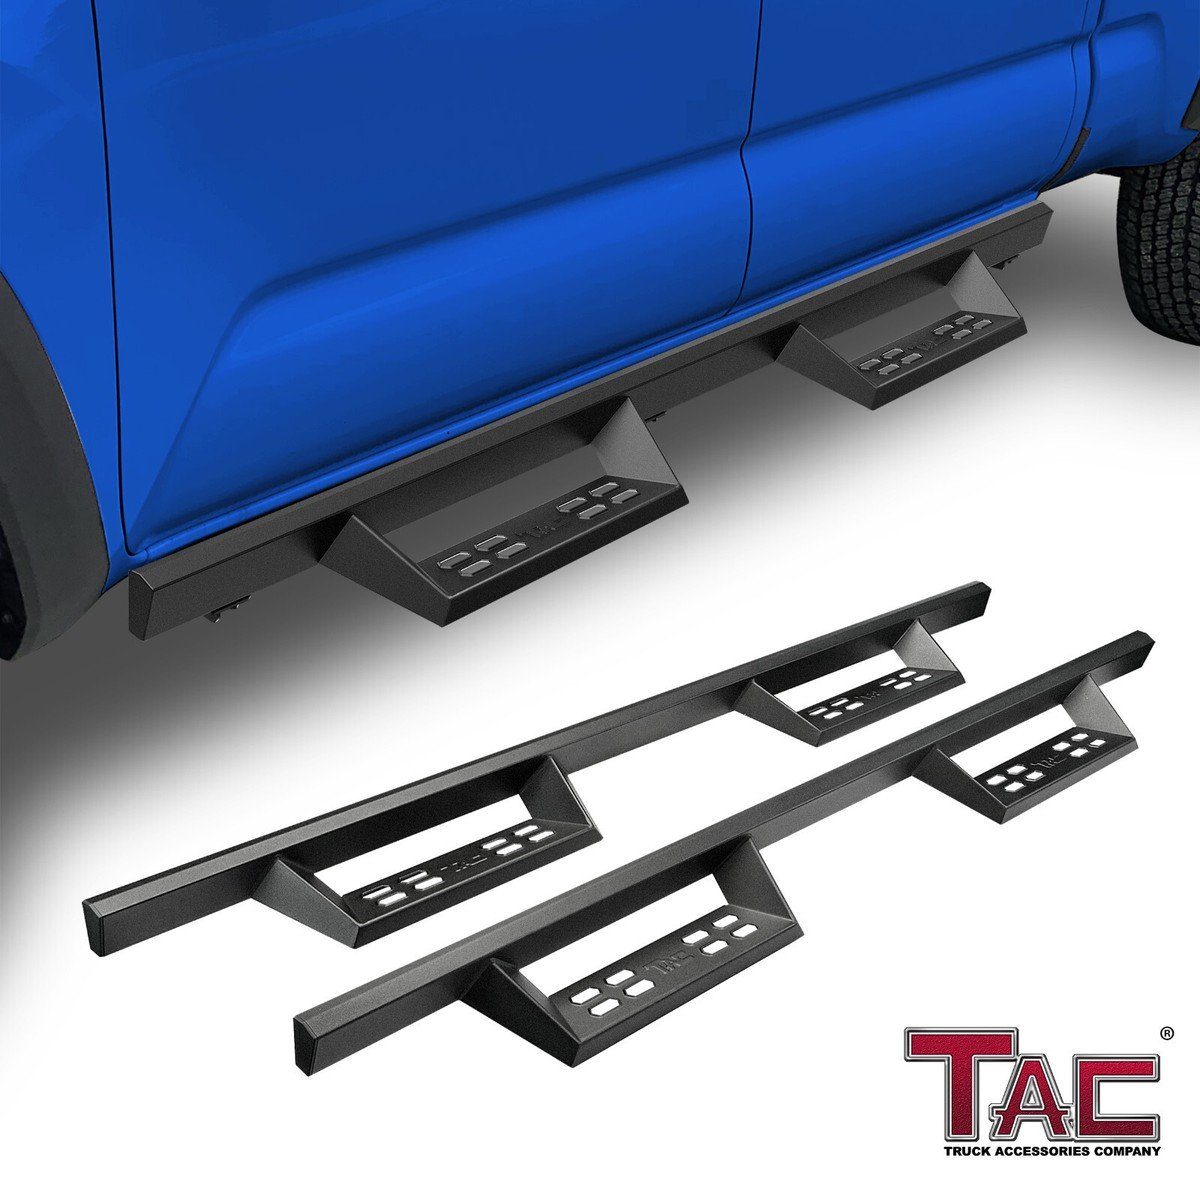
Let’s look at a typical installation on a Toyota Tacoma:
- The kit comes with two step bars, four brackets, and a set of bolts.
- The Tacoma has factory mounting points under each door.
- After cleaning the area, the brackets are attached with bolts.
- Step bars are positioned and secured.
- Total installation time: About 90 minutes.
- No drilling required.
This process is similar for many trucks and SUVs. For models like the Jeep Wrangler, bars may need extra brackets due to frame design.
Credit: www.ebay.com
Where To Find Reliable Step Bars
Quality step bars are available from auto parts stores, dealership accessories, and online shops. Always choose brands with good reviews and strong warranties. For more details about nerf bar history and uses, visit Wikipedia.
Frequently Asked Questions
What Is The Difference Between Step Bars And Running Boards?
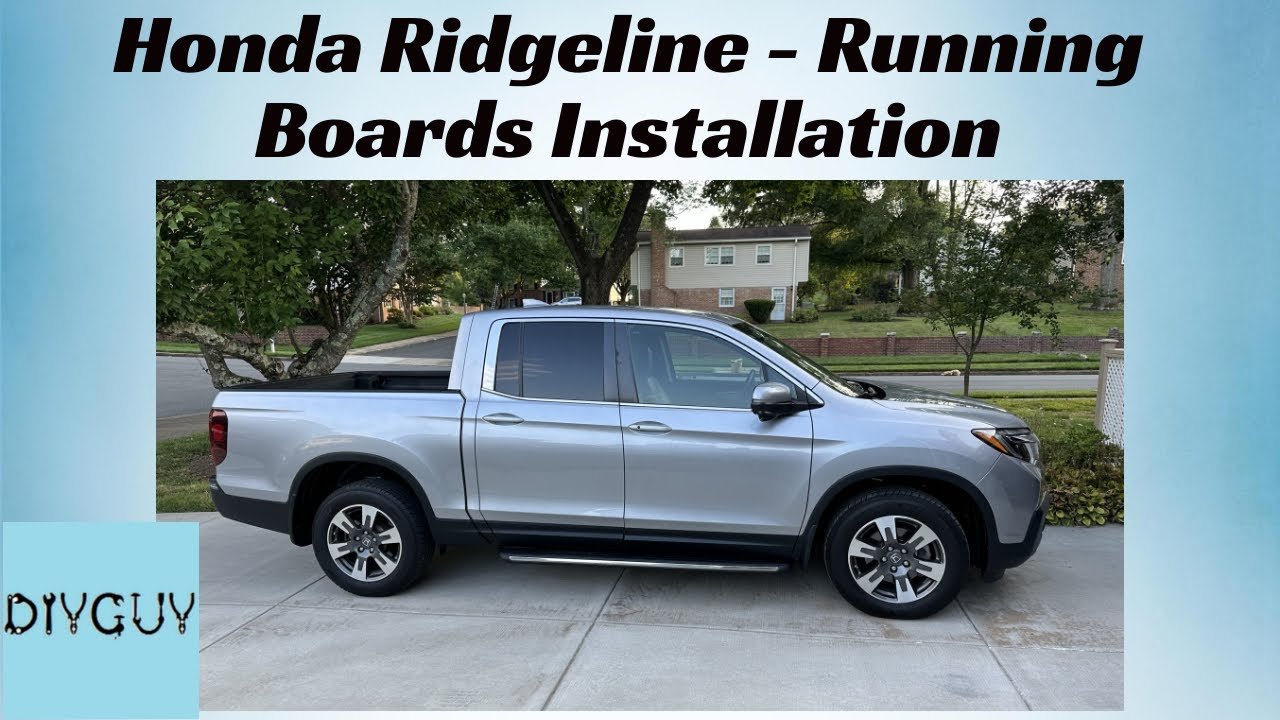
Step bars are round or oval metal tubes, while running boards are flat planks. Step bars are usually smaller and can look sportier. Running boards offer a wider stepping area, which is helpful for families or work vehicles.
Is Drilling Required To Install Step Bars?
Most newer vehicles have pre-drilled holes for step bars. If your car is older or doesn’t have these, you may need to drill. Always check your kit and vehicle before starting.
Can I Install Step Bars By Myself?
Yes, if you have basic tools and follow the instructions. Some models are easier than others. If your vehicle’s frame is rusty or has no mounting points, professional help is recommended.
How Long Does The Installation Take?
On average, it takes 1–2 hours for a complete installation. Experienced DIYers may finish in less than an hour, while beginners may take a bit longer.
How Do I Know If My Step Bars Are Secure?
Test by gently stepping on the bars. They should not move or wiggle. Check all bolts for tightness and inspect brackets regularly, especially after driving on rough roads.
Installing car step bars is a simple upgrade that adds convenience and style. With careful planning and the right tools, most people can finish the job in a few hours. Pay attention to details, follow instructions, and enjoy the improved access to your vehicle.
Credit: www.turri-srl.com