
When it comes to improving your car’s handling, one upgrade stands out for both simplicity and effectiveness: the strut tower brace. This bar connects the tops of your car’s front or rear strut towers, making the chassis more rigid. The result? Less body flex, better cornering, and a sharper driving feel. Many car enthusiasts and even everyday drivers notice a difference after installation. But how do you actually install a car strut tower brace? This guide walks you through every step, shares useful tips, and highlights common mistakes to avoid. Whether you’re a DIY beginner or have some experience, you’ll find everything you need right here.
What Is A Strut Tower Brace And Why Install One?
A strut tower brace (also called a strut bar or strut brace) is a metal bar that connects the left and right strut towers at the top of your car’s suspension. Most cars, especially those with MacPherson strut suspension, have these towers in the engine bay. Some vehicles allow rear braces too.
So, why install one? Here are the main benefits:
- Reduces chassis flex during hard cornering
- Improves steering response
- Enhances overall handling and road feel
- May help prolong suspension lifespan by distributing stress
A strut brace won’t magically turn your sedan into a race car, but it can make steering feel tighter and more predictable. For anyone who enjoys spirited driving or wants a simple performance upgrade, it’s a solid choice.
Tools And Materials Needed
Before starting, gather the right tools and check that your strut brace matches your vehicle’s make, model, and year. Using the wrong part can lead to poor fitment or even damage.
You’ll need:
- The correct strut tower brace (front or rear)
- Basic socket set (metric or SAE, depending on your car)
- Ratchet wrench
- Torque wrench (for final tightening)
- Breaker bar (optional, for stubborn bolts)
- Screwdriver (may be needed for engine cover removal)
- Microfiber cloth (to clean surfaces)
- Anti-seize lubricant (optional but helpful)
- Marker or chalk (for marking locations, if needed)
Pro Tip: Always double-check the brace design. Some cars need a single-piece bar, others use a two-piece adjustable bar.
Preparation: Safety And Inspection
Before getting hands-on, take these steps to avoid problems:
- Park on a level surface and engage the parking brake. Safety always comes first.
- Open the hood (for front strut brace) or trunk (for rear brace).
- Let the engine cool down. Working near a hot engine increases burn risk.
- Inspect the strut towers for rust, cracks, or damage. Installing a brace on a compromised tower can worsen the issue.
- Check for wiring, hoses, or accessories that could interfere with the brace. Some cars have air conditioning lines or engine covers in the way.
Step-by-step Guide To Installing A Car Strut Tower Brace
Let’s break down the process into clear, manageable steps. While most installations are straightforward, every car can have small differences. Always refer to your brace’s instructions and your vehicle’s manual.
1. Clear The Area
Remove anything blocking access to the strut towers:
- Engine covers (some pop off; others use clips or bolts)
- Aftermarket accessories
- Debris or dirt (wipe with a microfiber cloth)
Tip: Take a quick photo of the area before removing anything. It’ll help during reassembly.
2. Test-fit The Brace
Before unbolting anything, test-fit the strut brace in the engine bay or trunk. This ensures:
- The bar aligns with the strut tower bolts
- No major obstructions exist
- The hood (or trunk) will close with the brace installed
If the brace doesn’t fit, do not force it. Check the part number and vehicle compatibility.
3. Loosen And Remove Strut Tower Nuts
Most strut towers have three nuts per side securing the top of the suspension. These are usually 12mm to 14mm.
- Use a socket and ratchet to loosen, then remove, these nuts.
- Keep the nuts safe—you’ll reuse them.
- Do not remove the bolts themselves or push down on the strut. Only the nuts need to come off.
Caution: Do not drive the car with these nuts removed. The strut could shift, causing alignment problems.
4. Install The Brace
With the nuts off:
- Place the brace over the strut towers so the mounting holes line up.
- Some braces have separate end brackets; mount these first, then connect the main bar.
- Thread the nuts back onto the studs by hand.
Tip: If the brace resists fitting, check for paint, dirt, or small alignment issues. Never force or hammer the bar into place.
5. Torque The Nuts
Using a torque wrench, tighten the strut nuts to the factory-specified torque (usually 25-35 ft-lbs, but always check your vehicle manual).
- Tighten in a crisscross pattern if possible.
- Do not overtighten—this can strip threads or crush the strut mount.
Why use a torque wrench? Proper torque keeps everything secure without damaging the threads or strut mount.
6. Double-check And Reassemble
- Confirm the brace is centered and not touching any moving parts.
- Test close the hood or trunk. It should shut smoothly, with no contact.
- If you removed any covers or accessories, reinstall them.
Non-obvious insight: Some cars with aftermarket intakes or engine modifications need slight adjustments or trimming for perfect brace fitment. Take your time during this step.
7. Test Drive And Final Inspection
After installation:
- Take the car for a short drive (smooth roads first, then some corners).
- Listen for rattles, clunks, or vibrations from the area of the brace.
- After the drive, recheck the torque on all nuts.
Common mistake: Some drivers forget this final check. Fasteners can settle after the first drive—retorque for peace of mind.
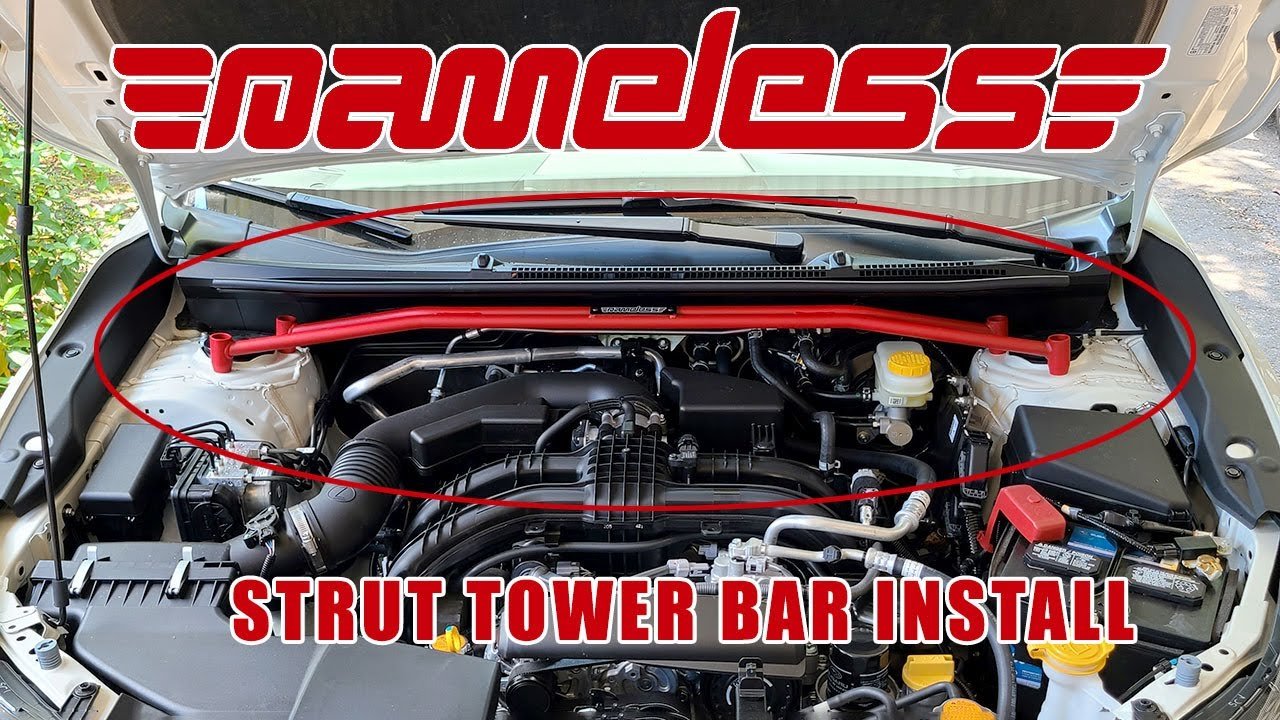
Credit: www.youtube.com
Comparison: Before And After Installing A Strut Tower Brace
Here’s a quick look at the differences you might notice:
| Aspect | Before Brace | After Brace |
|---|---|---|
| Chassis Flex | Noticeable in hard cornering | Reduced, more rigid feel |
| Steering Response | Less direct, softer feedback | Sharper, more precise |
| Handling | More body roll | Flatter, more stable |
| Installation Time | N/A | 30-60 minutes (DIY) |
Types Of Strut Tower Braces
Not all braces are the same. Here’s how they differ:
| Type | Design | Best For |
|---|---|---|
| Single-piece bar | One solid bar, rigid | Maximum stiffness, track use |
| Two-piece adjustable | Bar with adjustable ends | Street cars, easy fitment |
| Triangulated brace | Extra bar to firewall | Race cars, serious handling |
Pro Tip: For most daily drivers, a two-piece adjustable brace is easiest to install and gives great results.
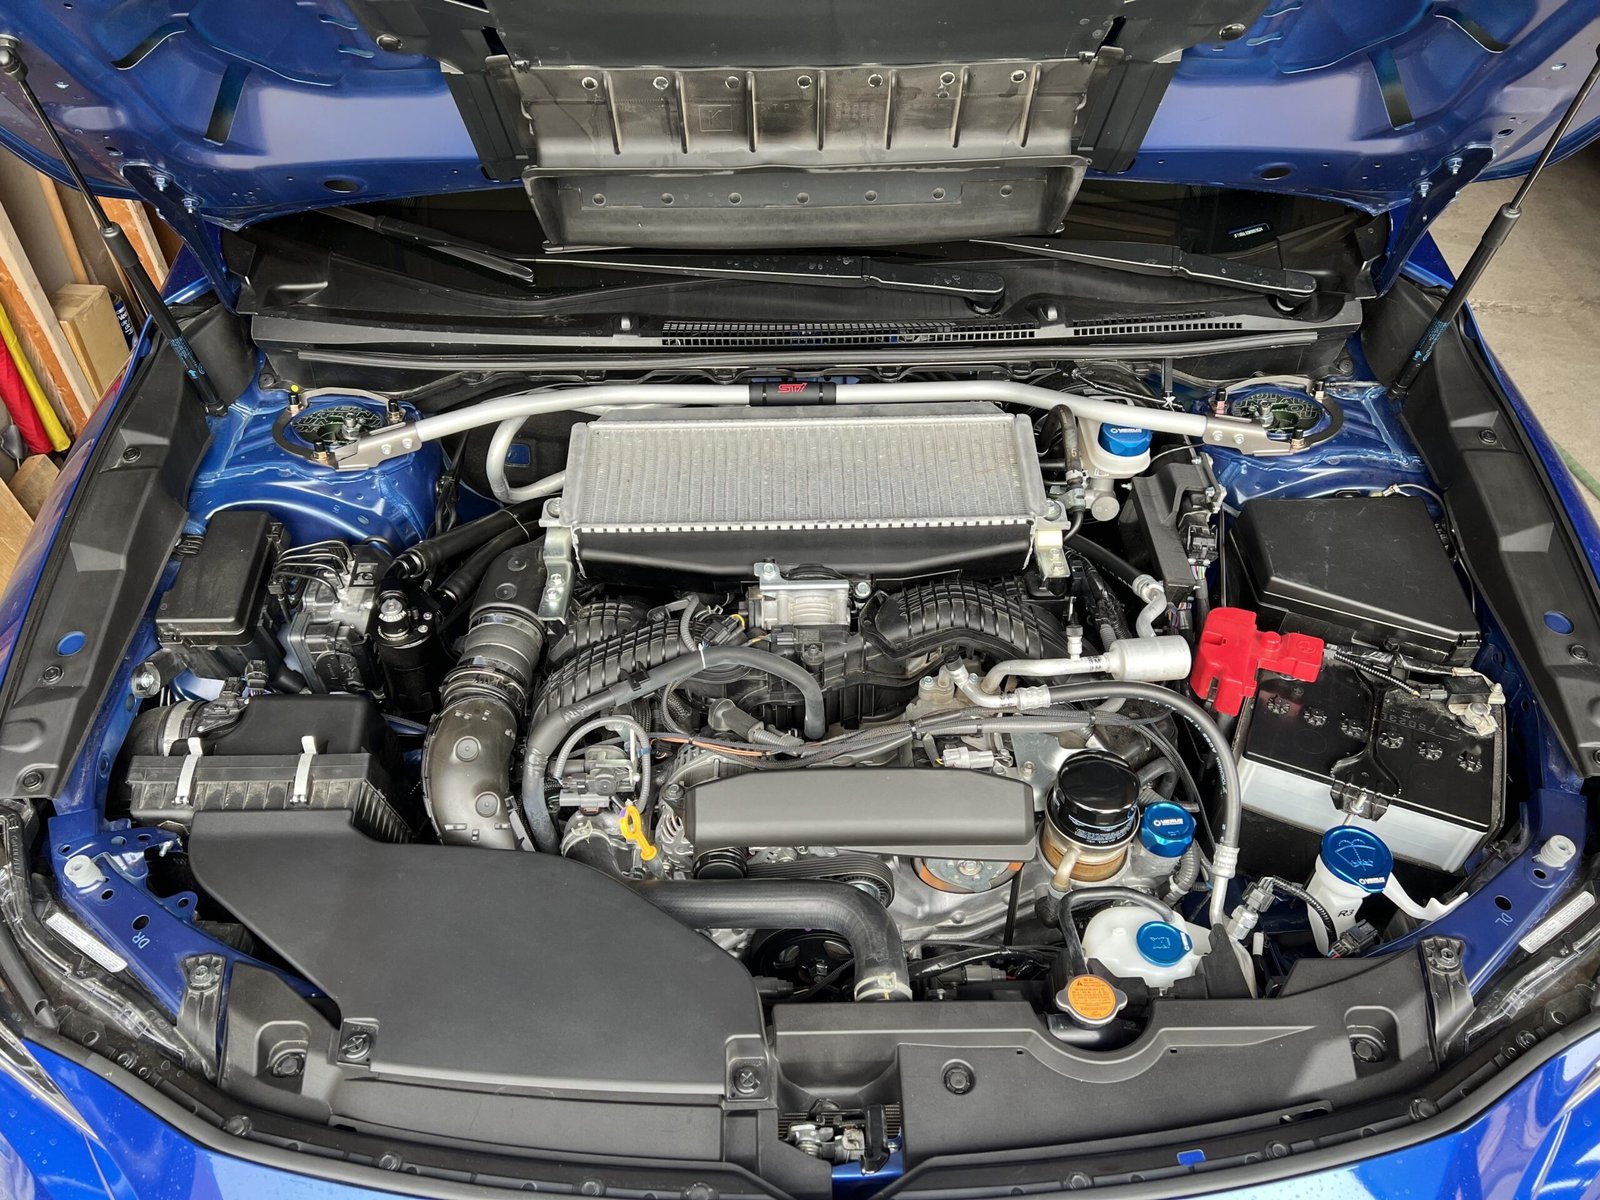
Credit: www.reddit.com
Common Problems And How To Avoid Them
Even a simple upgrade like this can go wrong. Here’s what to watch out for:
- Wrong brace for your car: Always check year, make, and model. A brace for one Honda Civic might not fit another.
- Forcing the brace: If it doesn’t fit, don’t bend or hammer it. Check for small obstructions or the wrong part.
- Leaving hoses or wiring pinched: Move any lines or wiring that sit under the brace. Pinched items can wear through and cause failure.
- Not using a torque wrench: “Hand tight” is not enough. Under- or overtightened nuts can lead to problems.
- Skipping the post-install check: Always retorque after your first drive.
Maintenance And Long-term Tips
A strut tower brace is low-maintenance, but a few habits will keep it performing well:
- Check fasteners every oil change (about every 5,000 miles or 8,000 kilometers).
- Clean the bar and towers when washing your engine bay. Dirt and moisture can hide small cracks or corrosion.
- Inspect for cracks or rust during routine checks, especially if you drive on rough roads or track days.
- If you hear new noises from the suspension, check the brace first before assuming it’s something else.
Non-obvious insight: In some climates, condensation under the brace can speed up rust. Wipe the area dry after heavy rain or car washing.
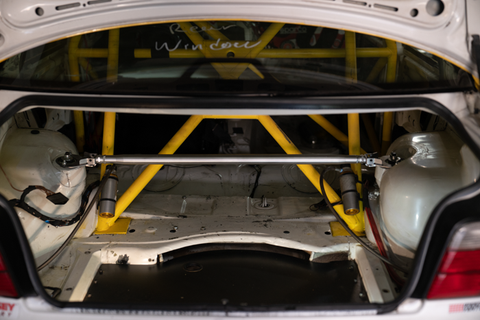
Credit: www.garagistic.com
Is A Strut Tower Brace Right For You?
While many car enthusiasts love this upgrade, it’s not for everyone. If your car is mostly used for city commuting and you don’t notice body flex, the difference will be subtle. However, for anyone who enjoys twisty roads, spirited driving, or track days, the improvement can be surprisingly noticeable.
If you want more data and technical details, you can find further reading at Wikipedia – Strut Bar.
Frequently Asked Questions
What Cars Benefit Most From A Strut Tower Brace?
Most front-wheel-drive cars with MacPherson strut suspension see the biggest improvement. Lightweight cars, older vehicles, and those driven aggressively benefit the most. Heavy, full-frame cars and vehicles with double-wishbone suspension see less of a change.
Will A Strut Tower Brace Damage My Car?
If installed correctly, a strut brace will not damage your car. Problems happen if you overtighten nuts, pinch wires or hoses, or install a brace on rusted towers. Always follow the steps carefully and check your work.
Does A Strut Tower Brace Improve Ride Comfort?
A strut brace does not change ride comfort. It makes the chassis stiffer during cornering but does not affect suspension softness or harshness. Most drivers do not notice any change in ride quality.
Can I Install A Strut Tower Brace Myself, Or Do I Need A Mechanic?
Most people with basic tools and some DIY skill can install a strut brace at home in about 30–60 minutes. If you’re unsure, a mechanic can do it quickly. No special tools are required except a torque wrench.
Do I Need To Realign My Wheels After Installing A Strut Tower Brace?
No alignment is needed after installing only a strut brace, because you are not changing the suspension geometry. However, if you loosen or remove other suspension parts, an alignment may be required.
A well-installed strut tower brace is a simple way to enhance your car’s handling and driving feel. Take your time, follow the steps, and you’ll enjoy the benefits every time you hit a corner.
