
Installing a turbo boost gauge in your car is more than just a cool upgrade—it’s a practical way to keep your engine healthy and get more from your turbocharged vehicle. A boost gauge helps you see how much pressure your turbo is making.
This is important if you want to tune your engine, avoid damage, or just enjoy watching the needle climb as you drive. If you’re new to car modifications, the idea of installing a gauge can seem scary. But with the right steps, some patience, and basic tools, you can do it yourself and learn about your car at the same time.
Many people think installing a boost gauge is only for racing cars or experts. That’s not true. Even daily drivers can benefit, especially if you want to monitor your engine’s health. In this guide, you’ll learn how to choose the right boost gauge, understand the tools you need, and follow clear steps to install it safely.
You’ll also see common mistakes beginners make and how to avoid them. With real tips and examples, you can get a professional result at home.
What Is A Turbo Boost Gauge?
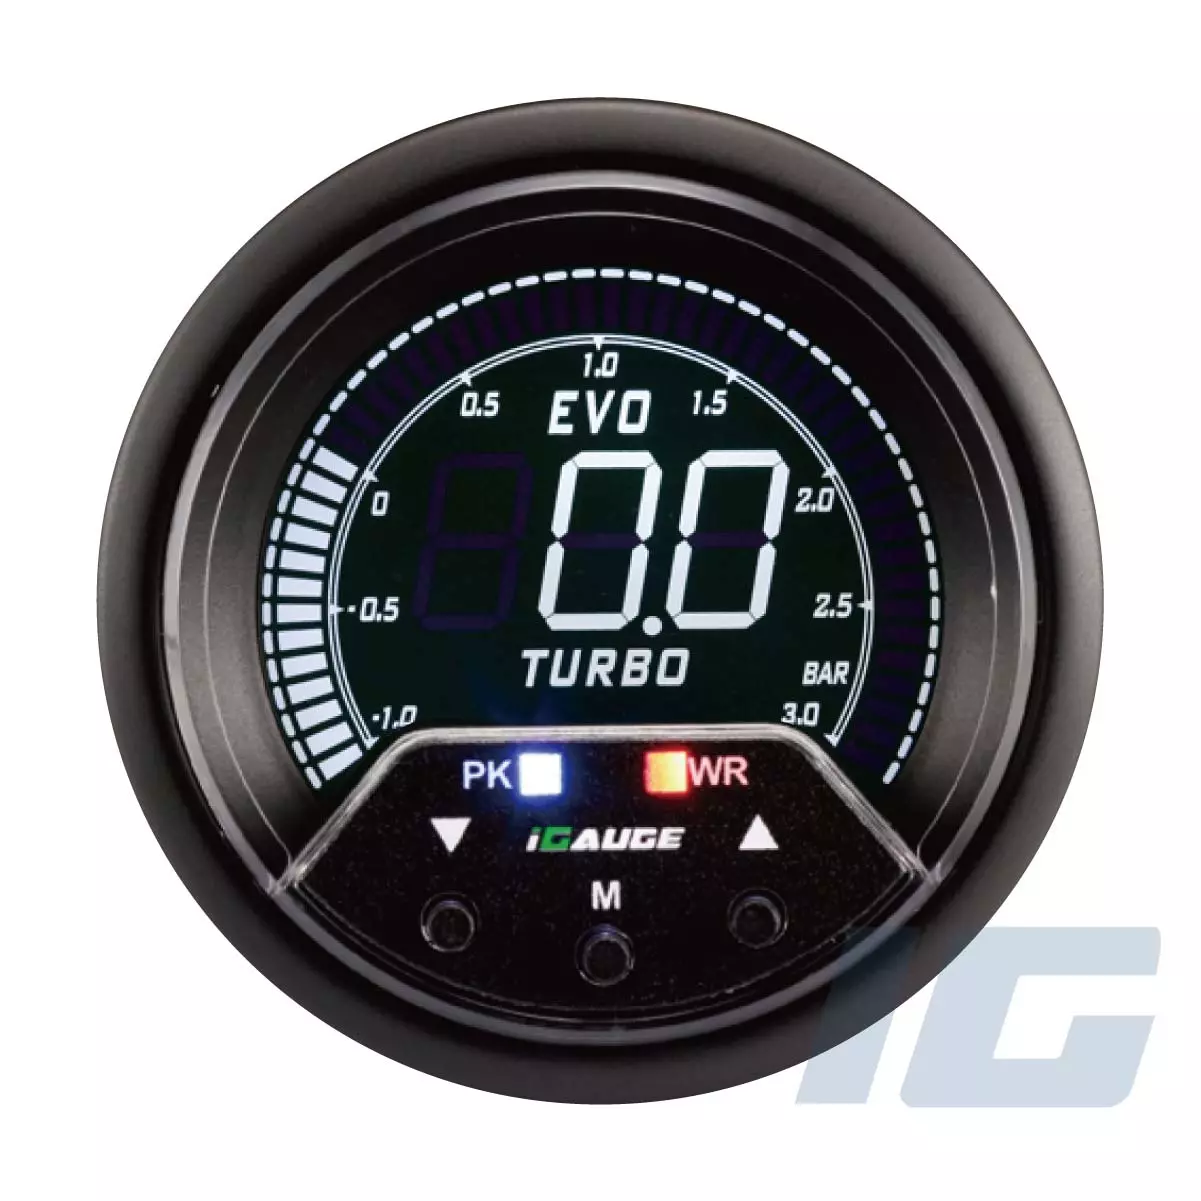
A turbo boost gauge is a small instrument that measures air pressure inside the intake manifold of a turbocharged engine. This pressure, called “boost,” is created by the turbo forcing extra air into the engine. The gauge usually shows pressure in pounds per square inch (PSI) or bar (metric). By watching the gauge, you can see if your turbo is working as it should, if there’s a leak, or if you’re pushing the engine too hard.
There are two main types:
- Mechanical boost gauges: Use a small hose to measure pressure directly.
- Electronic boost gauges: Use a sensor and wires to send the signal.
Both do the same job, but electronic ones can be easier to install, especially in modern cars.
Why Install A Turbo Boost Gauge?
Understanding your turbo’s pressure is not just for fun. Here’s why a boost gauge is helpful:
- Engine protection: Too much boost can damage your engine. A gauge helps you spot problems early.
- Performance tuning: If you change your turbo or tune your engine, you need to see how much boost you’re making.
- Detecting leaks: Boost leaks cause power loss and poor fuel economy. A gauge can show sudden drops in pressure.
- Driving enjoyment: Many drivers enjoy watching boost levels as they drive.
Most factory cars don’t include a boost gauge, even if they have a turbo. Aftermarket gauges fill this gap.
Choosing The Right Boost Gauge
Before you begin, pick the right gauge for your car and needs. Here are key points to consider:
Size And Appearance
Most gauges come in 52mm (2-1/16″) or 60mm (2-3/8″) sizes. Pick a size that fits your dashboard or the mounting pod you plan to use. Some have backlighting and different face colors, so choose one you can read easily, day or night.
Pressure Range
Choose a gauge with a pressure range matching your turbo’s maximum boost. For most street cars, a 0-30 PSI gauge is enough. If you have a high-performance turbo, you might need a wider range.
Type: Mechanical Vs. Electronic
- Mechanical gauges: Simple, cheaper, and reliable. Good for older cars.
- Electronic gauges: Easier wiring, often more accurate, and sometimes offer warning lights.
Build Quality
Don’t buy the cheapest option. Cheap gauges can be inaccurate or break easily. Look for well-known brands and read reviews.
Additional Features
Some electronic gauges offer warning buzzers or memory recall. These can help you catch spikes in boost pressure.
Tools And Materials You’ll Need
Gather everything before you start. Here’s a list:
- The boost gauge (with all supplied hoses and fittings)
- Mounting pod or bracket (for dashboard or pillar)
- Vacuum hose (usually included)
- T-fittings (for connecting to intake manifold vacuum line)
- Electrical wire (if you have an electronic gauge)
- Wire strippers and crimpers
- Electrical tape or heat shrink tubing
- Screwdriver set
- Drill (if you need to make holes for mounting)
- Zip ties
- Socket set
- Pliers
- Fuse tap (for wiring power safely)
- Double-sided tape (optional for mounting)
Check your gauge’s instructions. Some kits include everything; others need extra fittings.
Credit: igaugetw.com
Planning The Installation
Before touching your car, plan where you’ll put the gauge and how you’ll route wires and hoses. Here are some popular mounting spots:
- A-pillar pod (next to the windshield)
- Dashboard pod (on top of the dash)
- In-dash mount (replacing or adding to existing gauges)
Think about visibility—can you see the gauge without blocking other instruments? Also, plan the cleanest path for the vacuum hose and wiring. Avoid sharp bends and hot engine parts.
Step-by-step Installation Guide
Follow these steps for a clean, safe install. The process is similar for most cars, but always check your vehicle’s service manual and the gauge’s instructions.
1. Disconnect The Battery
Safety first. Remove the negative terminal from your car’s battery. This prevents short circuits while you work with wires.
2. Mount The Gauge
Decide where you want the gauge. Use the mounting pod or bracket. If you need to drill holes, measure twice before drilling to avoid damaging wires or the dashboard.
- For an A-pillar pod, you may need to remove the trim.
- For a dashboard pod, use screws or strong double-sided tape.
Make sure the gauge is secure and easy to read.
3. Route The Vacuum Hose
This is the most important part for a mechanical gauge (or the sensor, if electronic).
- Find a vacuum line that goes to your intake manifold. This is usually a small rubber hose.
- Cut the line with a sharp knife.
- Insert the T-fitting into the line, then connect the new hose to the third leg of the T.
- Route this hose through the firewall (the metal wall between the engine and the cabin). Most cars have rubber grommets—poke a small hole for your hose.
- Pull the hose inside the cabin, avoiding moving parts and hot surfaces. Use zip ties to keep it tidy.
- Connect the hose to the back of your gauge (or to the sensor, if it’s electronic).
4. Wiring The Gauge
If your gauge has a backlight or is electronic, you’ll need to connect wires.
- Power wire: Connect to a source that turns on with the ignition (like the radio fuse). Use a fuse tap for safety.
- Ground wire: Attach to bare metal under the dash.
- Lighting wire: (Optional) Connect to your dashboard light circuit so the gauge lights up at night.
Use wire strippers, crimp connectors, and electrical tape for secure connections. Avoid twisting wires together—they can come loose.
5. Final Assembly
- Double-check all connections.
- Tidy up wires and hoses with zip ties.
- Reconnect your battery.
- Turn on the car and check the gauge. The needle should move at idle and respond when you press the throttle.
- Test drive the car. Watch for leaks at the T-fitting and make sure the gauge reacts smoothly.
6. Checking For Leaks And Errors
A common mistake is a vacuum leak. If the car runs rough after installation, check all hose connections and fittings. Spray soapy water on the T-fitting—if you see bubbles, there’s a leak. Tighten or re-fit the hoses as needed.
Credit: crisptours.com
Example: Installing On A Turbocharged Honda Civic
Let’s say you have a 2016 Honda Civic 1.5T. You choose a 52mm mechanical boost gauge with a dashboard pod. Here’s a quick summary:
- Disconnect the battery.
- Mount the gauge on the dash using the supplied pod and screws.
- Find a vacuum line after the throttle body, cut it, and insert the T-fitting.
- Run the hose through a rubber grommet in the firewall.
- Connect the hose to the gauge.
- Wire the backlight to the fuse box using an add-a-fuse kit.
- Ground the gauge to a bolt under the dash.
- Reconnect the battery and start the car.
The gauge shows 20 inHg at idle and climbs to 17 PSI at full throttle. If you see only 5 PSI, you may have a boost leak.
Comparing Mechanical Vs. Electronic Gauges
Here’s a quick look at differences:
| Feature | Mechanical Gauge | Electronic Gauge |
|---|---|---|
| Signal Method | Direct vacuum hose | Sensor with wires |
| Install Difficulty | Medium | Easy (fewer hoses in cabin) |
| Accuracy | Good | Very good |
| Cost | Lower | Higher |
| Best For | Older cars, budget builds | Modern cars, clean installs |

Credit: www.youtube.com
Typical Boost Gauge Pressure Readings
Knowing what to expect helps you spot problems. Here’s what common turbo cars show:
| Car Model | Idle | Full Throttle Boost |
|---|---|---|
| VW Golf GTI | -20 inHg | 14 PSI |
| Mitsubishi Lancer Evo | -18 inHg | 20 PSI |
| Subaru WRX | -19 inHg | 15 PSI |
| Ford Focus ST | -20 inHg | 18 PSI |
If your gauge reads much lower or higher, check for leaks or ask a mechanic.
Practical Tips For A Clean Install
- Plan your route: Before drilling or cutting, trace the path for hoses and wires. This avoids mistakes.
- Use quality fittings: Cheap plastic T-fittings often crack. Use brass or reinforced types.
- Seal firewall holes: After passing hoses through, seal with silicone to keep water and fumes out.
- Label wires: If you ever remove the gauge, labels make re-installing easier.
- Test before final assembly: Power up the gauge before tidying wires, so you can fix problems easily.
Common Mistakes To Avoid
- Cutting the wrong vacuum line (always check with your car’s manual).
- Not sealing the firewall—this can let in water or engine smells.
- Using poor electrical connections—twisted wires can come loose over time.
- Placing the gauge where it blocks your view or is hard to read.
- Forgetting to check for leaks after installation.
Many beginners forget that even a small vacuum leak can cause the engine to run poorly. Take your time and double-check every step.
When To Seek Professional Help
If you’re not comfortable working with car wiring or can’t find a good place to tap a vacuum line, it’s smart to ask for help. Some modern cars have tight engine bays or electronic boost control systems. A trusted mechanic can finish the install and test for leaks.
Also, if your car is still under warranty, check with your dealer. Some modifications can void the warranty.
Real-world Benefits After Installation
Once your boost gauge is working, you’ll notice several advantages:
- Early warning if boost drops (which can mean a leak or sensor problem).
- More confidence when tuning your car for power.
- The fun of watching boost climb as you accelerate.
Many turbo car owners say a boost gauge is the best “first mod” because it teaches you how your engine works. It’s also one of the few upgrades that can actually help prevent expensive engine damage.
For more technical details on turbochargers and boost, visit the Wikipedia Boost Gauge page.
Frequently Asked Questions
How Long Does It Take To Install A Turbo Boost Gauge?
Most DIY installs take 2 to 4 hours. The exact time depends on your car and how easy it is to access the vacuum line and firewall. Electronic gauges are usually faster to install.
Can I Install A Boost Gauge Without Drilling Holes?
Yes, in many cars, you can use existing rubber grommets in the firewall and mount the gauge with double-sided tape. Some mounting pods attach without screws.
Will A Boost Gauge Work On A Diesel Engine?
Yes, but diesel engines often run less vacuum at idle. Make sure to buy a gauge suitable for diesel boost levels, which can be higher than gasoline engines.
What Does It Mean If My Gauge Reads Zero Boost At Full Throttle?
This usually means a boost leak or a problem with the vacuum hose or fittings. Check all connections, and make sure the hose is connected to the intake manifold after the turbo.
Is A Boost Gauge Required For Tuning My Turbo Car?
It’s highly recommended. Without a boost gauge, you can’t safely adjust boost levels or spot problems. It’s one of the most important tools for anyone tuning a turbocharged engine.
Installing a turbo boost gauge is a rewarding project that gives you more control and insight into your car. Take your time, follow each step, and enjoy the added knowledge—and fun—of seeing your boost in real-time.
