
Installing a wireless phone charger mount in your car can make your daily drive much smoother. No more messy cables, no more hunting for your charger under the seat. With the right setup, you just place your phone on the mount, and it charges automatically while you drive. However, many people feel confused by the many options and steps involved. Some worry about compatibility, others about damaging their car or phone. In this guide, you will learn every step to install a wireless charger mount, avoid common mistakes, and make sure it works perfectly for your needs.
Understanding Car Wireless Phone Charger Mounts
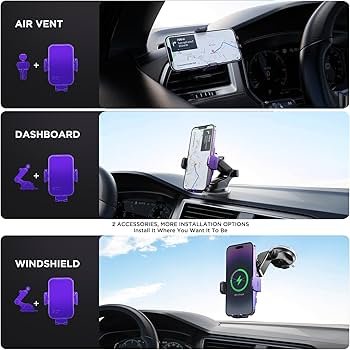
A car wireless phone charger mount combines two functions: holding your phone and charging it without wires. These mounts use Qi wireless charging technology, which is now standard in most modern smartphones. They can attach to the dashboard, air vent, or windshield. Some even fit into your car’s cup holder or CD slot.
Most mounts get power from the car’s 12V outlet (cigarette lighter port) or a built-in USB port. Some high-end vehicles may have wireless charging built into the console, but aftermarket mounts are the most popular choice.
Why Choose A Wireless Charger Mount?
- Convenience: No need to plug and unplug charging cables.
- Safety: Keeps your phone at eye level for navigation.
- Less Wear: Reduces cable and port damage over time.
What To Check Before Buying
Not all wireless charger mounts will fit every car or phone. Before you buy, check these key factors:
- Phone Compatibility: Make sure your phone supports Qi wireless charging. Most iPhones since iPhone 8, and Samsung Galaxy S6 and newer, are compatible.
- Case Thickness: Some thick or metal cases block wireless charging. Look for a mount that supports charging through cases up to 3-5 mm.
- Mounting Location: Decide where you want to place the mount—vent, dashboard, windshield, CD slot, or cup holder.
- Car Power Source: Check if your car has a USB port or only a 12V power outlet.
- Charger Power Output: Look for at least 10W for Android phones and 7.5W for iPhones for fast charging.
Here’s a quick comparison of popular mounting methods:
| Mount Type | Pros | Cons |
|---|---|---|
| Air Vent | Easy to reach, less dashboard clutter | Blocks airflow, may not fit all vents |
| Dashboard | Stable, clear view | Can leave adhesive marks |
| Windshield | Flexible placement, good view | May not be legal in all areas |
| CD Slot | Uses unused slot, secure | Not available in newer cars |
| Cup Holder | Very stable, no marks | Uses up cup space |
Credit: www.themightymount.com
Tools And Materials Needed
Before you start installing, gather these items:
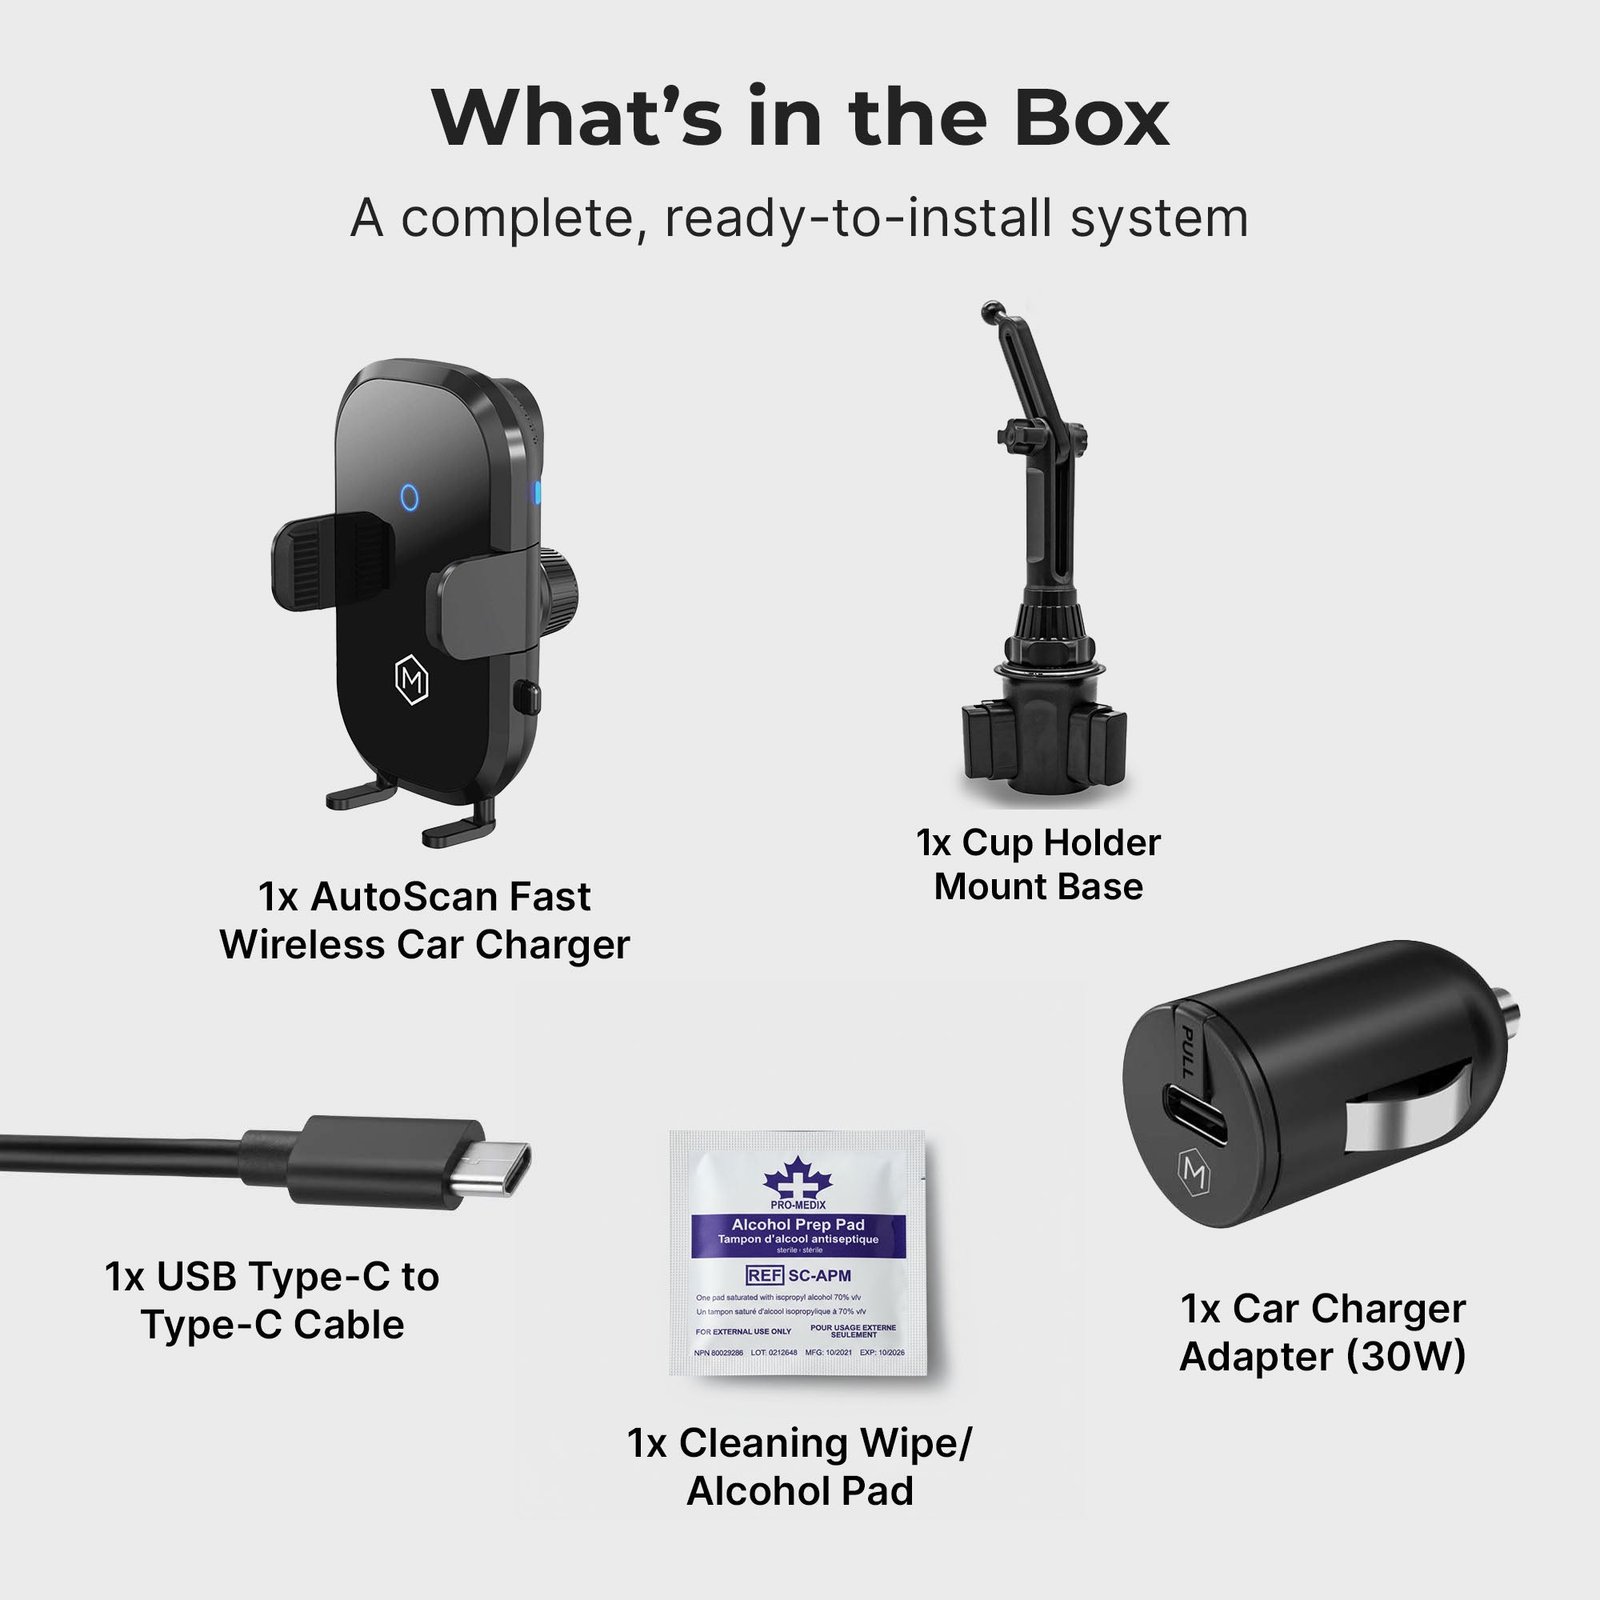
- Your wireless charger mount
- Power adapter (often included)
- Charging cable (usually USB-C or Micro-USB)
- Cleaning cloth
- Optional: Adhesive pads (for dashboard mounts)
- Optional: Trim tool (to tuck in cables neatly)
If your mount did not include a car power adapter, make sure you get one that supports the necessary wattage. For the best charging speed, use the adapter recommended by the mount’s manufacturer.
Step-by-step Installation Guide
1. Choose The Mounting Location
Think about your driving habits. Do you use your phone for navigation? Then a spot near your line of sight is best. Avoid places that block airbags or important controls.
- Air vent: Good for easy access but may block airflow.
- Dashboard: More permanent, but very stable.
- Windshield: Great view, but check local laws.
- CD slot/Cup holder: Use if dashboard and vents are not ideal.
2. Prepare The Area
Clean the mounting area with a dry cleaning cloth. For dashboard or windshield mounts, make sure the surface is dry and dust-free. This helps suction cups or adhesive pads stick better.
3. Assemble The Mount
Most mounts come in two or three pieces. Attach the phone cradle to the arm or base as shown in the instructions. Do not overtighten screws or clips.
4. Attach The Mount
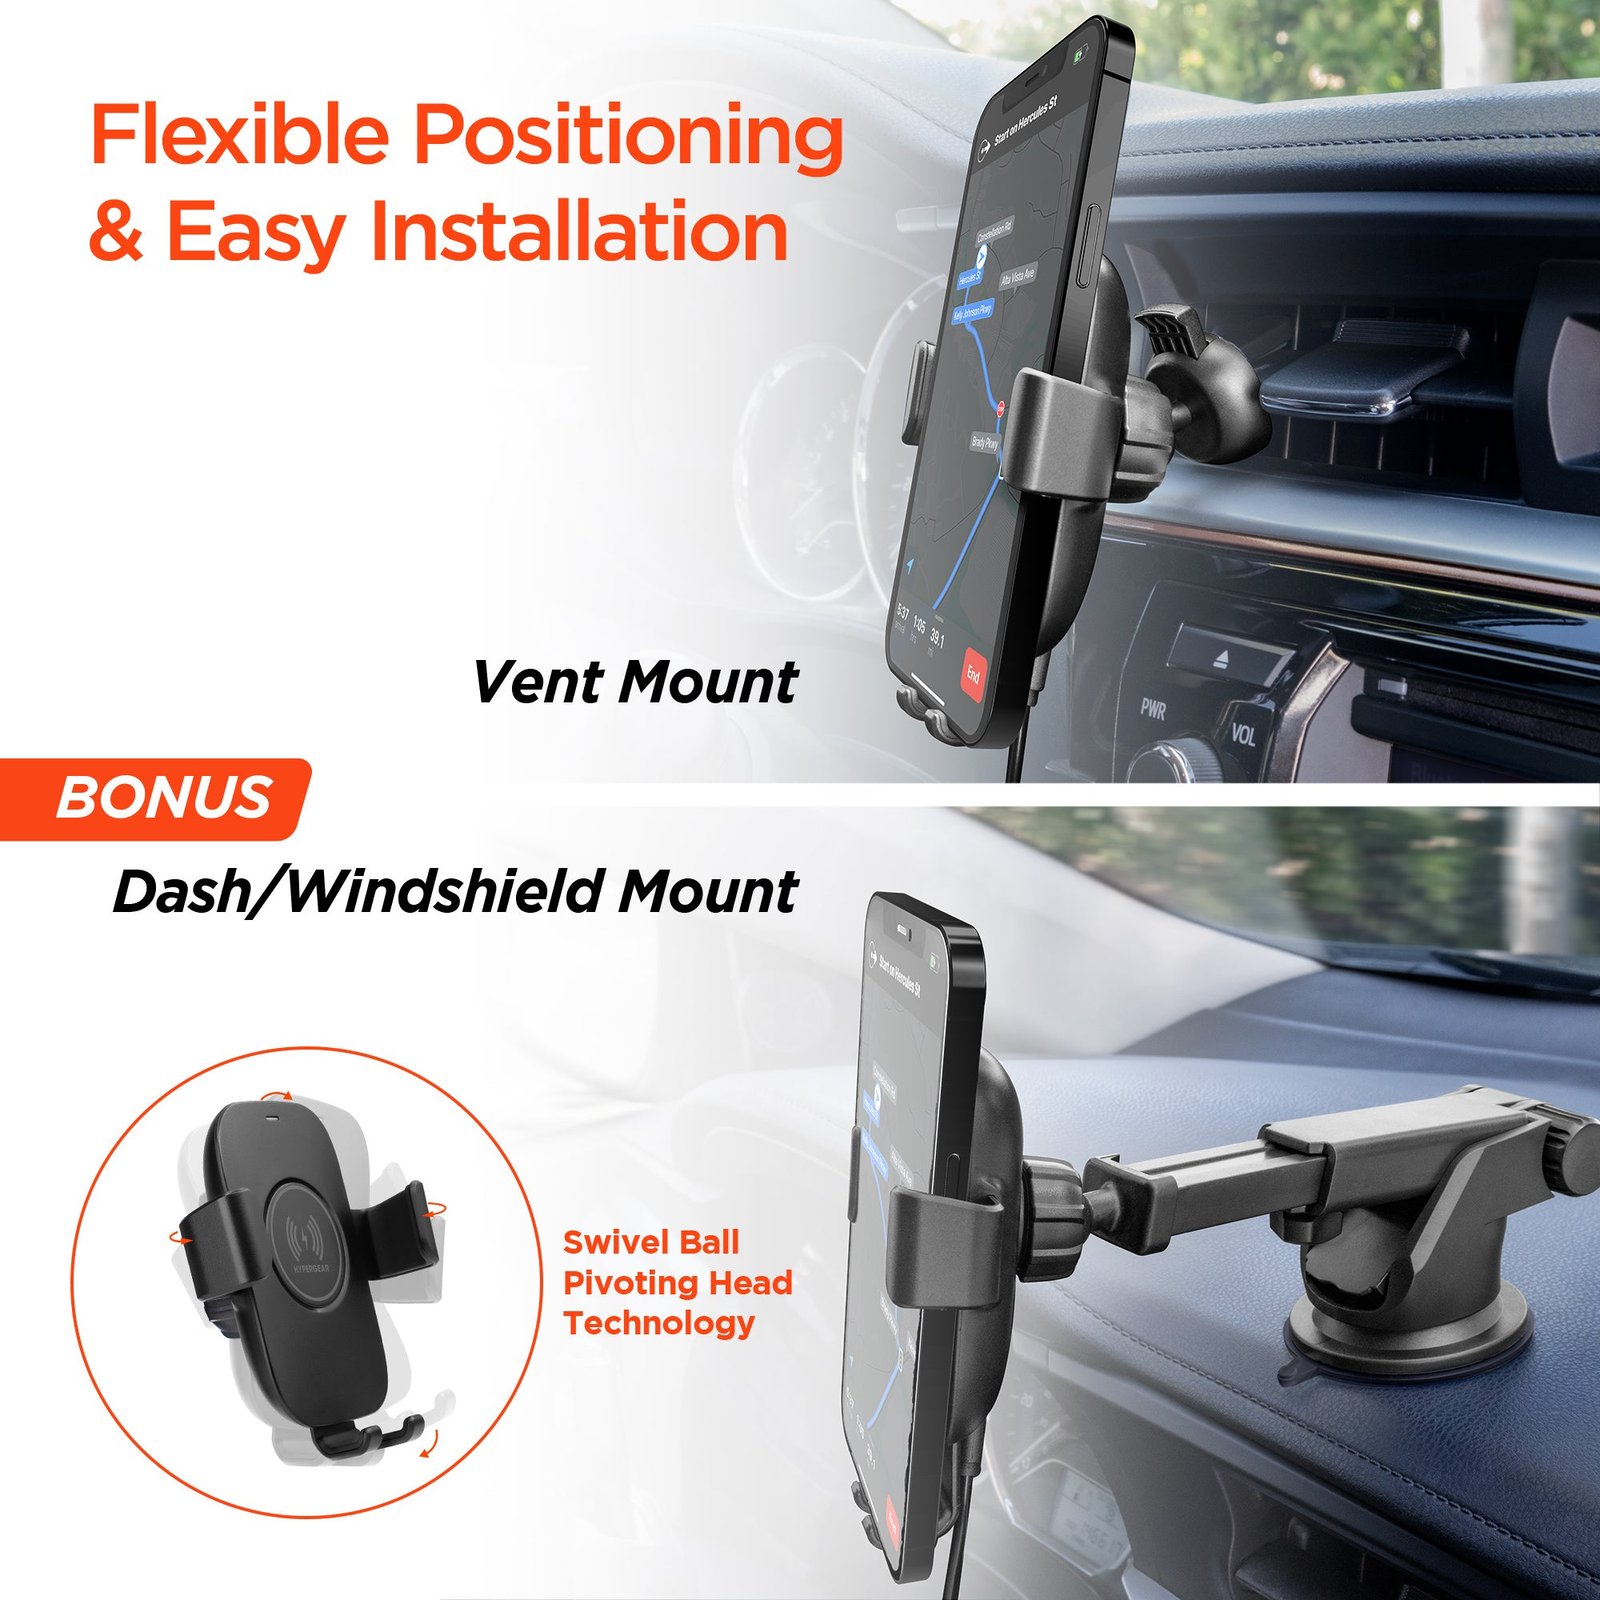
- Air Vent: Open the vent clip, slide it onto a vent blade, and tighten.
- Dashboard/Windshield: Press the suction cup onto the surface and lock it by pressing the lever or twisting.
- CD Slot: Slide the insert into the slot and tighten the knob.
- Cup Holder: Place the base in the cup holder and expand the side wings.
Check that the mount feels secure and does not wobble when you touch it.
5. Connect The Power
Plug the charging cable into the mount and run it to the car’s power source.
- Use a 12V car adapter if your car does not have a USB port.
- Hide the cable along the dashboard or center console if possible.
- Use a trim tool or your fingers to tuck the cable into gaps for a neat look.
6. Test Charging
Start your car. Place your phone on the mount. You should see the charging icon appear on your phone’s screen. If not, try repositioning the phone or checking the connections.
7. Adjust Viewing Angle
Most mounts allow you to tilt or rotate your phone. Adjust for a clear view of the screen, but make sure it does not block your view of the road.
Tips For The Best Experience
Installing the mount is only the start. Here are some extra tips most beginners miss:
- Use the right cable: Some mounts support fast charging only with the original cable and adapter.
- Check for overheating: Wireless charging creates heat. If your phone or the mount gets too hot, remove the case or adjust the mount’s position.
- Keep it clean: Dust and debris can reduce suction power. Wipe the mount and the mounting area every few weeks.
- Avoid metal cases or magnets: These block wireless charging and can damage your phone or charger.
Here’s a table comparing charging speeds for different setups:
| Phone Model | Mount Output | Charging Speed |
|---|---|---|
| iPhone 13 | 7.5W | 0% to 50% in ~50 minutes |
| Samsung S22 | 10W | 0% to 50% in ~45 minutes |
| Google Pixel 7 | 10W | 0% to 50% in ~48 minutes |
Common Mistakes To Avoid
Many users run into problems because they overlook these points:
- Mounting on dirty or curved surfaces: This reduces suction and stability.
- Using low-quality adapters: Cheap power adapters may not provide enough power for fast charging.
- Covering sensors or cameras: Placing the phone in a way that blocks sensors can cause issues with face unlock or navigation.
- Ignoring phone overheating: If your phone gets hot, charging may slow down or stop to protect the battery.
Troubleshooting Problems
If your phone is not charging, try these steps:
- Make sure your phone is centered on the mount.
- Try removing the phone case.
- Check that the cable and adapter are firmly connected.
- Restart your phone.
- Test the mount in a different car or with another phone.
If problems continue, consult the product manual or contact customer support.
Professional Installation Vs. Diy
Most people can install a wireless charger mount without help. However, some cars may have complex dashboards, or you may want the cable completely hidden. In these cases, a professional installer can route the cable behind panels for a cleaner look. This service costs between $50 and $150, depending on the car and the installer.
For most users, DIY installation is enough, especially if you follow the steps in this guide.
Safety Considerations
- Never install the mount where it blocks airbags or your view of the road.
- Make sure the phone is secure, so it does not become a projectile in a crash.
- Do not use your phone while driving. Set your navigation or music before you start moving.
Keeping Your Charger Mount In Good Condition
To make your investment last, follow these care tips:
- Remove the mount if you park in extreme heat or cold for long periods.
- Clean the contact points and cradle with a dry cloth.
- Check the mount’s grip every few weeks to ensure it remains tight.
Credit: www.amazon.com
When To Upgrade Your Charger Mount
If you change phones, you may need a new mount. Look for features like auto-clamping arms, MagSafe support (for newer iPhones), or faster charging if you get a new device. Technology improves quickly, and newer mounts can offer better convenience and safety.
Here’s a comparison of basic vs. premium charger mounts:
| Feature | Basic Mount | Premium Mount |
|---|---|---|
| Charging Speed | 5-7.5W | 10-15W |
| Auto-Clamp | No | Yes |
| Case Support | Up to 3mm | Up to 5mm, MagSafe |
| Mounting Options | Vent, dashboard | Vent, dashboard, cup holder, CD slot |
Frequently Asked Questions
How Do I Know If My Phone Supports Wireless Charging?
Most modern smartphones support Qi wireless charging. Check your phone’s specs or look for the Qi logo on the box. If you use an older phone, you can search online or visit the manufacturer’s website for details.
Can I Keep My Phone Case On While Charging?
Many wireless charger mounts work with cases up to 3-5 mm thick. However, metal cases, thick wallets, or cases with magnets can block charging. For best results, use a slim, plastic or silicone case.
Is Wireless Charging Safe For My Phone Battery?
Yes, Qi-certified chargers follow safety standards. They include temperature and overcharge protection. Wireless charging is as safe as using a cable if you use a quality charger and adapter. For more details, see Qi Wireless Charging (Wikipedia).
Why Is My Phone Charging Slowly On The Mount?
Slow charging can be caused by a low-power adapter, a thick case, or misalignment of the phone on the charger. Use the adapter supplied by the mount maker, and make sure your phone is centered on the pad.
Can I Install A Wireless Charger Mount If My Car Only Has A 12v Outlet?
Yes. Most mounts include a 12V to USB adapter. Plug it into your car’s outlet, then connect the charging cable. Make sure the adapter supports the wattage required for your phone’s fast charging.
Installing a car wireless phone charger mount is one of the simplest upgrades you can make for a safer, more convenient drive. With the right mount and careful installation, you’ll enjoy tangle-free charging and a cleaner dashboard every day.
Credit: myhypergear.com
