
Installing a pegboard in your garage can transform a messy space into an organized workshop. For anyone tired of searching for misplaced tools, a garage pegboard offers a simple, flexible way to keep tools visible and easy to reach. Even if you have never done much DIY, installing a pegboard is a project most people can complete in one afternoon.
With the right steps and a few practical tips, you’ll have a sturdy, long-lasting storage solution that makes working in your garage much easier.
Why Use A Pegboard In Your Garage?
A garage pegboard is more than a way to hang tools. It helps you use wall space efficiently, keeping your workbench clear. Pegboards make it easy to see every tool at a glance, so you don’t waste time searching in drawers or boxes. If you often buy duplicate tools because you can’t find the originals, a pegboard will save you money in the long run.
Another benefit is flexibility. With pegboards, you can move hooks and holders around to fit new tools or change your setup as your needs grow. For families, a pegboard system also helps children learn to put things back in their place, making clean-up easier for everyone.
What You Need Before You Start
Before you begin, gather all the supplies and tools. Being prepared means the job goes faster and with fewer mistakes. Here’s a list of what you’ll need:
- Pegboard panels (usually 1/4 inch thick, in sizes like 4×8 feet or 2×4 feet)
- Furring strips (1×2 inch wood, to create space behind the board)
- Wood screws (1.5–2 inches long)
- Washers (optional, for extra support)
- Drill with drill bits and screwdriver bits
- Level (to make sure the board is straight)
- Stud finder (to locate wall studs)
- Measuring tape
- Pencil
- Saw (if you need to cut wood or pegboard to size)
- Pegboard hooks and tool holders
You may also want paint or wood sealant if you want to finish the pegboard. If you plan to hang heavy tools, don’t skip the furring strips; they give the board strength and prevent warping.
Choosing The Right Pegboard
Not all pegboards are the same. The most common types are wood (hardboard), metal, and plastic. Each has its pros and cons. Here is a comparison to help you decide:
| Type | Strength | Best For | Cost |
|---|---|---|---|
| Wood (Hardboard) | Medium | General use, light tools | Low |
| Metal | High | Heavy tools, long-term use | High |
| Plastic | Low-Medium | Light tools, wet areas | Medium |
For most home garages, wood pegboard is enough. If you plan to hang very heavy items (like sledgehammers), consider metal pegboards for extra strength.
Step-by-step Guide To Installing A Garage Pegboard
1. Plan The Layout
Before drilling holes, decide where the pegboard will go. Measure the wall space and check for obstacles like light switches or outlets. If your garage has uneven walls or pipes, you may need to cut the pegboard to fit. Mark the top and bottom edges with a pencil.
Practical tip: Leave at least 6 inches of space below the board for hooks or baskets.
2. Find And Mark The Wall Studs
Use a stud finder to locate the studs behind the wall. Pegboards must be anchored into studs for strength. Mark each stud’s location along the top and bottom of the planned board area. Most studs are 16 inches apart, but always check.
3. Attach Furring Strips
Pegboards need space behind them so hooks can go through. This gap is created by furring strips. Cut strips to match the width or height of your pegboard. Hold each strip against the wall and screw it into the studs. Place strips at the top, bottom, and one in the center for large boards.
If you are using a 4×8 foot board, add a strip every 16–24 inches for support.
4. Prepare The Pegboard
If you want to paint or seal your pegboard, do it before mounting. Paint protects against moisture and makes cleaning easier. Let it dry fully before the next step.
5. Mount The Pegboard
Hold the board up to the wall, lining up the edges with your marks. Drill pilot holes through the pegboard and into the furring strips at each stud location. Screw the board in place. For extra security, use washers with screws to stop the board from tearing at the holes.
Check with a level as you work to keep the pegboard straight.
6. Add Hooks And Organizers
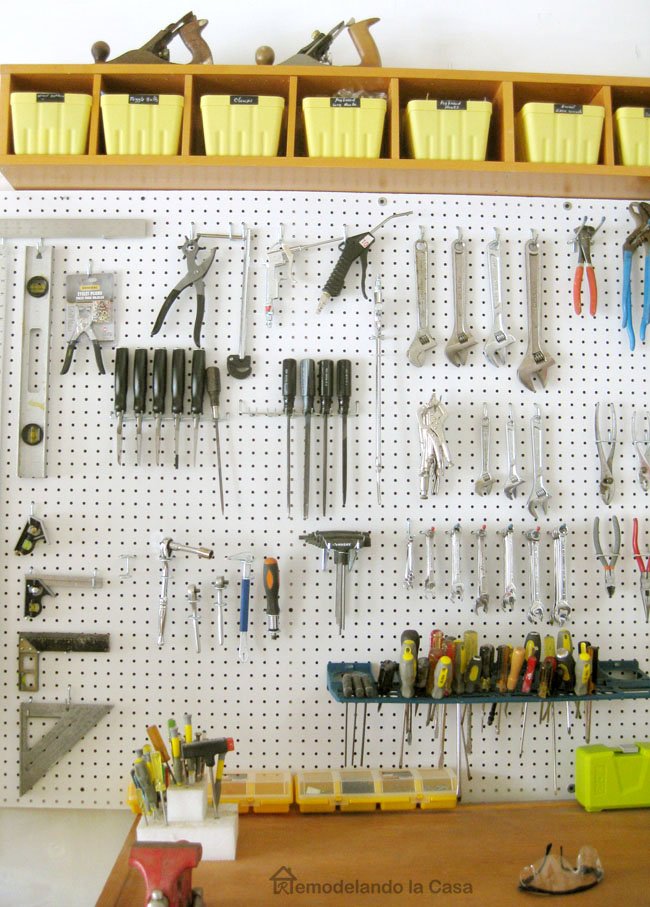
Once the pegboard is up, start placing hooks, shelves, and tool holders. Begin with your most-used tools at eye level. Group similar items together—wrenches with wrenches, pliers with pliers. Use baskets for small items like tape or nails.
A common mistake is overcrowding. Leave space between tools so you can grab them easily.
7. Test The Setup
Hang your heaviest tools and gently pull on the board to make sure it’s solid. Adjust any screws if needed. Move hooks around until you find a layout that feels natural.
Credit: www.remodelandolacasa.com
Common Mistakes And How To Avoid Them
Even experienced DIYers can make simple mistakes. Here are some to watch out for:
- Skipping the furring strips: This leaves no gap behind the pegboard, making hooks useless.
- Not screwing into studs: Drywall alone will not hold heavy tools. Always use the studs.
- Using too few screws: Large boards need support every 16–24 inches.
- Ignoring the tool weight: Check your board and hook ratings for maximum weight.
- Overcrowding the board: Too many items make it hard to use and increase the chance of the board breaking.
How Much Does It Cost To Install A Garage Pegboard?
The cost depends on the size, material, and accessories. Here is a rough estimate:
| Item | Low Cost | High Cost |
|---|---|---|
| Pegboard Panel (4×8 ft) | $20 | $60 (metal) |
| Furring Strips (per 8 ft) | $3 | $6 |
| Hooks/Organizers (set) | $10 | $40 |
| Screws, Washers | $5 | $10 |
| Paint/Sealant (optional) | $8 | $20 |
For a basic setup, expect to spend $50–$100. Upgrading to metal pegboard or buying many hooks can increase the price.
Credit: www.homedepot.com
Pegboard Accessories You’ll Want
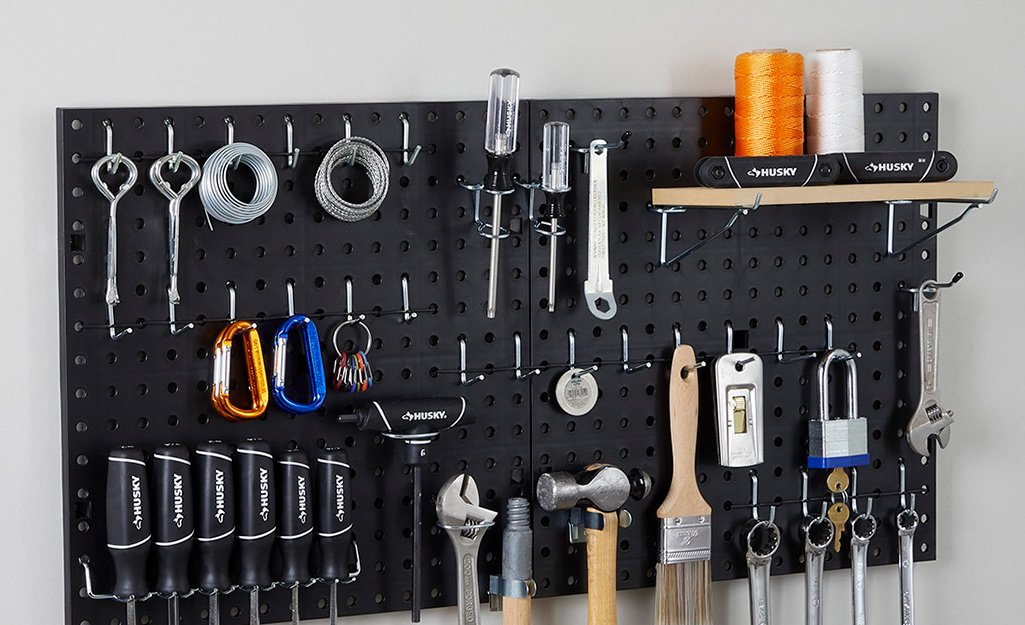
There are many ways to customize your pegboard. Besides standard hooks, consider these:
- Magnetic tool holders: Great for screwdrivers or pliers.
- Small bins: Hold nails, screws, or zip ties.
- Shelves: For cans, bottles, or larger tools.
- Wrench and screwdriver racks: Keep sets organized.
- Cord holders: For extension cords or hoses.
A non-obvious tip: use pegboard baskets for cleaning supplies or spray cans. This keeps dangerous items off the floor and away from kids or pets.
Maintenance And Safety Tips
A pegboard is low-maintenance, but a few habits will keep it safe and useful:
- Check the screws and hooks every few months, especially after hanging new heavy items.
- Clean dust and cobwebs with a brush or vacuum.
- Avoid overloading one area with too much weight.
- If the pegboard bends or pulls away from the wall, remove some tools and add more support.
For safety, avoid storing flammable chemicals or sharp blades where children can reach.
Example: Organizing A Small Garage
Suppose you have a one-car garage with limited wall space. By installing a 2×4 foot pegboard above your workbench, you can store most hand tools and keep your bench clear. Hang hammers, pliers, and screwdrivers at eye level. Use hooks below for power drill batteries and a basket for tape or nails.
This setup takes about two hours to complete and uses a single panel, costing less than $50.
Advanced Tips For A Custom Setup
If you want a more advanced system, try these ideas:
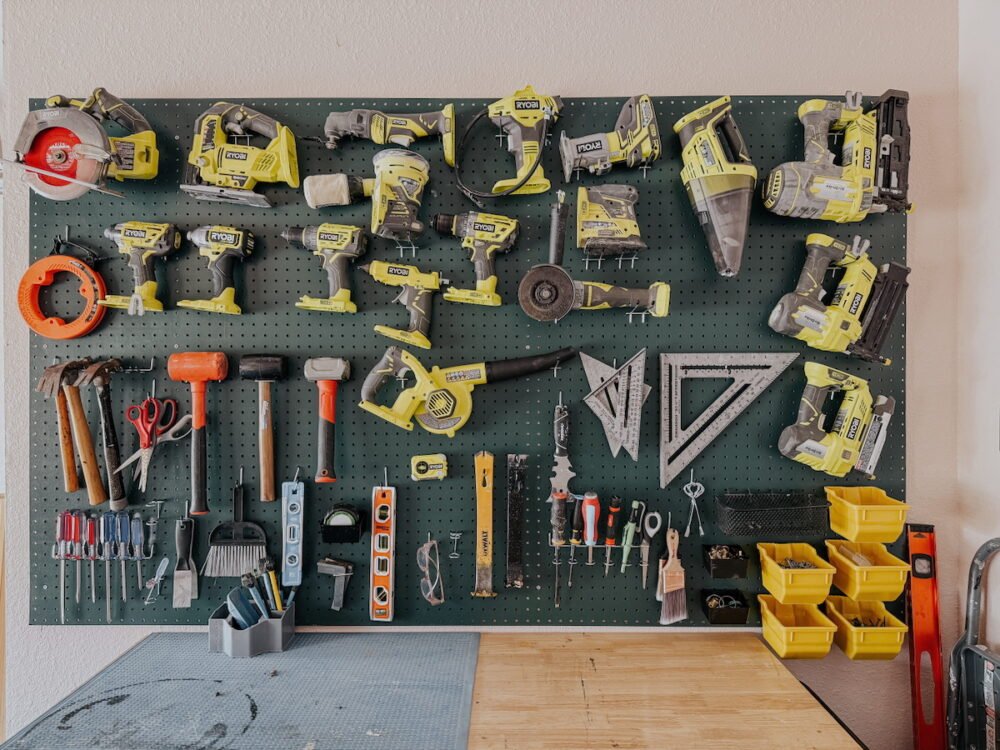
- Install multiple pegboards: Cover a whole wall for maximum storage.
- Frame the pegboard: Use trim for a polished look and extra strength.
- Combine with shelves: Place a shelf above or below the board for bulky items.
- Label tool spots: Draw outlines or add labels so each tool has a clear home.
A helpful, often-missed insight: If you plan to repaint your garage, install the pegboard after painting. This saves time and gives a cleaner finish.
How Pegboards Compare To Other Storage Solutions
Some people wonder if a pegboard is better than shelves, cabinets, or tool chests. Here’s a quick comparison:
| Storage Type | Visibility | Flexibility | Cost |
|---|---|---|---|
| Pegboard | High | High | Low–Medium |
| Shelves | Medium | Medium | Low–Medium |
| Cabinets | Low | Low | High |
| Tool Chest | Low | Medium | High |
Pegboards offer the best visibility and flexibility for most hand tools, but shelves are better for bulky items, and cabinets are safest for chemicals or valuables.
Frequently Asked Questions
How Much Weight Can A Garage Pegboard Hold?
Most wood pegboards can hold about 50–100 pounds per panel if installed with furring strips and anchored to studs. Metal pegboards can handle more, sometimes up to 200 pounds. Always check the manufacturer’s guide and spread heavy tools out.
Can I Mount A Pegboard Directly To Drywall?
No, you should not mount a pegboard straight to drywall. Always use furring strips or spacers to create a gap, and anchor into wall studs for safety and strength.
What Tools Work Best On A Pegboard?
Pegboards are best for hand tools: hammers, pliers, wrenches, screwdrivers, tape measures, and small power tools. For larger or very heavy tools, use shelves or floor storage.
Is It Possible To Cut Pegboard To Fit My Space?
Yes, you can cut hardboard or plastic pegboard with a saw. For metal, use tin snips or a metal-cutting tool. Wear safety glasses and gloves.
Where Can I Find More Ideas For Garage Pegboard Layouts?
You can find creative ideas and layouts on sites like Family Handyman, where DIYers share photos and tips for different garage sizes.
A well-installed garage pegboard brings order to your workspace and makes every project easier. Take the time to plan your setup, and you’ll enjoy a cleaner, safer, and more productive garage for years to come.
Credit: www.loveandrenovations.com
