Mounting a vise in your garage is a smart decision if you often work on DIY projects, repairs, or woodworking. A solidly mounted vise keeps your work safe and stable, allowing you to cut, shape, or file materials with both hands.
Many people, however, do not know the best way to mount a vise. Some struggle with poor alignment, weak surfaces, or the wrong hardware. This guide will help you mount a vise in your garage step by step, giving you the confidence to work on your next project safely and efficiently.
Why Mounting A Vise Correctly Matters
A vise is only as strong as its installation. If your vise is not mounted firmly, it can shift, vibrate, or even break free. This can cause injury or damage to your tools and workpieces. In many garages, the workbench is not as sturdy as it looks.
Over time, bolts can loosen, and wood can split. Choosing the right place and using the right hardware is just as important as the vise itself.
Poorly mounted vises are one of the main reasons for workshop accidents. According to safety reports, about 15% of hand tool injuries in workshops are due to unstable vises and work surfaces. Beginners often think any surface will do, but the wrong choice can lead to unexpected problems.
Choosing The Right Work Surface
The work surface you choose will affect how well your vise works. For most garages, there are three common options:
- Heavy workbench: Made from thick hardwood or steel.
- Lightweight table: Often used for smaller projects.
- Wall-mounted bench: Fixed directly to the wall for extra support.
Here’s a quick comparison:
| Surface Type | Strength | Best For | Drawbacks |
|---|---|---|---|
| Heavy Workbench | Excellent | Metalworking, woodworking | Expensive, large size |
| Lightweight Table | Poor to Fair | Small repairs | Moves easily, less stable |
| Wall-Mounted Bench | Very Good | Space saving, moderate work | Needs strong wall |
Heavy workbenches are the safest and most reliable choice for mounting a vise. If your garage only has a lightweight table, consider upgrading or adding extra support underneath.
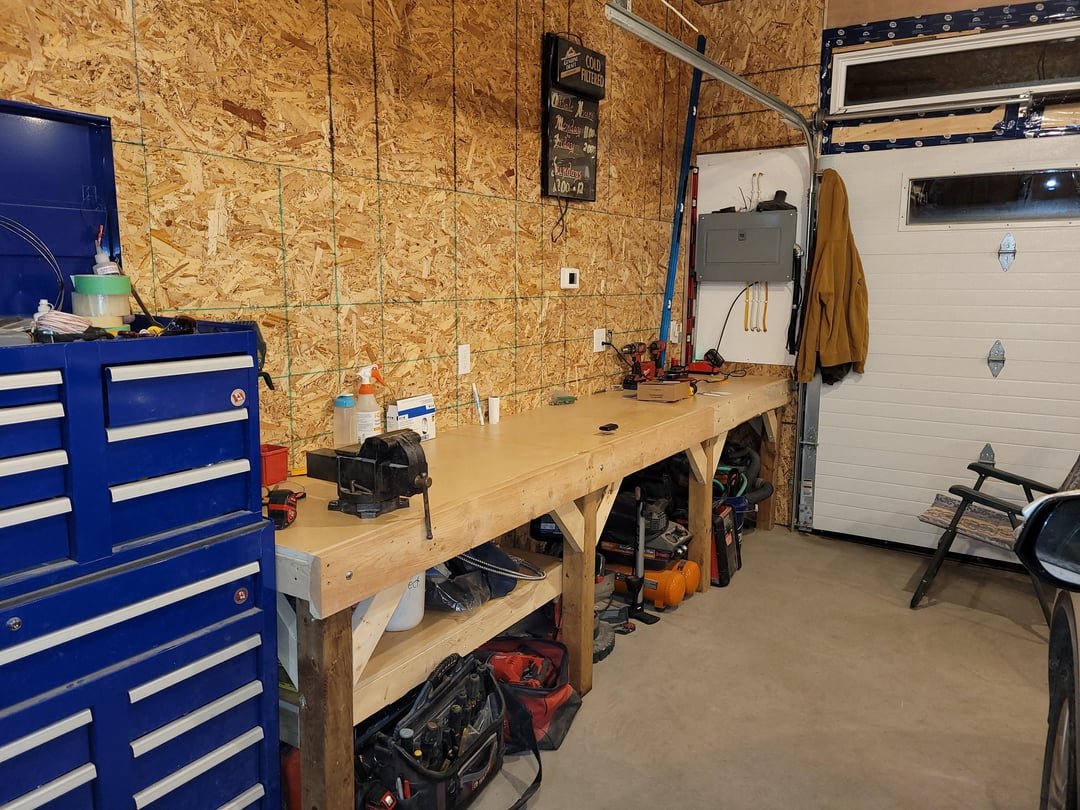
Credit: www.reddit.com
Picking The Right Vise Location
Placement is more important than many realize. If you mount your vise too close to the wall, you may struggle to fit large workpieces. Too far from the edge, and it becomes hard to clamp things vertically.
Key placement tips:
- Mount the vise near the edge of the bench, with the fixed jaw slightly overhanging.
- Leave enough space behind the vise for long pieces.
- Make sure there’s good lighting above.
- Check that you can walk around the vise without bumping into it.
Many professionals recommend mounting the vise on your non-dominant side. For example, if you are right-handed, place the vise on the left. This lets you work the handle with your right hand while holding workpieces with your left.
Gathering The Right Tools And Materials
You need the right tools to do a good job. Here’s a simple list:
- Vise (size depends on your work)
- Bolts, washers, and nuts (size usually 3/8” to 1/2”, grade 5 or better)
- Drill and bits (matched to your bolts)
- Measuring tape
- Pencil or marker
- Adjustable wrench or socket set
- Screwdriver (optional for certain bolts)
- Clamps (for holding vise during marking)
- Wood sealer (if mounting on wood, for extra strength)
Some beginners miss the importance of using high-grade bolts. Basic hardware store bolts can bend or shear under pressure. Always use hardened bolts for safety.
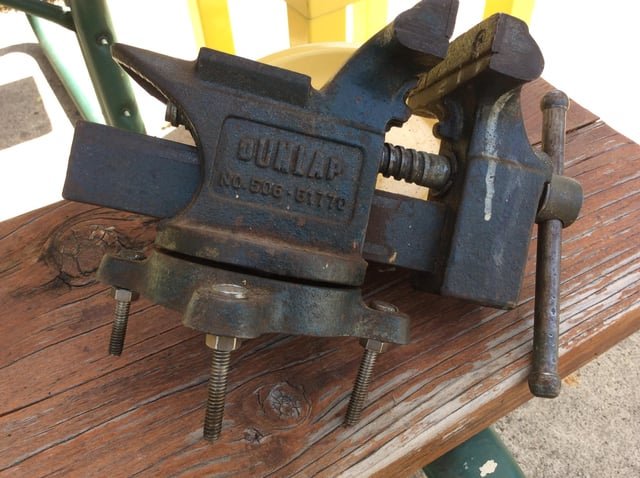
Credit: www.reddit.com
Step-by-step Vise Mounting Guide
1. Test Fit And Mark The Holes
Place the vise where you want it. Use clamps to hold it if you’re working alone. Check that the jaws overhang the bench edge slightly. Open and close the jaws to ensure you have enough clearance.
Once you’re happy with the position, use a pencil or marker to trace the mounting holes onto the bench.
2. Drill The Mounting Holes
Choose a drill bit that matches your bolts. Drill straight down through the marks. For thick wood or steel, step up your drill sizes—start with a small pilot hole, then use the final size.
Tip: If your bench is made from thin wood, add a second layer or steel plate underneath for extra strength.
3. Prepare The Bolts And Washers
Insert a washer on each bolt to spread the force and protect the wood. This prevents the bolts from digging in over time. For steel benches, use lock washers to stop vibration loosening the bolts.
4. Mount The Vise And Tighten
Set the vise over the holes. Drop in the bolts, add washers and nuts underneath, and hand-tighten. Use a wrench or socket to finish tightening. Tighten each bolt a little at a time, moving in a circle, so the vise seats evenly.
Do not overtighten—this can crush wood or strip threads.
5. Check Stability And Make Adjustments
Test the vise by opening and closing the jaws. Try clamping a piece of scrap wood and applying pressure. The vise should feel rock-solid. If it wobbles, check that all bolts are tight and the bench is solid.
If mounting on a wall bench, check that the wall anchors are secure. For heavy use, add metal backing plates under the bench to spread the force.
6. Seal And Protect (for Wood Benches)
Apply wood sealer around the bolt holes to prevent moisture damage and splitting. This step is often forgotten but helps your bench last much longer.
Common Mistakes To Avoid
- Using weak bolts – Always use high-grade hardware.
- Mounting too far from the edge – Makes vertical clamping difficult.
- Skipping washers – Leads to crushed wood and loose bolts.
- Not checking for level – A tilted vise is hard to use.
- Ignoring bench strength – Thin benches can break under load.
- Mounting on a hollow door or thin plywood – Never do this; it’s dangerous.
Many beginners do not realize that vibration from hammering or sawing can loosen bolts over time. Check your vise mounting every few months.
Different Types Of Vises And Their Mounting Needs
Not all vises are the same. The mounting method may change based on the type of vise you have. Here’s a simple overview:
| Vise Type | Best Mounting Surface | Special Tips |
|---|---|---|
| Bench Vise | Heavy wood/steel bench | Mount near edge for vertical clamping |
| Woodworking Vise | Flush with bench top | Recess mount for seamless top |
| Pipe Vise | Steel-topped bench | Extra bolts for torque |
| Swivel Vise | Thick bench | Leave space for full rotation |
Always check the manufacturer’s instructions for your vise. Some vises have unique mounting hole patterns. If you have a specialty vise (like a machinist’s vise), follow their guidelines carefully.
Advanced Tips For A Professional Mount
- If your vise will see heavy use, add steel backing plates under the bench. This spreads force and prevents bolt pull-through.
- Use thread locker (like Loctite) on the bolt threads for extra security.
- For steel benches, use grade 8 bolts for maximum strength.
- Consider adding a quick-release base if you want to move your vise between different benches.
- Install a catch tray below the vise for metal shavings and debris.
A little extra work during installation pays off with years of safe, reliable use.
Maintenance After Mounting
Your work is not done after mounting. Check your vise every few months:
- Tighten bolts if needed.
- Lubricate the screw and moving parts.
- Inspect the bench for cracks or wear around the bolt holes.
- Clean out shavings and dust.
If you notice any weakness or movement, fix it immediately. Most accidents happen when people ignore small problems.
When To Call A Professional
If your garage has a concrete floor and you want to mount a vise stand, or if you are unsure about your bench’s strength, it may be best to consult a carpenter or handyman. This is especially true if your bench is attached to a wall with unknown strength.
For heavy industrial vises (over 50 lbs), professional installation is always recommended.

Credit: www.reddit.com
Safety Tips For Using A Garage Vise
- Always wear safety glasses when cutting or hammering near the vise.
- Do not use pipes or “cheater bars” to force the vise handle.
- Keep your hands away from the moving jaws.
- Only clamp workpieces that fit fully between the jaws.
- Never hit the vise directly with a hammer.
A vise is a helper, not a replacement for proper technique. Always use the right tool for the job.
Upgrades And Accessories
Once your vise is mounted, you can improve it with accessories:
- Soft jaw covers for delicate workpieces.
- Magnetic jaw pads for quick changes.
- Vise stands for mobile use.
- Swivel bases for added flexibility.
- Bolt-on tool racks for keeping files and wrenches handy.
Most accessories are easy to add after your vise is installed.
Frequently Asked Questions
How Do I Know If My Workbench Is Strong Enough For A Vise?
A good workbench for a vise should be at least 1.5 inches thick and made from hardwood or steel. If you can shake the bench with your hands, it may not be strong enough. For light use, a thick plywood top with strong legs is okay, but add extra support if possible.
What Size Bolts Should I Use To Mount A Vise?
Most bench vises use 3/8” or 1/2” diameter bolts. The bolts should be long enough to go through the bench and secure with a washer and nut underneath. Always use hardened steel bolts for safety.
Can I Mount A Vise On A Metal Workbench?
Yes, metal benches are excellent for vises. Drill holes for the bolts and use lock washers to prevent loosening. For very heavy vises, use grade 8 bolts. Always check that the bench is securely attached to the floor or wall.
Is It Okay To Move A Vise After Mounting?
It’s best to plan your location carefully and avoid moving the vise often. Repeatedly removing and reinstalling can weaken the bench. If you need a portable option, consider a quick-release base or a dedicated vise stand.
Where Can I Find More Information About Bench Vises And Workshop Safety?
For more detailed guides and workshop safety information, visit the official Wikipedia page on vises.
A well-mounted vise is the heart of a busy garage workshop. By following these steps, you give yourself a safe and reliable tool for years of projects. Take the extra time now, and your future self will thank you every time you turn the vise handle.
