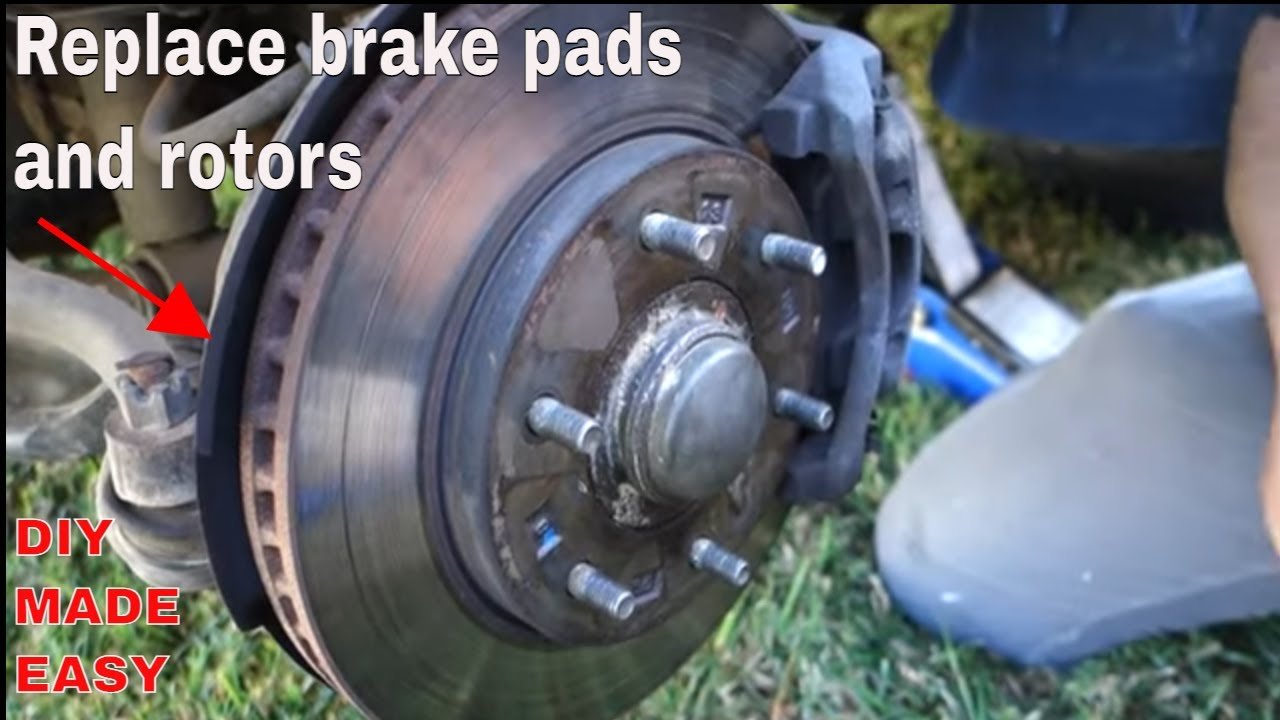
Replacing your car’s brake rotors yourself can save you hundreds of dollars and gives you confidence in your vehicle’s safety. Many drivers believe this job is too complex for a home garage, but with the right tools and some patience, you can do it successfully.
This guide walks you through every step, explaining not only the “how” but also the “why” behind each action. You’ll also learn some tips and common mistakes to avoid, so you end up with smooth, safe braking performance.
What Are Brake Rotors And Why Replace Them?
Brake rotors (also called brake discs) are the metal discs that your brake pads squeeze to stop your wheels from spinning. Over time, rotors wear down, warp, or get grooves, leading to vibration, noise, or less effective braking. If you feel shaking through the steering wheel when braking, hear scraping noises, or see deep grooves, it’s usually time for new rotors.
Most mechanics recommend changing rotors every 50,000 to 70,000 miles, but aggressive driving or heavy loads can shorten this lifespan. Ignoring worn rotors can damage other braking parts or even cause brake failure.
Tools And Materials You’ll Need
Before you start, gather all the necessary tools. Not having the right tool halfway through can turn a simple job into a nightmare.
Essential tools:
- Jack and jack stands (or ramps)
- Lug wrench or impact gun
- Socket set (usually 12mm, 14mm, or 17mm for caliper bolts)
- Breaker bar (for stubborn bolts)
- Flathead screwdriver or pry bar
- Torque wrench
- Wire brush or sandpaper
- C-clamp or brake caliper tool
- Rubber mallet (sometimes needed for stuck rotors)
- Bungee cord or wire (to hang the caliper)
- Work gloves and safety glasses
Materials:
- New brake rotors (make sure they match your car’s year, make, model)
- New brake pads (recommended to replace with rotors)
- Brake cleaner spray
- Anti-seize lubricant (optional, for rotor hub)
- Thread locker (optional, for caliper bracket bolts)
Having everything ready saves time and ensures a smoother process.
Credit: www.youtube.com
Preparing Your Car For Rotor Replacement
Safety is key. Park your car on a flat surface, set the parking brake, and chock the wheels that will stay on the ground. Loosen the lug nuts on the wheels you’re working on before lifting the car.
Lift the car with a jack and secure it with jack stands under the recommended points (check your car’s manual if you’re unsure). Never work under a car supported only by a jack. Remove the wheels to reveal the brake components.
Removing The Old Brake Rotors
This part takes patience and attention to detail. Here’s how to remove the old rotors step-by-step:
- Remove the caliper: Use the correct socket to remove the bolts holding the caliper in place. Carefully slide the caliper off the rotor. Do not let it hang by the brake hose—secure it with a bungee cord or wire to the suspension.
- Remove the caliper bracket: If your rotor doesn’t come off yet, remove the larger bolts holding the bracket. This will free the rotor completely.
- Remove the rotor: Some rotors slide right off, but rust can make them stubborn. Tap gently with a rubber mallet around the hub area. If your rotor has retaining screws, remove them with a screwdriver.
- Clean the hub: Use a wire brush or sandpaper to remove rust and debris from the hub surface. A clean hub prevents rotor wobble.
Pro tip: If the rotor is really stuck, spray some penetrating oil around the hub and let it soak for 10–15 minutes.
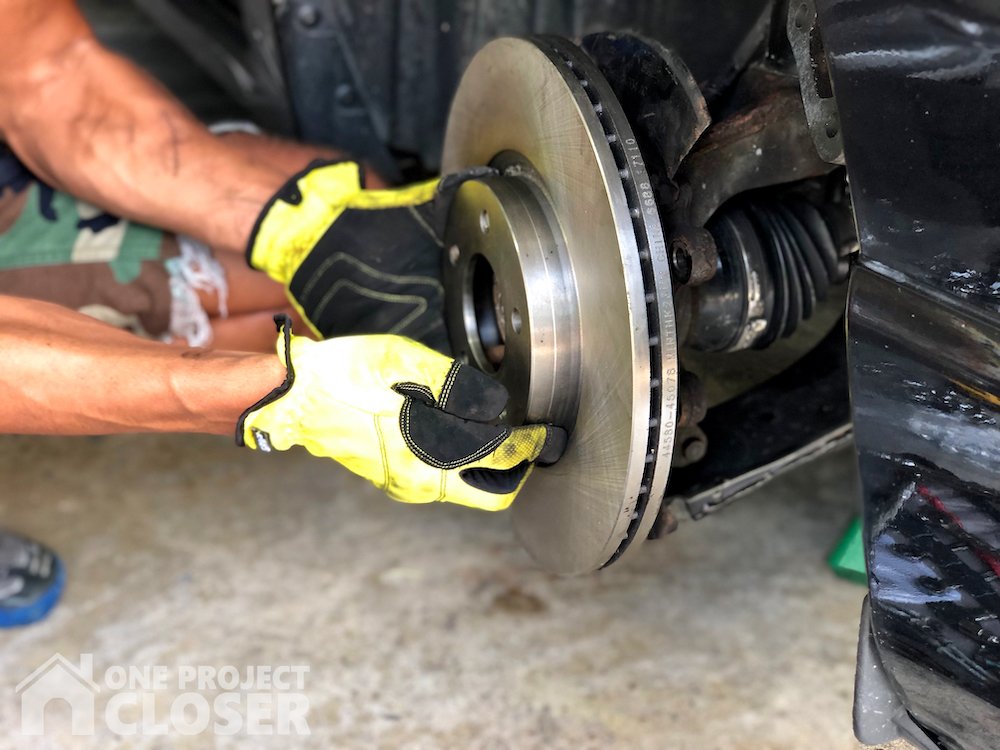
Credit: www.oneprojectcloser.com
Installing The New Brake Rotors
Now you’re ready to install the new rotors. Follow these steps for best results:
- Clean the new rotor: Most new rotors come coated in oil to prevent rust. Spray them with brake cleaner and wipe thoroughly.
- Fit the rotor onto the hub: Align it with the holes. If your car uses retaining screws, reinstall them now.
- Apply anti-seize (optional): A light layer on the hub can make future rotor changes much easier, but keep it off the braking surface.
Before putting everything back together, check that the rotor sits flush with the hub. Any dirt or rust here can cause vibration.
Reinstalling The Caliper And Pads
With the new rotor in place, it’s time to put the braking system back together.
- Compress the caliper piston: As new pads are thicker, you need to push the caliper piston back. Use a C-clamp or caliper tool, turning slowly until the piston is fully retracted.
- Install new brake pads: Slide them into the caliper bracket.
- Reattach the caliper bracket: Torque the bolts to the manufacturer’s specifications.
- Install the caliper: Slide it over the pads and rotor, then tighten the caliper bolts.
If using thread locker, apply a drop to the caliper bracket bolts for extra security.
Repeating The Process For All Wheels
Brake rotors are usually replaced in pairs (front or rear). Always do both sides to keep braking balanced. Repeat the above steps for the other wheel on the same axle.
Non-obvious tip: If you’re replacing both front and rear rotors, do one axle at a time. Never remove all four brakes at once—you may lose track of parts or introduce air into the system.
Reinstalling The Wheels And Lowering The Car
Once all rotors and pads are installed, reinstall the wheels. Hand-tighten the lug nuts at first, then lower the car so the tires just touch the ground before fully tightening with a torque wrench to the specified value (usually 80–100 ft-lbs, but check your manual).
Bedding In The New Rotors And Pads
New rotors and pads need a process called bedding in or “breaking in.” This creates an even layer of pad material on the rotor for quiet, smooth stops.
How to bed in brakes:
- Find a safe, empty road.
- Make 5–10 moderate stops from 35 mph to 5 mph, letting the brakes cool for a minute between each stop.
- Avoid hard stops or panic braking during this period.
Skipping this step can cause vibration, noise, or uneven wear.
Common Mistakes And How To Avoid Them
Many beginners make small errors that cause big problems later. Here’s what to watch for:
- Not cleaning the hub: Even small rust spots can cause rotor wobble.
- Touching the rotor surface: Fingerprints can leave oil, which leads to noise or uneven braking.
- Forgetting to torque bolts: Loose caliper bolts can be dangerous. Use a torque wrench.
- Not bedding in brakes: Skipping this step shortens the life of your new rotors.
- Using old pads with new rotors: Old pads can groove your new rotors quickly.
Non-obvious insight: If your car has an electronic parking brake, you may need a special tool or process to retract the rear caliper piston. Check your manual before starting.
Rotor Types And Quality: How To Choose
Not all rotors are the same. Here’s a quick comparison of common rotor types:
| Type | Pros | Cons | Best for |
|---|---|---|---|
| Smooth (OEM) | Quiet, long-lasting | Less performance at high temps | Daily driving |
| Drilled | Better cooling, stylish | Can crack under stress | Light sport, wet conditions |
| Slotted | Removes debris, good bite | Noisier, faster pad wear | Performance driving |
| Drilled & Slotted | Best cooling, max bite | Expensive, wear faster | Track or spirited driving |
For most drivers, OEM-style rotors are perfect. Only choose drilled or slotted if you drive aggressively or tow heavy loads.
Cost Comparison: Diy Vs Professional Brake Rotor Replacement
Replacing your brake rotors yourself can save a lot. Here’s a quick cost breakdown:
| Item | DIY Cost (per axle) | Shop Cost (per axle) |
|---|---|---|
| Rotors | $50–$150 | $50–$150 |
| Brake Pads | $30–$70 | $30–$70 |
| Labor | $0 | $120–$250 |
| Tools (one-time) | $50–$100 | $0 |
| Total | $130–$320 | $200–$470 |
In most cases, you’ll save at least $100–$200 per axle by doing the job yourself.
Signs You May Need A Mechanic Instead
DIY is rewarding, but not always the best option. Here’s when to seek professional help:
- If you see brake fluid leaks, damaged brake hoses, or heavy rust on the caliper or bracket
- If your car uses a complex electronic parking brake system
- If you hear unusual noises after installation that don’t go away after bedding in
- If you don’t have all the necessary tools or a safe workspace
Final Tips For A Successful Diy Brake Rotor Job
- Take photos of each step as you go. They help if you get confused during reassembly.
- Work on one side at a time, using the assembled side as a reference.
- Never rush—double-check every bolt and fitting.
- Always test brakes at low speed before driving normally.
Experience-based tip: Even experienced mechanics sometimes face stuck bolts or rotors. Don’t panic—use penetrating oil, and take breaks if needed. For stubborn problems, there are many helpful videos and guides online, or you can ask in car forums.
Credit: www.reddit.com
Frequently Asked Questions
How Long Does It Take To Replace Brake Rotors Diy?
For a beginner, replacing rotors on one axle (two wheels) usually takes 2–3 hours. The second side is often faster since you’ve learned the process.
Can I Reuse My Old Brake Pads With New Rotors?
It’s not recommended. Old pads can cause grooves or uneven wear on new rotors, reducing their lifespan and braking performance.
What Should I Do If My New Rotors Are Making Noise?
Some noise is normal during the first 50–100 miles. If it continues, check for debris, loose bolts, or improper installation. Make sure you bed in the brakes as described above.
How Often Should I Replace Brake Rotors?
Most rotors last 50,000–70,000 miles, but heavy use, mountain driving, or towing can shorten their life. Inspect your rotors regularly for grooves, cracks, or warping.
Where Can I Find More Detailed Information On Brake Systems?
You can read more about brake systems and maintenance on the Wikipedia Disc Brake page.
Swapping your brake rotors isn’t just about saving money—it’s about understanding how your car works and making sure your family is safe on the road. With the right preparation and these detailed steps, you’ll finish the job with confidence and a sense of accomplishment.
