
Replacing your car’s coolant temperature sensor might sound intimidating. But with some patience, basic tools, and careful steps, you can save money and understand your vehicle better. The coolant temperature sensor plays a key role in how your car’s engine operates.
It measures the temperature of the engine coolant and sends this information to the engine control unit (ECU). This data helps control the fuel mixture, ignition timing, and even when the radiator fans turn on.
A faulty sensor can cause poor fuel economy, rough idling, or even engine damage if ignored. Many car owners overlook the signs of a failing sensor, blaming other parts for engine problems. In this guide, you’ll discover how to recognize issues, select the correct sensor, and perform the replacement safely.
Let’s walk through the process step by step, with tips to avoid mistakes and ensure a smooth repair.
Understanding The Coolant Temperature Sensor
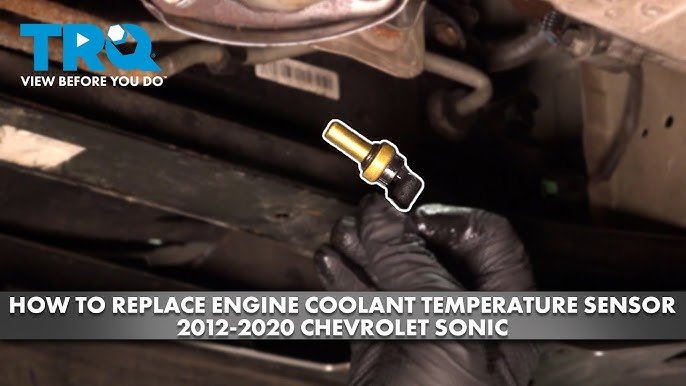
The coolant temperature sensor (CTS) is a small but vital part of the engine management system. It’s usually located near the thermostat housing or screwed directly into the engine block. When the engine heats up, the sensor detects this rise in temperature and sends an electrical signal to the car’s computer.
Most modern cars use a negative temperature coefficient (NTC) sensor. This means the sensor’s resistance drops as temperature increases. The ECU reads this change and adjusts the engine’s performance. Some cars have more than one temperature sensor—one for the ECU and one for the dashboard gauge.
Symptoms Of A Faulty Sensor
Before replacing the sensor, it’s important to know when it’s the real culprit. Common symptoms include:
- Check engine light on
- Poor fuel economy
- Rough idling or stalling
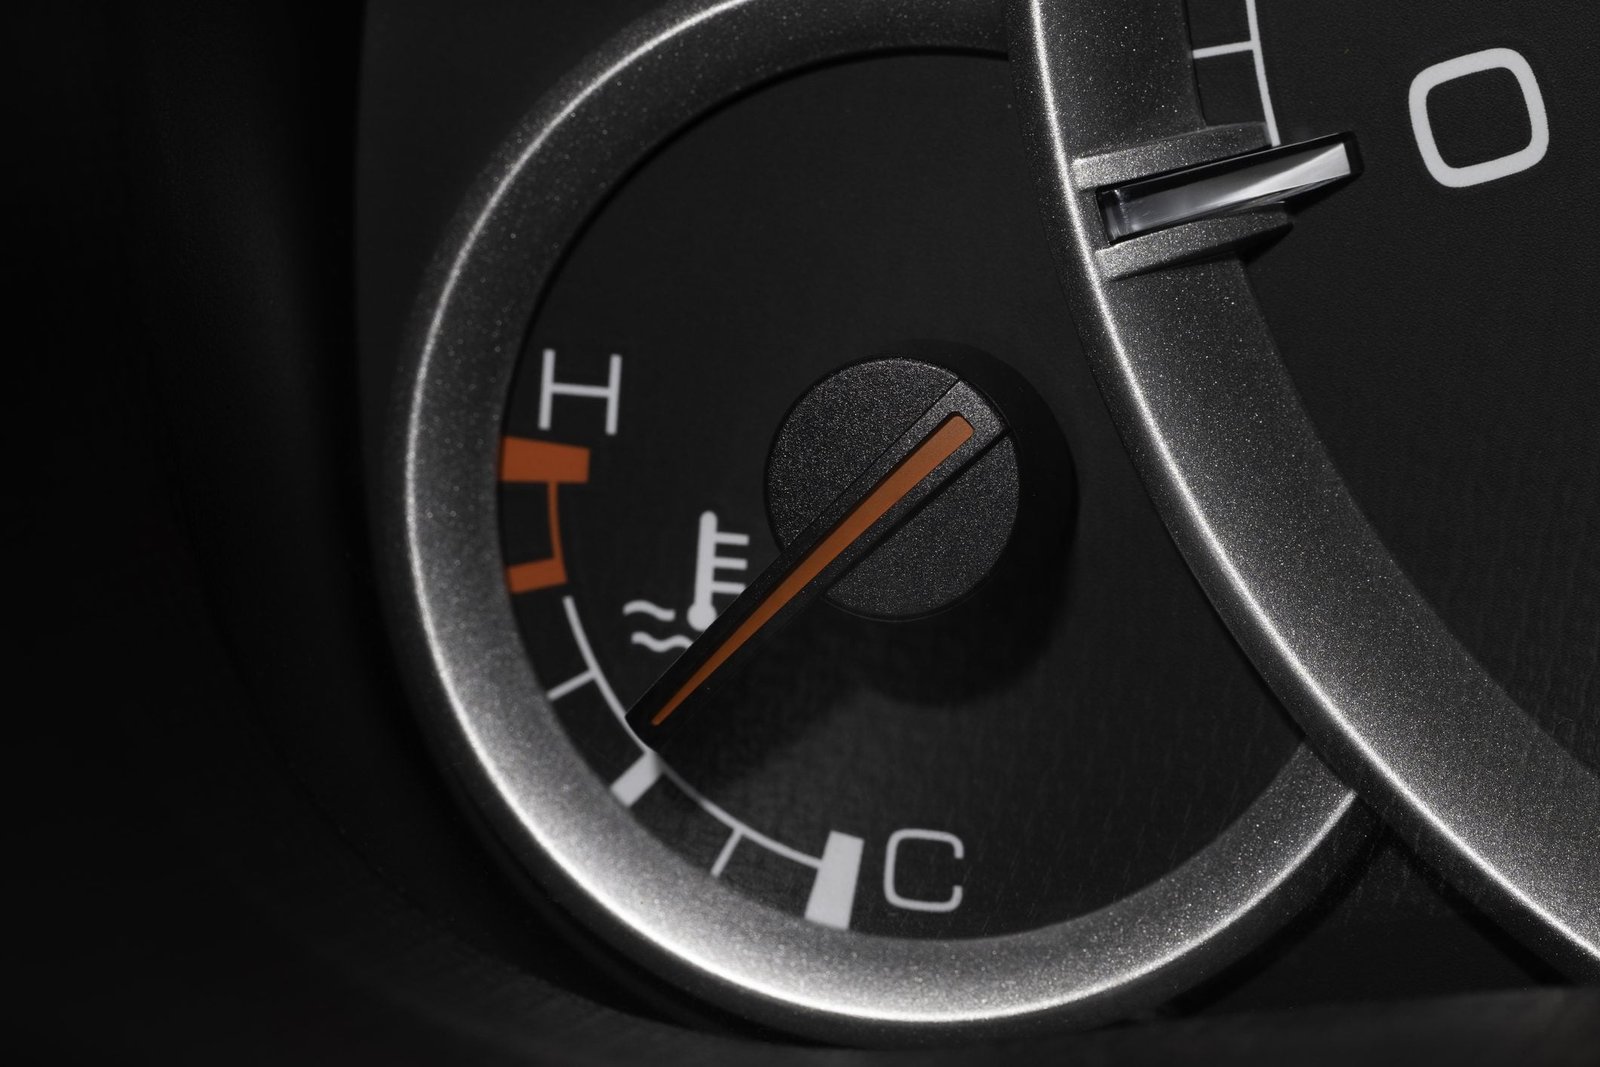
- Overheating or false temperature readings
- Hard starting, especially when the engine is warm
If you see any of these signs, it’s wise to check the sensor before replacing other expensive components. Many beginners miss that a simple $20 sensor can cause problems that seem much bigger.
Tools And Materials Needed
Having the right tools ready makes the job faster and safer. You’ll need:
- Replacement coolant temperature sensor (make sure it matches your vehicle)
- Socket set (with deep sockets)
- Ratchet or wrench
- Screwdriver
- Pliers
- Coolant catch pan
- New coolant (if needed)
- Thread sealant (if recommended for your sensor)
- Gloves and safety glasses
- Rags
Some sensors are easier to reach than others, depending on your car’s make and model. Check your vehicle’s manual or an online repair database to find the sensor location.
Credit: www.familyhandyman.com
How To Replace Car Coolant Temperature Sensor: Step-by-step
Replacing the coolant temperature sensor usually takes about 30-60 minutes. Here’s how to do it safely and correctly.
1. Let The Engine Cool Down
Never start this job on a hot engine. Hot coolant is under pressure and can cause burns. Wait at least 1-2 hours after driving. Touch the radiator hose—if it’s cool, you’re good to go.
2. Locate The Coolant Temperature Sensor
Open the hood and look for the sensor. It’s often near the thermostat housing, on the cylinder head, or close to the radiator. If you’re unsure, search for a diagram for your car model.
3. Disconnect The Battery
Unplug the negative terminal of the battery. This reduces the risk of electrical shorts or accidental airbag deployment.
4. Drain Some Coolant
Place a catch pan under the radiator. Open the radiator drain plug or remove the lower radiator hose to let out about 1-2 liters of coolant. This prevents spills when removing the sensor. You don’t need to drain the entire system.
5. Remove The Sensor’s Electrical Connector
Gently press the clip and pull off the electrical connector from the sensor. If it feels stuck, use a flat screwdriver to release the tab. Don’t pull on the wires.
6. Unscrew The Old Sensor
Use a deep socket or wrench to loosen the sensor. Turn slowly—old sensors can break if forced. Some coolant may leak out, so keep rags handy.
7. Prepare The New Sensor
Compare the new and old sensors. They should be the same size and shape. Apply thread sealant if the instructions suggest. Some sensors have a built-in seal and don’t need extra sealant.
8. Install The New Sensor
Screw the sensor into place by hand to avoid cross-threading. Tighten it with a socket or wrench, but don’t over-tighten. Most sensors need only a snug fit—check your vehicle’s torque specs if possible.
9. Reconnect The Electrical Connector
Push the connector onto the new sensor until you hear a click. Make sure it’s secure.
10. Top Up The Coolant
Pour the drained coolant back into the radiator. If it’s old or dirty, replace it with fresh coolant. Fill up to the recommended level.
11. Reconnect The Battery
Attach the negative battery terminal. Double-check all connections.
12. Start The Engine And Check For Leaks
Start the engine and let it reach operating temperature. Watch for leaks around the sensor. Check the dashboard gauge and make sure it reads correctly.
13. Test Drive And Recheck
After a short drive, check the coolant level again. Top up if needed. If the check engine light comes back, scan for codes—sometimes the ECU needs to be reset.
Common Mistakes To Avoid
Many first-timers make simple errors that can cost time or money. Here’s what to watch out for:
- Working on a hot engine: This can cause burns or cracked engine parts.
- Cross-threading the sensor: Always start by hand to avoid damaging the threads.
- Using the wrong sensor: Even sensors that look similar may have different resistance values.
- Skipping the battery disconnect: This increases the risk of electrical problems.
- Overfilling or underfilling coolant: Both can cause engine issues.
- Not checking for leaks: A loose sensor or connector can let coolant escape slowly.
One detail many overlook: even a few drops of coolant on electrical connectors can cause corrosion over time. Wipe everything dry before finishing.
How To Choose The Right Coolant Temperature Sensor
Not all sensors are the same. Using the wrong one can give false readings or damage your ECU. Here’s what matters:
- Vehicle make, model, and year: Always match the sensor to your car’s specifications.
- Connector type: Some sensors use a single wire, others have two or three.
- Thread size and length: Must match the original sensor.
- Resistance range: Check the manufacturer’s specs.
- Brand reliability: Stick to OEM or trusted aftermarket brands.
It’s smart to compare options before buying. Here’s a quick look at what you might see:
| Sensor Type | Wire Count | Typical Use | Estimated Price |
|---|---|---|---|
| Single Wire | 1 | Gauge Only | $10-$20 |
| Dual Wire | 2 | ECU and Gauge | $15-$30 |
| Triple Wire | 3 | Advanced Systems | $20-$50 |
Costs, Time, And Difficulty Level
Many car owners wonder if this job is worth doing at home. Here’s a practical breakdown:
| Factor | DIY | Professional |
|---|---|---|
| Parts | $15-$50 | $20-$60 |
| Labor | Free | $70-$120 |
| Time | 30-60 min | 20-40 min |
| Difficulty | Easy-Moderate | Easy |
Doing it yourself saves money, especially if you already have the tools. For beginners, the hardest part is finding the sensor and working in tight spaces.
Credit: www.youtube.com
Practical Tips For A Smooth Replacement
- Take a photo of the engine area before starting. This helps you remember connections.
- Label hoses and connectors if you’re not sure where they go.
- Use a funnel when refilling coolant to avoid spills.
- Keep old sensors until you confirm the new one works.
- Check the service manual for torque specs and special instructions.
A non-obvious tip: sometimes, air can get trapped in the cooling system after refilling. If your temperature gauge acts strange, “burp” the system by squeezing the upper radiator hose or using a bleed valve, if equipped.
Why Regular Sensor Checks Matter
Ignoring a faulty coolant temperature sensor can cost much more than a simple replacement. Some drivers don’t realize that a bad reading can make the engine run too rich (using too much fuel), which can damage the catalytic converter or spark plugs.
Regular checks and timely replacement protect your engine and wallet.

Credit: shop.advanceautoparts.com
When To Seek Professional Help
While most home mechanics can handle this job, there are times when it’s best to visit a repair shop:
- Sensor location is hard to reach (under intake manifolds or tight engine bays)
- Coolant leaks continue after replacement
- Electrical connector is damaged or corroded
- Check engine light won’t go off even after replacement
If you’re not sure, ask a trusted mechanic for advice.
Environmental Safety And Disposal
Never pour old coolant down the drain or into the ground. Coolant is toxic to people and pets. Collect it in a sealed container and bring it to a recycling center or auto parts store. Many places accept used coolant for free.
For more details on proper disposal, visit EPA Used Antifreeze Recycling.
Frequently Asked Questions
How Often Should A Coolant Temperature Sensor Be Replaced?
Most sensors last 100,000 kilometers or more. Replace it if you see symptoms, during a major cooling system repair, or as recommended by your car’s manual.
Can I Drive With A Faulty Coolant Temperature Sensor?
It’s possible, but not safe. The engine may run poorly, overheat, or use more fuel. Long-term driving can cause serious damage.
Will A Bad Sensor Always Trigger The Check Engine Light?
Not always. Some cars only show a warning for certain types of failures. You might see other symptoms like bad fuel economy or rough idling before the light appears.
Do I Need To Bleed Air From The Cooling System After Replacement?
Yes, if you lose a lot of coolant during the repair. Air pockets can cause false readings or overheating. “Burp” the system by squeezing hoses or using a bleed screw.
What’s The Difference Between A Coolant Temperature Sensor And A Temperature Sending Unit?
The coolant temperature sensor sends information to the ECU for engine management. The temperature sending unit often sends data only to the dashboard gauge. Some cars have both, with separate locations and functions.
Replacing a car’s coolant temperature sensor is a smart way to solve engine problems and learn more about your vehicle. With careful steps, you can complete this repair confidently and keep your car running smoothly.
