
Replacing a car fuel pump might sound like a job for professional mechanics, but with the right tools, clear instructions, and patience, many car owners can do it themselves. A failing fuel pump can cause your car to stall, not start, or lose power while driving.
If you notice these signs, acting quickly can save you from being stranded on the road. This guide will walk you through everything you need to know to replace your car’s fuel pump safely and correctly, even if you are not an expert.
Understanding The Role Of The Fuel Pump
The fuel pump is vital for moving fuel from your gas tank to the engine. In most cars today, the pump is electric and sits inside the fuel tank. When it works well, your car starts easily, runs smoothly, and gives good mileage. If the pump fails, your engine may struggle or stop working.
Some signs of a bad fuel pump include:
- Trouble starting the car
- Engine sputtering at high speeds
- Loss of power under stress (like climbing hills)
- Sudden surges in speed
- Reduced fuel efficiency
If you notice these problems, testing and possibly replacing the pump is a smart move.
Tools And Materials You Will Need
Before starting, gather the necessary tools and materials. Having everything ready makes the job safer and faster.
- Replacement fuel pump (make sure it matches your car’s make, model, and year)
- Socket set and wrenches
- Screwdrivers (flathead and Phillips)
- Pliers
- Jack and jack stands (or ramps)
- Fuel line disconnect tool (depends on your car)
- Shop rags and container (for catching fuel)
- Safety glasses and gloves
- New fuel filter (recommended)
- Fire extinguisher (just in case)
- Owner’s manual (for specific instructions)
If you are unsure which fuel pump to buy, check your vehicle’s manual or ask at an auto parts store. Giving your car’s VIN number ensures you get the right part.
Credit: www.youtube.com
Safety First: Preparing Your Workspace
Working with fuel is dangerous if you do not follow safety steps. Gasoline is very flammable, and inhaling fumes can be harmful. Here’s how to prepare safely:
- Work in a well-ventilated area, preferably outdoors.
- Never smoke or create sparks near fuel.
- Disconnect the negative battery cable to prevent electric shocks or sparks.
- Wear safety glasses and gloves at all times.
- Keep a fire extinguisher nearby.
Take your time with preparation. Rushing increases the risk of accidents.
Steps To Replace A Car Fuel Pump
The exact process can vary by car model, but most vehicles follow a similar routine. Here’s a step-by-step guide you can adapt to your car.
1. Relieve Fuel System Pressure
Before disconnecting any fuel lines, you need to release the pressure in the system to avoid fuel spraying out.
- Locate the fuel pump fuse or relay in your fuse box (check your owner’s manual).
- Start the engine, then remove the fuse or relay. The engine will stall as fuel pressure drops.
- Turn off the ignition.
Some cars have a pressure relief valve on the fuel rail. If yours does, use it as described in the manual.
2. Access The Fuel Pump
Most modern cars have the pump inside the gas tank. There are two common ways to reach it:
Through The Back Seat Or Trunk
Some vehicles have an access panel under the back seat or trunk lining. This makes the job easier.
- Remove the seat or carpet.
- Unscrew the access panel.
- You will see the top of the fuel pump assembly.
By Lowering The Fuel Tank
If there is no access panel, you must drop the tank.
- Safely raise the car with a jack and support it with jack stands.
- Place a container under the tank to catch any fuel.
- Disconnect the fuel filler neck and any hoses or wires.
- Support the tank with a jack and slowly lower it after unbolting the straps.
Insight: Many beginners forget to drain the tank first. If your tank is full, it can be very heavy. Try to drive until the tank is nearly empty before starting.
3. Remove The Old Fuel Pump
- Disconnect the electrical connectors from the pump.
- Remove the fuel lines using a disconnect tool if needed.
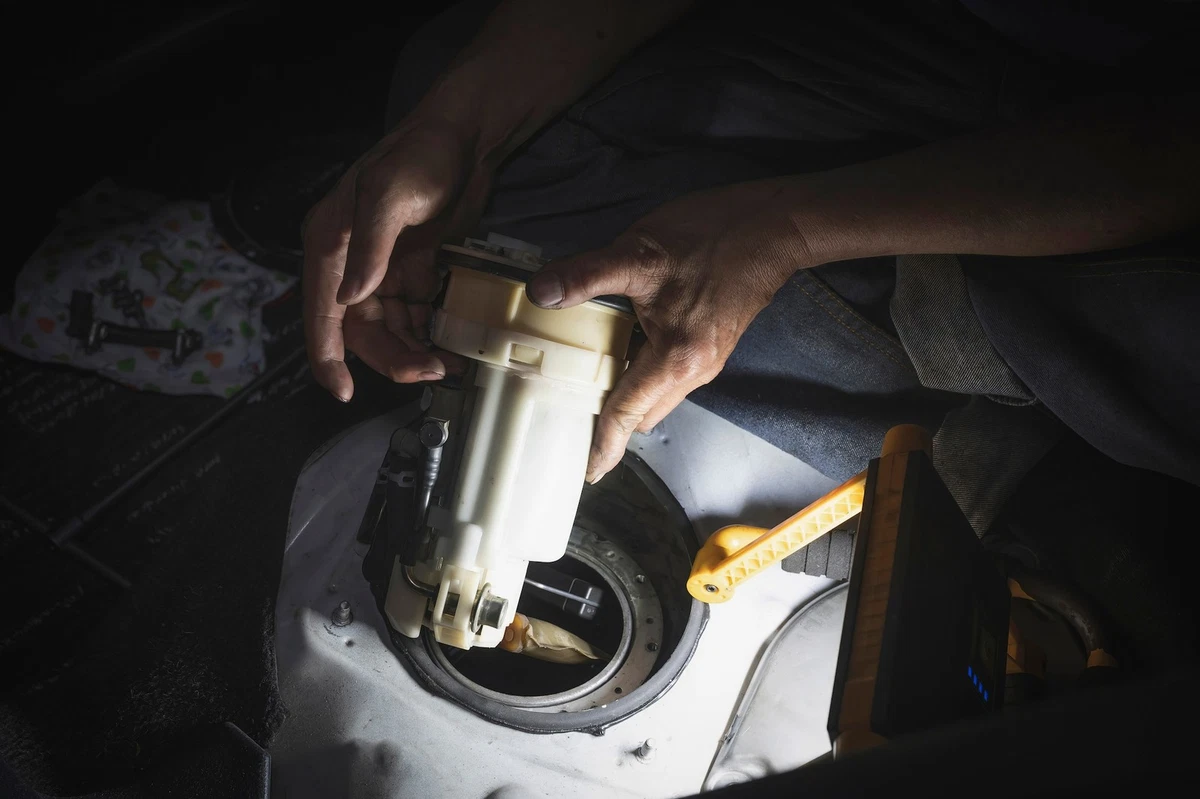
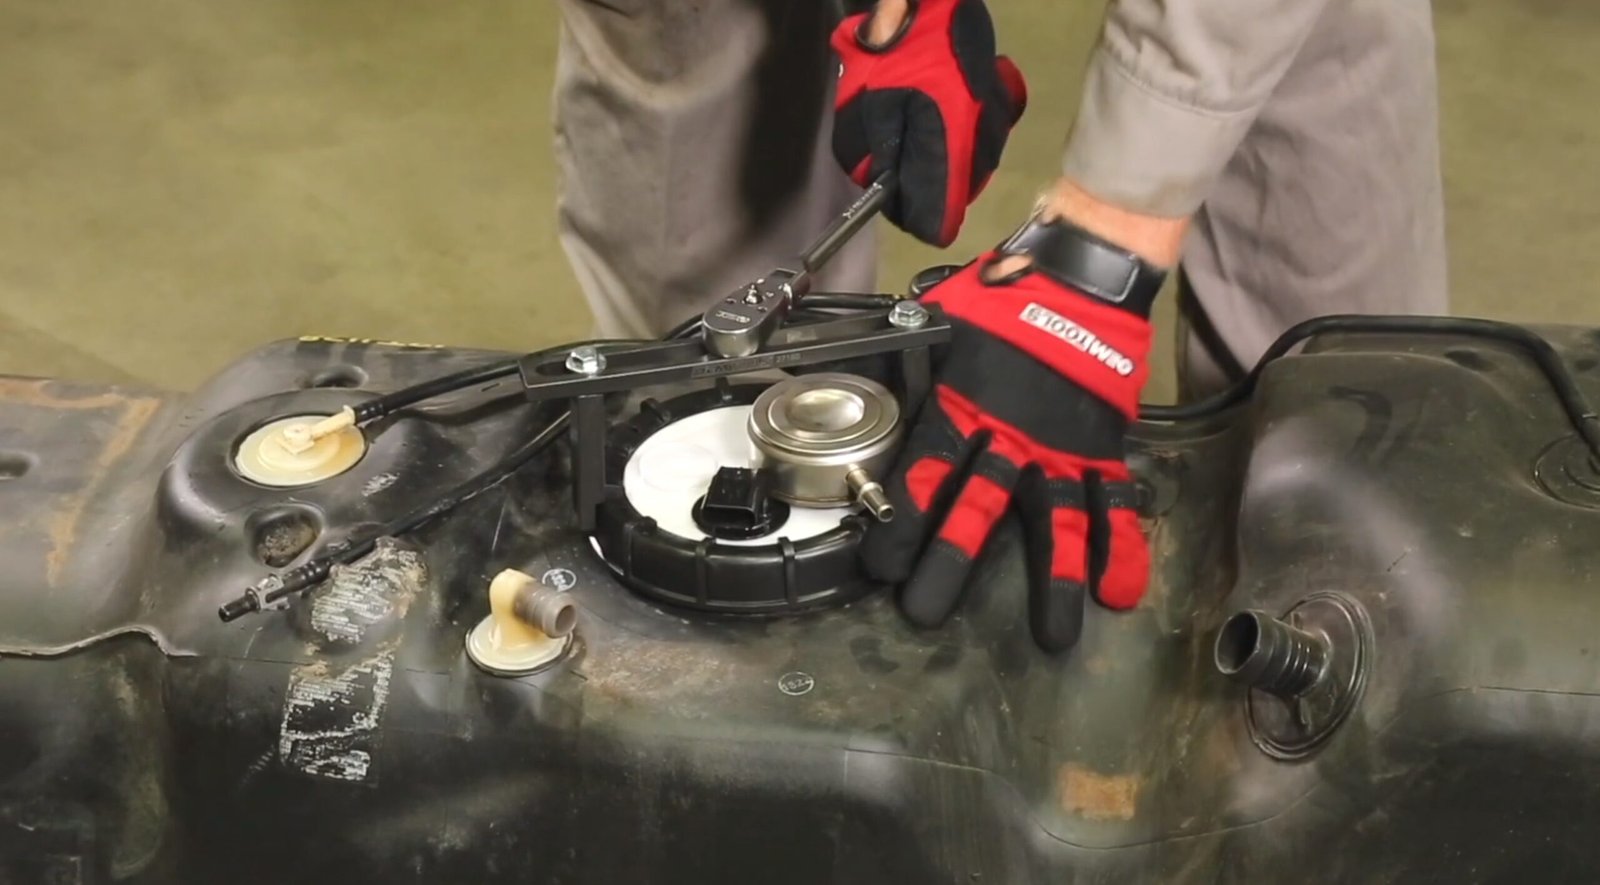
- Carefully loosen and remove the retaining ring or bolts holding the pump assembly.
- Slowly lift the pump out of the tank, being careful not to drop anything into the tank.
Tip: Inspect the inside of the tank for dirt or debris. Clean it with a shop rag if needed.
4. Install The New Fuel Pump
- Compare the old pump with the new one to ensure they match.
- Install a new rubber gasket or O-ring to prevent leaks.
- Lower the new pump into the tank gently.
- Secure it with the retaining ring or bolts.
Beginner’s Miss: It’s easy to forget to replace the O-ring. Old O-rings may leak, causing fuel smells or poor performance.
5. Reconnect Everything
- Attach the fuel lines and electrical connectors.
- If you dropped the tank, carefully raise it back into place and secure the straps.
- Reconnect all hoses, filler neck, and wiring.
- If you used an access panel, replace it and the seat or carpet.
6. Reconnect The Battery And Test
- Reconnect the negative battery cable.
- Turn the ignition key to “ON” (not start). You should hear the pump run for a few seconds. This primes the system.
- Check for leaks around the pump and under the car.
- Start the engine. It may take a few tries as fuel fills the lines.
- Check again for leaks and listen for smooth operation.
7. Finish Up
- Clean up any spilled fuel and tools.
- Dispose of old fuel and parts safely (your local auto shop can help).
Credit: www.ebay.com
Common Mistakes And How To Avoid Them
Replacing a fuel pump isn’t complicated, but some common mistakes can cause problems:
- Forgetting to relieve fuel pressure: This can spray fuel and cause injury.
- Not disconnecting the battery: Risk of sparks and fire.
- Mismatched parts: Double-check the new pump matches the old one.
- Damaging the fuel tank seal: Always use a new O-ring and install it carefully.
- Dropping debris into the tank: Clean the tank opening before removing the pump.
Double-check each step before moving on to avoid redoing your work.
When To Seek Professional Help
Some cars have complex fuel systems or tanks that are difficult to access. If you notice severe rust, damaged tank straps, or broken fuel lines, it may be best to let a mechanic handle the job. Safety should always come first.
Cost Comparison: Diy Vs. Professional Replacement
Doing the work yourself saves money, but how much? Here’s a simple comparison:
| Replacement Method | Estimated Cost (USD) | Time Needed | Skill Level |
|---|---|---|---|
| DIY (self-replacement) | $70–$300 (parts only) | 2–5 hours | Beginner to Intermediate |
| Professional mechanic | $300–$900 (parts + labor) | 1–3 hours | — |
Insight: Labor is the biggest cost at repair shops. If you have time and basic tools, DIY can save hundreds of dollars.
How To Choose The Right Replacement Fuel Pump
Not all fuel pumps are the same. Choosing the right one matters for performance and safety.
| Factor | What to Check | Why It Matters |
|---|---|---|
| Compatibility | Make, model, year, engine size | Ensures fit and function |
| Pressure rating | Measured in PSI (check manual) | Engine needs correct pressure |
| Brand quality | Reputation, warranty | Reduces failure risk |
| Kit contents | Gaskets, filter, hardware included? | Makes installation easier |
If you’re unsure, bring your old pump to the parts store for comparison.
Credit: www.autozone.com
Practical Tips For A Smooth Fuel Pump Replacement
- Work with an empty tank: Gasoline is heavy and messy. Less fuel makes the job easier.
- Take photos: Before unplugging wires or hoses, take pictures. This helps you remember where everything goes.
- Replace the fuel filter: A clogged filter can damage the new pump. Many kits include a new filter.
- Double-check for leaks: After installation, check for fuel smells or drips. Leaks are dangerous and must be fixed before driving.
- Test drive gently: After replacement, drive slowly at first to make sure everything works properly.
Environmental And Legal Reminders
Old fuel and car parts can pollute the environment. Do not pour fuel down drains or throw parts in the trash. Many auto shops accept used fuel and parts for recycling.
Also, some areas have rules about working on cars at home. Check local laws before starting.
Example: Real-world Fuel Pump Replacement
Let’s say you have a 2008 Honda Civic that won’t start. You’ve checked the battery and spark plugs, but they’re fine. You suspect the fuel pump.
- You buy a compatible replacement for $120.
- You find an access panel under the back seat, making the job easier.
- After following the steps above, you finish in about 2 hours.
- The car starts up on the first try.
Key lesson: Reading your manual and preparing tools saves time and stress. Not all cars are the same, so adapt the steps as needed.
Frequently Asked Questions
What Are The Symptoms Of A Failing Fuel Pump?
Common signs include hard starting, engine sputtering, loss of power under stress, and poor fuel economy. Sometimes, you might hear a whining noise from the fuel tank.
Can I Drive With A Bad Fuel Pump?
It’s not safe. A bad pump can cause sudden engine failure, leaving you stranded. Also, running the engine with a weak pump can damage other parts, like the fuel injectors.
Do I Need To Replace The Fuel Filter At The Same Time?
Yes, it’s highly recommended. A clogged fuel filter can cause the new pump to work harder and fail early. Many replacement kits include a new filter for this reason.
How Long Does A Fuel Pump Last?
Most pumps last 100,000 to 150,000 miles, but poor fuel quality or a clogged filter can reduce their life. Regular maintenance helps the pump last longer.
Where Can I Find More Information About Fuel Pumps?
You can read more about fuel pumps and their function at the Wikipedia page on fuel pumps.
Replacing a car fuel pump yourself is a rewarding project that saves money and builds confidence. With careful preparation, attention to safety, and following each step, you can solve fuel system problems and get your car running smoothly again. If you ever feel unsure, don’t hesitate to get professional help—your safety always comes first.
