
Replacing a car’s PCV valve hose can prevent engine trouble, reduce emissions, and save money on repairs. Many car owners overlook this simple part, but a cracked or clogged hose can cause rough idling, poor fuel economy, and even engine damage. If you want to take care of your car and avoid costly mechanic bills, learning how to replace this hose is a smart step. Even if you’re new to car maintenance, you can do this job with basic tools and a little care.
What Is A Pcv Valve Hose And Why Is It Important?
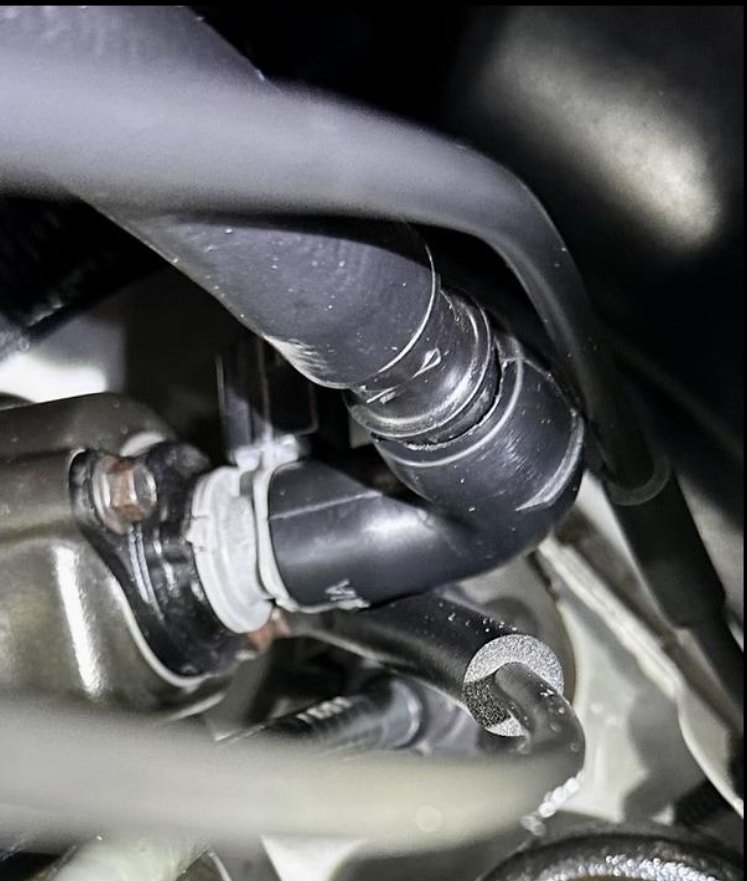
The Positive Crankcase Ventilation (PCV) valve is part of your car’s emission control system. Its job is to move gases from the engine’s crankcase back into the intake manifold so they can be burned, instead of escaping into the air. The PCV valve hose connects this valve to the engine.
A damaged or blocked hose can lead to:
- Oil leaks
- Check engine light
- Engine misfires
- High oil consumption
- Increased emissions
Over time, hoses can crack from heat, become brittle, or get blocked by sludge. Regular inspection and replacement keep your engine healthy and efficient.
Signs Your Pcv Valve Hose Needs Replacement
Knowing when to replace the PCV hose helps you fix problems before they get worse. Watch for these warning signs:
- Cracks or splits: Look for visible damage on the hose.
- Oil leaks: Oil on the hose or near the valve may signal a problem.
- Rough idle: The engine may shake or idle unevenly.
- Check engine light: A faulty hose can trigger error codes.
- High oil use: Frequent oil top-ups may mean a leak or blocked hose.
- Hissing noises: Air leaks often make a hissing sound near the hose.
If you notice one or more of these signs, it’s time to check and possibly replace the hose.
Credit: www.autozone.com
Tools And Materials You’ll Need
Before you begin, gather these items:
- Replacement PCV valve hose (correct for your car’s make, model, and year)
- Screwdrivers (usually flathead or Phillips)
- Pliers (needle-nose and/or regular)
- Socket set (for removing engine covers, if needed)
- Gloves (protects your hands from oil and heat)
- Rags or paper towels (for cleaning and wiping oil)
- Flashlight (to see in tight spaces)
- Hose clamps (if your car uses them)
- Penetrating oil (helps loosen stuck clamps or hoses)
Some cars may require special tools. Always check your car’s manual or a trusted online resource for any unique needs.
Safety Tips Before You Start
Working under the hood is safe if you follow a few rules:
- Let the engine cool down completely before touching anything. Hot engine parts can cause burns.
- Work in a well-ventilated area to avoid breathing fumes.
- Wear gloves and safety glasses.
- Keep tools and small parts organized so nothing falls into the engine.
- Disconnect the battery if your car’s manual suggests it for this repair.
Credit: www.youtube.com
Step-by-step Guide To Replacing The Pcv Valve Hose
Changing the PCV valve hose can be simple or a bit tricky, depending on your car’s design. The steps below cover most vehicles, but always check your car’s service manual for any differences.
1. Locate The Pcv Valve And Hose
Open the hood and find the PCV valve. It’s usually on or near the valve cover, with a hose running to the intake manifold or throttle body. The hose is often black rubber or plastic.
If you’re unsure, look for a label under the hood or check your owner’s manual. Some online forums or guides can help you find the exact location for your car.
2. Inspect The Old Hose
Check the hose for cracks, splits, or oil leaks. Gently wiggle it to see if it’s loose. If the hose is hard or brittle, it’s definitely time for a new one.
3. Remove Engine Covers (if Needed)
Some cars have plastic covers over the engine. Use a socket set or screwdriver to remove these. Keep the screws in a safe place.
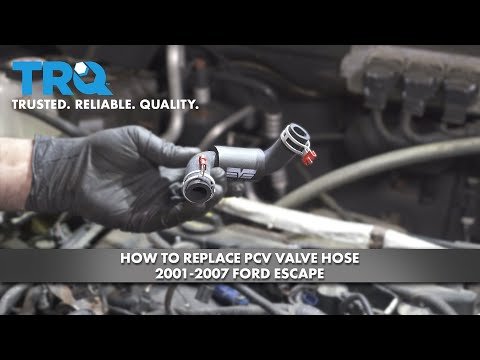
4. Remove The Old Hose
- Loosen any hose clamps with a screwdriver or pliers.
- Gently twist and pull the hose off the PCV valve and the other end (intake manifold or air intake).
- If the hose is stuck, spray a little penetrating oil and wait a few minutes.
- Be careful not to break the PCV valve or connectors.
5. Clean The Area
Wipe away any oil or dirt from the valve and connectors. This helps the new hose seal well and prevents leaks.
6. Install The New Hose
- Compare the old and new hoses to make sure they match in length and shape.
- Push the new hose onto the PCV valve and intake connector.
- Tighten hose clamps securely, but do not overtighten (this can damage the hose).
- Make sure the hose isn’t kinked or twisted.
7. Reinstall Engine Covers
Put any engine covers back and tighten the screws.
8. Double-check Your Work
- Tug gently on the hose to make sure it’s secure.
- Check that clamps are tight and the hose is not touching any hot or moving parts.
9. Start The Engine And Inspect
Start your car and let it idle for a few minutes. Check for:
- Air leaks (listen for hissing sounds)
- Oil leaks around the hose or valve
- Smooth engine running
If all looks good, you’ve done the job right.
Common Mistakes And How To Avoid Them
Even simple repairs can go wrong if you rush or skip steps. Here are some mistakes beginners make:
- Using the wrong hose: Not all hoses are the same. Always get the right part for your car.
- Forgetting hose clamps: Missing or loose clamps can cause leaks.
- Damaging connectors: Forcing the hose can break plastic fittings. Be gentle.
- Not cleaning oil or dirt: Dirt can cause poor seals and leaks.
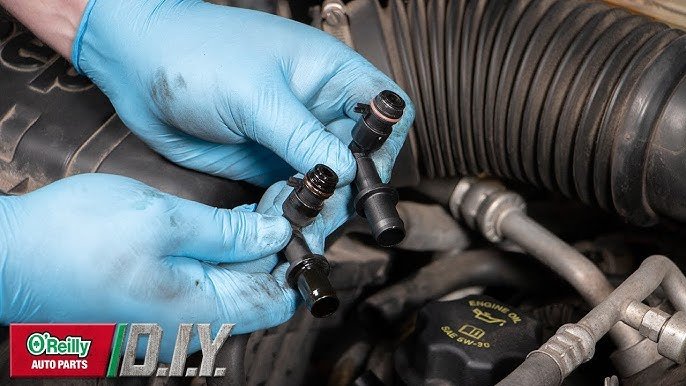
- Ignoring the PCV valve: Sometimes, the valve itself is clogged or stuck. Check and clean or replace it if needed.
Credit: www.youtube.com
How To Choose The Right Replacement Hose
Picking the correct PCV valve hose is important for a good fit and seal.
| Factor | Why It Matters | What to Check |
|---|---|---|
| Car Make & Model | Hoses are shaped and sized for each engine | Use VIN or manual to find exact part |
| Material | Rubber or silicone lasts longer | Choose heat- and oil-resistant hose |
| Clamps | Secures hose to fittings | Replace old or rusty clamps |
| OEM vs Aftermarket | OEM fits perfectly; aftermarket may be cheaper | Read reviews or ask for advice |
If you’re not sure, bring the old hose to the auto parts store or take clear photos.
How Often Should You Replace The Pcv Valve Hose?
Most hoses last 50,000 to 100,000 miles, but heat, oil, and age can shorten their life. Check your hose every time you change the oil. Replace it if you see any wear, cracks, or leaks, even if you haven’t reached the mileage.
Some manufacturers recommend replacing the PCV valve and hose together every 60,000 miles. This is a good idea if you want to avoid future problems.
Troubleshooting After Replacing The Hose
Sometimes, new problems appear after replacement. Here’s a quick guide:
| Problem | Possible Cause | Solution |
|---|---|---|
| Engine still idles rough | PCV valve is clogged or faulty | Replace the valve as well |
| Check engine light on | Loose or missing hose/clamp | Check connections and clamps |
| Hose keeps coming off | Wrong size or missing clamp | Use the correct hose and secure clamps |
| Oil leak after repair | Hose not seated properly | Remove and reinstall the hose carefully |
If a problem continues, check for vacuum leaks or have a mechanic inspect your work.
Practical Tips For A Smooth Replacement
- Take photos before removing anything. This helps you remember how parts fit together.
- Label hoses if there are several in the area.
- Buy a high-quality hose. Cheap hoses can fail quickly.
- Replace hose clamps if they look rusty or weak.
- Dispose of old hoses properly. They can be recycled at many auto parts stores.
- If you smell gasoline or see lots of oil, stop and check for other engine problems.
When To Ask A Mechanic For Help
Most people can replace a PCV valve hose in 30–60 minutes. But sometimes, it’s best to get help if:
- You can’t find the hose or valve.
- The hose is hard to reach (under intake manifolds or tight engine spaces).
- You break a connector or fitting.
- The check engine light stays on after repair.
Modern cars can have complex systems, so don’t feel bad if you need expert help.
Environmental And Performance Benefits
A new PCV valve hose helps your car in several ways:
- Cleaner emissions: Reduces harmful gases.
- Better fuel economy: Engine runs smoother with correct air/fuel mix.
- Longer engine life: Prevents oil sludge and leaks.
- Lower repair costs: Avoids expensive fixes from ignored leaks.
Small parts like this make a big difference in how your car runs and how much you spend over time. For more on emission systems, visit the Wikipedia: Crankcase Ventilation System.
Frequently Asked Questions
What Does A Pcv Valve Hose Do?
The PCV valve hose carries gases from the crankcase to the intake system so they can be burned, not released into the air. This helps reduce emissions and keeps the engine clean.
How Do I Know If My Pcv Hose Is Bad?
Common signs include rough idling, oil leaks, visible cracks in the hose, high oil consumption, or a check engine light. You might also hear a hissing sound if the hose is leaking air.
Can I Drive With A Broken Pcv Hose?
It’s not a good idea. Driving with a damaged hose can cause engine misfires, poor fuel economy, increased emissions, and even engine damage if oil leaks out.
Is Replacing The Pcv Valve Hose Expensive?
This is a low-cost repair for most cars. Hoses usually cost $10–$40, and you can replace it yourself in less than an hour. Mechanics may charge extra for labor.
Should I Replace The Pcv Valve And Hose Together?
It’s smart to replace both at the same time, especially if your car has high mileage. A clogged valve can damage a new hose, and a fresh hose helps your new valve work correctly.
Replacing your PCV valve hose is a simple way to keep your car running well, reduce pollution, and avoid bigger problems later. With a little time and care, you can handle this repair yourself and drive with confidence.
