
Replacing your car’s rear brake shoes may sound intimidating, but it’s a manageable job for many car owners with basic tools and patience. Not only does this save you money on labor costs, but it also helps you understand your vehicle better. Rear brake shoes are crucial for safe braking, especially if your car uses drum brakes at the back. Worn-out shoes can lead to poor braking performance, strange noises, and even damage to the drum itself. With the right guidance, you can confidently replace the rear brake shoes yourself and keep your car running safely.
Understanding Rear Brake Shoes
Rear brake shoes are curved friction materials mounted inside a drum brake system. When you press the brake pedal, hydraulic force pushes the shoes outward against the drum’s inner surface, creating friction that slows the car. Most front brakes are discs, but many cars, especially older models and small vehicles, still use drums at the back.
Signs you need new rear brake shoes:
- Squealing or grinding noises from rear wheels
- Reduced braking power or longer stopping distance
- Parking brake feels weak or travels too far
- Visible wear (lining less than 2 mm thick)
Tools And Materials Needed
Before you begin, gather all necessary tools and parts. Having everything ready helps the process go smoothly and prevents delays.
Essential Tools
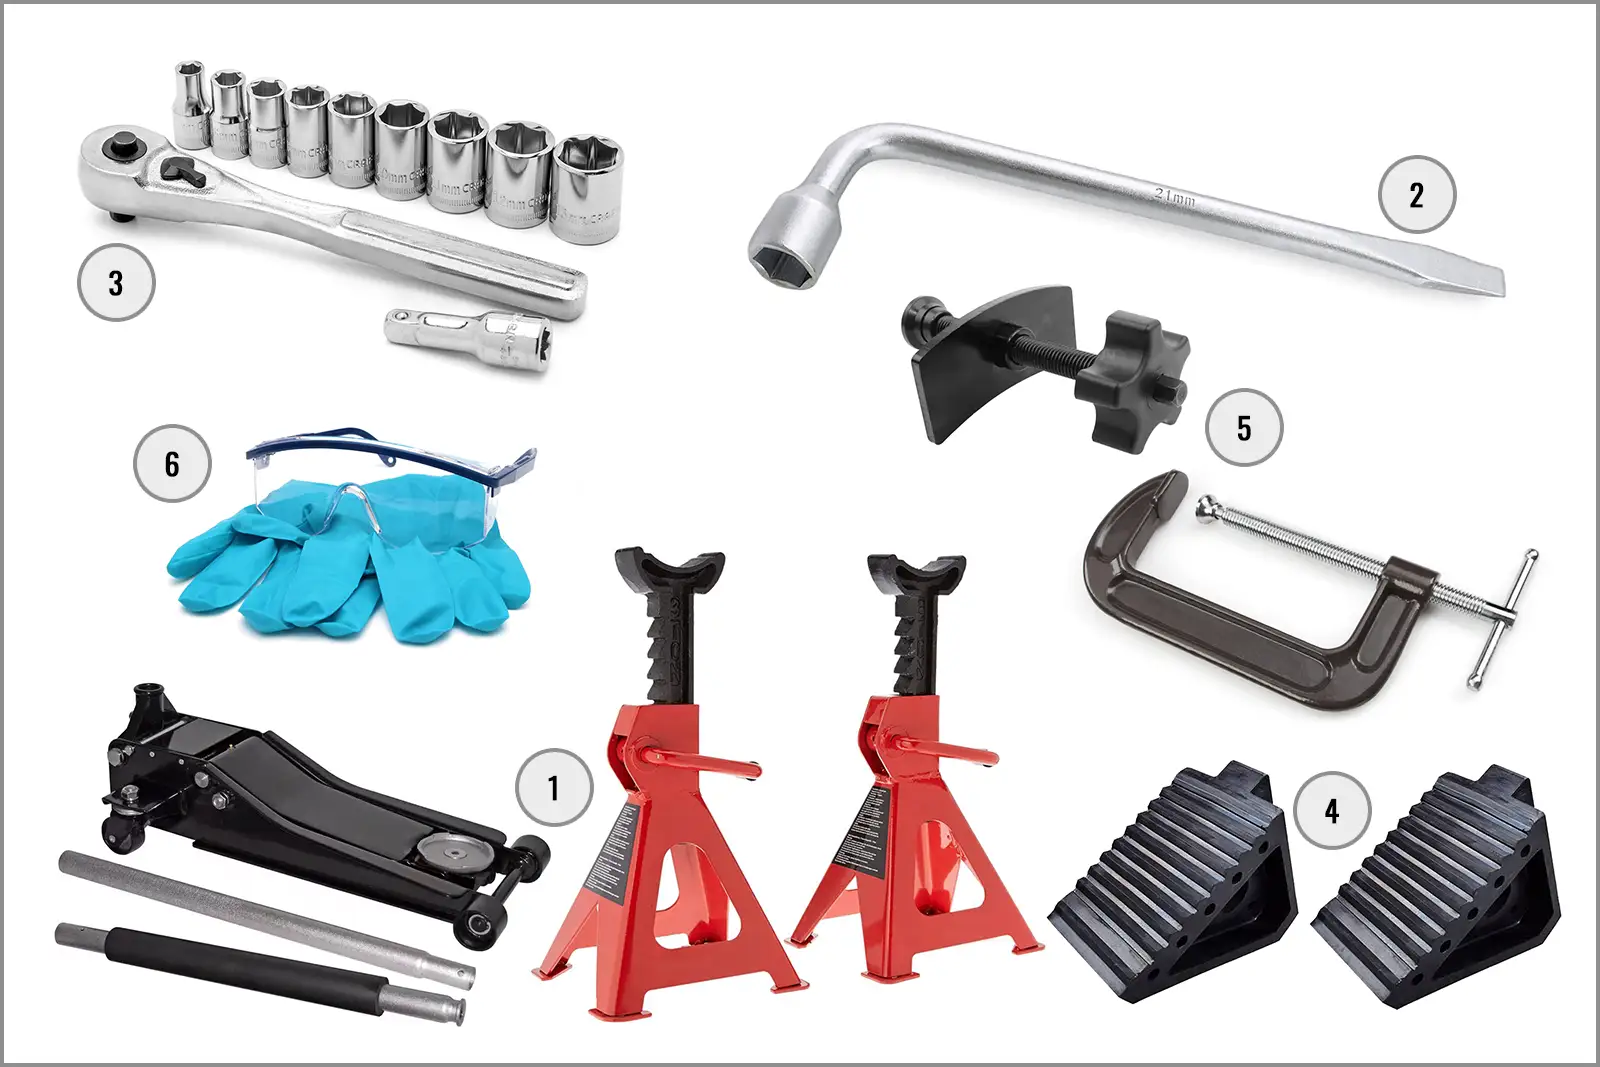
- Jack and jack stands: For safely lifting and supporting the car
- Wheel chocks: To prevent the car from rolling
- Lug wrench: To remove the wheels
- Brake spring tool or pliers: For removing and installing springs
- Flathead screwdriver: For prying off clips and springs
- Socket set: For removing drum or hub nuts
- Hammer and punch: To tap stuck drums loose
- Brake cleaner: To remove dust and grease
- Dust mask and gloves: For safety
Replacement Parts
- New rear brake shoes (make sure they match your car model)
- Brake hardware kit (recommended—includes new springs and clips)
- Brake drum (optional, if your drum is worn or damaged)
Additional Supplies
- Anti-seize compound: For preventing stuck parts
- High-temperature brake grease: For lubricating contact points
- Shop rags or towels: For cleaning up
Preparing Your Car
Safety is the top priority. Park your car on a level surface, engage the parking brake (unless it operates the rear drums you’re replacing), and switch off the engine. Place wheel chocks in front of the front wheels to keep the car from moving.
- Loosen the rear wheel lug nuts slightly while the car is still on the ground. Don’t remove them yet.
- Use the jack to lift the rear of the car. Position jack stands securely under the frame or axle.
- Remove the lug nuts completely and take off the rear wheels.
Removing The Brake Drum
Most rear drum brakes have a drum that slides off the wheel studs, but sometimes they stick due to rust or wear. Here’s how to handle it:
- Release the parking brake if it controls the rear drums. Otherwise, the shoes will press against the drum and it won’t come off.
- Tap around the drum’s edge with a hammer to loosen it. If it won’t budge, look for threaded holes on the drum face. Insert bolts (usually M8x1.25) and tighten them evenly to force the drum off.
- Once removed, inspect the inside for deep grooves or cracks. If damaged, replace the drum.
Removing Old Brake Shoes
Brake shoe assemblies have several springs and clips. Take a photo before disassembly; it helps when reassembling.
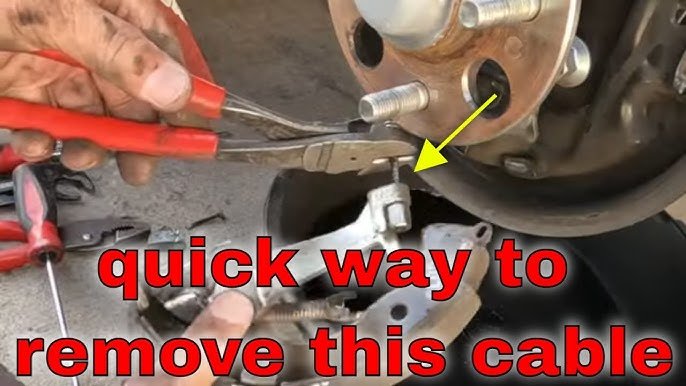
- Remove the return springs with a brake spring tool or pliers. These hold the shoes together at the top.
- Take off the hold-down pins and clips that secure the shoes to the backing plate. Push in and twist to release.
- Carefully lift the shoes away from the backing plate, noting how the parking brake lever and adjuster fit.
- Remove the adjuster mechanism and parking brake lever if attached.
Don’t breathe brake dust—wear a mask and use brake cleaner to wash the area.
Cleaning And Inspecting Parts
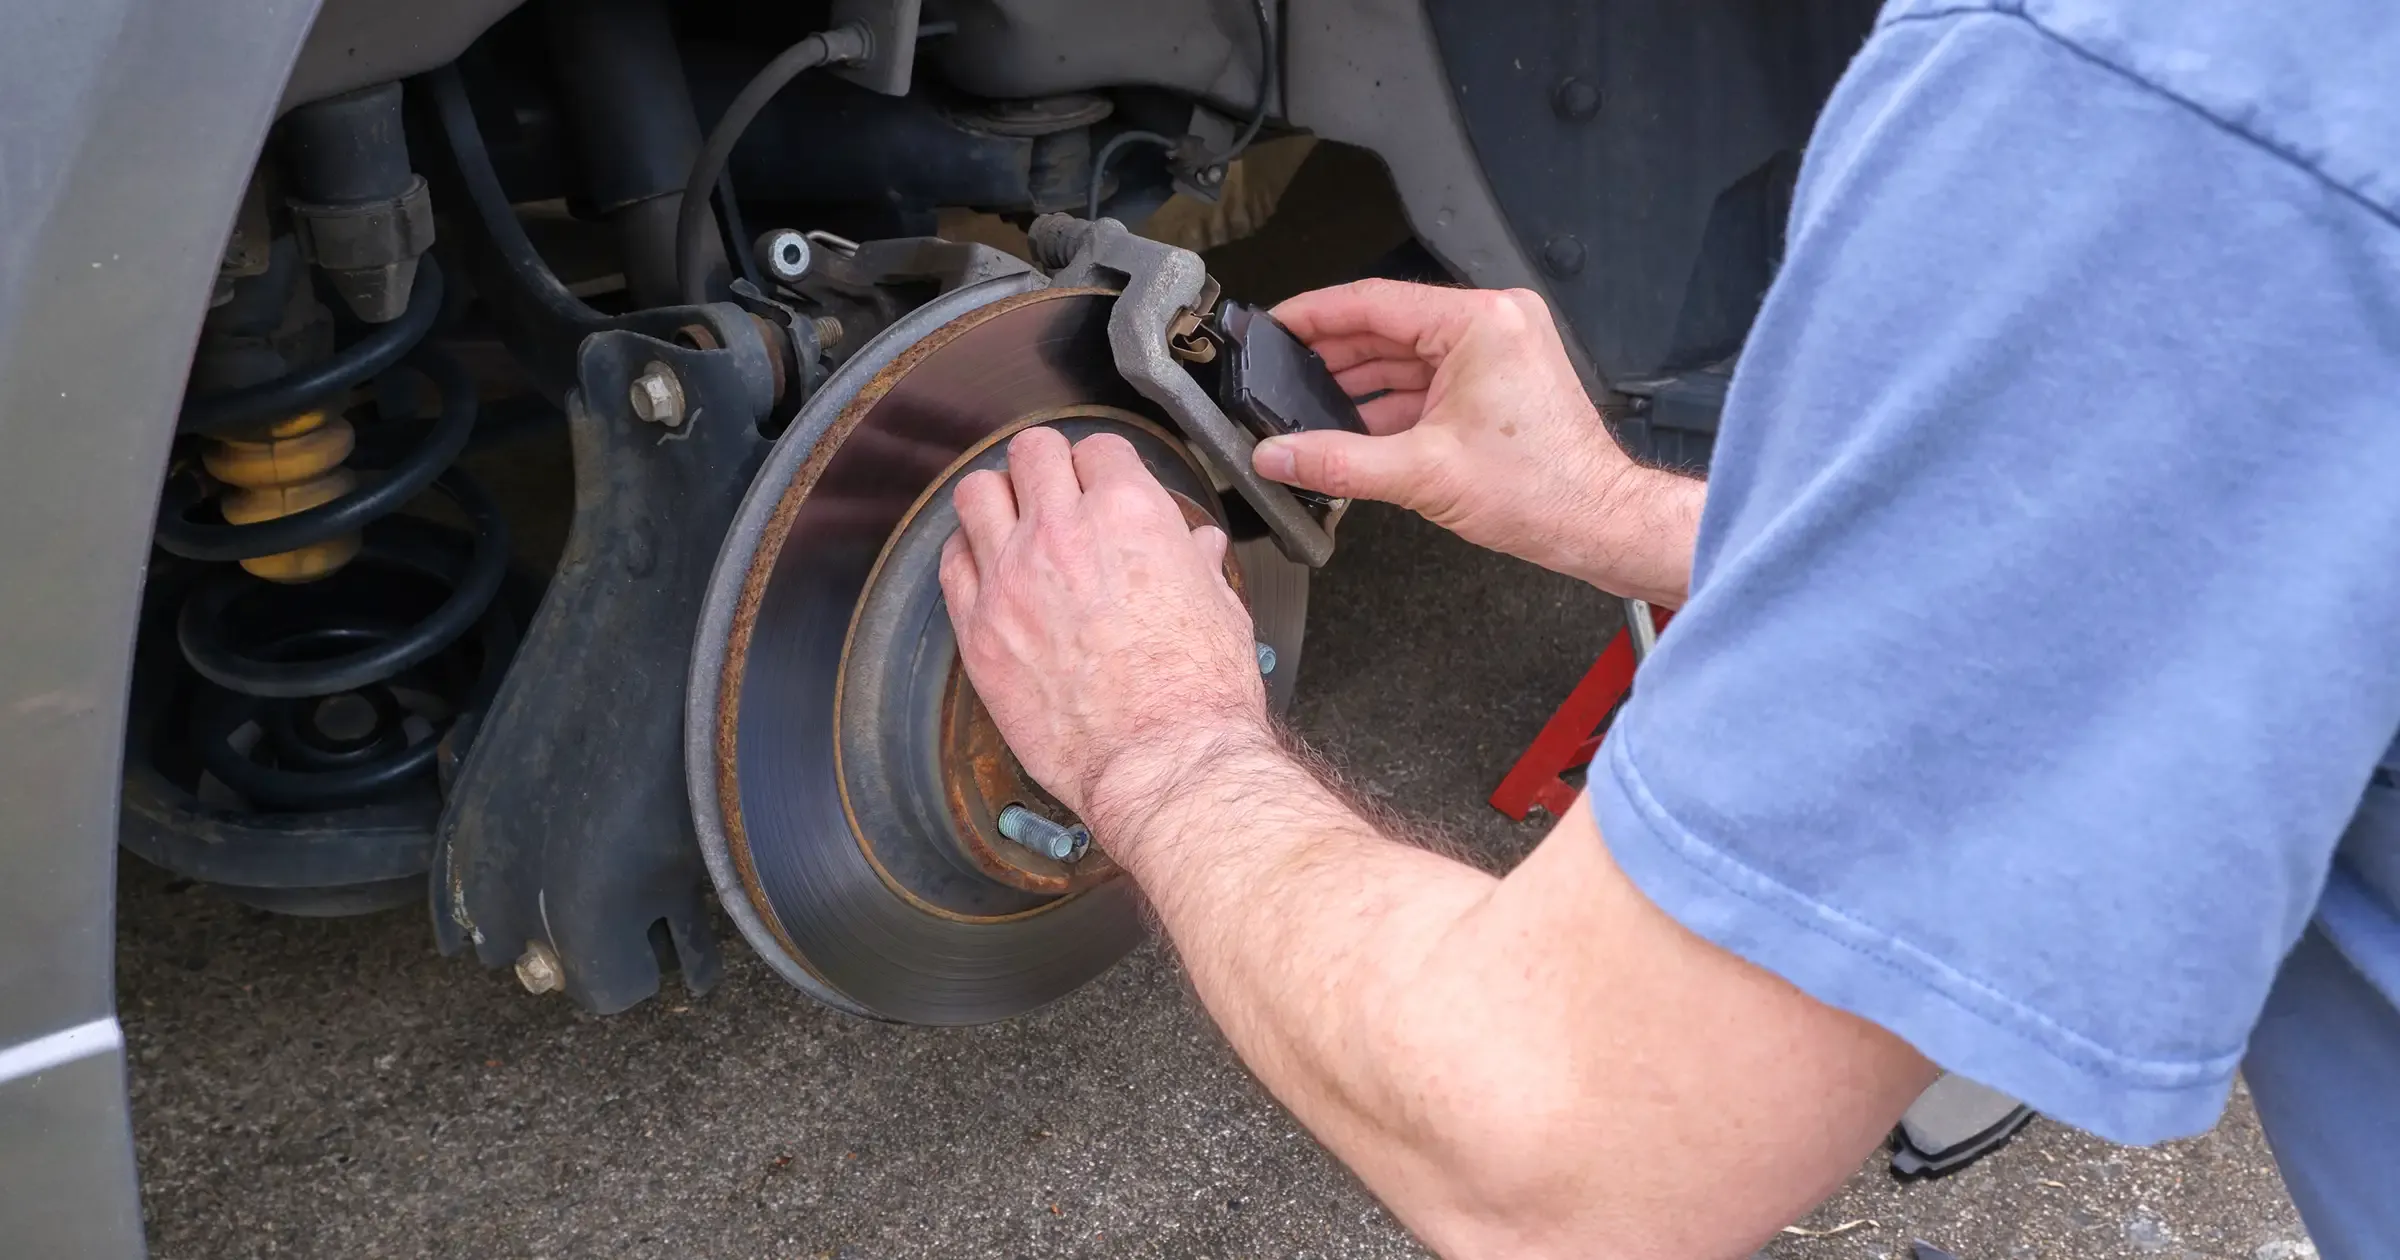
Use brake cleaner to wash the backing plate, adjuster, and other hardware. Wipe with a clean rag. Inspect all parts:
- Return springs: Replace if stretched or corroded.
- Adjuster: Should spin freely; clean and lubricate if sticky.
- Backing plate: Check for wear grooves where shoes rub.
- Wheel cylinder: Look for leaks or torn boots.
If any part is worn, replace it with new hardware from the kit.
Credit: www.crcindustries.com
Installing New Brake Shoes
Lay out the new shoes next to the old ones to ensure size and shape match. Some shoes are “leading” and some are “trailing”—check markings or compare with the old shoes for correct placement.
- Install the parking brake lever and adjuster onto the new shoes as needed.
- Position the new shoes on the backing plate, lining up with the hold-down pins.
- Attach the hold-down clips and pins. Make sure the shoe moves but isn’t loose.
- Install return springs using the brake spring tool or pliers.
- Place the adjuster between the shoes. Set it to its shortest length for now.
Lubricate the shoe contact points with a tiny amount of brake grease. Don’t get grease on the friction surface.
Reassembling The Brake Drum
Carefully slide the drum back over the shoes. If it doesn’t fit, the shoes or adjuster may be misaligned or expanded too far. Tighten or loosen the adjuster as needed until the drum slides on with a slight drag.
Some drums have a locator screw—tighten it if present. Spin the drum by hand; it should turn freely with a little resistance.
Adjusting The Brake Shoes
Proper adjustment is essential for good braking. Most drum brakes have a star wheel adjuster to set the shoe position.
- Turn the star wheel with a screwdriver through the adjustment hole in the backing plate.
- Expand the shoes until the drum barely turns by hand.
- Back off slightly so the drum spins with a little drag but doesn’t bind.
Repeat for the other rear wheel.
Reinstalling The Wheels
Mount the rear wheels and hand-tighten the lug nuts. Lower the car off the jack stands, then torque the lug nuts to the manufacturer’s specification in a crisscross pattern.
Credit: www.crcindustries.com
Testing And Final Checks
Before driving, pump the brake pedal several times to seat the shoes against the drum and restore normal brake feel. Test the parking brake for proper operation.
Take a short, low-speed test drive. Check for:
- Proper braking response
- No scraping or grinding noises
- No warning lights
If you notice any problems, stop and recheck your work.
Common Mistakes To Avoid
Even experienced DIYers make errors. Watch out for these:
- Mixing up springs or shoe positions. Always install parts in the correct order.
- Not cleaning components. Old dust and grease can cause poor braking.
- Over-lubricating. Grease should never touch the friction surface.
- Incorrect adjustment. Shoes too tight cause drag and heat; too loose cause poor braking.
- Forgetting to pump the brake pedal before driving—this can lead to a soft pedal and unsafe stops.
When To Seek Professional Help
Some situations require a mechanic:
- Wheel cylinder leaks or major brake fluid leaks
- Severely rusted or damaged hardware
- Unusual noises after reassembly that don’t go away
- Unclear shoe or spring arrangement
If you feel unsure, it’s always safer to consult a professional.
Cost Savings And Time Investment
Replacing your rear brake shoes yourself can save $100–$300 in labor costs, depending on your car and location. Most DIYers complete the job in 2–3 hours, including preparation and cleanup. If it’s your first time, allow extra time for careful inspection and learning.
Here’s a simple comparison of DIY vs. professional brake shoe replacement:
| Task | DIY Cost (USD) | Professional Cost (USD) | Time Needed |
|---|---|---|---|
| Brake Shoes + Hardware | 30–70 | 30–70 | – |
| Labor | 0 | 100–300 | 1–2 hours (shop) |
| Total | 30–70 | 130–370 | 2–3 hours (DIY) |
Rear Brake Shoes Vs. Disc Brakes
Not all rear brakes are the same. Some modern cars use rear disc brakes. Here’s a quick comparison:
| Feature | Rear Drum Brakes (Shoes) | Rear Disc Brakes |
|---|---|---|
| Maintenance | More steps, springs, and clips | Simpler, fewer parts |
| Performance | Good for parking and moderate braking | Better for high-speed and repeated stops |
| Cost | Lower part cost | Higher part cost |
| Common Vehicles | Older, small, or budget cars | Modern, performance cars |
Non-obvious Insights For A Successful Diy
Two points DIYers often overlook:
- Take detailed photos at every step. Springs and levers can look similar—photos help you avoid guesswork.
- Replace hardware, not just shoes. Old springs lose strength, leading to uneven wear or brake noise. A hardware kit is inexpensive insurance.
Also, remember that new shoes need gentle braking for the first 200–300 miles to “bed in” and perform their best.
Credit: www.youtube.com
Resources For Further Learning
If you want more technical details or diagrams, the official repair manual for your car is the best resource. Many online forums and videos also offer step-by-step guides for specific makes and models. For general brake system knowledge, check out the Wikipedia article on drum brakes.
Frequently Asked Questions
How Often Should I Replace Rear Brake Shoes?
Most rear brake shoes last 30,000 to 70,000 miles, but it depends on your driving style and conditions. Check them every year or if you notice braking problems.
Can I Drive With Worn Rear Brake Shoes?
It’s not safe. Worn shoes can lead to longer stopping distances or damage to the drum. Replace them as soon as you notice wear.
Do I Need Special Tools For This Job?
Basic hand tools and a brake spring tool are enough. A hardware kit sometimes includes a cheap tool. If you don’t have a spring tool, strong pliers can work, but be careful.
Should I Replace Both Sides At The Same Time?
Yes, always replace brake shoes on both rear wheels together. This keeps braking even and safe.
What If The Drum Won’t Come Off?
Double-check that the parking brake is released. Try gentle hammer taps or use the threaded removal holes. If still stuck, rust or a lip on the drum edge may be holding it. Patience and careful tapping usually help.
Taking on a rear brake shoe replacement is a rewarding DIY project. With the right approach and careful attention to detail, you’ll restore your car’s stopping power and save money in the process.
