
Replacing a car’s throttle position sensor (TPS) can solve many engine problems and restore smooth driving. Many car owners worry this is a hard repair, but with the right steps and tools, most people can do it at home. This guide will walk you through everything you need to know—how the TPS works, signs of failure, choosing the right replacement, and a full step-by-step process for swapping it out.
You’ll also learn key tips and avoid common mistakes that often cause frustration.
What Is A Throttle Position Sensor?
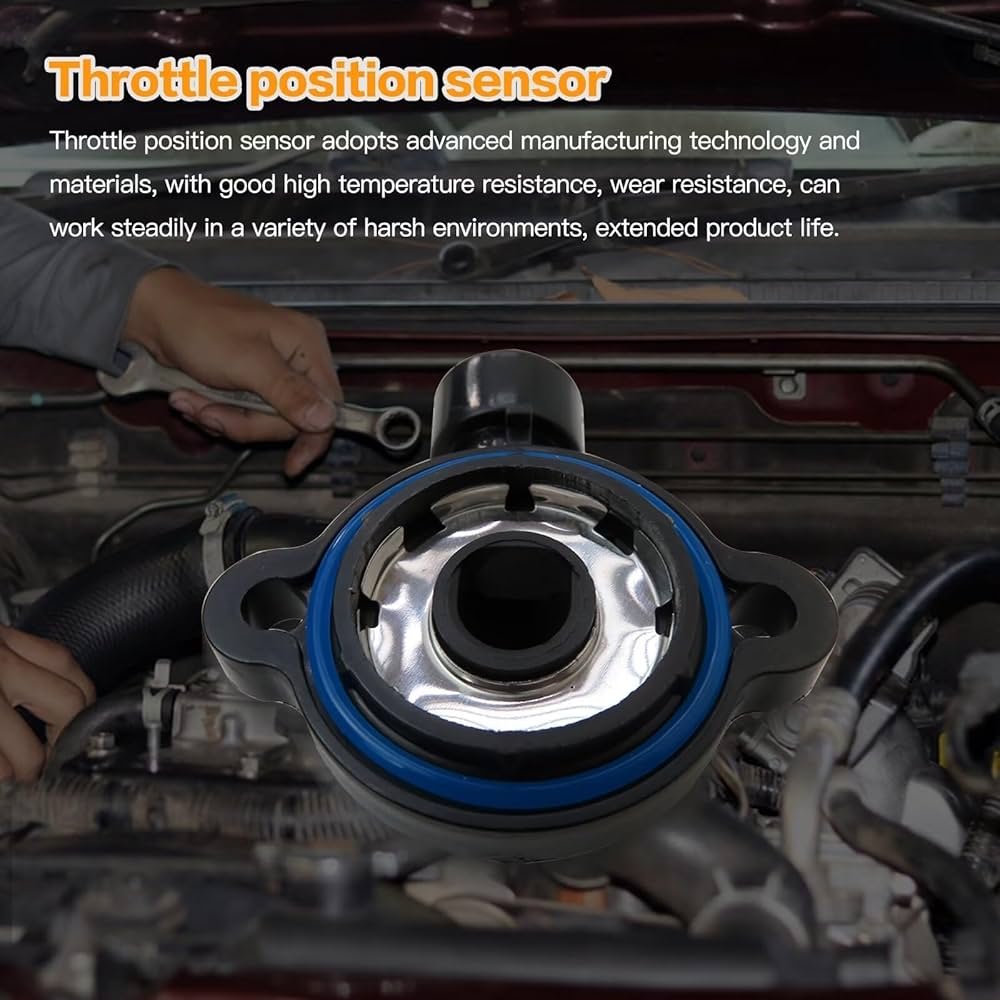
The throttle position sensor is a small but important part of your car’s engine management system. It measures the position of the throttle plate (how much the gas pedal is pressed) and sends this information to the engine control unit (ECU). The ECU uses these signals to adjust the fuel-air mixture, ignition timing, and other engine functions.
When the TPS fails, your car may run poorly, stall, hesitate, or even enter “limp mode. ” Modern vehicles rely heavily on accurate TPS readings for both performance and emissions.
Common Symptoms Of A Bad Throttle Position Sensor
A faulty TPS can cause strange behaviors. Look for these warning signs:
- Erratic idle: The engine speed goes up and down at idle.
- Poor acceleration: Delays or hesitation when you press the gas pedal.
- Engine stalling: The car cuts out, especially at stops.
- Check engine light: Usually, the ECU will detect TPS issues and turn on the warning.
- Jerky or surging motion: Sudden jumps in speed without changing foot pressure.
Keep in mind, these symptoms may also relate to other engine problems, so it’s important to diagnose carefully.
Tools And Materials You’ll Need
Before you start, gather the following:
- Replacement TPS: Make sure it matches your car’s year, make, and model.
- Screwdrivers: Usually Phillips or Torx, depending on your car.
- Socket set: For removing bolts or covers.
- Digital multimeter: For testing the old and new sensors.
- Gloves: To protect your hands.
- Contact cleaner: To clean electrical connectors.
- Service manual: For specific torque specs and diagrams.
Some vehicles may need extra tools, such as security bits or a scan tool to reset the ECU. Always check your owner’s manual or a reliable online guide for your specific vehicle.
Locating The Throttle Position Sensor
On most cars, the TPS is mounted directly on the throttle body—the part that controls how much air enters the engine. It’s usually on the side, attached with two or three screws, and connects with a small wiring harness.
If you’re not sure, look for the air intake tube and follow it to where it meets the engine. The throttle body is there, and the TPS is usually the only sensor attached with a moving arm or shaft.
Example: Tps Location On Popular Car Brands
| Car Brand | Common TPS Location |
|---|---|
| Toyota | Side of throttle body (driver’s side) |
| Ford | Top or side of throttle body |
| Honda | Rear side of throttle body |
| Chevrolet | Side of throttle body near intake manifold |
How To Choose The Right Replacement Tps
Not all TPS units are the same. Using the wrong one can cause new problems. Here’s what matters when buying a replacement:
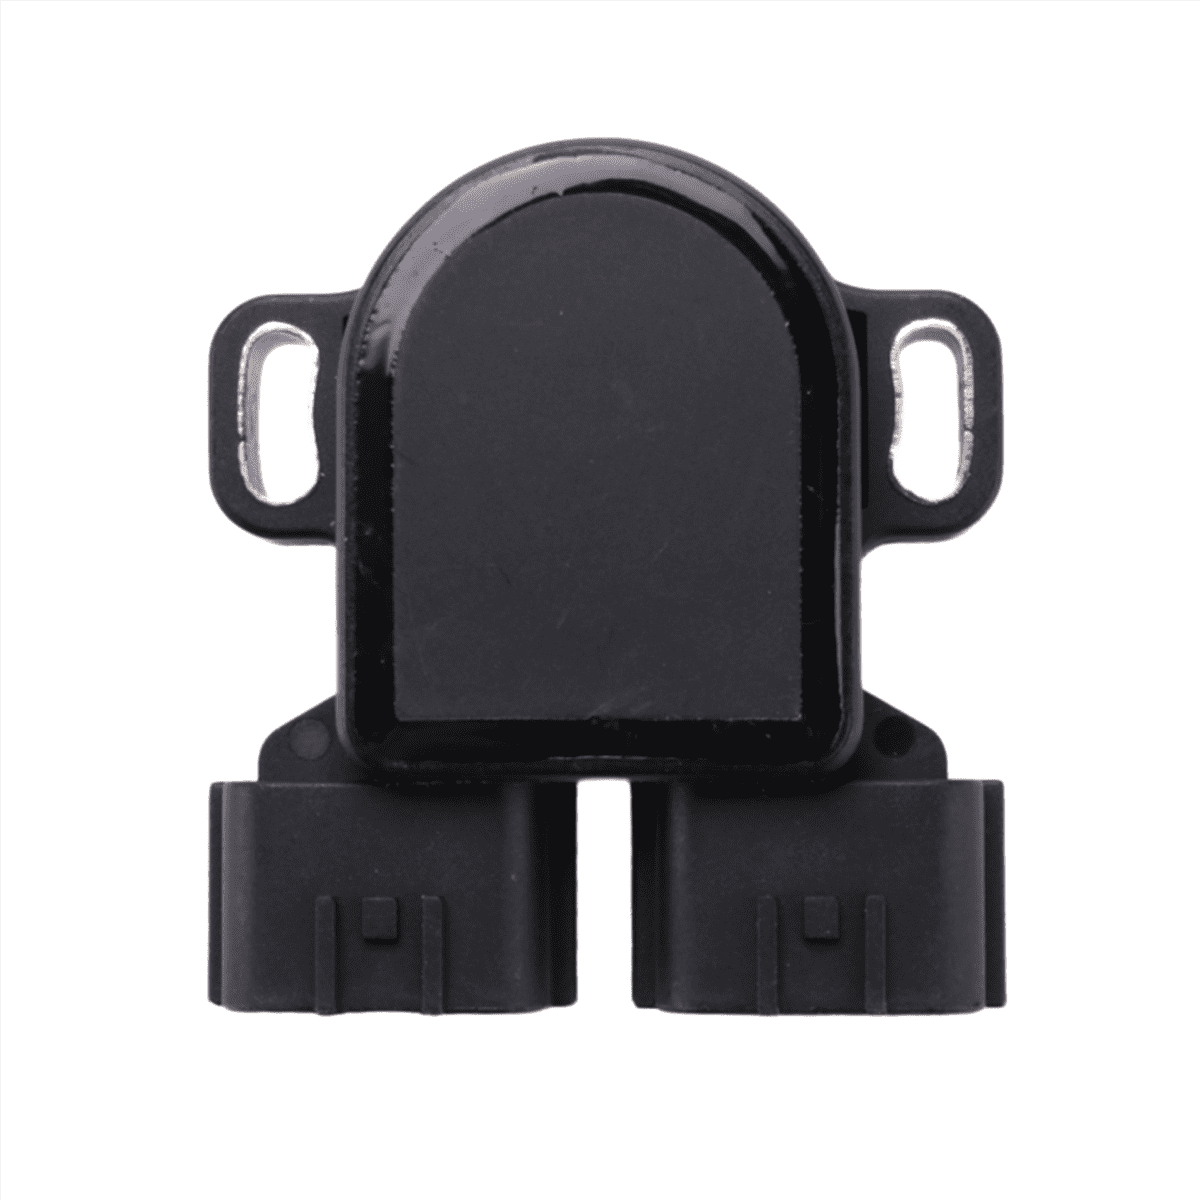
- Exact fit: Match the part number and connector type to your vehicle.
- OEM vs. aftermarket: OEM (original equipment manufacturer) parts guarantee fit and quality, but some aftermarket options are reliable and cheaper.
- Warranty: Choose a sensor with at least a one-year warranty.
- Included hardware: Some sensors come with new screws or gaskets, which make installation easier.
Beginner’s insight: Many car owners buy the cheapest sensor online, only to find it doesn’t fit or fails quickly. Always double-check compatibility before ordering.
Step-by-step: How To Replace A Car Throttle Position Sensor
With your tools and new sensor ready, follow these steps. Allow about 30–60 minutes for most cars.
1. Disconnect The Battery
Safety first. Disconnect the negative (-) terminal of your car battery to prevent short circuits or accidental check engine lights.
2. Locate The Tps
Find the throttle body and look for the sensor attached with wires. Confirm by comparing with your new part.
3. Remove The Electrical Connector
Press the tab or gently pull the connector to release it from the sensor. If it’s stuck, use a small flat screwdriver but avoid breaking the plastic.
4. Remove The Mounting Screws
Use the correct screwdriver or bit to remove the screws or bolts holding the TPS. Keep them safe—some are unique sizes.
Pro tip: If screws are stuck due to rust, spray a little penetrating oil and wait five minutes.
5. Remove The Old Sensor
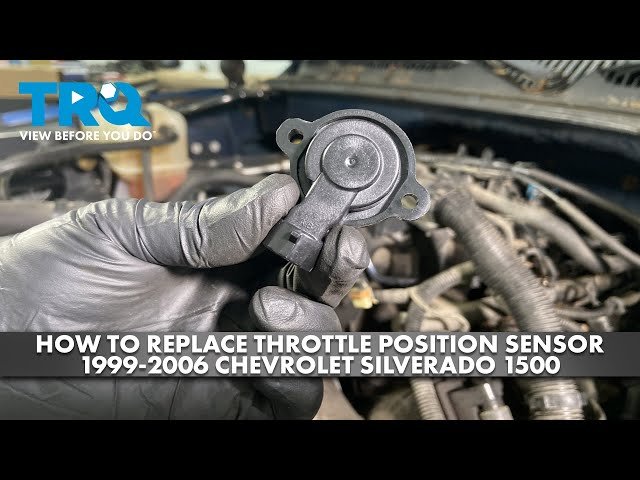
Carefully pull the sensor straight off. Note the position of the sensor tab or shaft—some are keyed and will only fit one way.
6. Clean The Area
Spray contact cleaner on the connector and wipe away any dirt or oil around the throttle body opening.
7. Install The New Sensor
Align the new TPS with the mounting holes. If it uses a shaft, make sure it fits exactly as the old one. Secure with screws but do not overtighten—plastic can crack easily.
8. Reconnect The Wiring
Attach the connector until you hear or feel a click. Make sure it’s snug.
9. Reconnect The Battery
Tighten the negative terminal and secure it.
10. Test The New Sensor
Start the engine and let it idle. The check engine light should turn off if it was related to the TPS. Rev the engine gently—look for smooth response.
Non-obvious tip: Before driving, turn the ignition ON (engine off) and slowly press the gas pedal. Listen for any unusual clicks or stiffness. If you feel resistance, the sensor may not be seated properly.
Credit: www.fiberforce.it
Testing The Throttle Position Sensor Before And After Replacement
It’s smart to test the sensor, especially if you’re not sure it’s the problem. Use a digital multimeter to check voltage.
- Set the multimeter to DC volts.
- Backprobe the signal wire (usually the middle wire on a three-wire sensor).
- Turn the ignition ON (engine off).
- You should see a smooth change in voltage (typically 0.5V at closed throttle, rising to 4.5V at wide open).
If you see sudden jumps, drops, or no change, the sensor is faulty.
Voltage Reading Example (typical 3-wire Tps)
| Throttle Position | Expected Voltage |
|---|---|
| Closed | 0.5V – 1.0V |
| Half Open | ~2.5V |
| Wide Open | 4.0V – 4.5V |
Relearning Or Resetting The Ecu (if Needed)
Some vehicles need to “relearn” the new TPS position. If your car runs rough after replacement, try these steps:
- Turn the ignition ON (engine off) for 10 seconds.
- Turn ignition OFF for 10 seconds.
- Start the engine and let idle for a few minutes without touching the gas pedal.
If the check engine light stays on, you may need a scan tool to clear codes or perform a throttle reset.
Beginner’s insight: Skipping this relearning step can lead to poor idle or a persistent check engine light, even if the sensor is installed correctly.
Credit: www.youtube.com
Common Mistakes When Replacing A Tps
Many DIYers run into problems. Avoid these:
- Forcing screws: Over-tightening can crack the sensor or throttle body.
- Wrong alignment: Installing the TPS out of position gives bad readings.
- Skipping relearn: Some cars need the ECU to adapt to the new sensor.
- Cheap sensors: Very low-cost sensors often fail quickly or send incorrect signals.
- Ignoring wiring: Sometimes, the real problem is a damaged wire, not the sensor itself.
Cost Comparison: Diy Vs. Professional Replacement
Wondering if you should do it yourself or hire a mechanic? Here’s a quick comparison:
| Replacement Option | Estimated Cost | Time Required |
|---|---|---|
| DIY (Home Garage) | $30–$120 for parts | 30–60 minutes |
| Professional Mechanic | $150–$350 (parts + labor) | 1–2 hours |
DIY saves money and helps you learn, but if you’re unsure, a good mechanic can finish the job quickly.
Credit: ueo-workshop.com
Extra Tips For A Smooth Replacement
- Always wear gloves—engine parts can be sharp or hot.
- Take photos before removing anything. It helps with reassembly.
- Label wires if there are multiple connectors nearby.
- If the check engine light stays on after installation, double-check the connector and sensor position.
When To Call A Professional
If you’re not comfortable working around the engine, or if you have a luxury or modern car with lots of electronics, it’s sometimes safer to let an expert handle the job. Some cars require special tools or computer resets that aren’t possible at home.
Environmental Note
Old sensors contain metals and plastics. Recycle your old TPS properly—most auto parts stores can help. Don’t throw it in the trash.
Where To Learn More
For in-depth technical details or to find your car’s specific sensor location, check your service manual or visit an authoritative site like Wikipedia.
Frequently Asked Questions
How Do I Know If My Throttle Position Sensor Needs Replacing?
If you notice engine hesitation, erratic idle, stalling, or the check engine light, your TPS may be failing. Testing with a multimeter or a diagnostic scanner can confirm if the sensor is faulty.
Can I Drive With A Bad Throttle Position Sensor?
It’s not safe to drive long-term with a bad TPS. Your car may stall unexpectedly, lose power, or run very poorly. In some cases, the ECU will enter “limp mode” and limit engine speed.
Does Replacing The Tps Require Special Tools?
Most cars need only basic hand tools, like screwdrivers and sockets. Some newer vehicles may need a scan tool to reset the ECU or throttle system.
Will The Check Engine Light Go Off After Replacing The Tps?
If the TPS was the cause, the check engine light should turn off after a few drive cycles. If not, you may need to clear codes using a scan tool or check for other issues.
How Long Does A New Throttle Position Sensor Last?
A quality sensor should last 50,000–100,000 miles or more. Premature failure often means a poor-quality part or another problem, like wiring issues or water intrusion.
Replacing a throttle position sensor is a rewarding project that can restore engine performance and save you money. With the right steps, a careful approach, and a little patience, you’ll have your car running smoothly again.
