
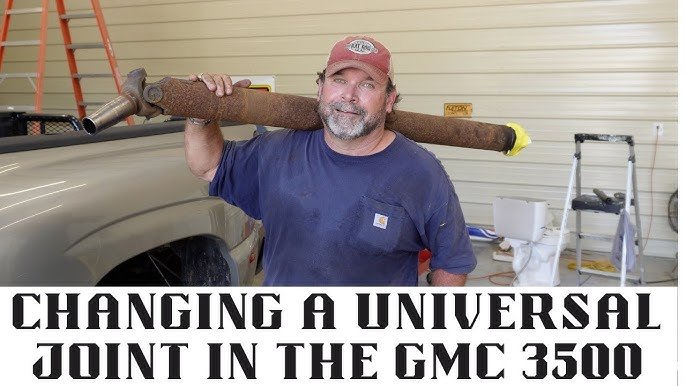
Replacing the U joints (universal joints) in your car is one of those jobs that many car owners think is too difficult to do at home. But with the right tools, patience, and a clear guide, it’s very possible—even if you’re not a professional mechanic.
Learning how to replace car U joints at home can save you money, extend the life of your vehicle, and help you understand your car’s drivetrain better. This article will walk you through the entire process, explain the parts involved, highlight common mistakes, and share practical tips that most beginners miss.
What Are U Joints And Why Do They Matter?
U joints are small, cross-shaped components that connect the driveshaft to the transmission and differential. They allow the driveshaft to flex and rotate smoothly, even as the suspension moves up and down. Most rear-wheel drive and four-wheel drive vehicles have at least two U joints.
When a U joint fails, you might hear clunking noises, feel vibrations, or even lose the ability to drive the car. Ignoring a bad U joint can lead to expensive damage to the driveshaft, transmission, or differential. That’s why replacing worn U joints is so important for safety and performance.
Signs Your Car’s U Joints Need Replacing
Recognizing the warning signs early can prevent bigger problems. Here are the most common symptoms:
- Clunking sound when shifting from drive to reverse
- Vibration at higher speeds (often felt in the floor or seat)
- Squeaking noise when driving slowly
- Rusty residue near the U joint
- Noticeable play or looseness in the driveshaft
If you notice any of these, check your U joints as soon as possible. A failed U joint can break suddenly and leave you stranded.
Credit: www.youtube.com
Tools And Materials You’ll Need
Before starting, make sure you have the right tools. Working with the correct equipment makes the process smoother and reduces the risk of damaging parts.
- Jack and jack stands (or ramps)
- Wheel chocks
- Socket set (metric and standard)
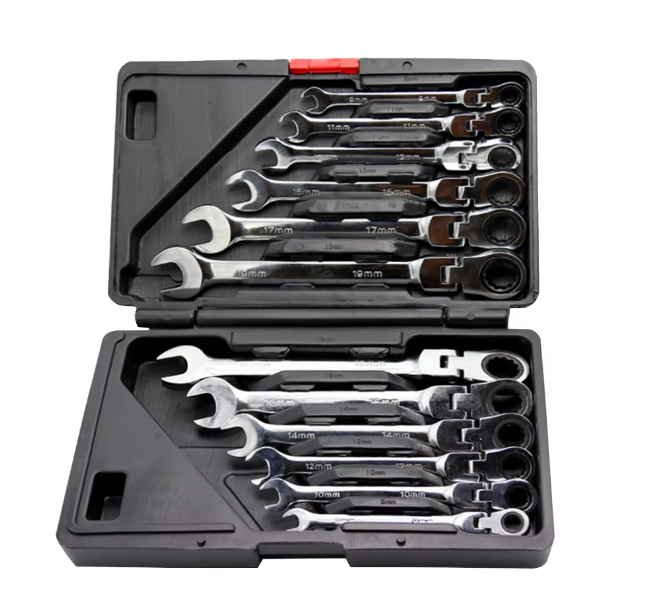
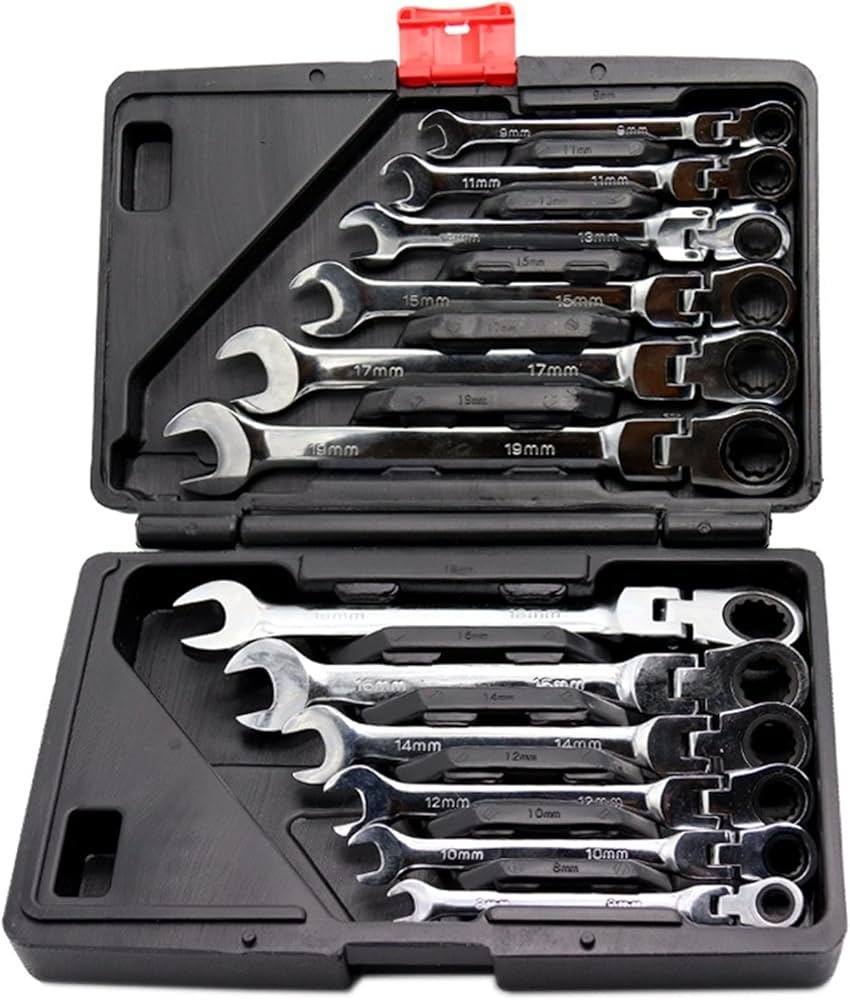
- Wrenches
- Needle-nose pliers
- Hammer
- U joint press tool (or a large bench vise and sockets)
- Grease gun
- Replacement U joints (check your car’s year, make, and model)
- Shop rags
- Penetrating oil (like WD-40)
- Safety glasses and gloves
Always use quality jack stands. Never trust just a hydraulic jack to hold your car up.
Comparing U Joint Removal Tools
Depending on your budget and how often you plan to do this job, you have a few options for removing U joints. Here’s a quick comparison:
| Tool | Pros | Cons | Best For |
|---|---|---|---|
| U Joint Press Tool | Safe, easy, less risk of damage | More expensive, needs space | Frequent DIYers |
| Bench Vise & Sockets | Cheap, widely available | Can slip, more effort | Occasional users |
| Hammer & Socket | Very cheap, no special tools | Risk of damage, harder to control | Emergency use only |
Step-by-step Guide: How To Replace Car U Joints At Home
Follow these steps carefully. Take your time—rushing leads to mistakes.
1. Preparation And Safety
- Park your car on a flat surface.
- Engage the parking brake and use wheel chocks behind the wheels.
- Wear safety glasses and gloves.
- Use a jack to lift the car and place it securely on jack stands.
- Make sure the driveshaft is cool to the touch.
2. Remove The Driveshaft
- Locate the driveshaft under your car. It runs from the transmission to the differential.
- Mark the orientation of the driveshaft and yoke with a paint marker or chalk. This will help you reinstall it in the same position, reducing vibration.
- Remove the bolts or straps holding the U joint to the differential yoke. Some cars use straps; others use U-bolts or special clips.
- Once the rear is free, slide the driveshaft forward, then carefully lower it and pull it out from the transmission. Plug the transmission with a rag to avoid fluid leaks.
3. Remove The Old U Joint
- Use needle-nose pliers to remove the retaining clips from the U joint caps. Some clips are inside; others are outside.
- Spray penetrating oil on the caps if they seem stuck.
- Use your U joint press, bench vise, or the hammer & socket method to press or tap the U joint out. Work slowly and keep everything straight. If you feel too much resistance, check for hidden clips or rust.
- Remove all four bearing caps and lift out the old U joint.
4. Clean And Inspect Yokes
- Wipe the yoke surfaces with a shop rag.
- Check for cracks, burrs, or worn areas. Any damage here means you need to replace the yoke—not just the U joint.
- Remove any rust or debris with a wire brush.
5. Install The New U Joint
- Remove the new U joint from the box, but do not remove the bearing caps yet.
- Carefully remove one cap at a time, insert the cross into the yoke, and slide the cap back into place.
- Press the cap into the yoke (using your tool or vise) until you can install the retaining clip.
- Repeat for all four caps. Make sure each cap is fully seated and the clips snap into their grooves.
- Rotate the joint by hand. It should move smoothly but not be loose.
6. Reinstall The Driveshaft
- Align your marks to keep the driveshaft in its original position.
- Slide the driveshaft back into the transmission.
- Attach the U joint to the differential yoke and tighten the bolts or straps to the manufacturer’s torque specification.
- Double-check that all clips are installed and secure.
7. Grease And Test
- If your new U joint has a grease fitting, use a grease gun to add fresh grease until you see a little coming out of the seals.
- Lower the car carefully.
- Test drive the car at low speed first. Listen for noises and feel for vibrations. If everything feels smooth, increase your speed gradually.
Example: Typical Time And Difficulty
Replacing U joints at home usually takes 2–3 hours the first time, depending on your experience and the condition of your car. Older or rustier vehicles can take longer. Most beginners can finish the job in one afternoon.
Common Mistakes And How To Avoid Them
Even careful DIYers make mistakes. Here’s how to avoid the most common errors:
- Forgetting to mark the driveshaft orientation – This can cause new vibrations after reassembly.
- Not fully seating bearing caps – If a cap isn’t pressed in all the way, the joint can fail quickly.
- Losing needle bearings – When installing the new U joint, keep the caps upright to prevent the tiny needles from falling out.
- Overtightening bolts – Too much torque can damage the yoke or joint.
- Skipping grease – Even “sealed” U joints can benefit from a little grease during installation.
How To Choose The Right Replacement U Joint
Not all U joints are the same. Check your car’s manual or measure your old joint to get the correct size. U joints come in greasable and non-greasable types. Greasable U joints last longer if you maintain them, but non-greasable ones are sometimes preferred for their simplicity.
Here’s a quick comparison:
| Type | Pros | Cons | Best Use |
|---|---|---|---|
| Greasable | Can be serviced, longer life | Needs regular maintenance | Trucks, off-road vehicles |
| Non-Greasable | Maintenance-free, easy install | Shorter lifespan, not serviceable | Cars, light use |
Ask for a reputable brand at your auto parts store, and check reviews for fit and durability.
Practical Tips Most Beginners Miss
- Have a magnetic tray for clips and bolts. Losing a small piece under the car can waste a lot of time.
- Warm the yoke with a heat gun (not a torch) if the old U joint is stuck due to rust. Heat can help break the bond without damaging the metal.
- Check for driveshaft balance weights. If you see small metal tabs welded to the shaft, don’t knock them off—they keep the shaft balanced.
- Use anti-seize compound on the yoke ends when reinstalling. It helps future removal.
- Take photos before you start. They’re a big help when you’re reassembling everything.
When Should You Call A Professional?
Replacing U joints at home is safe for most people with basic tools. But you should call a mechanic if:
- The driveshaft is bent or damaged.
- The yoke is cracked or worn.
- You lack the proper tools or workspace.
- You’re uncomfortable working under a vehicle.
A good professional job usually costs $150–$300 per U joint, depending on your car and location.
Credit: www.alibaba.com
Long-term Maintenance After Replacement
To get the longest life from your new U joints:
- Grease them every oil change if they have fittings.
- Check for play or noises every few months.
- Avoid overloading your vehicle, which stresses the joints.
A well-maintained U joint can last 100,000 miles or more.
U Joint Replacement Cost Breakdown
Here’s a look at typical costs if you do it yourself versus hiring a shop:
| Item | DIY Cost | Shop Cost |
|---|---|---|
| U Joint (each) | $15–$40 | $15–$40 |
| Labor (per joint) | $0 | $100–$200 |
| Tools (one time) | $40–$100 | $0 |
| Total (per joint) | $55–$140 | $115–$240 |
DIYers save the most money if they already own the basic tools.
Credit: www.amazon.com
Helpful Resources
For a deeper look at U joints and related car maintenance, you can check the Wikipedia Universal Joint entry. It offers technical details and history if you want to understand the part even better.
Frequently Asked Questions
How Long Do Car U Joints Typically Last?
Most U joints last between 75,000 and 100,000 miles if properly maintained. Greasable joints may last longer with regular lubrication. Hard driving, heavy loads, or off-road use can shorten their lifespan.
Can I Drive With A Bad U Joint?
It’s risky. A failing U joint can break suddenly, causing the driveshaft to fall and possibly damage your car or leave you stranded. Replace bad U joints as soon as possible.
What Causes U Joints To Fail?
The main causes are lack of lubrication, rust, and wear from high mileage. Water and dirt entering the bearings can also cause early failure, especially if the seals are damaged.
Is Special Alignment Needed After Replacing U Joints?
No special alignment is required if you mark and reinstall the driveshaft in the same position. If you skip this step, you might notice new vibrations—then you may need a professional driveshaft balance.
What If The New U Joint Is Too Tight To Move?
This usually means a bearing cap isn’t fully seated or a needle bearing has fallen over inside the cap. Remove and reinstall the joint, making sure all needles are in place and the caps are pressed in straight.
Replacing U joints at home can be a rewarding project that saves money and teaches you more about your car. With careful work, the right tools, and attention to detail, most car owners can complete the job successfully. Remember, safety comes first—so don’t rush, and ask for help if you need it.
