
Replacing a car water pump yourself ranges from a straightforward accessory-drive repair to an advanced timing-system job. The correct approach depends on where the pump is located, what drives it, and how the cooling system must be refilled and bled.
Before removing anything, identify whether your vehicle uses an accessory-belt-driven pump, a timing-belt or timing-chain-related pump, or an electric pump. That one detail changes the tools, risk, and repair procedure significantly.
Confirm the Water Pump Is Actually Faulty
Coolant loss, overheating, noise, or a leak near the pump does not automatically prove the pump has failed. A hose, thermostat housing, radiator, reservoir, gasket, cooling fan, or another component can cause similar symptoms.
Diagnose the source before buying parts. If the engine has overheated severely, inspect for related damage rather than assuming a pump replacement alone will restore the cooling system.
Identify the Pump Drive Type Before Planning the Repair
An externally mounted pump driven by an accessory belt may be accessible with ordinary hand tools. A pump driven by or located behind a timing belt or timing chain can require precise engine-positioning, timing, tensioning, and fastener procedures.
If pump removal affects valve timing or requires releasing loaded timing components, use the exact service procedure and appropriate locking or tensioning tools. Do not improvise a timing procedure from a generic water-pump guide.
Verify the Correct Replacement Pump and Sealing Parts
Match the pump to the exact engine and vehicle configuration. Compare the housing, impeller or drive design, pulley or sprocket arrangement, mounting points, electrical connector if applicable, gasket or O-ring, and any supplied hardware.
Use only the gasket, O-ring, sealant, and hardware method specified for that pump and engine. More sealant is not better; excess material can squeeze into coolant passages.
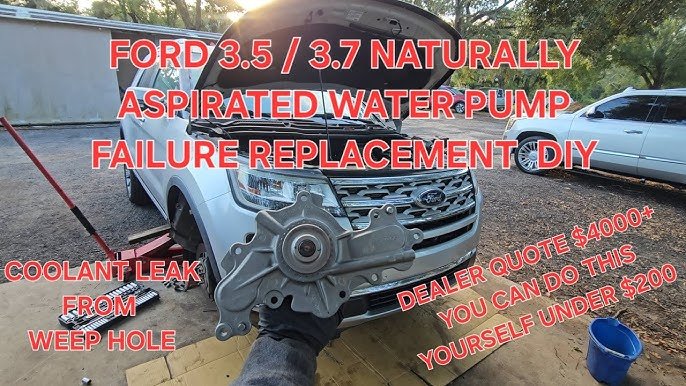
Credit: www.youtube.com
Work Only on a Cool, Depressurized Cooling System
Let the engine cool fully before opening the cooling system. Hot coolant under pressure can cause severe burns. Follow the vehicle procedure for battery isolation if electrical components, electric pumps, or powered fans are involved.
If vehicle lifting is required, use approved lifting and support points and suitable rated stands. Never work under a vehicle supported only by a jack.
Drain Coolant Using the Correct Vehicle Procedure
Use the specified drain point or hose procedure and collect the coolant in a suitable container. Keep coolant away from children and animals and dispose of or recycle it according to local requirements.
Do not automatically reuse drained coolant. Reuse depends on contamination, age, service guidance, and whether the fluid can be kept clean during the repair.
Remove Access Components Without Disturbing More Than Necessary
Depending on the engine, access may require removing an accessory belt, pulley, engine mount, cover, hose, fan, or other components. Photograph routing and bracket positions, and keep different-length fasteners organized.
If the pump is part of the timing system, stop using generic steps at this point and follow the exact timing procedure. Incorrect timing can cause serious engine damage on many engines.
Remove the Old Pump and Protect the Sealing Surface
Remove the pump using the specified bolt sequence and support method. Note the position of brackets, spacers, studs, and different-length bolts.
Clean the sealing surface without gouging aluminum or allowing abrasive debris to enter coolant passages. The correct cleaning method depends on the gasket and surface material.
Install the New Pump Using the Specified Seal and Fastener Procedure
Fit the gasket or O-ring exactly as required, position the pump without forcing it, and start fasteners by hand where possible. Tighten using the manufacturer’s sequence and torque or angle procedure.
Do not use generic water-pump torque values. Housing material, bolt size, thread treatment, and gasket design vary by engine.
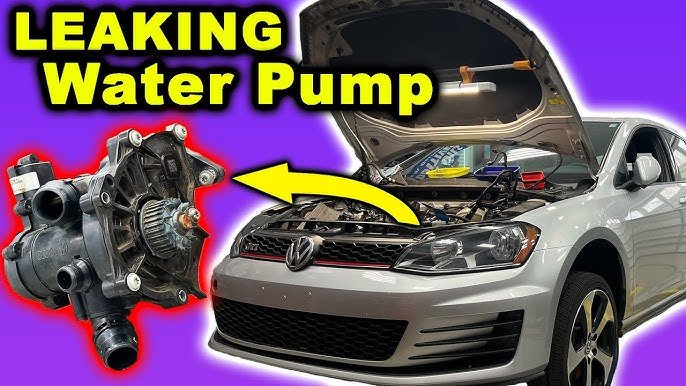
Credit: www.youtube.com
Reinstall the Drive System Correctly
For an accessory-belt-driven pump, inspect the belt, pulley alignment, tensioner, and idlers while access is available. Replace parts based on condition and service guidance rather than automatically replacing everything nearby.
For a timing-driven pump, restore timing components exactly as specified and perform every required timing verification before attempting to start the engine.
Refill With the Exact Coolant Specification
Use the coolant type and concentration required for the vehicle. Color is not a reliable compatibility guide, and a universal 50/50 rule does not replace manufacturer instructions.
Do not mix incompatible coolant chemistries or add a flush product merely because the pump was replaced.
Bleed or Vacuum-Fill the Cooling System as Required
Cooling-system air removal varies by vehicle. Some systems use bleed screws, some require a specific fill point or procedure, and some are best filled with vacuum equipment.
Do not assume every system should be run with the cap removed or the heater set to a particular position. Follow the exact procedure to avoid trapped air and overheating.
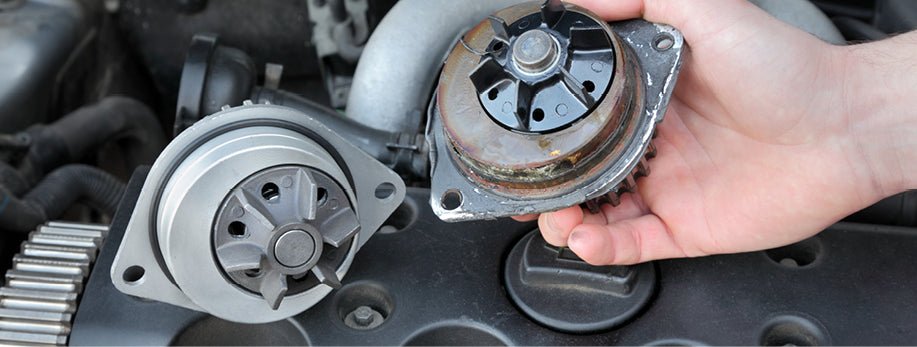
Credit: us.haynes.com
Verify the Repair Before Normal Driving
Inspect the pump, hoses, drain points, and disturbed connections for leaks. Verify belt tracking or timing-system operation as applicable, monitor engine temperature, and recheck coolant level after the system cools if the service procedure calls for it.
If overheating, coolant loss, unusual belt noise, warning lights, or leaks appear, stop and diagnose the problem rather than continuing to drive.
When Water-Pump Replacement Is Not a Good Beginner Job
Professional help is usually the safer choice when the pump is integrated with the timing system, requires major engine-support work, is an electric pump tied to complex diagnostics, or when the cause of overheating has not been confirmed.
Frequently Asked Questions
Should I replace the timing belt when replacing the water pump?
Only follow the service strategy for the exact engine. If the pump is timing-belt-driven and the belt or related components are due, service information may recommend doing them together. Do not apply that rule to every engine.
Should I replace the thermostat at the same time?
Not automatically. Replace it if diagnosis, condition, scheduled service, or the manufacturer’s procedure supports doing so.
How long should a water pump last?
There is no universal lifespan. Pump design, engine, coolant condition, belt loads, operating conditions, and manufacturer service strategy all matter.
Takeaway
The key to replacing a water pump safely is identifying the drive type first. Accessory-driven pumps may be manageable for an experienced DIYer, while timing-system pumps can require precise engine-timing work. Confirm the fault, use the exact parts and coolant, follow the specified sealing and fastener procedure, and verify the cooling system carefully afterward.
