
Setting up air tools in your garage can transform how you work. Tasks like inflating tires, cleaning parts, or using impact wrenches become faster and easier. But many people feel confused by all the hoses, connectors, and compressor options. If you want a garage that runs smoothly with air tools, you need a plan.
This article will guide you through every step—selecting the right compressor, laying out your system, connecting tools, and avoiding common mistakes. Whether you’re a car enthusiast, DIYer, or just want to use an air blower for quick cleaning, these tips will help you build a safe, efficient setup.
Understanding Air Tools And Compressors
Before you begin, it’s important to know what you’re working with. Air tools are powered by compressed air, not electricity. They are often lighter, more durable, and sometimes stronger than their electric counterparts. Common air tools include:
- Impact wrenches
- Air ratchets
- Paint sprayers
- Blow guns
- Tire inflators
- Die grinders
All these tools need a source of compressed air. That’s where the air compressor comes in. The compressor pulls in air, pressurizes it, and stores it in a tank. When you connect an air tool, air flows from the tank to the tool, making it work.
But not all compressors or tools are the same. Each has specific needs.
Key Compressor Specs
- CFM (Cubic Feet per Minute): How much air the compressor can deliver.
- PSI (Pounds per Square Inch): The pressure of the air.
- Tank size: Measured in gallons, it tells you how much air is stored.
Most air tools need at least 90 PSI and between 2–6 CFM. For heavy-duty tools, you might need even more.
Choosing The Right Air Compressor
Your entire system depends on the compressor. If you get one that’s too small, tools won’t work well. Too big, and you waste money and space.
Comparing Compressor Types
Below is a simple comparison to help you choose:
| Compressor Type | Best For | CFM Range | Noise Level |
|---|---|---|---|
| Pancake | Light tasks (nail guns, inflators) | 2–3 CFM | Low |
| Hot Dog | General garage work | 3–5 CFM | Medium |
| Twin Stack | Multiple light tools | 4–6 CFM | Medium |
| Stationary (large) | Professional, heavy duty | 10+ CFM | High |
How To Choose
- List your tools. Check the CFM and PSI requirements for each.
- Get the highest CFM value. Add 20% extra for safety.
- Choose a tank size. For most garages, 20–30 gallons is enough. For paint work or sanders, go bigger.
Tip: Oil-lubricated compressors last longer and run quieter than oil-free models.
Planning Your Air Delivery System
Once you have a compressor, think about how to get air from it to your tools. This involves:
- Air hoses
- Fittings and connectors
- Regulators and filters
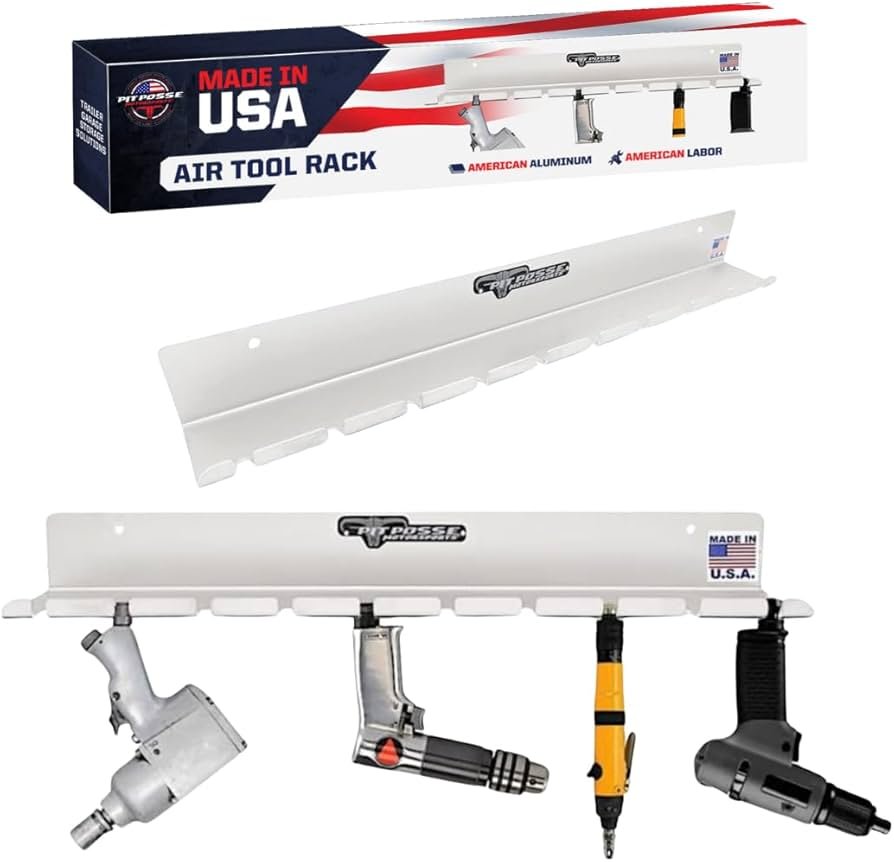
- Hose reels or wall mounts
Hose Types And Lengths
Hoses come in rubber, PVC, and hybrid materials. Rubber is flexible and durable, while PVC is cheap but stiff in cold weather.
| Hose Material | Flexibility | Durability | Weight |
|---|---|---|---|
| Rubber | High | High | Heavy |
| PVC | Low | Medium | Light |
| Hybrid | Medium | High | Medium |
Length matters. Long hoses (over 50 feet) lose pressure, so use only what you need. For most garages, a 25- or 50-foot hose is perfect.
Setting Up The Garage For Air Tools
Positioning The Compressor
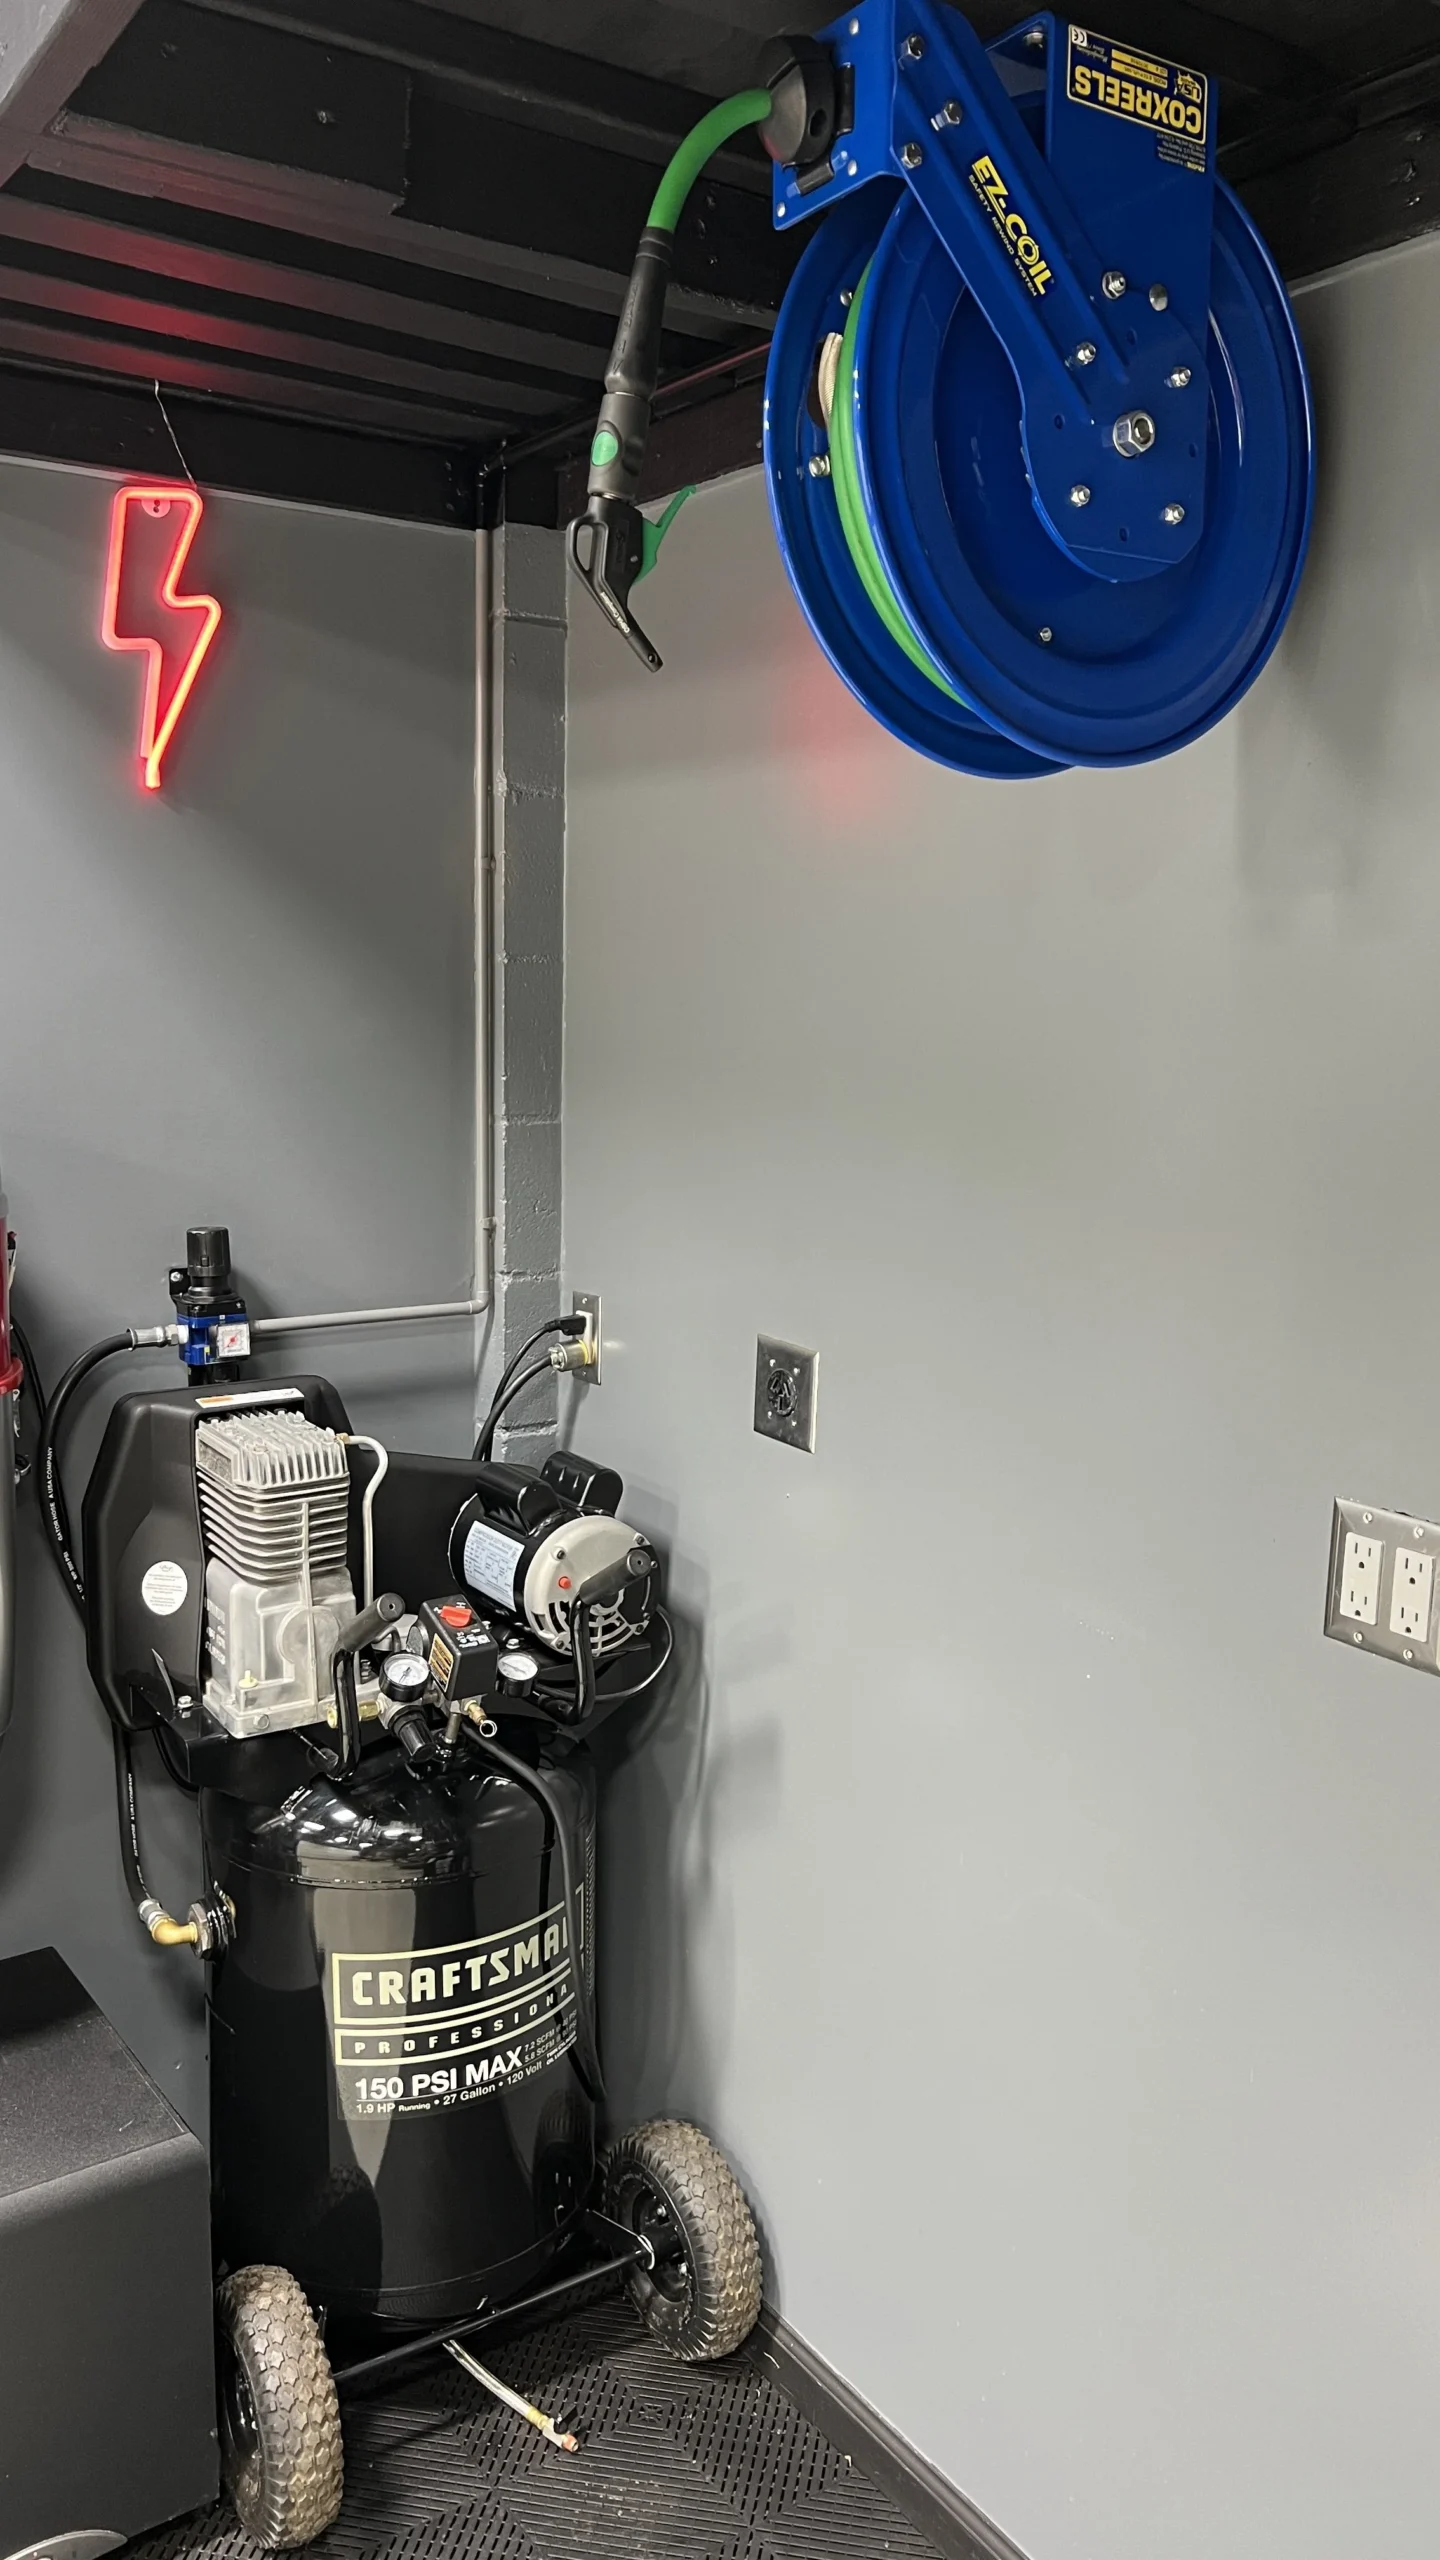
Place your compressor in a dry, clean corner. It should be close to a power source and not block walkways. Leave space around it for air flow—at least 12 inches on all sides.
Vibration is normal, so set the compressor on rubber pads or a thick mat. This reduces noise and prevents movement.
Running Hoses And Outlets
Decide if you want a fixed system (pipes on the wall) or a portable setup (just hoses).
- Fixed systems: Use metal or PEX pipes along the walls. Add quick-connect outlets at work areas.
- Portable setups: Use one hose and move it as needed. Add a hose reel to keep things tidy.
Installing Regulators, Filters, And Oilers
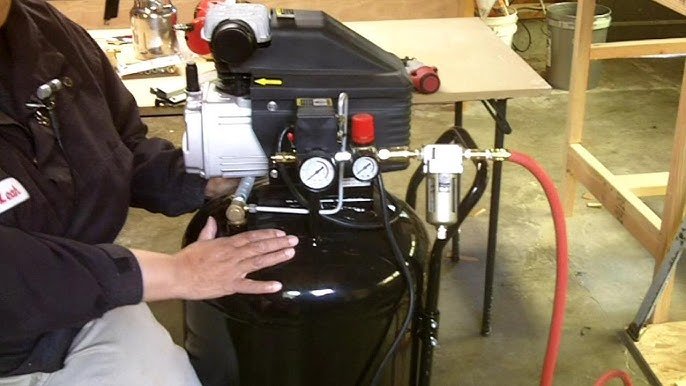
- Regulator: Controls air pressure to your tools. Many tools can be damaged by too much pressure.
- Filter: Removes water and dust from the air. Clean, dry air keeps tools working longer.
- Oiler: Adds a tiny amount of oil to the air for lubricating tools. Some tools need this, especially impact wrenches and ratchets.
Mount these near your work area. For the best results, use a combination unit that has all three.
Connecting Quick Couplers
Quick couplers let you change tools fast. There are different types, but industrial (Type D) and automotive (Type C) are most common. Make sure all your tools and hoses use the same type.
Tip: Buy a set of extra couplers and plugs. They often wear out or get lost.
Credit: www.amazon.com
Step-by-step: Setting Up Your Air Tool System
Let’s put all the pieces together. Here’s a practical guide:
- Unbox the compressor. Read the manual and check for shipping damage.
- Set the compressor in place. Use rubber feet or a mat.
- Attach the air filter, regulator, and oiler. Many compressors come with a basic regulator, but aftermarket units are better.
- Connect the air hose. Hand-tighten the fitting, then snug with a wrench. Use Teflon tape for airtight seals.
- Install quick couplers. Add them to both ends of the hose and each tool.
- Plug in the compressor. Use a dedicated outlet if possible. Avoid extension cords—they cause voltage drops and can damage the motor.
- Test for leaks. Spray soapy water on all connections. If bubbles appear, tighten or re-tape.
- Adjust the regulator. Set the PSI for your tool (check the tool’s label).
- Attach your air tool. Pull back the coupler sleeve, push in the tool plug, release to lock.
- Start working. Always wear safety glasses and ear protection.
Pro Tip: Drain the compressor tank after each use. Water builds up inside and can rust the tank.
Safety Considerations
Compressed air is powerful and can be dangerous if not used correctly.
- Never point air tools at yourself or others.
- Always wear eye and hearing protection.
- Keep hoses off the floor to prevent tripping.
- Don’t exceed the tool’s rated pressure.
- Unplug the compressor before making repairs or changing parts.
Important insight: Even a small leak can make your compressor run non-stop, wasting electricity and wearing it out early. Fix leaks as soon as you find them.
Maintenance For Long Life
A well-maintained system lasts for years and works reliably.
- Drain the tank after every use to remove water.
- Check filters monthly; replace if dirty.
- Oil tools if required (read the manual).
- Inspect hoses and connectors for cracks or leaks.
- Change compressor oil (if required) at least once a year.
Surprising fact: Dirty or wet air is the top cause of tool failure. Clean, dry air is more important than most beginners realize.
Common Mistakes To Avoid
- Ignoring tool requirements. Using a compressor that’s too small is a common beginner mistake.
- Mixing coupler types. This leads to annoying air leaks and poor tool performance.
- Not using Teflon tape. Bare threads can leak air.
- Skipping the filter. Moisture and dust will shorten tool life.
- Running hoses where cars drive. Hoses get crushed and leak.
If you avoid these mistakes, your system will be safer and last much longer.
Upgrading And Expanding Your System
Once you’re comfortable, you may want to add more outlets or longer runs. Plan for future needs by:
- Using larger-diameter pipes for main lines (less pressure drop)
- Adding more quick-connect stations
- Upgrading to a larger compressor if you buy bigger tools
For serious work, consider a hard-piped system with wall-mounted reels. It makes your garage look professional and keeps things tidy.
Real-world Example
Imagine you want to paint a car panel. Your spray gun needs 7 CFM at 40 PSI. But your compressor only delivers 4 CFM at 90 PSI. You will quickly run out of air, leaving the paint uneven. This is why matching compressor output to tool requirements is so important.
Non-obvious insight: It’s better to wait for pressure to build up than to run tools on low pressure. Low pressure can damage both the tool and your project.
Credit: www.youtube.com
Resource For Further Reading
If you want to dig deeper into air compressor sizing and best practices, check out this guide from the Popular Mechanics.
Frequently Asked Questions
How Do I Know What Size Air Compressor I Need?
Check the CFM and PSI requirements of your largest air tool. Choose a compressor that can deliver at least 20% more CFM than your most demanding tool. Tank size matters for long jobs, like painting.
Can I Use Pvc Pipe For Air Lines?
No. PVC pipe is not safe for compressed air—it can shatter and cause injury. Use metal pipe (copper, steel, or aluminum) or certified PEX for air lines.
Do All Air Tools Need Oil?
Not all. Some tools, like impact wrenches and ratchets, need a few drops of oil before use or an inline oiler. Others, like paint guns, must stay oil-free. Always check the tool’s manual.
Why Does Water Come Out Of My Air Hose?
Compressed air gets hot and cools in the tank, creating condensation. This water travels with the air. Use a filter and drain your tank after every use to keep tools safe.
How Often Should I Drain My Compressor Tank?
Drain the tank after every use. Water build-up can lead to rust and even tank failure. Some people add an automatic drain for convenience.
—
Setting up air tools in your garage is a rewarding project. With the right plan, you’ll have a flexible, efficient, and safe system for years to come. Start small, follow these steps, and you’ll be surprised at how much you can do with the power of compressed air.
Credit: www.hawaiidetailing.com
