Setting up a garage air line system can transform your workspace. With the right system, you get clean, reliable compressed air exactly where you need it—whether you’re powering air tools, inflating tires, or painting cars. But many people struggle with leaks, pressure drops, or moisture problems because they miss key steps during installation. This guide will walk you through everything you need to know, from planning to finishing touches, so you can build a system that’s efficient, safe, and long-lasting.
Why A Garage Air Line System Matters
A well-designed air line system makes your garage safer and more productive. Instead of dragging hoses or moving your compressor, you install fixed piping along the walls and ceiling. This lets you add quick-connect outlets anywhere you work. The result: less hassle, less wear on tools, and better results. You’ll also protect your compressor and tools by reducing moisture, dirt, and pressure problems.
Many beginners think all you need is a long hose. But hoses alone cause pressure loss, trip hazards, and are hard to manage in a busy garage. A fixed air line system solves these problems and can even save money on energy and repairs.
Planning Your System
Before you start buying parts, take time to plan.
Assess Your Needs
- Tools and Uses: List all the tools you’ll use—impact wrenches, paint sprayers, grinders, etc.
- Compressor Size: Match your system to your compressor’s CFM (cubic feet per minute) and PSI (pounds per square inch) ratings.
- Outlets: Decide where you want air drops (outlets) for maximum convenience.
- Future Expansion: Plan for extra outlets in case you add tools later.
Sketch A Layout
Draw your garage on paper. Mark the compressor location, main line path, and outlet positions. Consider the shortest path that avoids doors, windows, and obstacles.
Choose The Right Materials
The most common garage air line materials are:
- Black iron pipe: Durable, handles high pressure, but heavy and tough to install.
- Copper pipe: Easy to cut and join, resists corrosion, but more expensive.
- Aluminum pipe: Lightweight, easy to install, but costs more upfront.
- PVC pipe: Cheap and easy, but NOT recommended for compressed air (it can shatter dangerously).
Below is a quick comparison of the most popular materials:
| Material | Cost | Ease of Installation | Durability | Safety |
|---|---|---|---|---|
| Black Iron | Low | Difficult | High | Excellent |
| Copper | Medium-High | Medium | High | Excellent |
| Aluminum | High | Easy | High | Excellent |
| PVC | Low | Easy | Low | Poor (Not recommended) |
Non-obvious tip: For most garages, 1/2-inch or 3/4-inch pipe works best. Going larger than your compressor’s outlet size helps prevent pressure drop, especially with long runs or many outlets.
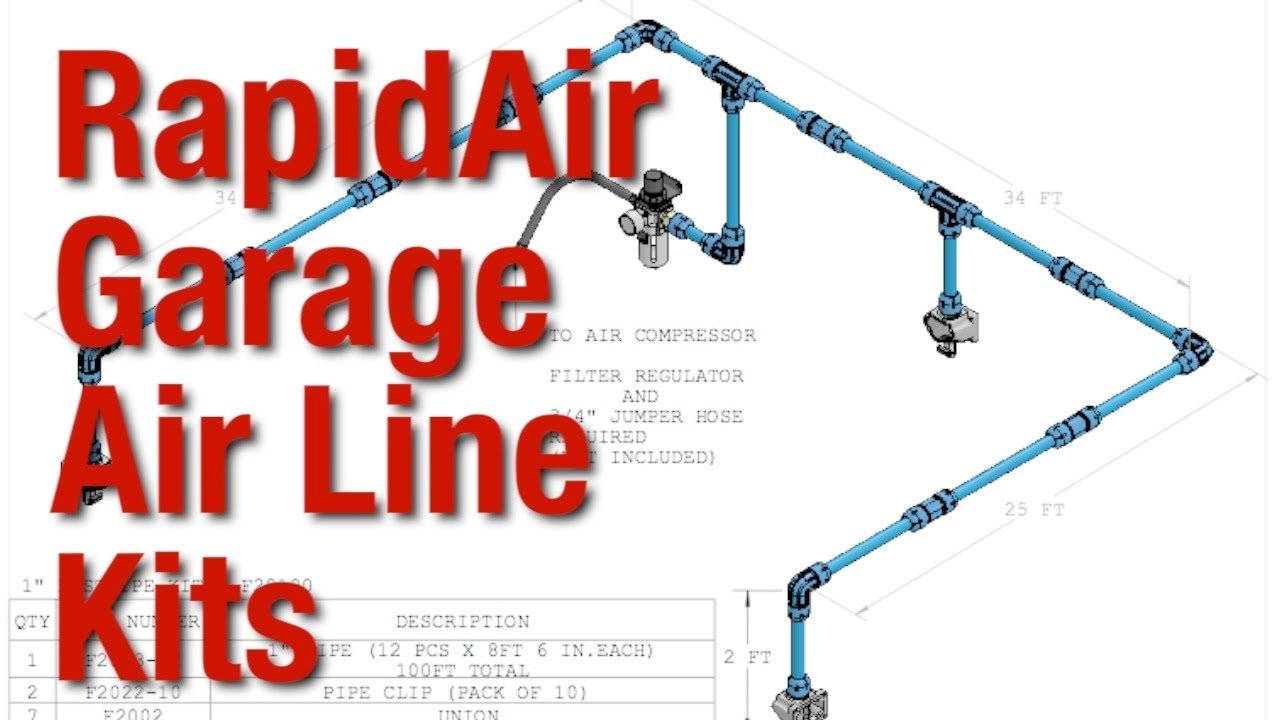
Credit: www.youtube.com
Essential Components
A reliable air line system needs more than just pipe.
Main Parts
- Air Compressor
- Shut-off Valve: Lets you isolate the system for maintenance.
- Filter and Regulator: Removes moisture and sets proper pressure for your tools.
- Main Line Piping
- Drops (Outlets)
- Quick Connect Couplers: For fast tool changes.
- Drain Valves: Removes condensed water from low points.
- Hangers and Clamps: Secure pipes to walls or ceilings.
Moisture Management
Compressed air always contains moisture. If not removed, water can damage tools, paint jobs, and even the piping. Use a water separator near the compressor and install drop legs with drains at outlet points. For best results, slope main lines slightly (about 1/4 inch per 10 feet) away from the compressor so water flows toward drains.
Step-by-step Setup Guide
Now let’s get into the actual installation process.
1. Install The Compressor
Place your compressor in a dry, well-ventilated spot. Leave space around it for maintenance and cooling. Use vibration pads if possible—they reduce noise and wear.
2. Add A Shut-off Valve
Install a ball valve right after the compressor outlet. This lets you turn off air to the system without unplugging the compressor.
3. Attach A Filter And Regulator
Connect a filter to remove water and particles, followed by a regulator to set consistent pressure. Some units combine both functions, called an FRL (Filter-Regulator-Lubricator) unit.
Pro tip: Mount the filter/regulator on the wall near the compressor for easy access.
4. Run Main Air Lines
Use your chosen pipe material and follow your layout sketch. Run the main line along walls or ceiling, using hangers every 4-6 feet. Keep lines as straight as possible, and avoid sharp bends—they create pressure loss.
For most garages, 1/2-inch pipe is enough, but 3/4-inch is better for long runs or multiple users.
Extra insight: Use thread sealant or Teflon tape on threaded joints to prevent leaks. Don’t overtighten—this can crack fittings.
5. Install Drop Lines (outlets)
At each planned outlet:
- Add a vertical drop from the main line down to a work area.
- At the bottom, install a tee fitting. One end goes to a quick-connect coupler for tools; the other points straight down as a “drip leg” with a drain valve.
- The drip leg catches water that condenses in the line.
Here’s a typical drop line setup:
| Component | Purpose |
|---|---|
| Vertical Pipe Drop | Brings air to work height |
| Tee Fitting | Splits line to outlet and drip leg |
| Quick-Connect Coupler | Connects tools easily |
| Drip Leg + Drain Valve | Removes water from the system |
6. Install Quick Connects
Mount quick connect couplers at each outlet. Use sturdy brackets for wall mounting so you don’t stress the piping when plugging in tools.
7. Slope And Secure The Lines
Slope the main line slightly away from the compressor. This helps moisture flow toward the drains, not your tools. Secure all piping with clamps or hangers so nothing moves or rattles.
8. Add Final Filters (optional)
For critical work (like painting), add a small final filter right before the tool. This removes any last traces of oil or water.
9. Test The System
Close all drains and open the compressor valve. Pressurize the system slowly. Use soapy water on joints to check for leaks—bubbles mean you need to tighten or reseal the connection.
Let the system sit under pressure for an hour. If the gauge drops, recheck for leaks.
Common mistake: Skipping the leak test wastes air and increases energy costs.
10. Label Outlets And Maintenance Points
Label each outlet (for example, “Bay 1” or “Paint Station”) and mark all drain valves so they’re easy to find. Create a simple checklist for monthly maintenance—draining moisture, checking filters, and inspecting for leaks.
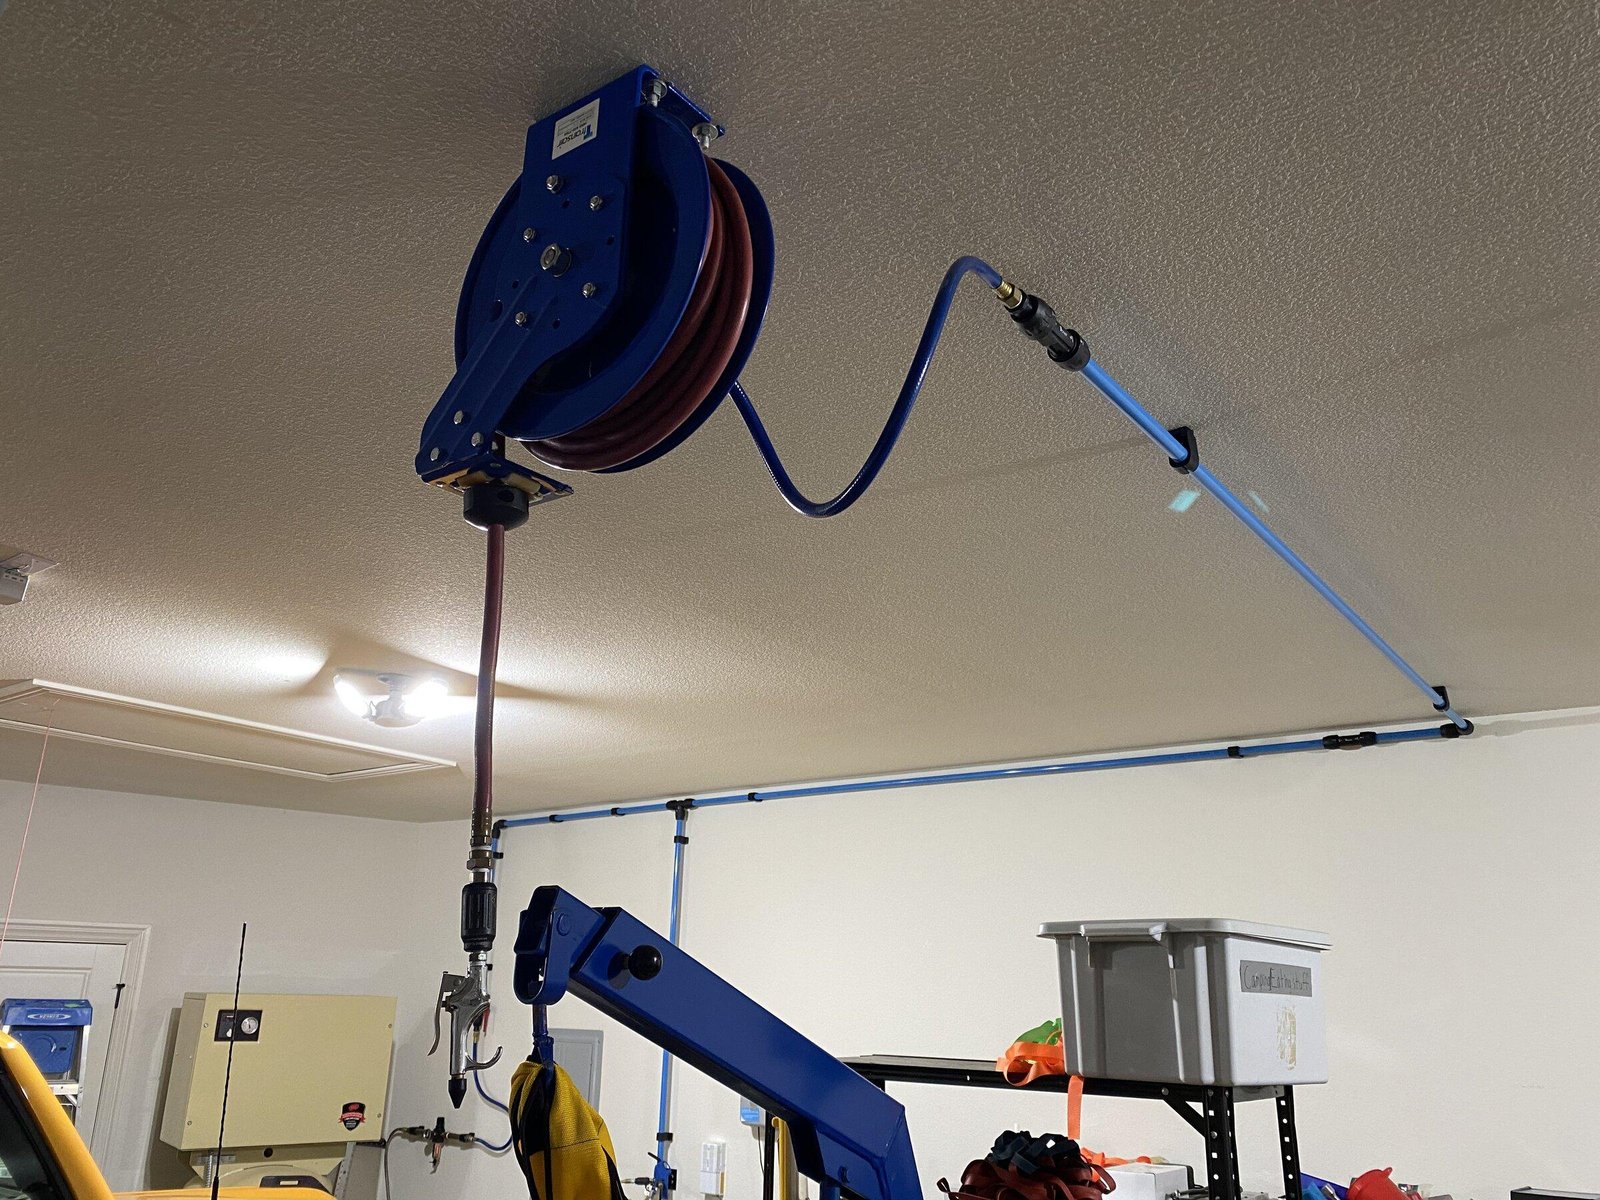
Credit: www.bronco6g.com
Real-world Example
Let’s say you have a 2-car garage and a 60-gallon, 11 CFM compressor. You use impact wrenches, blow guns, and sometimes a paint sprayer.
- Install the compressor in the corner.
- Run 3/4-inch copper pipe along the back wall, with 2 outlets: One by the workbench, one near the garage door.
- Add a drip leg with drain at each outlet.
- Install a ball valve, filter/regulator, and main drain near the compressor.
- Slope the pipe 1/4 inch every 10 feet.
- Secure everything with pipe clamps every 5 feet.
This setup lets you plug in tools quickly, keeps hoses off the floor, and ensures you get dry, clean air every time.
Maintenance And Safety Tips
- Drain moisture daily from all low points and the compressor tank.
- Replace filters every 3-6 months or as needed.
- Check for leaks monthly using soapy water.
- Never use PVC for compressed air lines—it can explode under pressure.
- Wear eye protection when working with pressurized lines.
Hidden risk: Even tiny air leaks add up. A single 1/8-inch hole at 90 PSI can waste over 60 gallons of air per minute. That’s like running your compressor for nothing!
Common Problems And How To Fix Them
- Pressure drop at tools: Use larger pipe, shorten runs, or reduce the number of quick connects in a row.
- Water in lines: Slope piping, add drip legs, and maintain filters/drains.
- Noisy system: Secure pipes better or add vibration pads to the compressor.
- Frequent filter clogging: Check for oil leaks from the compressor or upgrade to a larger filter.
Cost Breakdown
How much does a typical garage air line system cost? Here’s a rough estimate for a 2-car garage setup:
| Item | Quantity | Approximate Cost (USD) |
|---|---|---|
| 1/2″ Copper Pipe (50 ft) | 1 | $100 |
| Fittings and Valves | 10 | $60 |
| Filter/Regulator | 1 | $50 |
| Quick Connect Couplers | 3 | $30 |
| Pipe Clamps/Hangers | 15 | $20 |
| Miscellaneous (sealant, labels) | 1 | $20 |
| Total | $280 |
Labor is not included. Doing it yourself saves money, but professional installation may be safer if you’re unsure.
Extra Insights Beginners Miss
- System pressure: Don’t set your regulator too high. Most tools work at 90 PSI. Running higher pressure just wastes energy and increases wear.
- Expansion loops: Metal pipes expand and contract with temperature. Add small loops or flexible connectors every 20-30 feet to reduce stress and leaks.
- Desiccant dryers: For ultra-dry air (like for painting), add a desiccant dryer after your filter. This can make a big difference in finish quality.
Where To Learn More
For deeper technical details, check out the Wikipedia page on compressed air pipework.
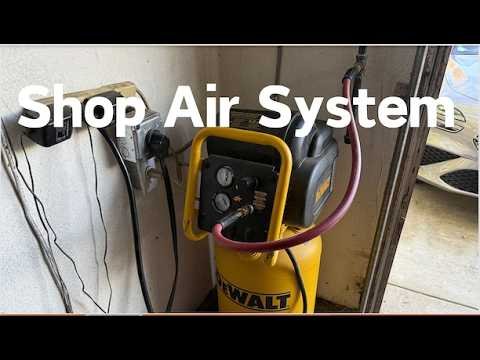
Credit: www.youtube.com
Frequently Asked Questions
How Often Should I Drain My Air Line System?
Drain all low points and the compressor tank daily if possible. Moisture builds up fast, especially in humid weather. Regular draining keeps tools safe and air dry.
Can I Use Pvc For Air Lines?
No, PVC is not safe for compressed air. It can shatter under pressure, sending dangerous shards through the garage. Always use metal or specially rated plastic designed for air systems.
What Size Pipe Should I Use?
For most home garages, 1/2-inch or 3/4-inch pipe works well. If you have long runs or use high-demand tools, go with 3/4-inch to prevent pressure loss.
Do I Need A Filter And Regulator At Every Outlet?
A main filter/regulator near the compressor is usually enough. For sensitive tools (like paint guns), add a final filter at the outlet for extra protection.
How Do I Find Leaks In My System?
Spray soapy water on all joints and watch for bubbles. Leaks are most common at threaded connections and quick connects. Fix leaks promptly to save energy and protect tools.
Setting up a garage air line system takes some effort, but the rewards are huge. With good planning, quality materials, and careful installation, you’ll enjoy years of safe, reliable compressed air—ready for any job your garage throws at you.
