
Painting cars in a garage is both exciting and challenging. The process can give your vehicle a fresh new look, but it also brings some risks, especially when it comes to air quality and safety. Many people do not realize that the fumes from automotive paint are not only unpleasant, but can also be harmful. Proper ventilation is not just a comfort issue—it’s a health and fire safety necessity. If you want a smooth, professional result without putting yourself or others at risk, understanding how to ventilate your garage when painting cars is essential.
A well-ventilated workspace reduces toxic exposure, limits dust, and prevents dangerous build-ups of flammable gases. It also helps with the drying and curing of paint, leading to a better finish. In this guide, you’ll discover practical steps, smart equipment choices, common mistakes, and real-world tips for keeping your garage safe and your paint job flawless.
Why Ventilation Matters In Garage Car Painting
When you paint cars, you deal with volatile organic compounds (VOCs), solvents, and particles that become airborne. In a closed space like a garage, these can reach dangerous levels fast. Here’s why you must take ventilation seriously:
- Health protection: Breathing paint fumes can cause headaches, dizziness, nausea, and even long-term lung and nervous system damage.
- Fire and explosion prevention: Paint fumes are highly flammable. Without proper airflow, even a small spark could cause a disaster.
- Paint quality: Dust, overspray, and lingering fumes can ruin a paint job—leading to bubbles, dullness, or uneven color.
According to the U. S. Environmental Protection Agency, poor indoor air quality is a leading health concern for DIY painters. Professional body shops use expensive spray booths with engineered airflow, but you can still achieve safe, effective ventilation at home with the right approach.
Understanding Your Garage: Key Factors Before You Start
Every garage is different. Before setting up, evaluate these factors:
- Garage size: Larger garages need more airflow to clear fumes.
- Number of doors/windows: More openings make ventilation easier.
- Existing ventilation: Some garages have built-in fans or vents; others do not.
- Location: Is your garage close to your home, neighbors, or open fields? You want to avoid sending fumes directly into someone else’s space.
Tip: Measure your garage dimensions and note all doors, windows, and vents. This will help you plan your ventilation system more effectively.
Credit: www.amazon.com
Ventilation Options: Exhaust Vs. Intake
Proper garage ventilation for painting cars means setting up both exhaust (to remove contaminated air) and intake (to bring in fresh air). Here’s how the two work together:
| Type | Purpose | Common Tools |
|---|---|---|
| Exhaust | Removes paint fumes and particles | Box fans, exhaust fans, ducted blowers |
| Intake | Brings in clean, fresh air | Open doors/windows, filtered vents, intake fans |
Without a balance of both, you might push fumes into your home, or not get enough clean air for safe breathing.
Setting Up A Safe Ventilation System: Step-by-step
Let’s walk through setting up a smart, effective ventilation system for your garage:
1. Clear And Prepare The Space
- Remove all flammable materials (gas cans, rags, etc. ).
- Sweep and clean dust to reduce airborne particles.
- Cover items you don’t want to get paint on.
2. Plan Airflow Direction
Decide which way air will move:
- Intake side: Usually at the front of the garage or a window.
- Exhaust side: Opposite wall or rear window/door.
Always push air away from your house and any people nearby.
3. Install Exhaust Fans
A good exhaust fan is the heart of your system. Place a powerful box fan or, even better, a dedicated exhaust fan at the far end of the garage. Point it outward, blowing air outside.
Tip: Use a fan with a sealed motor. Paint fumes are flammable, and regular fan motors can spark.
4. Set Up Intake Air
Open doors or windows at the opposite end from the exhaust fan to let fresh air in. If you want cleaner intake air, attach a furnace filter to the intake opening. This blocks dust and bugs.
5. Seal Off Unwanted Openings
Block any gaps or vents that might let fumes into your house. Use plastic sheeting or painter’s tape for temporary seals.
6. Use Ducting For Focused Airflow
If your garage layout is tricky, flexible ducting (from home improvement stores) can help direct exhaust air exactly where you want it—straight out a window or door.
7. Monitor Air Quality
A simple VOC meter or carbon monoxide detector can alert you if dangerous levels build up. These are affordable and add an extra layer of safety.
Choosing The Right Fans And Filters
Not all fans are suitable for paint fumes. Here’s how to pick the right one:
| Fan Type | Best Use | Pros | Cons |
|---|---|---|---|
| Box Fan | Small to medium garages | Cheap, easy to find | Not explosion-proof |
| Explosion-Proof Exhaust Fan | Professional setups, safety focus | Safe for flammable fumes | Expensive |
| Inline Duct Fan | Directing air through ducts | Flexible placement | Needs proper sealing |
Filters: For intake, use high-quality furnace or HEPA filters. For exhaust, filters are less common, but some systems add them to catch overspray.
Personal Safety: Never Skip Protection
Even with good garage ventilation, you need personal protection. Always wear:
- Respirator mask: Not just a dust mask—use a mask rated for organic vapors (NIOSH-approved).
- Goggles: Protects eyes from overspray and fumes.
- Gloves and coveralls: Keeps paint and solvents off your skin.
Non-obvious insight: Many people forget to change their respirator filters. Used filters quickly lose effectiveness against fumes. Replace them regularly for full protection.
Credit: www.amazon.com
Extra Tips For Best Results
- Create negative pressure: Make sure your exhaust airflow is stronger than intake. This draws fumes out, not into the rest of your house.
- Paint during low wind: Strong outdoor wind can disrupt airflow and blow dust inside.
- Keep the fan running after painting: Fumes stay in the air long after you finish. Run your exhaust fan for at least 30–60 minutes afterward.
- Avoid painting in high humidity: Moist air slows paint drying and can make fumes linger longer.
- Check local laws: Some areas have rules about venting paint fumes outdoors. Always follow local safety codes.
Common Mistakes To Avoid
- Using non-explosion-proof fans: Cheap fans can spark and cause fires.
- Ignoring intake air: Without fresh air coming in, exhaust fans won’t work well.
- Painting with closed doors/windows: Never trap fumes inside, even if you worry about dust.
- Not cleaning the garage first: Dust and debris ruin paint finishes and clog fans.
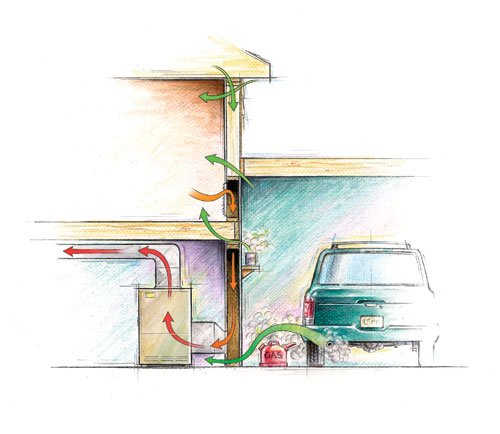
- Not checking wind direction: Blowing fumes toward neighbors or back into your home can be dangerous.
Credit: www.greenbuildingadvisor.com
Diy Vs. Professional Spray Booths
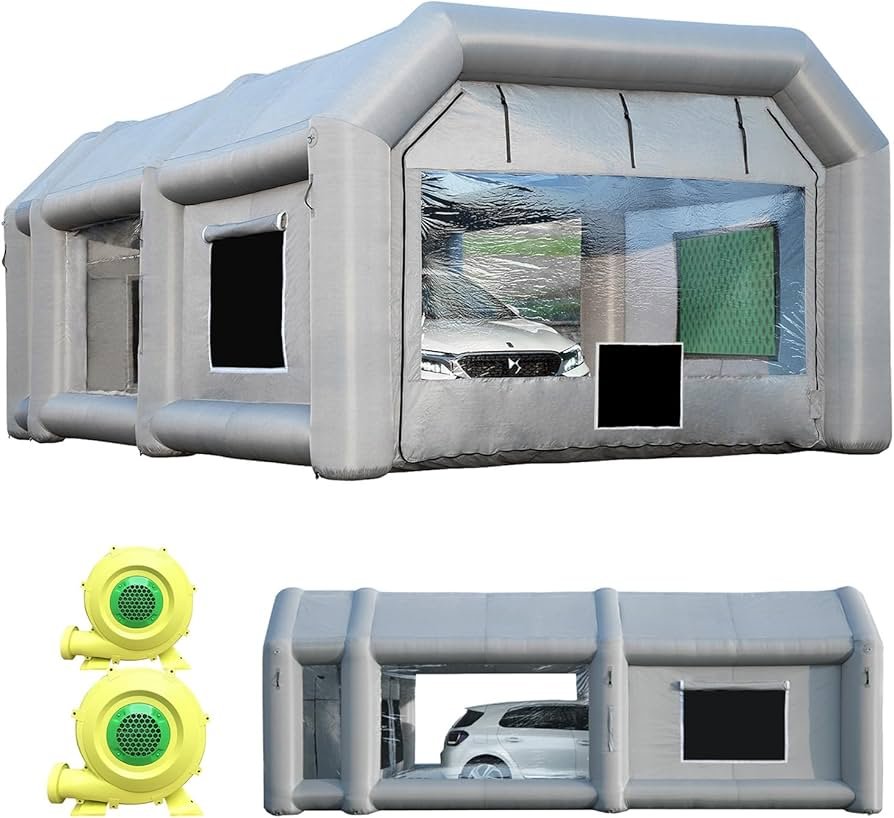
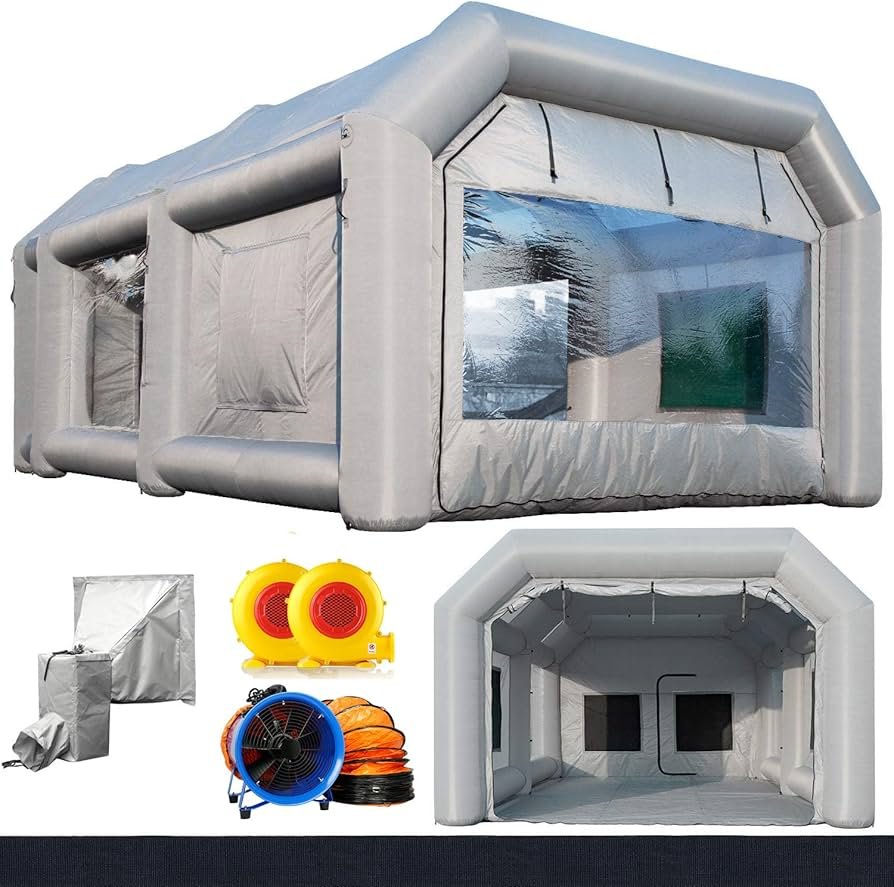
You might wonder if you need a full spray booth setup. For most home painters, a DIY system is enough if you follow safety rules. However, for frequent jobs or perfect finishes, consider a portable spray booth.
| Feature | DIY Garage Setup | Professional Spray Booth |
|---|---|---|
| Cost | Low | High |
| Ease of Setup | Simple | Complex |
| Air Quality | Good (if done right) | Excellent |
| Finish Quality | Good for DIY | Professional-grade |
| Legal Compliance | Depends on local rules | Usually fully compliant |
For most car enthusiasts, the DIY approach is safe and effective when following best practices.
What To Do After Painting: Clearing The Air
Once you finish painting, don’t rush to shut everything down. Here’s what you should do:
- Keep the exhaust fan running for at least an hour.
- Leave doors or windows open for continued airflow.
- Check for lingering odors before removing your mask.
- Clean up paint spills and dispose of used filters and masks safely.
Non-obvious insight: Even after the paint feels dry, solvents can still evaporate for several hours. Good ventilation is needed for much longer than most people realize.
Real-world Example: A Home Garage Setup
Imagine you have a single-car garage with one side door and a window. Here’s a simple ventilation setup:
- Place a box fan (with a sealed motor) in the window, blowing out.
- Open the side door a few inches and attach a furnace filter over the gap.
- Seal the door to your house with plastic sheeting.
- Wear a full respirator and goggles.
- After painting, keep the fan on for 1–2 hours.
With this basic setup, you can paint safely and avoid most common problems.
For more in-depth ventilation standards, check resources like the OSHA spray painting guidelines.
Frequently Asked Questions
How Strong Does The Exhaust Fan Need To Be?
Choose a fan that can move at least 1,000 cubic feet per minute (CFM) for a single-car garage. More airflow is better, but don’t use a fan not rated for paint fumes.
Can I Use My Home Air Conditioner Or Furnace For Ventilation?
No. Never use your home HVAC system to vent paint fumes. This can spread toxic chemicals throughout your house and damage the system.
Is It Safe To Paint Cars In A Garage Without Any Windows?
It’s risky. If you have no windows or doors for airflow, you must use ducted fans to move air outside. Otherwise, fumes will collect quickly.
What Is Negative Pressure And Why Is It Important?
Negative pressure means the air pressure inside your garage is lower than outside. This pulls air in from outside and pushes fumes out, keeping your home safe.
How Long Should I Ventilate After Painting?
Run your ventilation for at least 1 hour after you finish painting. If you still smell fumes, keep ventilating until the air is clear.
With the right preparation and equipment, you can achieve a safe, high-quality paint job in your own garage. Taking the time to set up proper ventilation not only protects your health, but also ensures that your hard work pays off with a beautiful finish.
Always stay aware of safety, keep learning, and enjoy the process of bringing your car back to life.
