
Wiring a garage for power tools is a project that can transform a simple storage space into a functional workshop. Many homeowners dream of using their garage for woodworking, auto repairs, or other creative tasks. But running extension cords across the floor is not safe or practical.
A well-planned electrical system gives you safe, reliable power—making work easier and your garage safer.
Planning your garage wiring isn’t just about plugging in a few outlets. It’s about understanding your tools’ power needs, choosing the right materials, following safety rules, and making smart decisions for future use. This guide walks you through every step, from planning to installation.
Whether you are a DIY enthusiast or want to work alongside an electrician, you’ll learn what matters most for wiring a garage for power tools. Let’s get started on building a space that is both safe and ready for any project.
Understanding Power Needs For Garage Tools
Before you buy cables or install outlets, you need to know how much power your tools will use. Power tools like table saws, air compressors, welders, and grinders often need more electricity than standard home appliances.
Many basic tools, such as drills or sanders, run on 120V circuits. However, larger tools (like air compressors or table saws) may require 240V power. Check the tool labels or manuals for their voltage and amperage needs. Add up the amps for all the tools you plan to use at once. This helps you choose the right wire size, circuit breaker, and number of outlets.
For example:
- A small drill might use 5–8 amps at 120V.
- A table saw could need 15–20 amps at 120V or 240V.
- A welder may require 20–30 amps at 240V.
Non-obvious insight: Even if you only have small tools now, consider future upgrades. It’s much easier to install extra capacity during your wiring project than to redo everything later.
Safety And Code Requirements
Electrical work has risks, so safety comes first. In most places, electrical installations must follow the National Electrical Code (NEC) or local rules. Here’s what you should know:
- Permits: Many cities require a permit for new garage wiring. Check with your local building department before starting.
- Ground Fault Circuit Interrupter (GFCI): Garages are considered wet or damp locations. Use GFCI outlets or breakers to prevent shock hazards.
- Dedicated Circuits: Heavy tools should have their own circuit to avoid overloads.
- Proper Grounding: All outlets and tools must be properly grounded for safety.
If you’re not sure about any step, talk to a licensed electrician. It’s better to ask questions than risk a fire or injury.
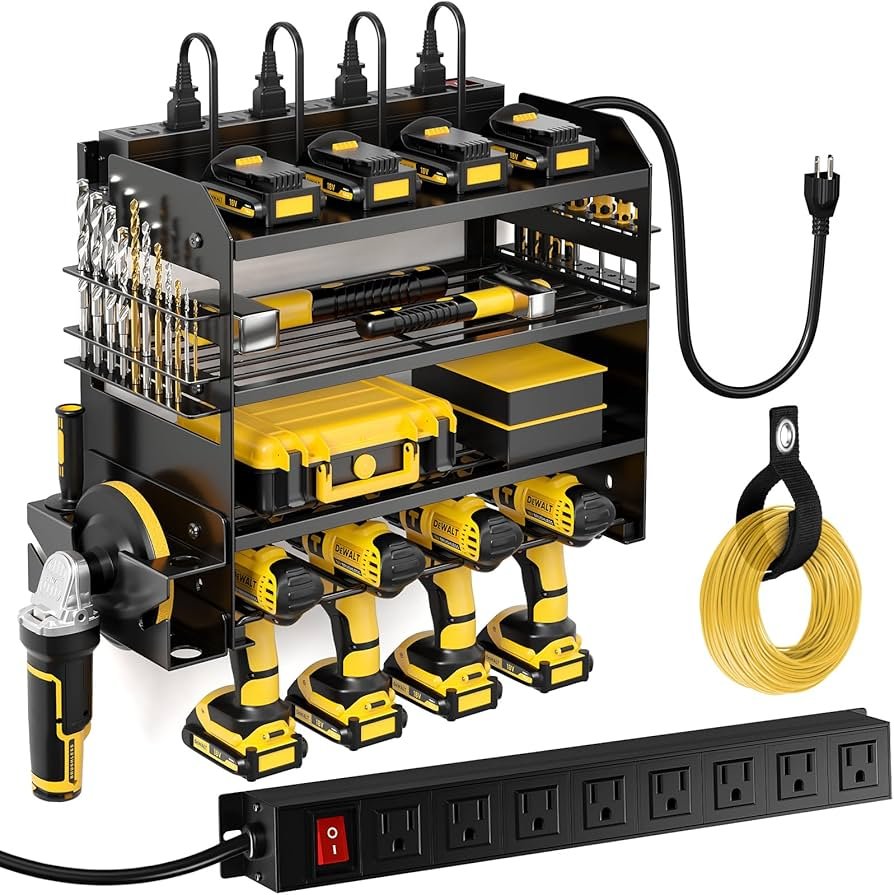
Credit: www.amazon.com
Planning Your Garage Wiring Layout
A good wiring plan makes your garage safe and easy to use. Start by drawing a simple map of your garage. Mark where you want to place tools, benches, and storage. Then, plan where outlets and lights will go.
Key points:
- Workbenches: Place several outlets along the bench—one every 4 feet is ideal.
- Tool Locations: Install dedicated outlets for big tools, so you don’t overload circuits.
- Ceiling Outlets: Consider outlets for garage door openers, overhead reels, or future lighting.
- Outdoor Power: Add weatherproof outlets if you’ll use tools outside.
Pro tip: Plan for at least one 240V outlet, even if you don’t need it now. This gives you flexibility for future tools.
Choosing The Right Materials
Using the correct wiring materials is essential for both performance and safety. Here’s what you’ll need:
Wiring Types
- Romex (NM-B): Standard for interior walls. Not for wet areas.
- MC Cable: Metal-clad cable, good for exposed areas.
- Conduit (PVC or EMT): Required where wires are exposed or in unfinished garages.
Wire Size
Wire size depends on the amperage and distance. Use this quick reference:
| Tool/Use | Voltage | Amperage | Recommended Wire Gauge |
|---|---|---|---|
| Standard Outlet | 120V | 15A | 14 AWG |
| Heavy Tool | 120V/240V | 20A | 12 AWG |
| Large Equipment | 240V | 30A | 10 AWG |
Outlets And Boxes
- Duplex outlets: Standard for small tools.
- Heavy-duty outlets: Needed for welders or compressors.
- GFCI outlets: Required for safety.
- Weatherproof boxes: For outdoor or damp locations.
Circuit Breakers
Select breakers that match your wire size and tool needs. Never put a 20A breaker on a 14 AWG wire—it’s a fire risk.
Step-by-step Wiring Instructions
1. Turn Off Power And Plan Feed
Start by turning off power at the main breaker. Never work on live wires. Decide how you’ll bring power into the garage:
- From the house’s main panel (if nearby)
- With a subpanel (best for lots of tools or a detached garage)
A subpanel gives you more control and room for future circuits.
2. Install Electrical Boxes
Mount electrical boxes at each outlet, switch, or light location. Boxes should be at least 12–18 inches off the floor for outlets and about 48 inches for switches.
3. Run Wires
Run wires from the main panel or subpanel to each box. If you’re using conduit, cut and attach it first, then pull wires through. Secure cables with staples every 4–6 feet (if not in conduit).
Tip: Label wires at both ends. It saves time later.
4. Connect Outlets And Switches
Strip wire ends, connect to outlets, and attach ground wires securely. Install GFCI outlets where needed. For 240V circuits, use two hot wires and a ground.
5. Install The Breakers
At the main panel or subpanel, install the correct breaker for each circuit. Connect each hot wire to its breaker, the neutral to the bar, and ground to the ground bar.
6. Test Everything
Turn on power and test each outlet and switch with a voltage tester. Check GFCI function and make sure all outlets are wired correctly.
Non-obvious insight: Use a plug-in circuit tester to check for open grounds or miswiring—don’t just trust your eyes.
Comparing Subpanel Vs. Direct Circuits
If you plan to use many power tools, a subpanel in the garage is often better than running multiple circuits from your house panel. Here’s why:
| Feature | Subpanel | Direct Circuits |
|---|---|---|
| Expansion | Easy to add more circuits | Limited by house panel space |
| Control | Can turn off all garage power at once | Only individual circuits |
| Cost | Higher up front | Lower for small garages |
| Future Proof | Best for upgrades | Limited |
If you only need a few outlets, direct circuits may be fine. For serious work, a subpanel is worth it.

Credit: www.amazon.com
Lighting For Your Garage Workshop
Good lighting makes work safer and more enjoyable. Plan for both ambient and task lighting:
- Ceiling LED fixtures: Bright, energy efficient, and long-lasting.
- Task lights: Place above benches or machines.
- Switches: Install at each entrance for convenience.
Note: Avoid sharing tool circuits with lighting. If a tool trips the breaker, you don’t want to be left in the dark.
Special Considerations For Detached Garages
Wiring a detached garage has extra steps:
- Trenching: You may need to bury conduit between house and garage.
- Wire type: Use UF-B (underground feeder) or conduit-rated wire.
- Distance: Voltage drop can affect performance. For runs over 100 feet, use a larger wire size.
Here’s a quick comparison of wire size vs. distance for a 20A circuit:
| Distance (feet) | Minimum Wire Size (AWG) |
|---|---|
| Up to 50 | 12 |
| 51–100 | 10 |
| 101–150 | 8 |
Always check local codes for outdoor wiring.
Common Mistakes To Avoid
- Overloading Circuits: Don’t plug all your tools into one outlet. Plan multiple circuits.
- Ignoring Code Requirements: Skipping GFCI outlets or permits can lead to fines or insurance issues.
- Using Undersized Wire: Small wire can overheat and cause fires. Always match wire size to breaker and load.
- Poor Grounding: Never skip grounding. It protects you from electric shock.
- Inadequate Outlets: It’s frustrating to run out of outlets. Install more than you think you need.
Practical tip: Take photos of your wiring before covering walls. This makes future repairs much easier.
When To Hire A Professional
Some garage wiring projects are simple, like adding a few outlets. But if you’re working with 240V tools, installing a subpanel, or wiring a detached garage, hiring a licensed electrician is smart. Electricians know local codes and will ensure your system is safe. Remember, mistakes with electricity can be deadly.
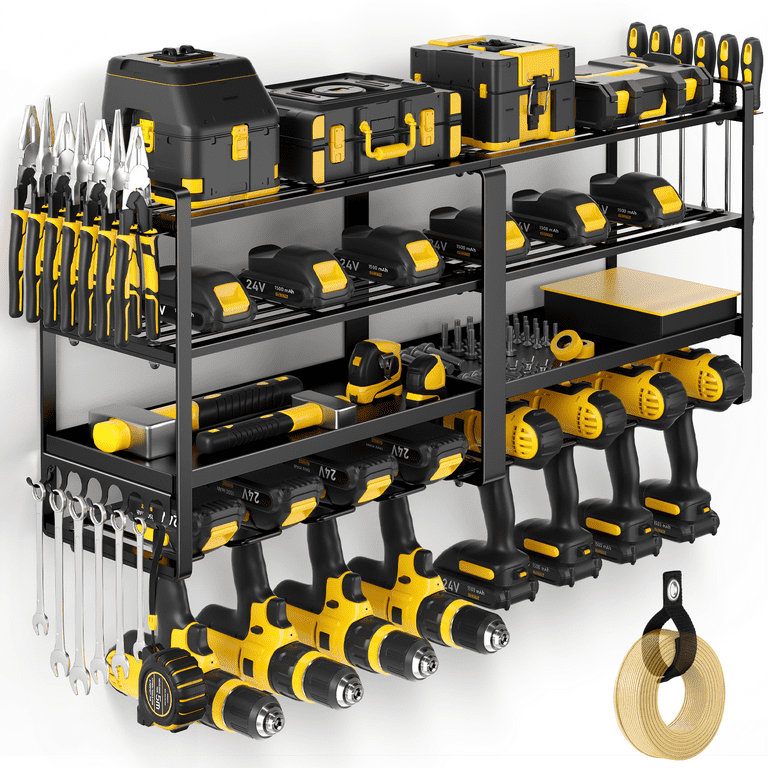
Credit: www.walmart.com
Resources For Further Learning
If you want to study more, the National Electrical Code (NEC) is a good place to start. The U.S. Department of Energy also provides tips for efficient garage wiring and lighting. For step-by-step guides and safety resources, check out Family Handyman.
Frequently Asked Questions
How Many Outlets Should I Install In My Garage?
A good rule is to install an outlet every 4 to 6 feet along the wall and near each workbench. More outlets reduce the need for extension cords and make your workspace safer.
Can I Wire My Garage Myself?
If you have basic electrical skills, you can do simple wiring projects. But always follow code, get permits, and consider hiring an electrician for complex jobs or if you need a subpanel or 240V circuits.
What Size Wire Do I Need For Power Tools?
Most standard outlets use 12 or 14 AWG wire, but heavy tools may need 10 AWG or larger. Always match wire size to the tool’s amperage and the circuit breaker.
Do I Need Gfci Outlets In My Garage?
Yes, garages are required to have GFCI protection for all outlets, according to the National Electrical Code. This prevents shock hazards in wet or damp environments.
Is A Subpanel Necessary For My Garage?
A subpanel is not always required but is recommended if you plan to use many power tools, need 240V circuits, or want room for future upgrades. It makes adding new circuits much easier.
Wiring your garage for power tools is a smart investment in safety and convenience. With careful planning and the right materials, you can create a workshop that powers your creativity for years to come.
