
Most car owners want their engines to last longer and perform better. One simple way to help is by adding a catch can breather setup. This system helps stop oil vapors from building up in your engine’s intake, which can reduce power and create carbon deposits. Many drivers hear about catch cans but don’t know how to install one the right way. If you want to protect your engine, improve reliability, and maybe even boost performance, this guide walks you through every step.
What Is A Catch Can Breather Setup?
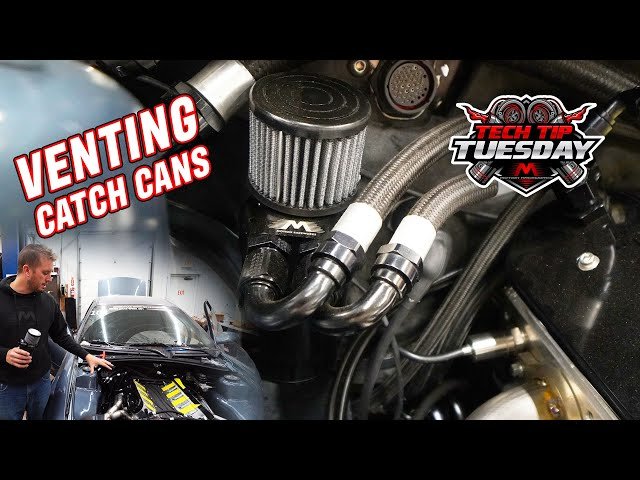
A catch can is a small tank that catches oil mist and vapors from the engine’s crankcase ventilation system. Instead of going back into the intake, these vapors are trapped in the can. A breather allows pressure to escape safely, so your engine does not build up excess pressure that could cause leaks.
Most modern cars use a PCV system (positive crankcase ventilation) to control engine blow-by gases. However, this system often sends oily air back into the intake, where it can cause problems over time. Installing a catch can breather setup is a smart way to keep your engine internals cleaner and running smoothly.
Tools And Parts You Will Need
Before you start, make sure you have all the right tools and parts. Missing something can delay the job or lead to mistakes.
- Catch can kit – Choose a high-quality, baffled catch can with fittings and mounting brackets.
- Breather filter – Some cans include this; if not, buy one that fits your setup.
- Hoses – High-temp, oil-resistant hoses (usually 3/8” or 1/2” inner diameter).
- Hose clamps – For leak-free connections.
- Wrenches and sockets – Usually 8mm, 10mm, and 13mm sizes.
- Pliers – For removing factory hose clamps.
- Screwdrivers – Both flat and Phillips head.
- Zip ties – For neat hose routing.
- Drill and bits (optional) – For mounting brackets.
- Rags and gloves – To keep things clean.
Non-obvious tip: Always check your car’s engine bay for space before you buy a catch can. Some cars have very little room.
Choosing The Right Catch Can Breather Setup
Not all catch cans are the same. Here’s what to look for before you buy:
| Feature | Why It Matters | What to Look For |
|---|---|---|
| Baffled or Non-baffled | Baffles improve oil separation | Choose baffled for best results |
| Material | Resists corrosion & heat | Aluminum or stainless steel |
| Breather Included | Vents excess pressure | Integrated breather filter |
| Drain system | Easy to empty | Bottom drain plug is best |
Practical insight: A cheap, non-baffled catch can may fill up quickly and let oil pass through. Always invest in a baffled design for real protection.
Planning Your Installation
Before you touch any tools, take a few minutes to plan:
- Locate the PCV hose: On most cars, this hose runs from the valve cover to the intake manifold.
- Find a mounting spot: Look for a solid, cool, and accessible location away from moving parts.
- Check hose length: Make sure your new hoses are long enough to reach the catch can without sharp bends.
Common mistake: Installing the can too close to hot engine parts can damage hoses or the breather filter.
Step-by-step Installation
Installing a catch can breather setup is a job you can do at home with basic tools. Here’s how:
1. Disconnect The Battery
For safety, always disconnect the negative battery terminal before working under the hood.
2. Remove The Factory Pcv Hose
Locate the PCV hose (usually a rubber hose from the valve cover to the intake). Use pliers to loosen clamps and pull off the hose. Some cars have quick-release connectors—press the tabs and pull gently.
3. Test Fit The Catch Can
Hold the catch can in your planned spot. Make sure you can reach the drain plug and breather. Mark the mounting holes if you need to drill.
4. Mount The Catch Can
Use the supplied bracket and hardware, or create your own mounting solution. Tighten bolts securely. If you must drill, check behind the metal for wires or hoses first.
5. Install Hoses
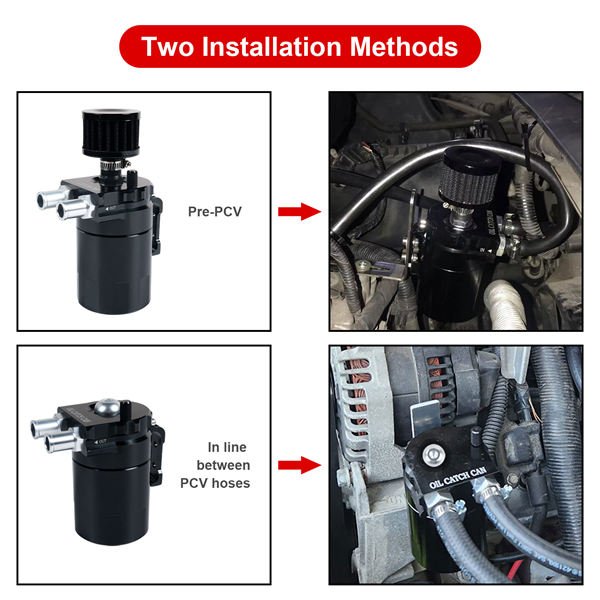
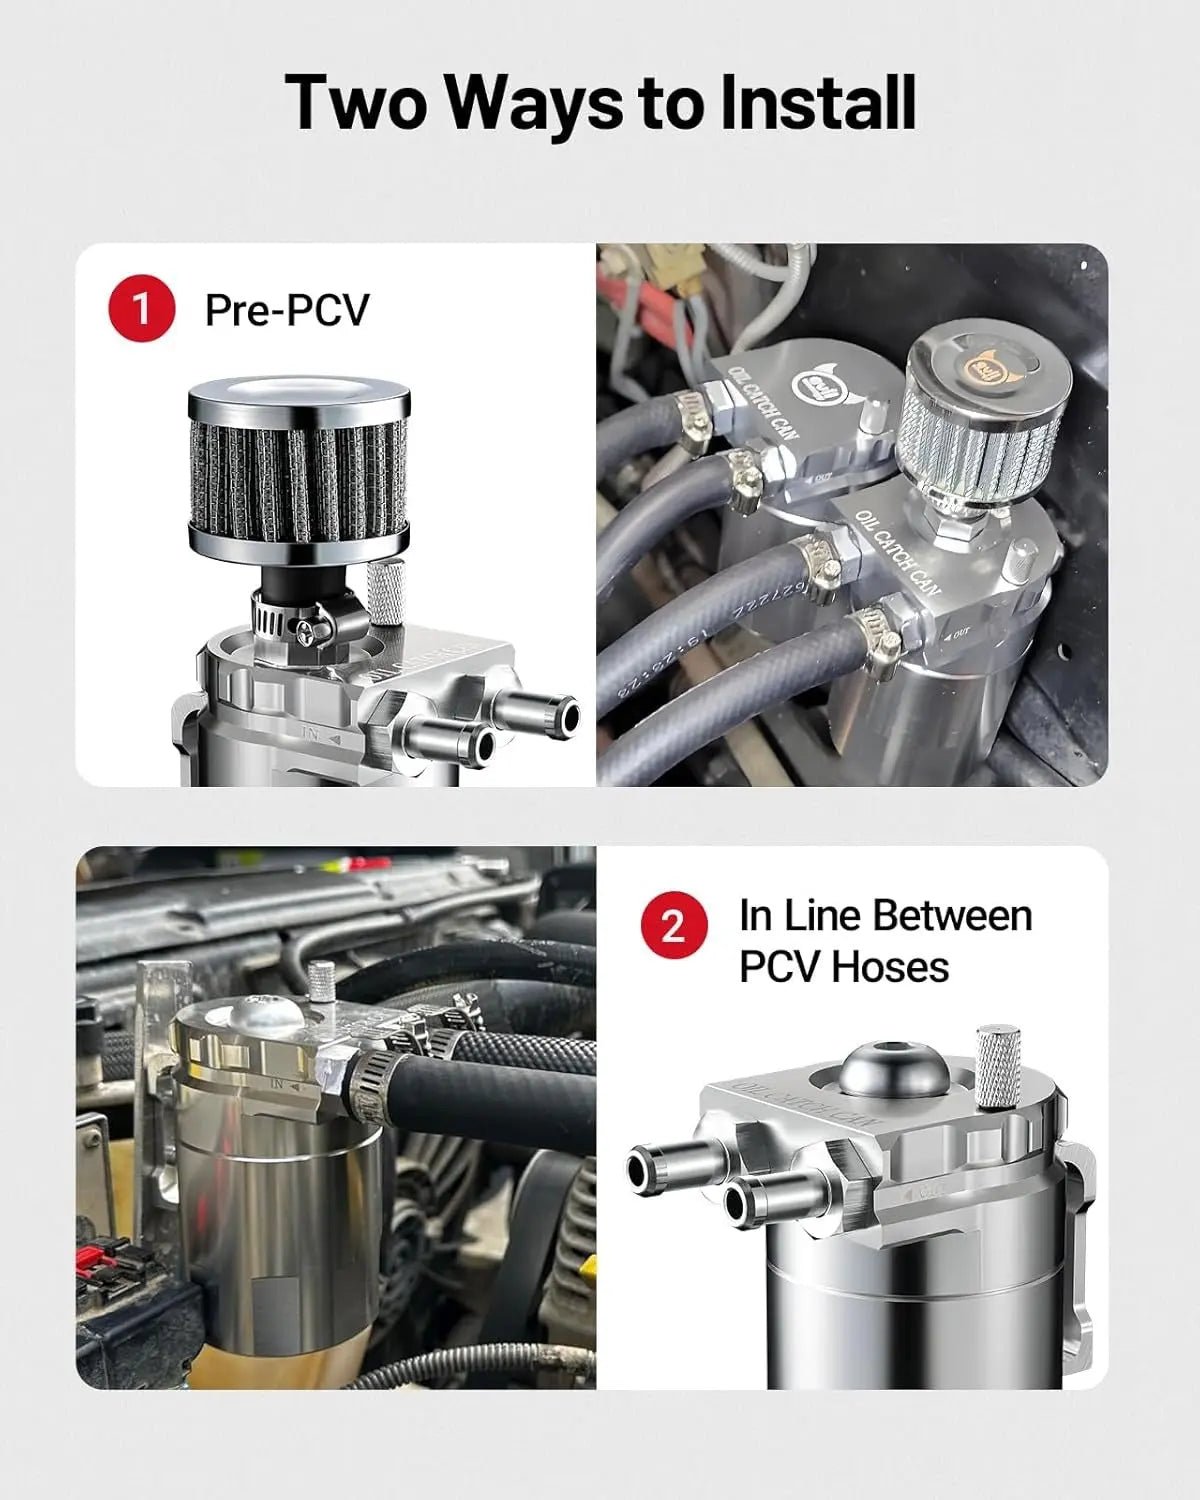
- Inlet hose: Connect one end to the valve cover PCV port, the other to the “in” port on the catch can.
- Outlet hose: Connect one end to the “out” port on the can, the other to the intake manifold port.
- Use hose clamps at every connection.
- Route hoses away from hot parts and moving components. Use zip ties for neatness.
| Hose | Connects To | Purpose |
|---|---|---|
| Inlet | Valve cover → Catch can IN | Catches blow-by gases |
| Outlet | Catch can OUT → Intake | Returns filtered air |
| Breather | Breather filter on can | Vents excess pressure |
6. Attach The Breather Filter
If your catch can includes a breather filter, screw or clamp it onto the top port. Make sure it is secure and upright. The breather lets air escape but stops dirt from entering.
7. Double-check All Connections
Check every hose, clamp, and the mounting bracket. Tug gently to ensure nothing is loose. Make sure hoses do not touch hot parts like the exhaust manifold.
8. Reconnect The Battery
Now it’s safe to reconnect the negative battery terminal.
9. Start The Engine And Check For Leaks
Start your car and let it idle. Look for oil leaks around the can and hoses. Listen for air leaks (hissing). If you hear or see anything unusual, shut off the engine and fix the problem.
10. Test Drive And Final Inspection
Take a short drive, then check the can and hoses again. After a few days, inspect for leaks, loose fittings, or oil build-up.
Pro tip: Mark the hoses with a paint marker so you can easily check if they move later.
Common Problems And How To Avoid Them
Many DIY installers make avoidable mistakes. Here are the top issues and how to prevent them:
- Wrong hose size: If the hose is too small or loose, it will leak. Always match the inner diameter to your engine’s PCV fittings.
- Poor mounting location: Too close to heat or moving parts can damage the setup. Always pick a cool, solid spot.
- Breather pointed sideways or down: This can let oil drip out. Always keep the breather upright.
- Forgetting hose clamps: Without clamps, hoses can pop off under pressure.
- Neglecting regular checks: A full catch can can overflow and cause a mess. Empty the can every oil change or sooner.
How Often To Service Your Catch Can
A catch can is not “set and forget.” It collects oil mist, water, and sometimes fuel vapors. Here’s how to maintain it:
- Check every 1000 miles (1600 km) at first. In humid or cold climates, check more often.
- Empty the can when it’s half full or at every oil change.
- Clean the breather filter with soap and water if it looks oily or dirty.
- Inspect hoses and clamps for cracks or wear.
Non-obvious insight: In turbocharged engines, you may fill the can faster due to higher blow-by. If you notice it fills up quickly, check more often.
Does A Catch Can Affect Emissions Or Warranty?
This is a common worry, especially for newer cars. Most catch cans are “plug and play” with no permanent changes, but there are points to consider:
- Emissions: In some regions, venting oil vapors to the atmosphere is not allowed. Use a closed-loop system (no breather) to stay legal.
- Warranty: If installed correctly, most dealers will not void your warranty. However, always save your stock parts and check local laws.
For more details, you can read about PCV systems and their role in emissions on the Wikipedia Crankcase Ventilation System page.
Credit: www.youtube.com
Benefits Of A Catch Can Breather Setup
Installing a catch can breather setup is not just for race cars. Here’s why it helps:
- Cleaner intake valves: Especially important for direct-injection engines, which are prone to carbon build-up.
- Less oil in the intake: This can improve throttle response and fuel efficiency.
- Longer engine life: Reduces sludge and carbon inside the engine.
- Better performance: Clean engines run more smoothly and make consistent power.
Example: Real-world Results
A 2015 Ford Focus ST owner installed a baffled catch can with a breather. After 10,000 miles, he found nearly 200 ml of oil and water mix inside the can. Intake valves showed much less carbon than other cars without a catch can.
This means the setup worked to protect the engine.
Credit: www.tectruckparts.com
How To Upgrade Or Customize Your Setup
Some enthusiasts want even more protection or style. Here’s what you can do:
- Dual catch can setup: One for the PCV side, one for the crankcase breather side.
- Colored hoses or cans: For a custom look.
- Larger breather filters: For high-boost or race engines.
- Quick-drain valve: Makes emptying the can easy.
| Upgrade | Benefit | Best For |
|---|---|---|
| Dual catch cans | Max oil vapor capture | Turbo/supercharged engines |
| Quick-drain valve | Easy maintenance | Daily drivers |
| Custom hoses | Engine bay looks better | Show cars |
Safety Tips
Working with your car’s engine is usually safe, but always:
- Let the engine cool before starting.
- Wear gloves and eye protection.
- Keep tools away from the battery terminals.
- Double-check for leaks after installation.
Credit: www.ievilenergy.com
Frequently Asked Questions
What Does A Catch Can Breather Do?
A catch can breather traps oil mist and vapors from the engine’s PCV system, stopping them from going back into the intake. The breather lets excess pressure escape, keeping the engine safe.
Will A Catch Can Setup Void My Warranty?
Usually, no. Most setups are easy to reverse and do not cause damage. However, it’s smart to check your warranty terms and keep your factory parts.
How Often Should I Empty My Catch Can?
Check the can every 1000 miles or every oil change. Empty it when half full, and more often if you drive in harsh conditions.
Can I Install A Catch Can Without A Breather?
Yes, but a breather helps vent pressure, especially in high-performance engines. Some cars require a closed system for emissions rules.
Is A Catch Can Setup Legal Everywhere?
Not always. Some areas do not allow venting vapors to the atmosphere. Check your local laws and use a closed-loop system if needed.
A catch can breather setup is one of the smartest upgrades for long engine life and better performance. With the right tools and attention to detail, you can install it yourself in a few hours. Keep your setup clean, check it regularly, and your engine will thank you for many miles to come.