
Changing your own car fuel injectors can save you hundreds of dollars in mechanic fees. For many drivers, this job sounds complex, but with careful steps and basic tools, it is possible at home. Whether your engine misfires, idles rough, or has poor fuel economy, new fuel injectors can make a big difference. This guide walks you through the full process, explains what matters, and highlights mistakes to avoid. If you want to learn how to replace car fuel injectors at home, read on for clear, practical advice.
How Fuel Injectors Work And Why Replacement Matters
Fuel injectors spray fuel into your engine in a fine mist. This helps the engine burn fuel efficiently and perform well. Over time, injectors can clog, leak, or fail. Common symptoms of bad injectors include:
- Poor gas mileage
- Rough idling or stalling
- Hard starting
- Engine misfires
- Strong fuel smell
Ignoring these signs can damage your engine and increase fuel costs. Replacing faulty injectors restores power and efficiency.
Tools And Parts You’ll Need
Before starting, gather all the necessary tools and parts. This avoids delays or mistakes during the job.
Essential Tools:
- Socket set (metric and standard sizes)
- Ratchet and extensions
- Flathead and Phillips screwdrivers
- Fuel line disconnect tool (for some cars)
- Needle-nose pliers
- Torque wrench
- Shop rags and gloves
- Safety glasses
Parts Required:
- New fuel injectors (match your car’s make, model, and engine)
- New O-rings or seals (often come with injectors)
- Intake manifold gasket (sometimes needed)
- Fuel injector rail (rare, but check for damage)
Other Helpful Items:
- Vacuum cleaner or compressed air
- Fuel injector cleaner (optional)
- Engine scanner (to clear codes after installation)
Double-check your vehicle’s service manual for any special tools or steps. Buying the right injectors for your engine type is critical—wrong parts can cause leaks or poor performance.
Preparing Your Workspace And Vehicle
Safety comes first. Perform all work in a well-ventilated area, away from open flames or smoking. Fuel systems are under pressure and can spray gasoline.
- Disconnect the battery: Prevent accidental sparks by removing the negative cable.
- Relieve fuel pressure: Locate the fuel pump fuse or relay and start the engine. Let it stall, then turn off the key. This reduces pressure in the lines.
- Work on a cool engine: Hot parts can burn you and cause vapor to ignite.
- Clean the area: Dirt near the injectors can fall inside the engine. Use compressed air or a vacuum to remove debris.
Step-by-step Guide: Replacing Car Fuel Injectors
Follow these detailed steps to remove and install fuel injectors safely and correctly.
1. Remove Engine Covers And Intake Components
Many cars have plastic engine covers or air intake tubing. Remove these parts to access the fuel rail and injectors. Keep screws and clips organized to avoid losing them.
2. Disconnect Fuel Lines And Electrical Plugs
Carefully disconnect the fuel lines from the rail. Some cars use special clips or quick-disconnect fittings. Use a fuel line disconnect tool if needed. Have rags ready to catch any drips.
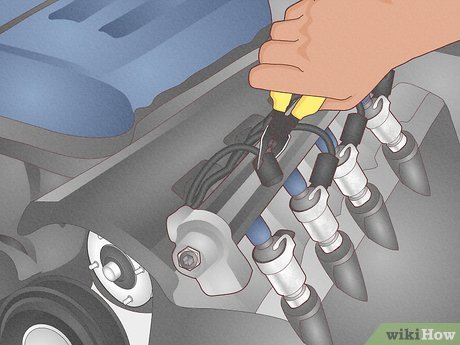
Next, unplug the electrical connectors from each injector. Press the release tab and pull gently—never yank on wires.
3. Remove The Fuel Rail
Unbolt the fuel rail that holds the injectors. Lift it gently, rocking side-to-side to avoid bending it. Some fuel may spill, so use shop towels.
If the injectors stick in the engine, twist them slightly to loosen. Do not force them, or you may damage the rail or intake.
4. Remove Old Injectors
With the rail out, pull the old injectors free. Inspect each for cracks or signs of leaking. Remove the old O-rings and seals. Check the injector tips for dirt or carbon buildup.
5. Install New Injectors
Lubricate new O-rings with a drop of clean engine oil. This helps them slide in without tearing. Insert each new injector into the rail or intake, depending on your car’s design.
Push firmly but gently. Make sure each injector is seated evenly and the electrical connector faces the right way.
6. Reinstall Fuel Rail And Components
Carefully lower the fuel rail with injectors back onto the intake manifold. Align the mounting bolts and torque them to the factory setting. Reconnect the fuel lines and electrical plugs.
Double-check all connections. A loose or misaligned injector can leak fuel—a major fire risk.
7. Reassemble Intake And Engine Covers
Replace any air intake tubes or engine covers. Tighten all screws and clamps. Reconnect the battery.
8. Prime The Fuel System
Turn the key to the “on” position (without starting the engine) for a few seconds. This allows the fuel pump to pressurize the system and fill the new injectors. Repeat this step 2–3 times.
9. Check For Leaks And Start The Engine
Inspect the injectors, rail, and lines for leaks. If everything is dry, start the engine. Listen for smooth running and watch for warning lights. If you smell fuel or hear hissing, shut off the engine and check connections.
10. Clear Engine Codes (if Needed)
If your car’s “check engine” light is on, use an OBD-II scanner to clear stored codes. This step helps the engine computer learn the new injectors and run correctly.
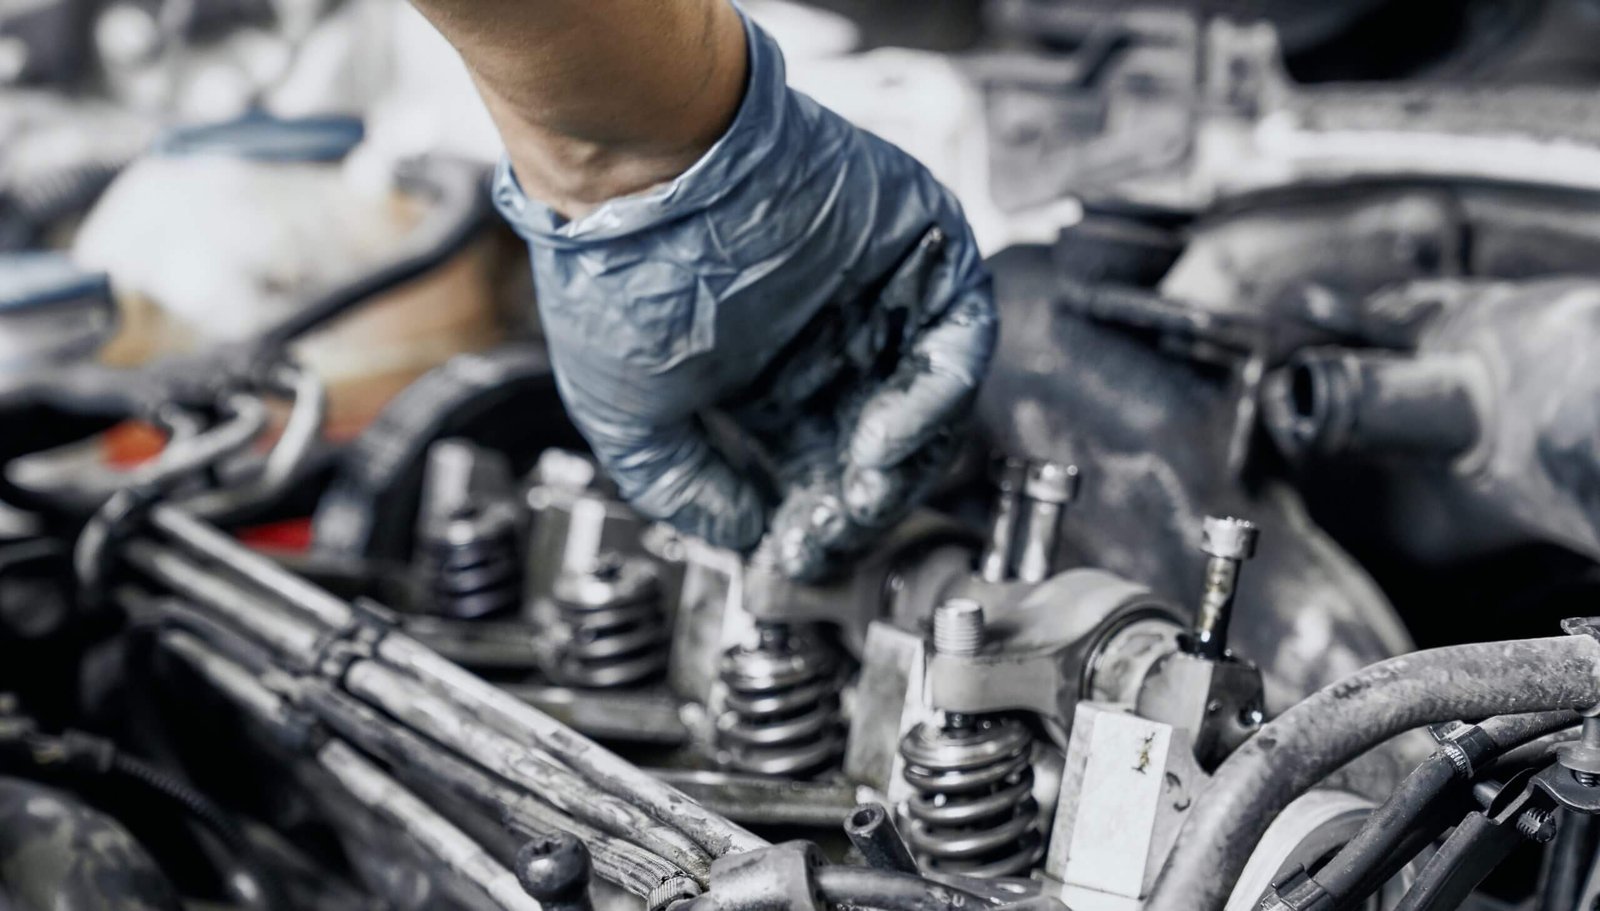
Credit: mrcartool.net
Comparing Oem Vs Aftermarket Fuel Injectors
Choosing the right injectors is important for performance and reliability. Here is a comparison:
| Feature | OEM Injectors | Aftermarket Injectors |
|---|---|---|
| Fit & Compatibility | Perfect match, guaranteed fit | May require slight adjustment |
| Price | More expensive | Often cheaper |
| Warranty | Usually 1–2 years | Varies (some have no warranty) |
| Performance | Same as original | Possible improvements or problems |
For most drivers, OEM injectors are the safest choice. Aftermarket options can save money but may not last as long.
Common Mistakes To Avoid
Many home mechanics make errors that cause leaks, engine problems, or wasted time. Watch out for these common mistakes:
- Mixing up injector order: Each injector must go to the correct cylinder. Mark them before removal.
- Damaging O-rings: Torn O-rings cause leaks. Always lubricate them before installation.
- Forgetting to relieve fuel pressure: Skipping this step can spray fuel and cause injury.
- Not cleaning the area first: Dirt can fall into the engine and cause damage.
- Using the wrong parts: Always double-check part numbers and fitment.
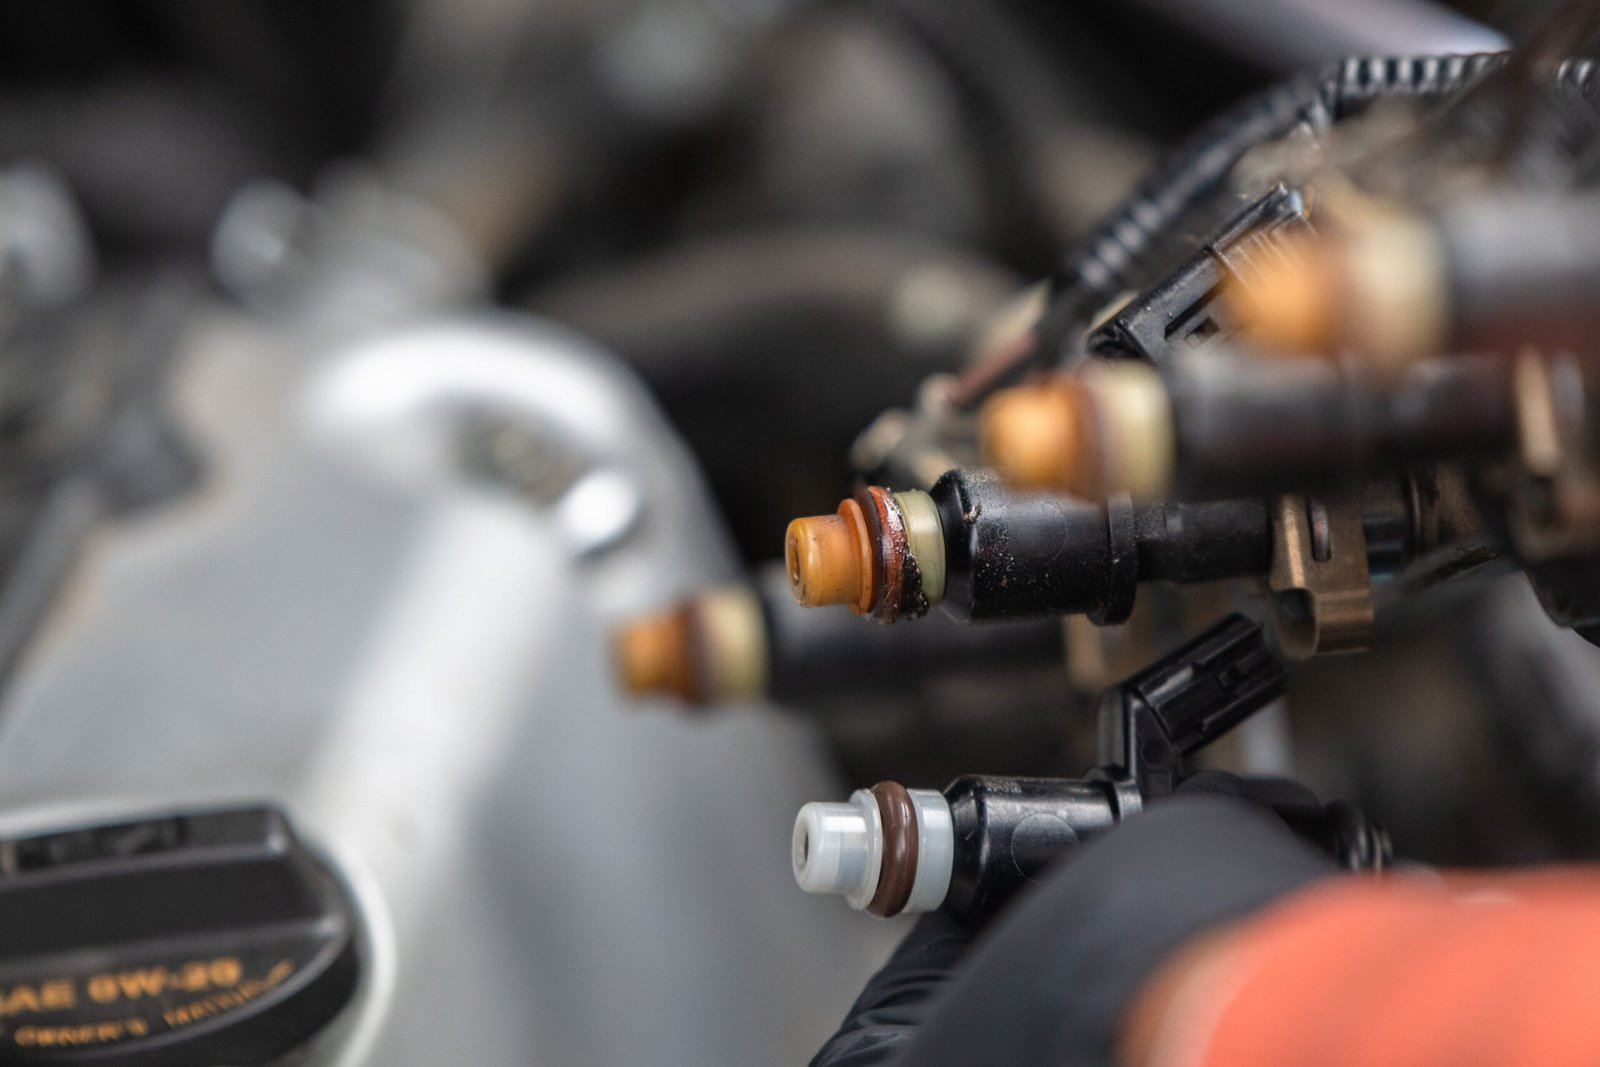
Credit: www.autozone.com
How Much Does Diy Fuel Injector Replacement Cost?
Doing this job yourself can save a lot. Here’s a breakdown of typical costs:
| Item | DIY Cost (Approx.) | Shop Cost (Approx.) |
|---|---|---|
| Fuel Injectors (set of 4) | $60–$200 | $120–$400 |
| Gaskets/O-rings | $10–$30 | Included |
| Labor | Your time | $150–$350 |
| Total | $70–$230 | $270–$750 |
You can save up to $500 by replacing injectors at home.
Practical Tips For A Smooth Job
- Take clear photos before disconnecting anything. This helps with reassembly.
- Label each injector and wire connector with tape or marker.
- Replace all injectors at once, even if only one is bad. This ensures even performance.
- Buy extra O-rings in case one tears.
- If your car has high mileage, consider cleaning the intake manifold while injectors are out.
Non-obvious insight: Many cars have “learning” computers. After new injectors, drive gently for 20–30 miles to let the engine adapt.
Credit: www.wikihow.com
When Should You Not Replace Injectors Yourself?
Sometimes, DIY replacement is not the best idea. If your car has direct injection (common on newer engines), the process is much harder and may need special tools. Some vehicles require removing the intake manifold or fuel tank. In these cases, professional help is wise.
Also, if you smell strong fuel or see leaks after your repair, stop driving and seek expert help. Fuel leaks are dangerous and can cause fires.
Signs Of A Successful Replacement
After installing new fuel injectors, look for these positive results:
- Engine starts quickly and idles smoothly
- Better gas mileage
- Stronger acceleration
- No check engine light or fuel smell
If you experience rough running, leaks, or warning lights, double-check your work.
Environmental And Safety Reminders
Old fuel injectors and gasoline are hazardous waste. Recycle them at an authorized center. Never pour gasoline down drains or into the ground.
Always wear gloves and eye protection. Gasoline can irritate skin and eyes.
Additional Resources
For more technical details and injector specifications, check your car’s service manual or visit the official Wikipedia page on fuel injectors.
Frequently Asked Questions
How Long Does It Take To Replace Fuel Injectors At Home?
Most cars take 2 to 4 hours for a first-time DIYer. If you have experience and good tools, it may be faster.
Can I Clean My Injectors Instead Of Replacing Them?
Sometimes cleaning works if injectors are just dirty. For clogged or broken injectors, replacement is the only solution.
What Happens If I Install The Wrong Injector?
Wrong injectors can cause engine misfires, leaks, or poor performance. Always match the part number to your vehicle.
Is It Safe To Drive With A Leaking Injector?
No. Leaking injectors are a fire hazard. Fix leaks before driving.
Do I Need To Replace All Injectors At Once?
It’s best to replace them all together. Old injectors may fail soon after one is replaced, leading to uneven performance.
Replacing car fuel injectors at home is a rewarding job that saves money and teaches you about your engine. With careful steps and the right tools, you can restore power and efficiency to your car. Take your time, follow safety rules, and enjoy the process of becoming a more confident DIY mechanic.
